Today we’re making a set of soft jaws for the mill vise. We have some parts coming up for the toolpost grinder that don’t have parallel sides, so how do we hold them in the mill? Soft jaws.
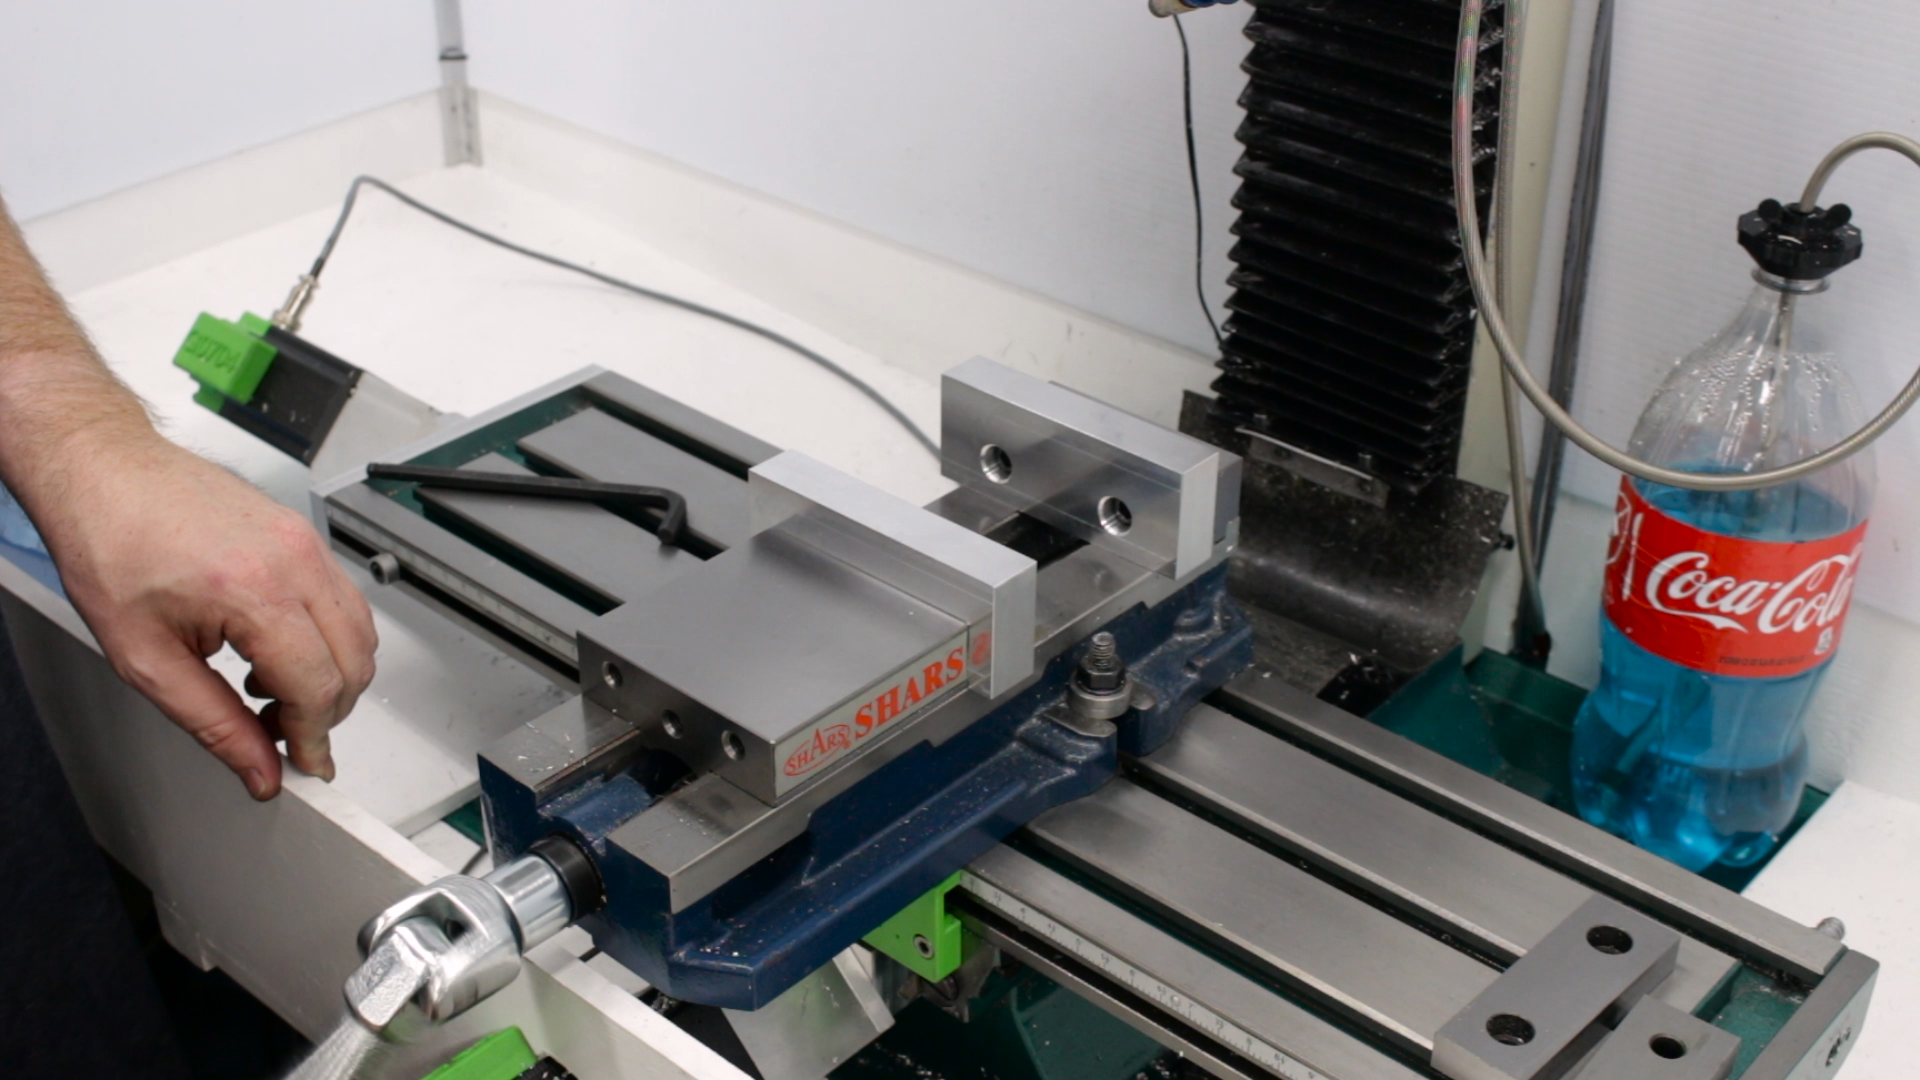
Soft jaws are machinable vise jaws made from aluminum or mild steel that can be machined to whatever shape is required to hold a part without parallel sides. The motor clamp for the toolpost grinder project is a prime example:

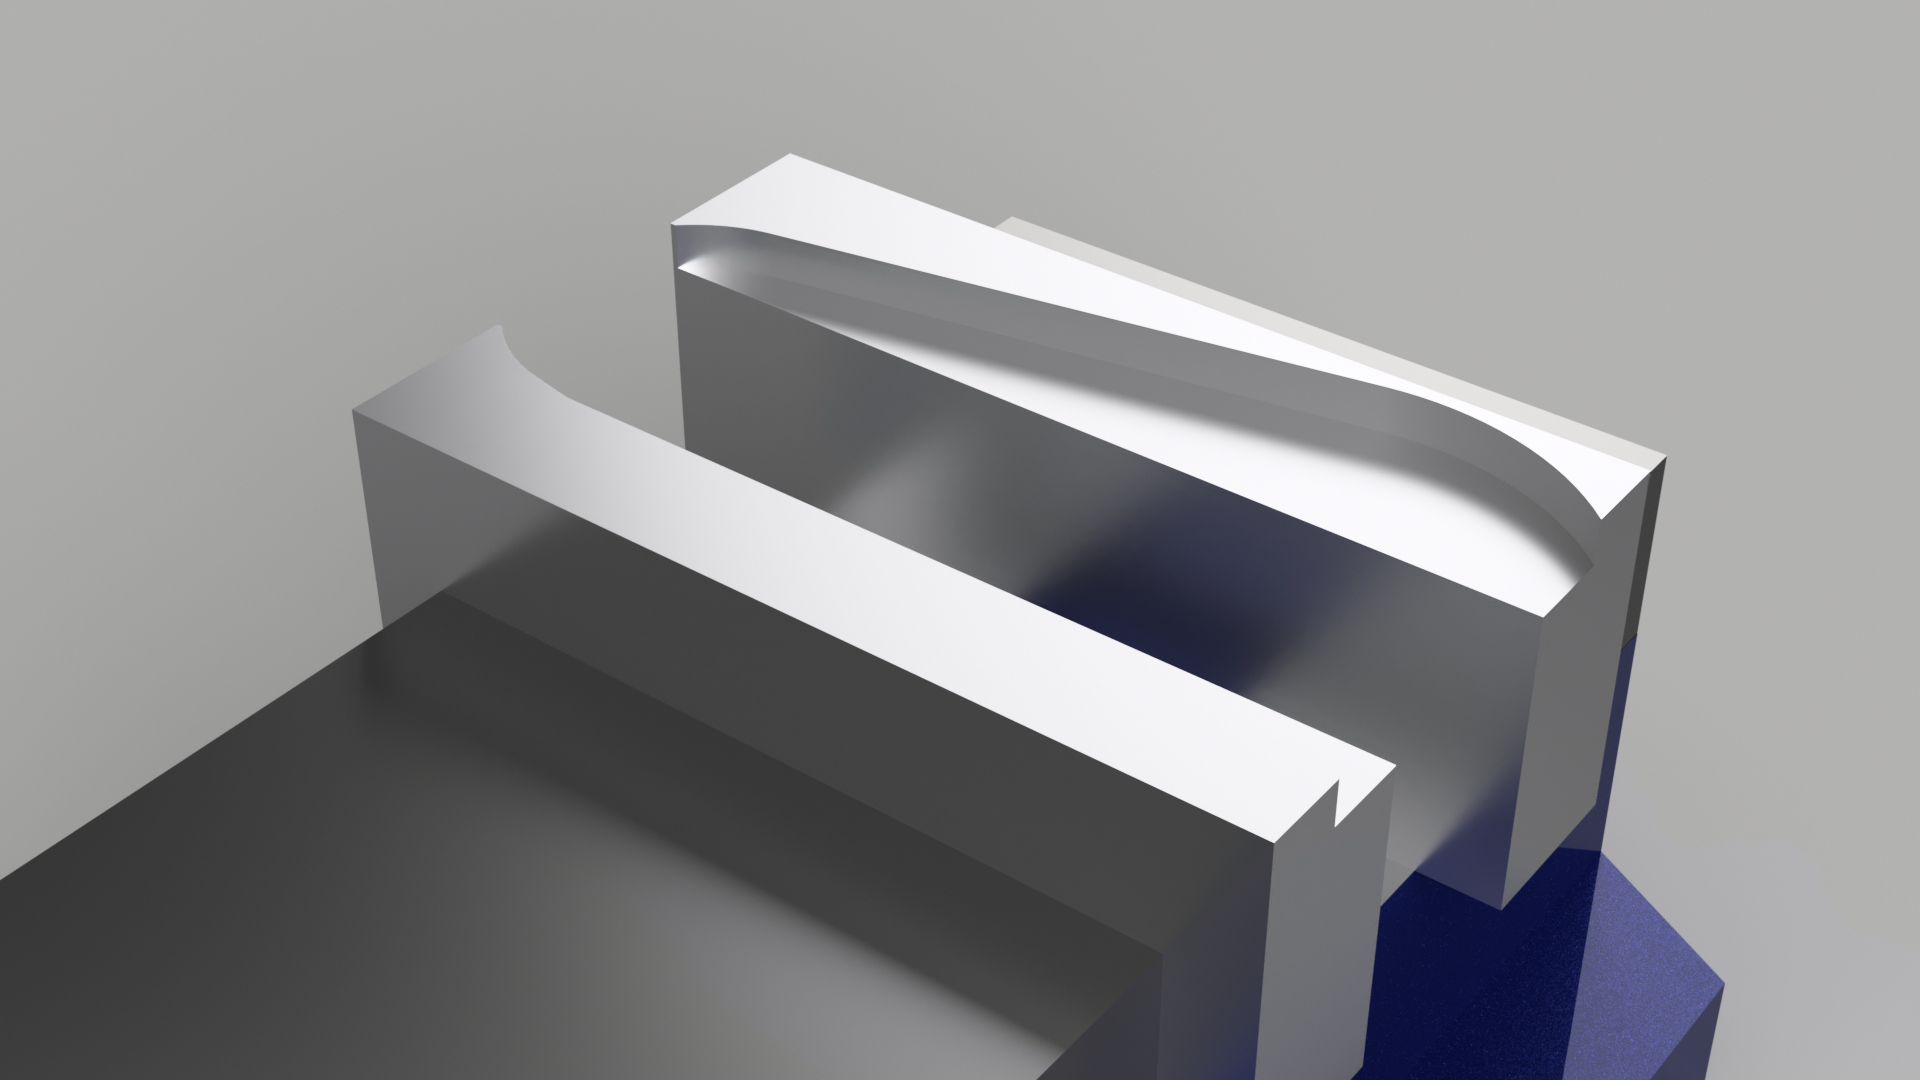
The easiest way to mill this part is to start with extra-thick stock, mill out the entire perimeter of the part, then flip it over and hold it in soft jaws to face off the extra stock that we used to hold it. We’ll machine the soft jaws to look like this:
But first, we need to make them.
The Stock
I started with 1″x2″ aluminum stock. The jaws are 5″ long, so I cut a couple of pieces just a little longer than that.
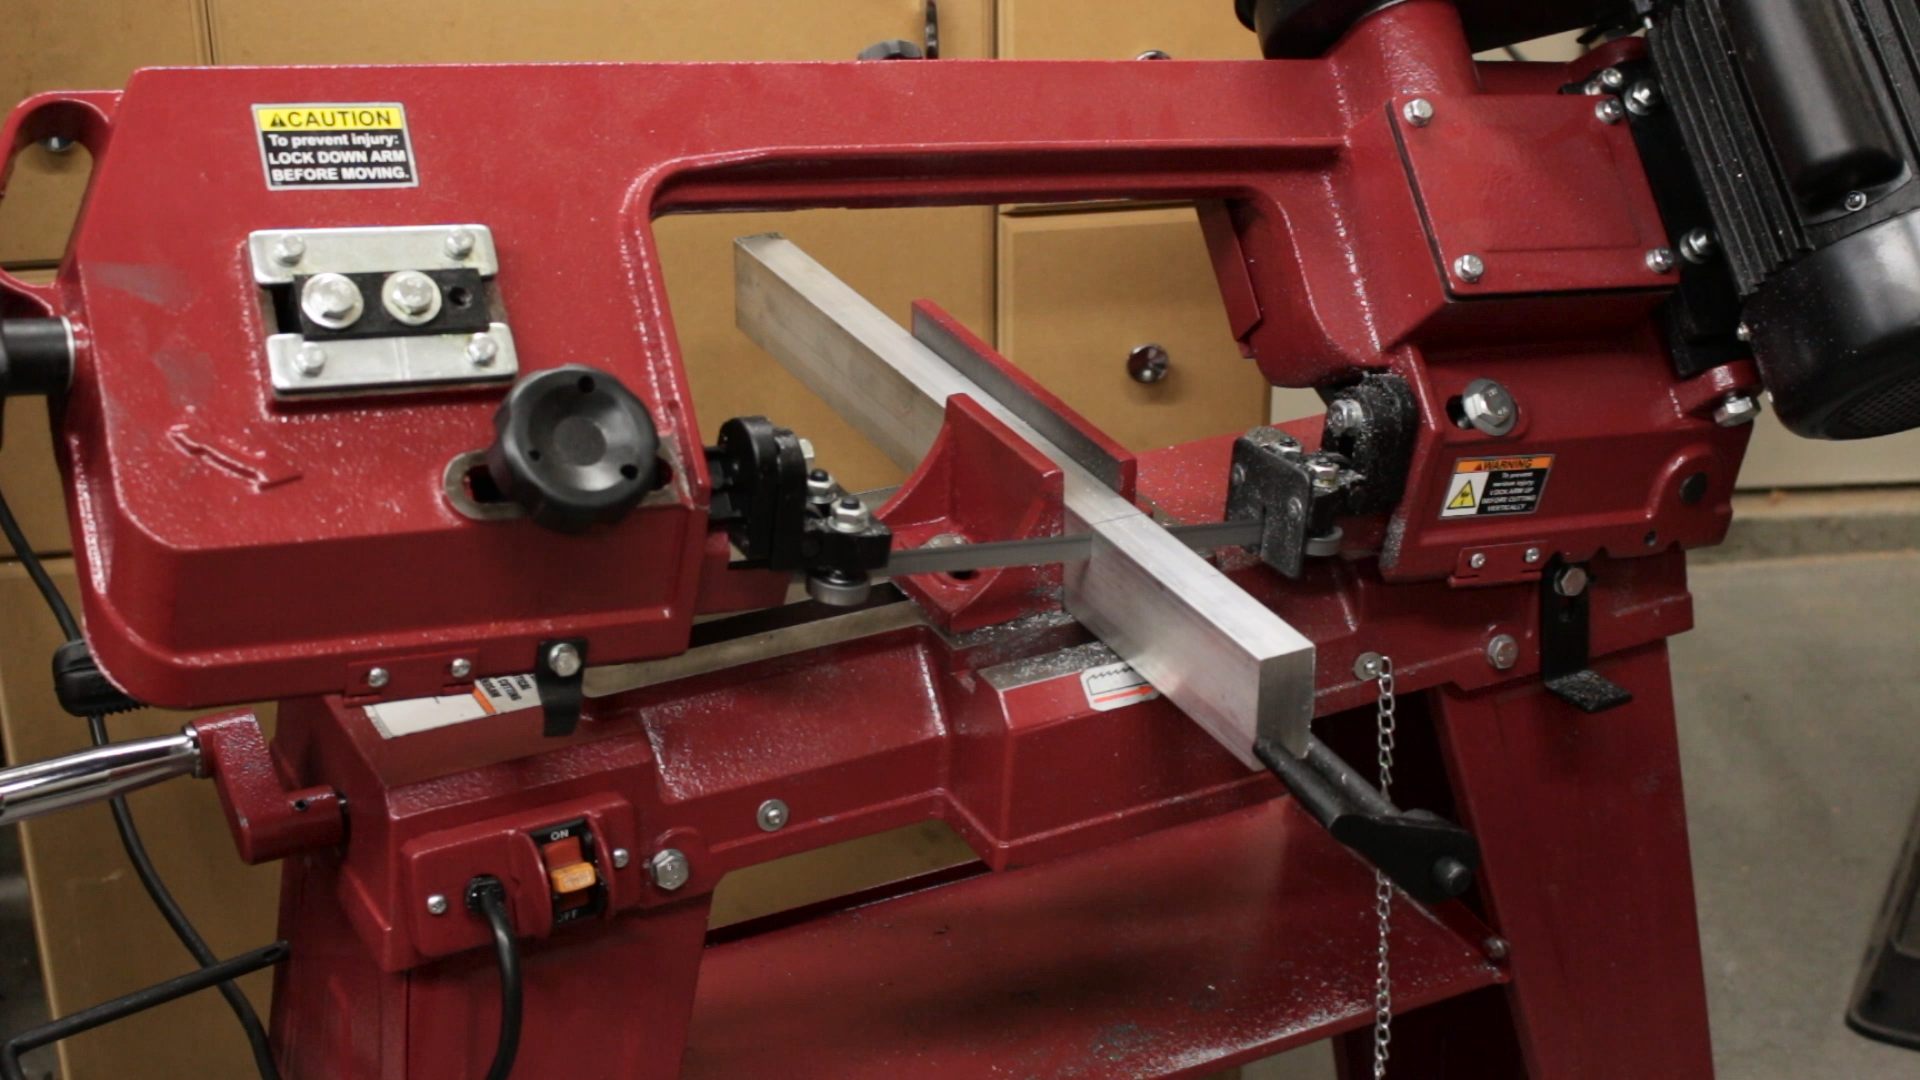
As a point of curiosity, I tried making the cuts with the blank standing on edge and lying down, to see which is faster. In this case, standing up is faster. This is probably because the saw currently has a 10-14TPI variable-pitch blade, and there just isn’t enough gullet between the teeth to carry away the swarf from a 2″ cut.

One other thing I learned: you have to be very careful with the stop. When the blade breaks through the stock, the offcut can kick forward and jam between the stop and the blade. This happened to me, and it stopped the blade cold and prevented the saw from dropping onto the stop switch. It just sat there with the drive wheel slipping on the blade. My first reaction was to lift the saw to free it. Don’t do this. Unfortunately, it kinked the blade. I straightened it out the best I could, but it doesn’t cut as straight as it did.
This is typical in my shop. I break things long before wearing them out.
Squaring and Facing
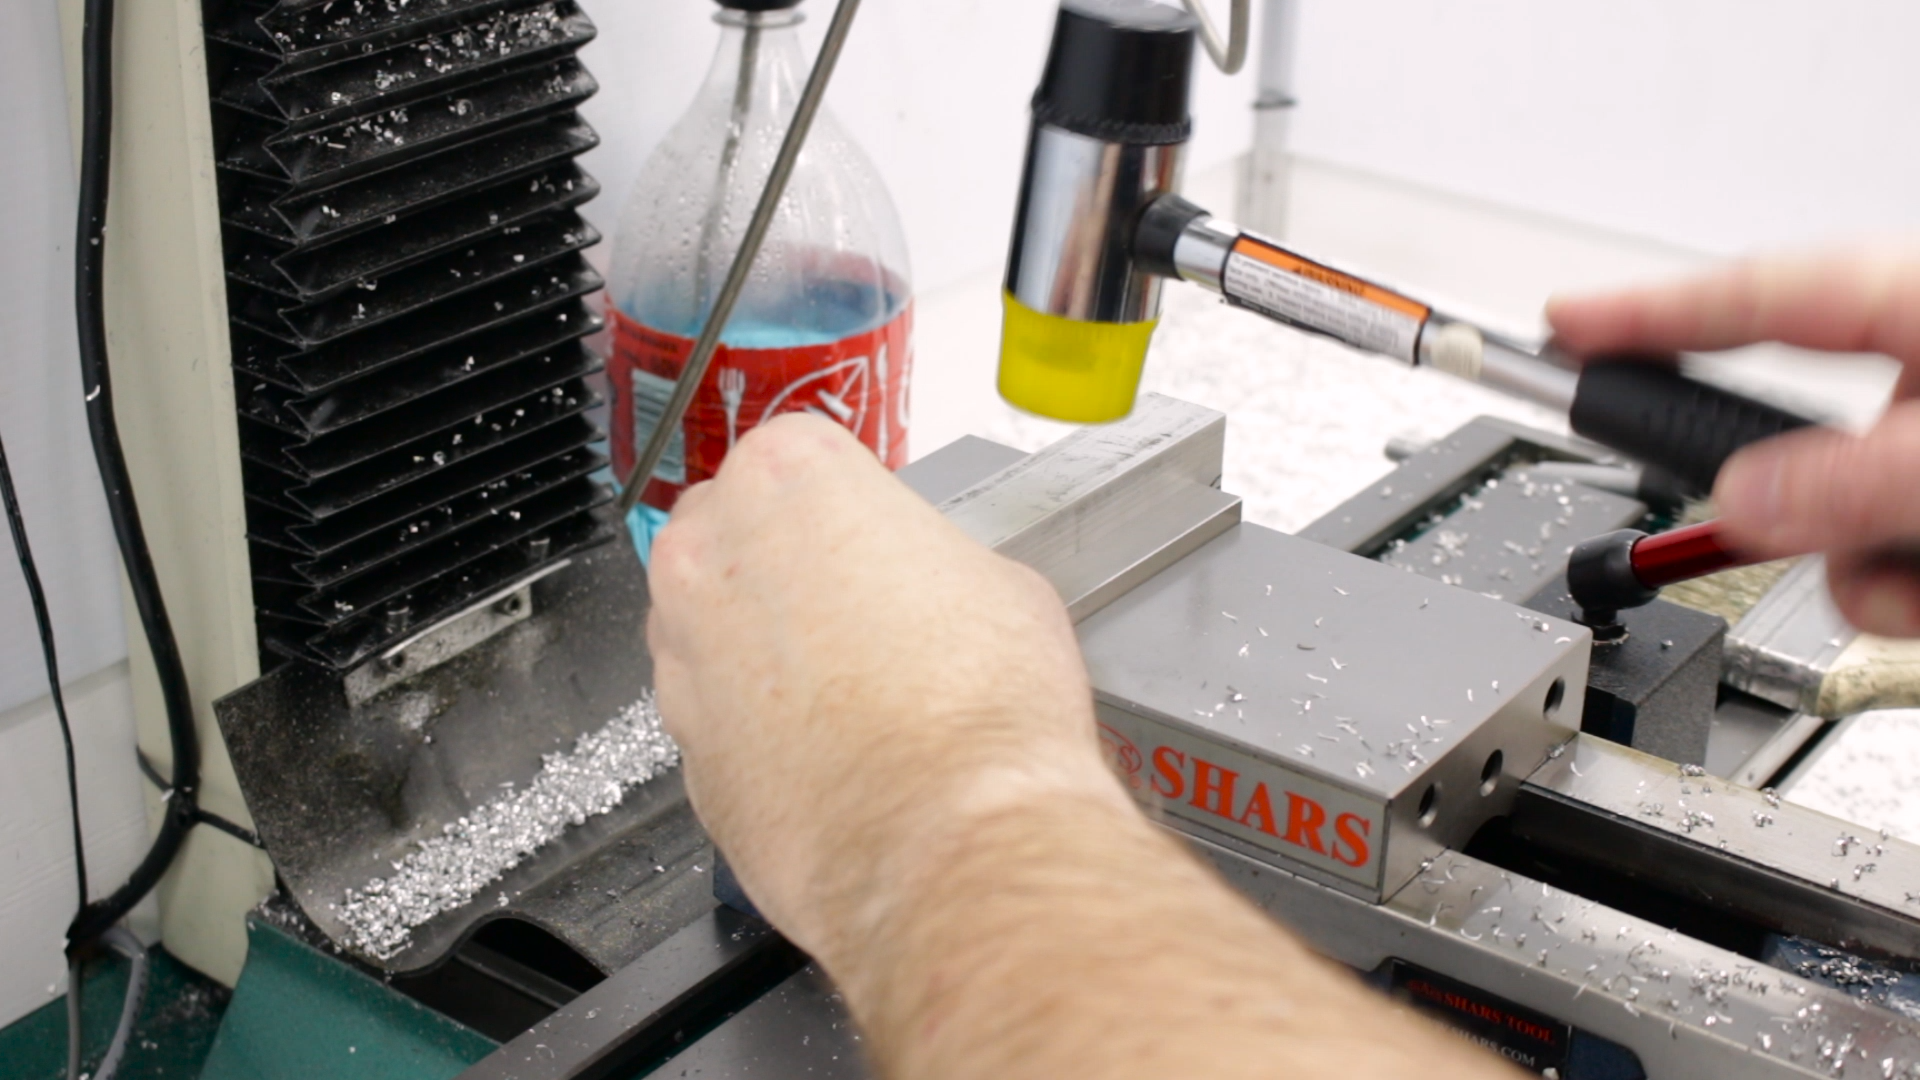
The aluminum extrusion is actually quite straight and parallel, but I wanted to be sure, so I started by facing off all four sides. The order matters if we want the blocks to be as square as possible:
- Hold the stock in the vise on parallels and face one flat side.
- Turn the flat side against the fixed jaw and face one edge perpendicular to this.
- Flip the stock so the machined flat side is against the fixed jaw and the machined edge is in the bottom of the vise. Tap it down fully and machine the other edge to width. This gives us three square/parallel sides.
- Place the stock in the vise on parallels, unmachined side up and face the remaining side.


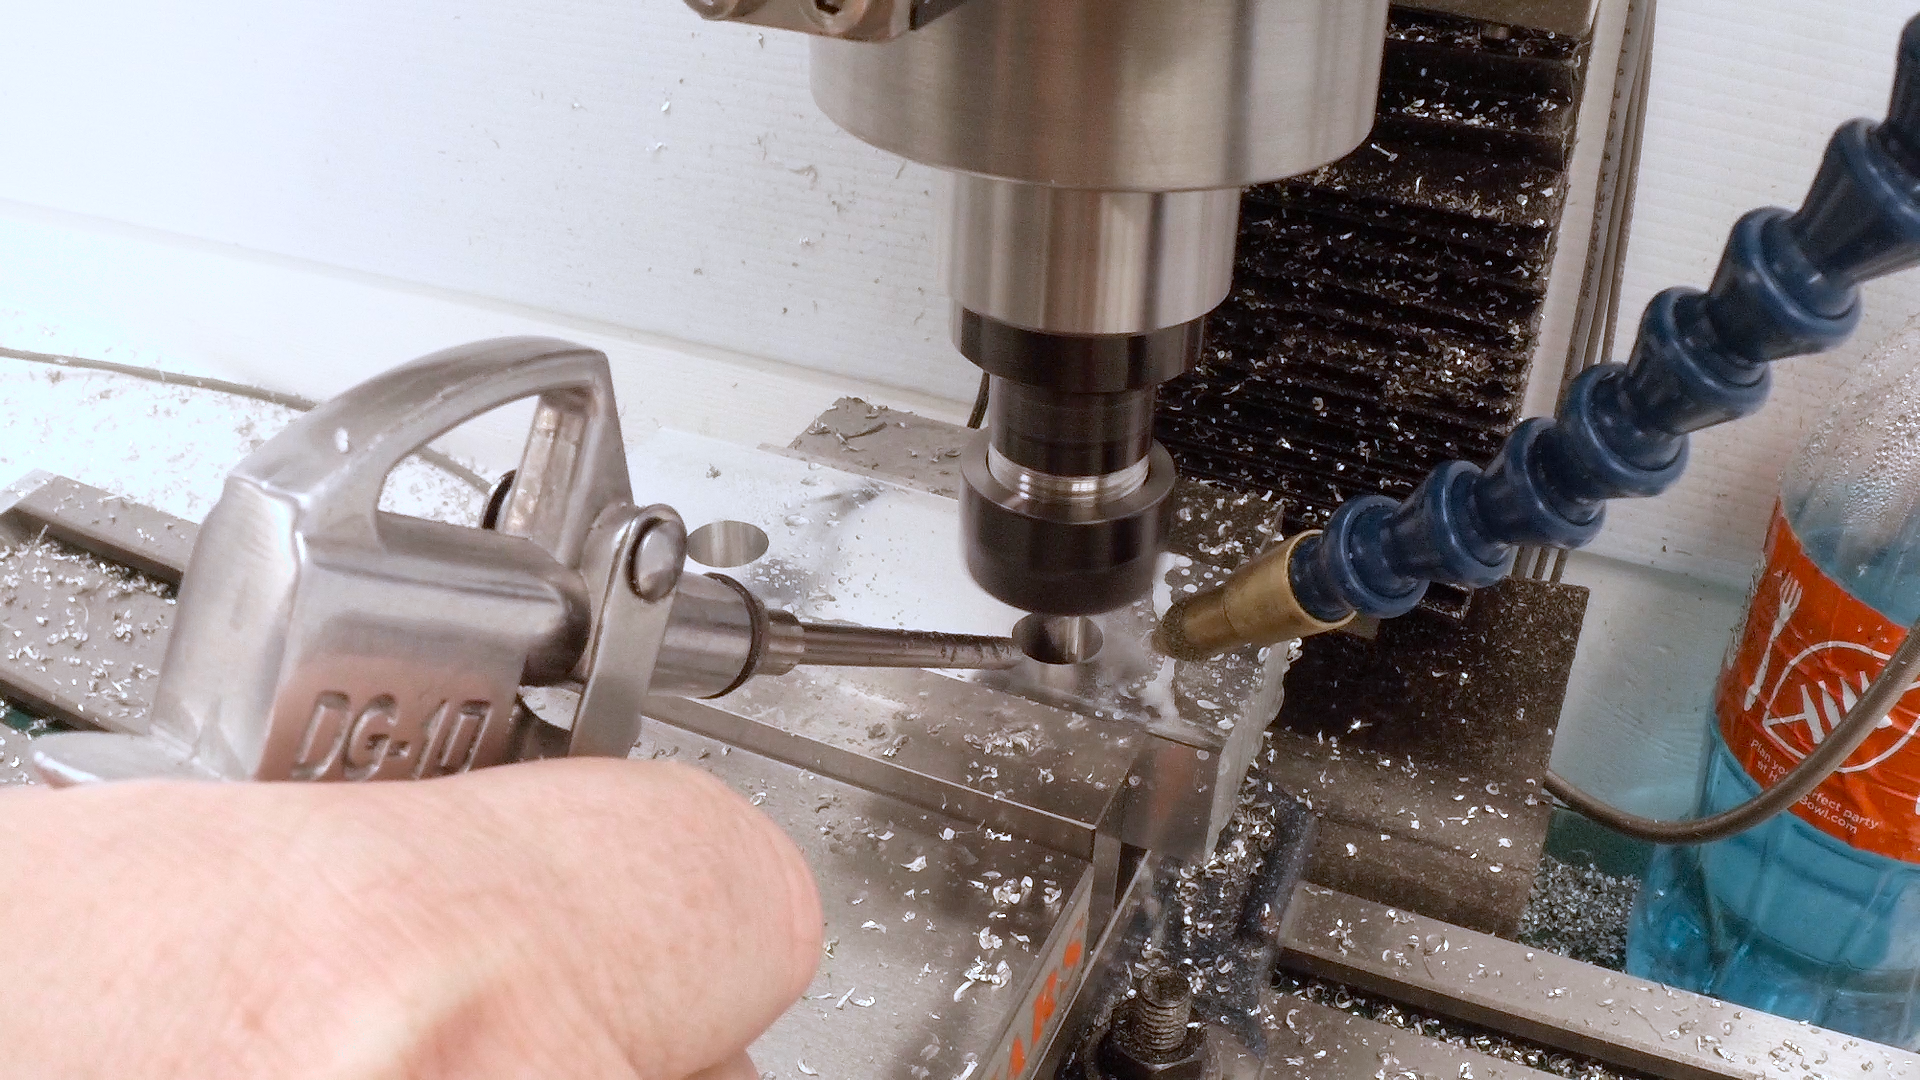
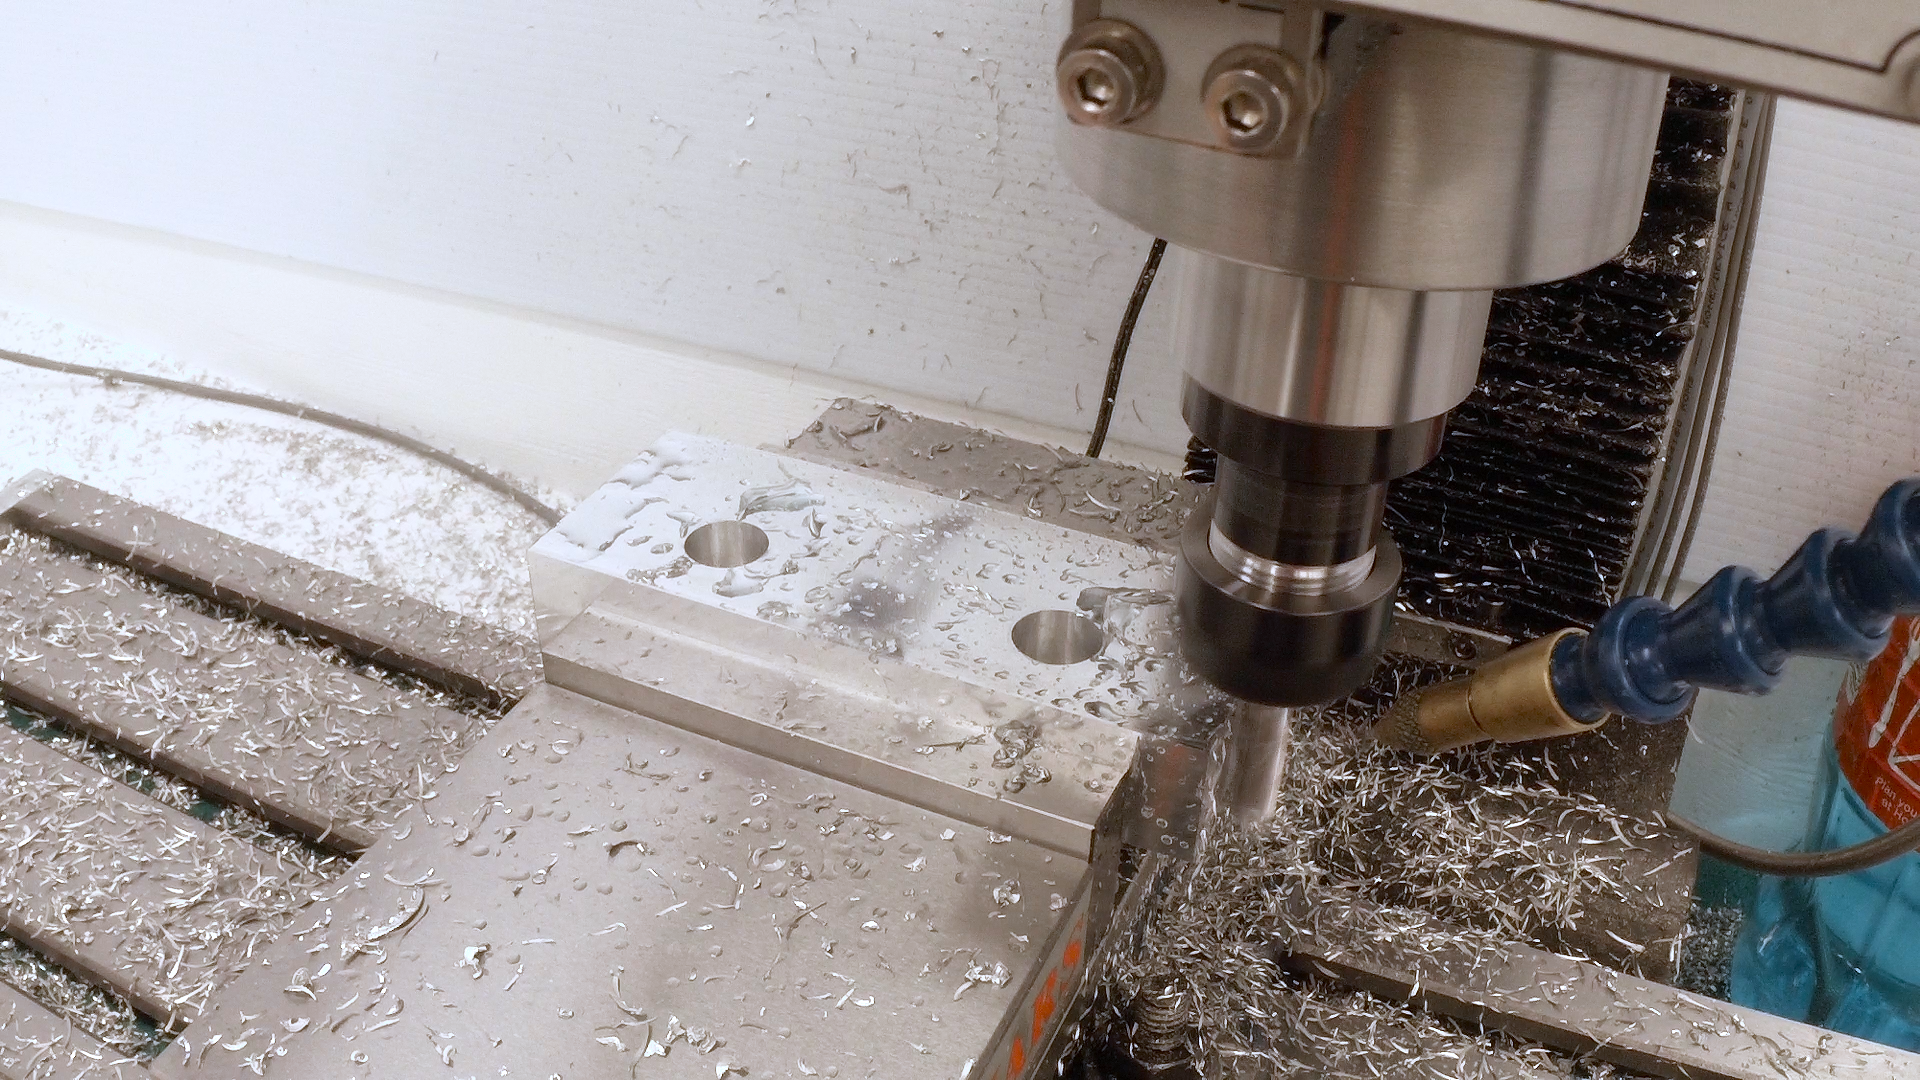
Boring the Holes
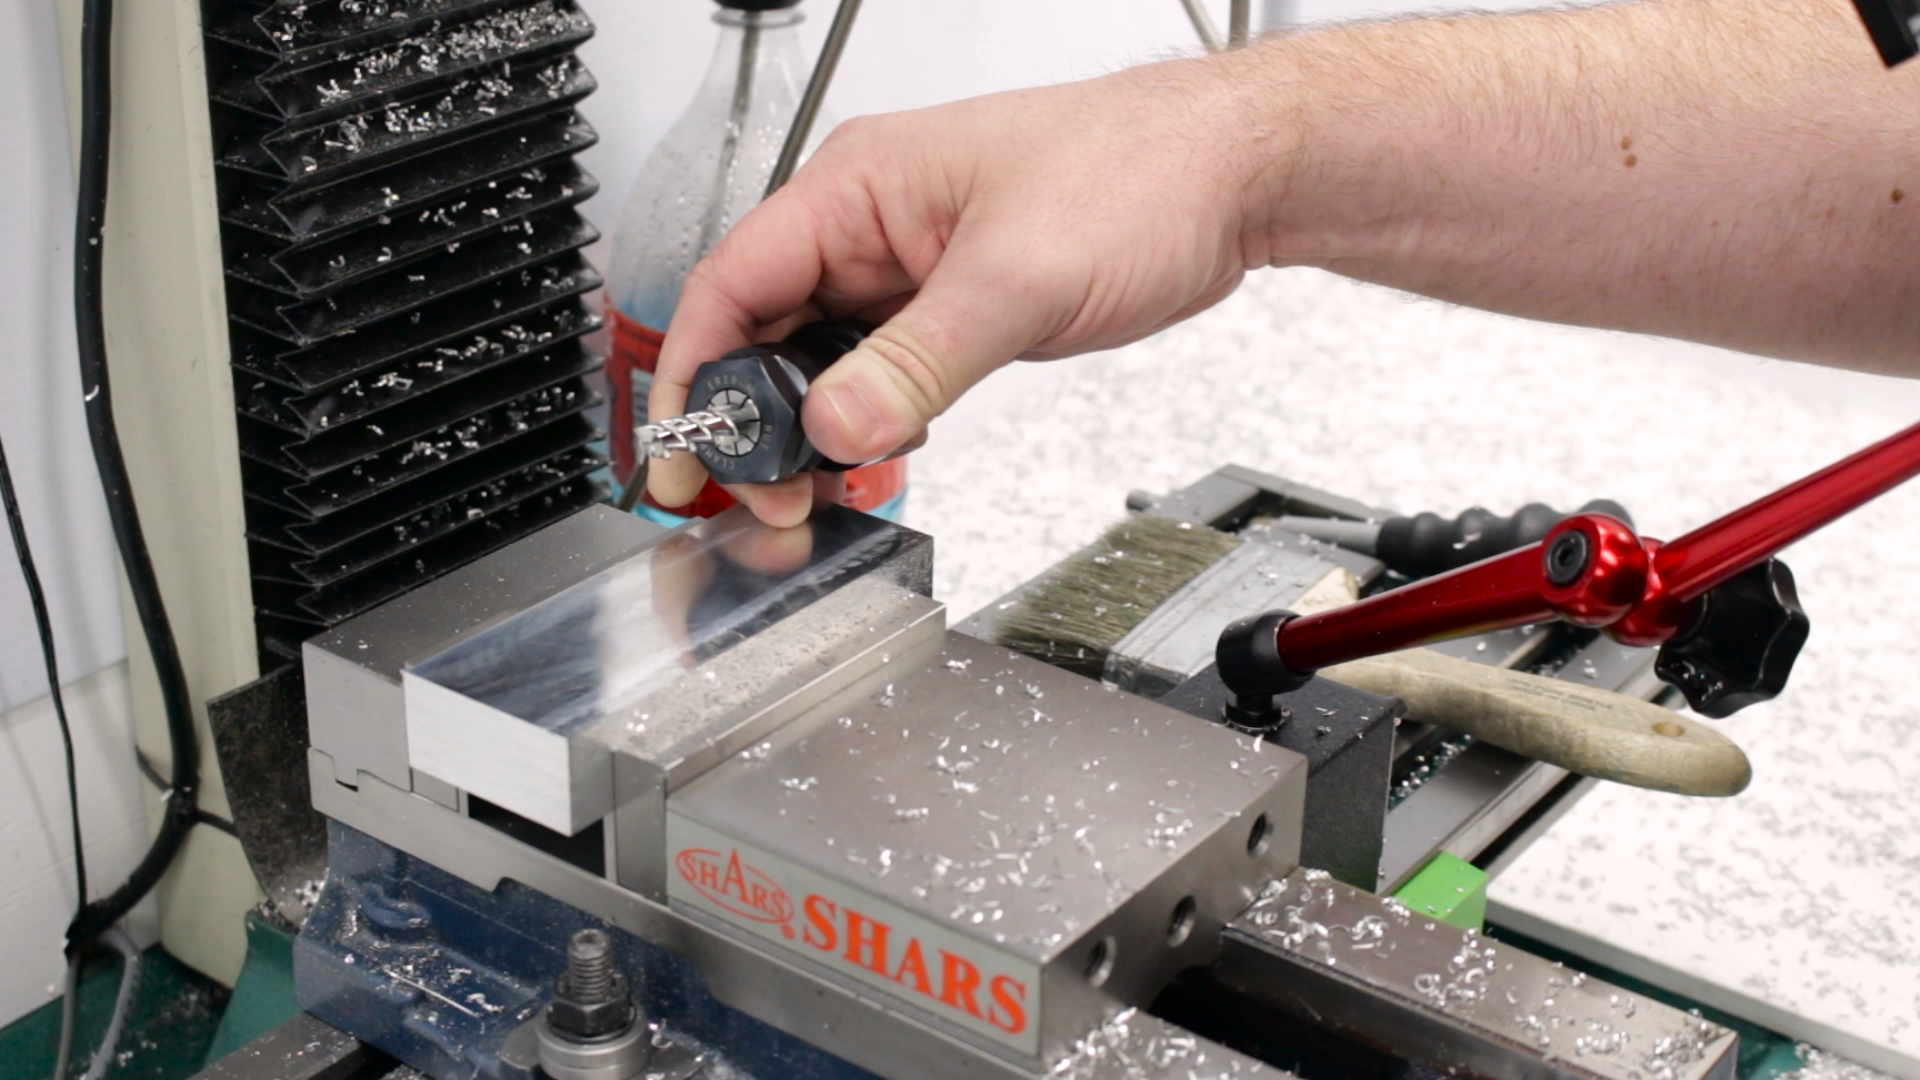
To bore the holes, I used a 3/8″ three-flute aluminum-specific end mill. I’ve been using the YG-1 Alu-Power end mills in the 1/4″ size for a while and really like them. This was my first experience with the 3/8″ size.
Overall, the end mill worked beautifully. I bored the holes in and countersinks with a helical interpolation, and it worked okay. If I had it to do again, I would definitely drill the holes first. Chip evacuation is always a problem in small holes like this. It actually might work better with a 1/4″ tool, but I wanted the higher material removal rate of the larger tool. You can hear (and see) in the video, that the chips were getting caught under and around the cutter, causing a lot of vibration and chatter. In the end, it made the cut and the finish pass cleaned it up beautifully. All the same, I’ll drill next time.
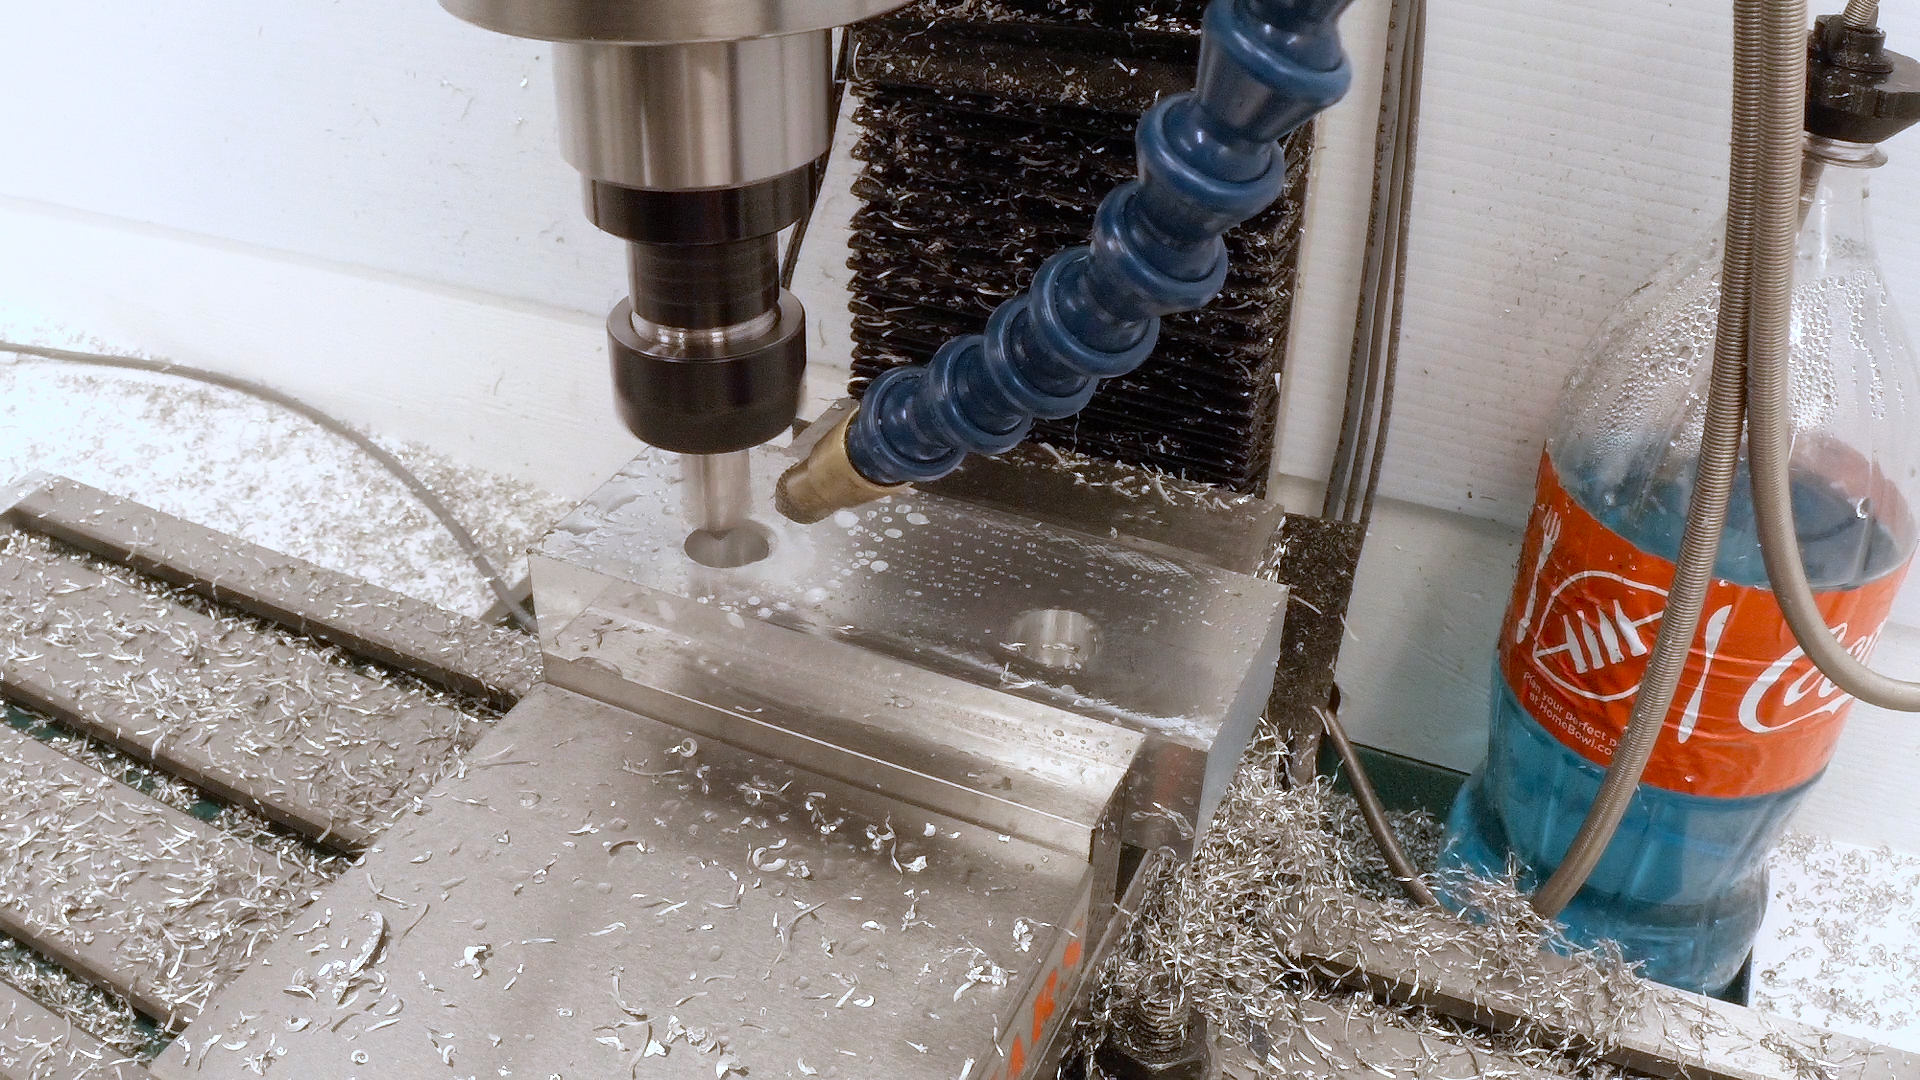
Side Milling to Length
I ended up just side-milling the jaws to length using the same 3/8″ end mill in the same setup. Since these jaws are slightly longer than the stock jaws in the vise, this was convenient. Side milling is always something I try to avoid, but the Alu-Power end mill just plowed through the material, throwing a shower of aluminum snow. It helps that the end mill is new, and very, very sharp. These end mills stay sharp for a long time. In any case, I always do something dumb and break them before they wear out.
Finishing Up
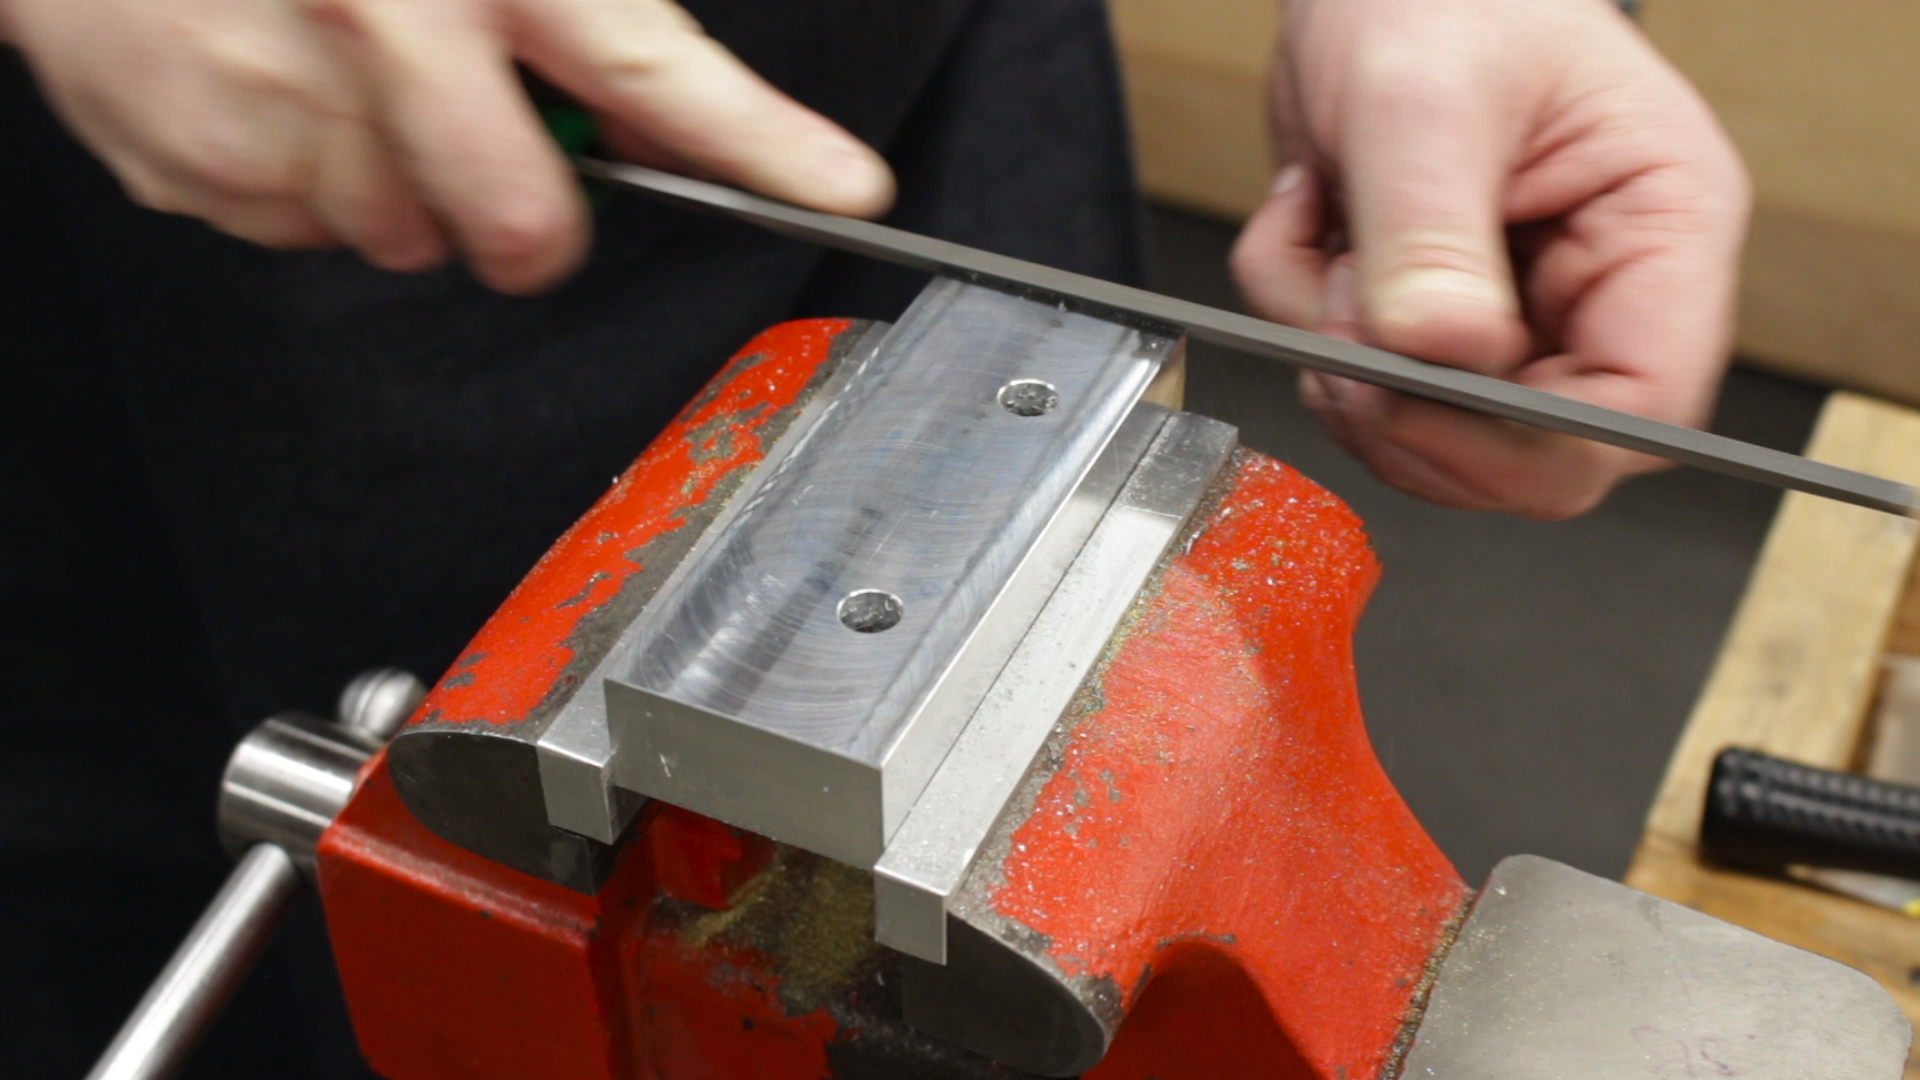
A few chamfers and a little deburring and the jaws are ready to use. I generally chamfer using a 90 degree spotting drill. Chamfer mills can be very expensive, and a half-inch spotting drill does a great job on the cheap. The one I have is a YG-1 cobalt spotting drill, and it’s been great in every material I’ve tried. It isn’t carbide, so you have to keep the speed down in steel, but it works great.
For general deburring of the edges of the block, I just used a file. The chamfer mill does a great job and can produce very nice .005″ chamfers that look great, but it’s often quicker to just grab a file.
Drawings
If you’d like to make a set for yourself, you can download a set of drawings here:
Aluminum Soft Jaws 5 x 2 x 1 Drawing v3
Here are some of the tools used in this video:
*This site contains affiliate links for which I may be compensated
- YG-1 3/8″ Al-Power end mill (eBay*): https://goo.gl/g6Kpp7
- 50MM Face Mill with APKT inserts (eBay*): https://goo.gl/npAADu
- Noga Deburring Set (Amazon*): http://amzn.to/2xMfiPz


