This week, we’re finally finishing up our shop-made TalonGrip vise jaws. All that remains is to poke some holes in the jaws so we can screw down the grippers and mount them to the vise.
The Gripper Holes
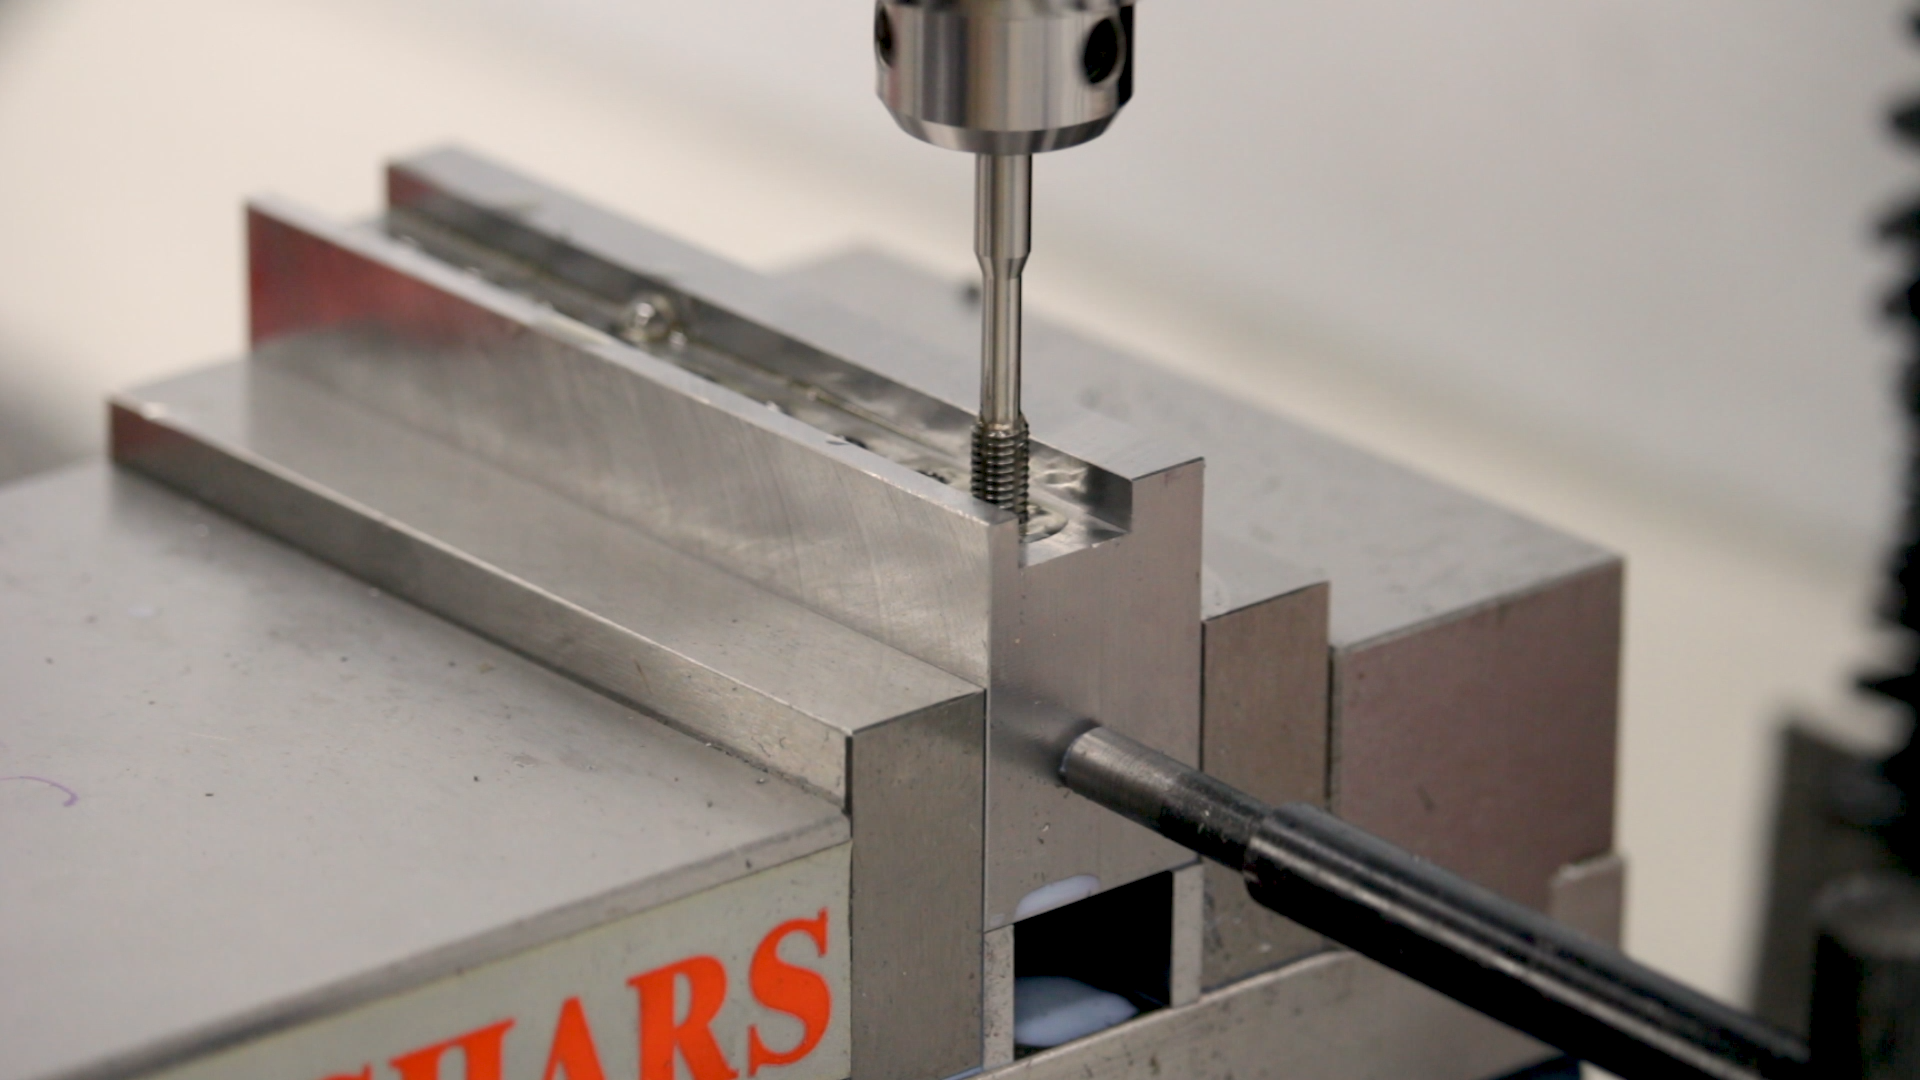
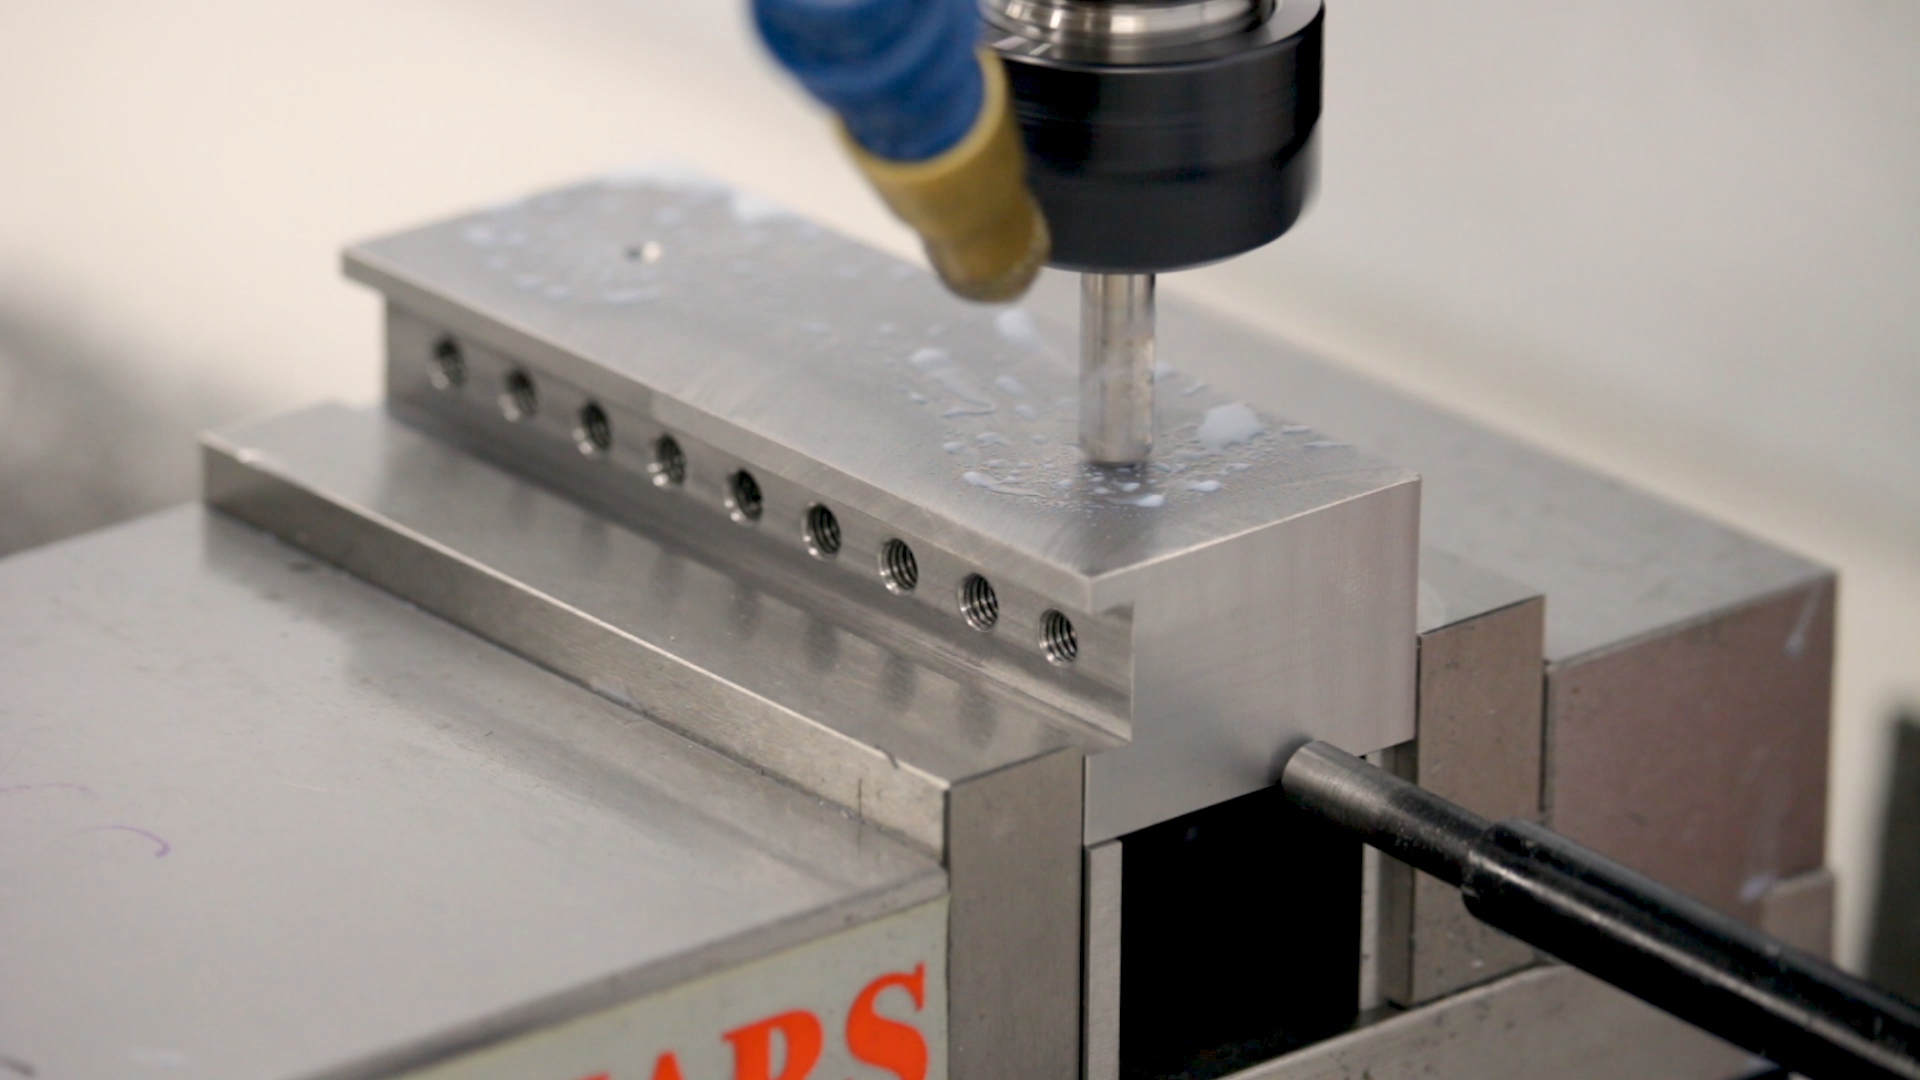
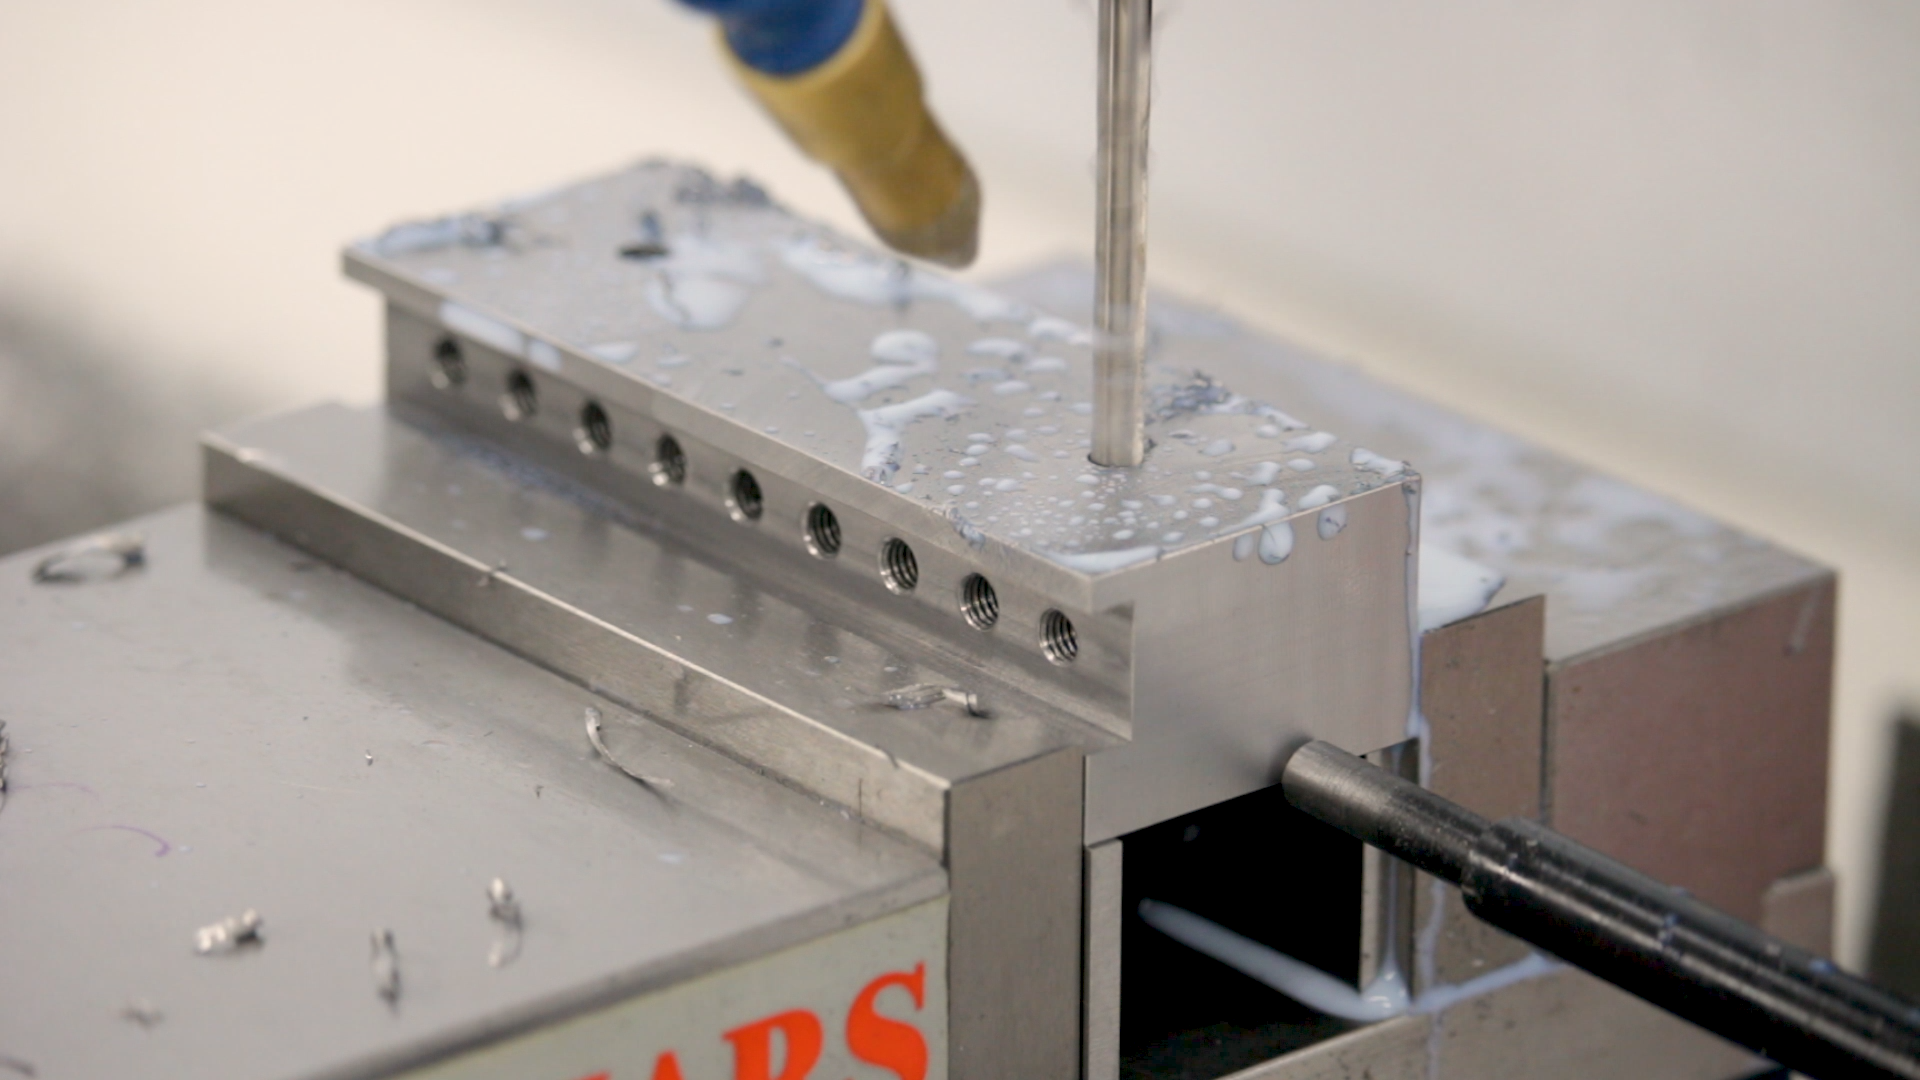
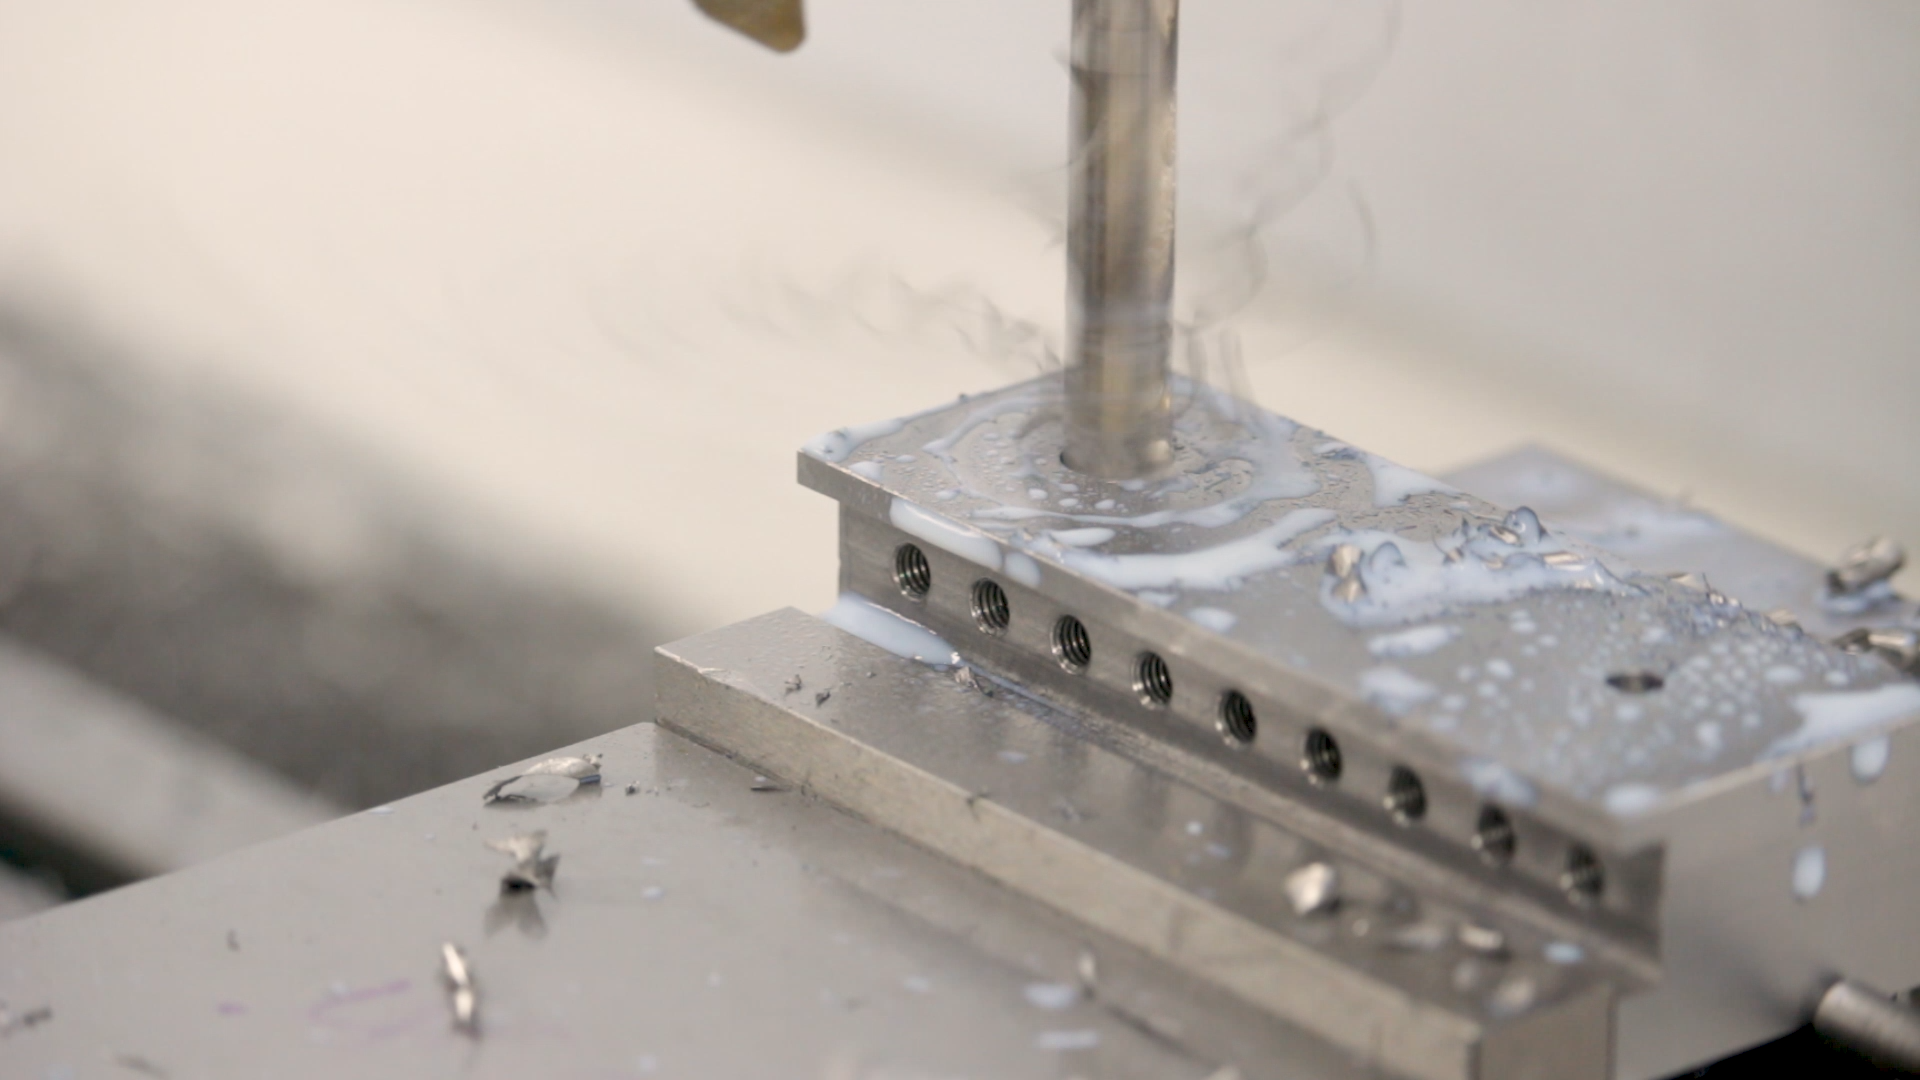
Each jaw has nine holes along the bottom of the slot to take the M5 screws that hold the grippers. We first spot these holes with a 120-degree spotting drill. Then we drill them to depth with a 4.6mm (tapping size) drill and finally tap them M5x0.8mm. Since these holes are blind holes and this is a fixture that will see these screws inserted and removed many times, a form tap is the best choice. The form tap creates no chips to pack into the bottom of the hole, and it work-hardens the steel, resulting in very durable threads.
The Mounting Holes
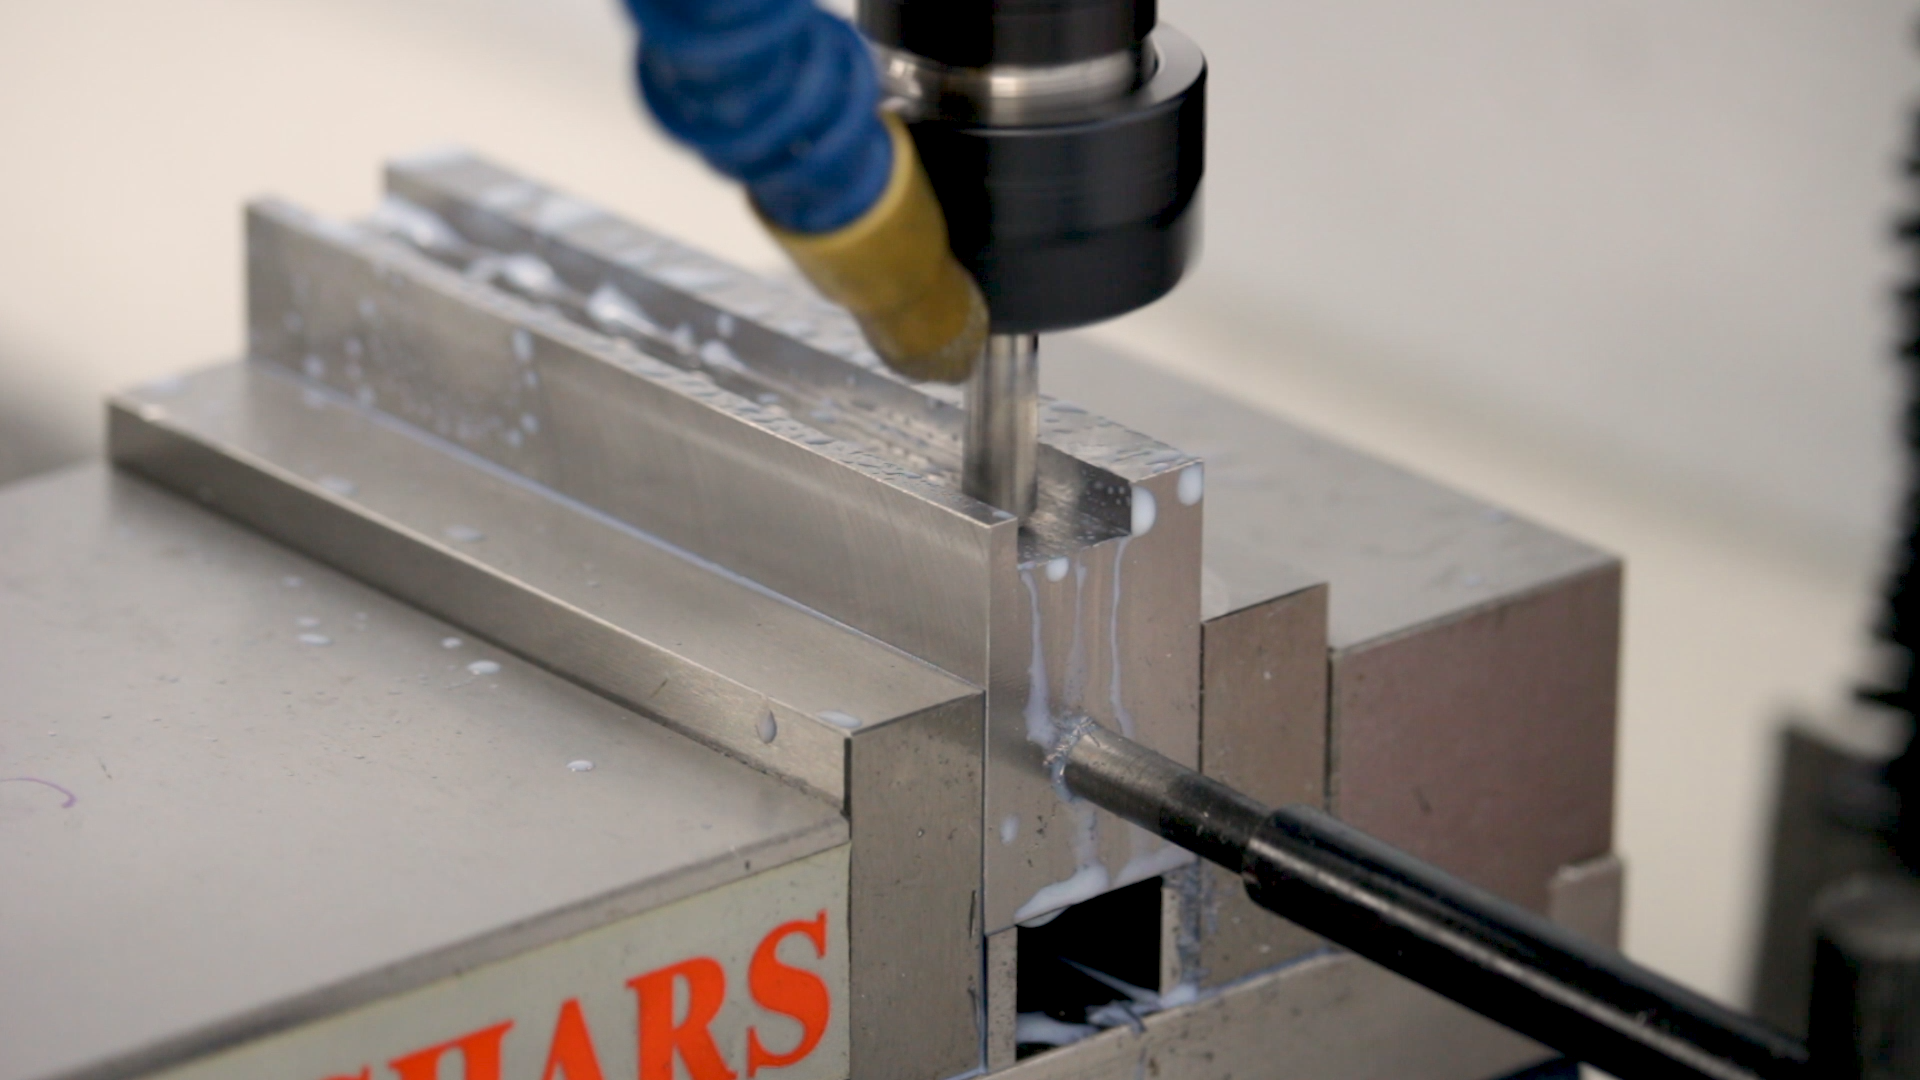
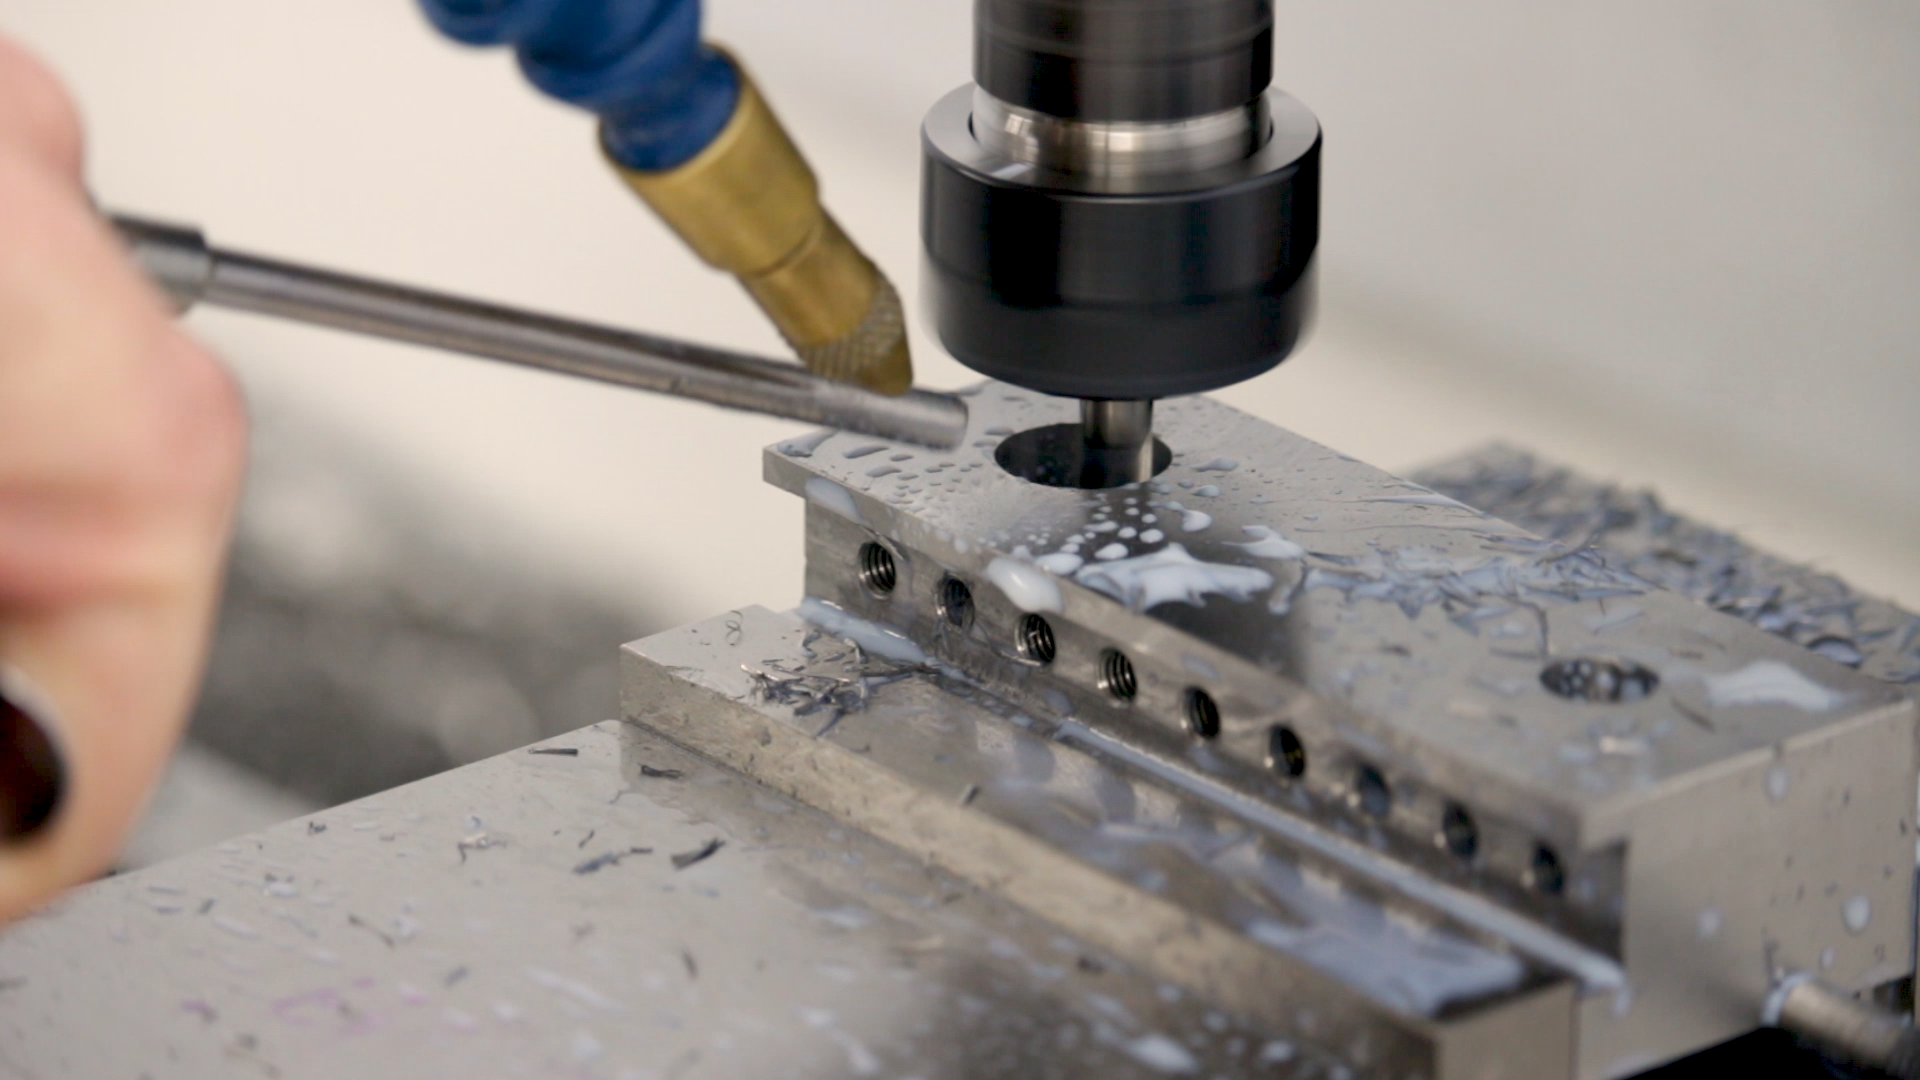
You may remember from the Soft Jaws video that we had a lot of noise and chip recutting when we tried to spiral-ramp into the material to make the mounting holes. This time the material is steel, so we take a different approach. We use a twist drill to remove most of the material. After spotting the holes, we drill a pilot and finally remove most of the material with a 3/8″ twist drill. This works fabulously and removes most of the material from the holes in just a few seconds.
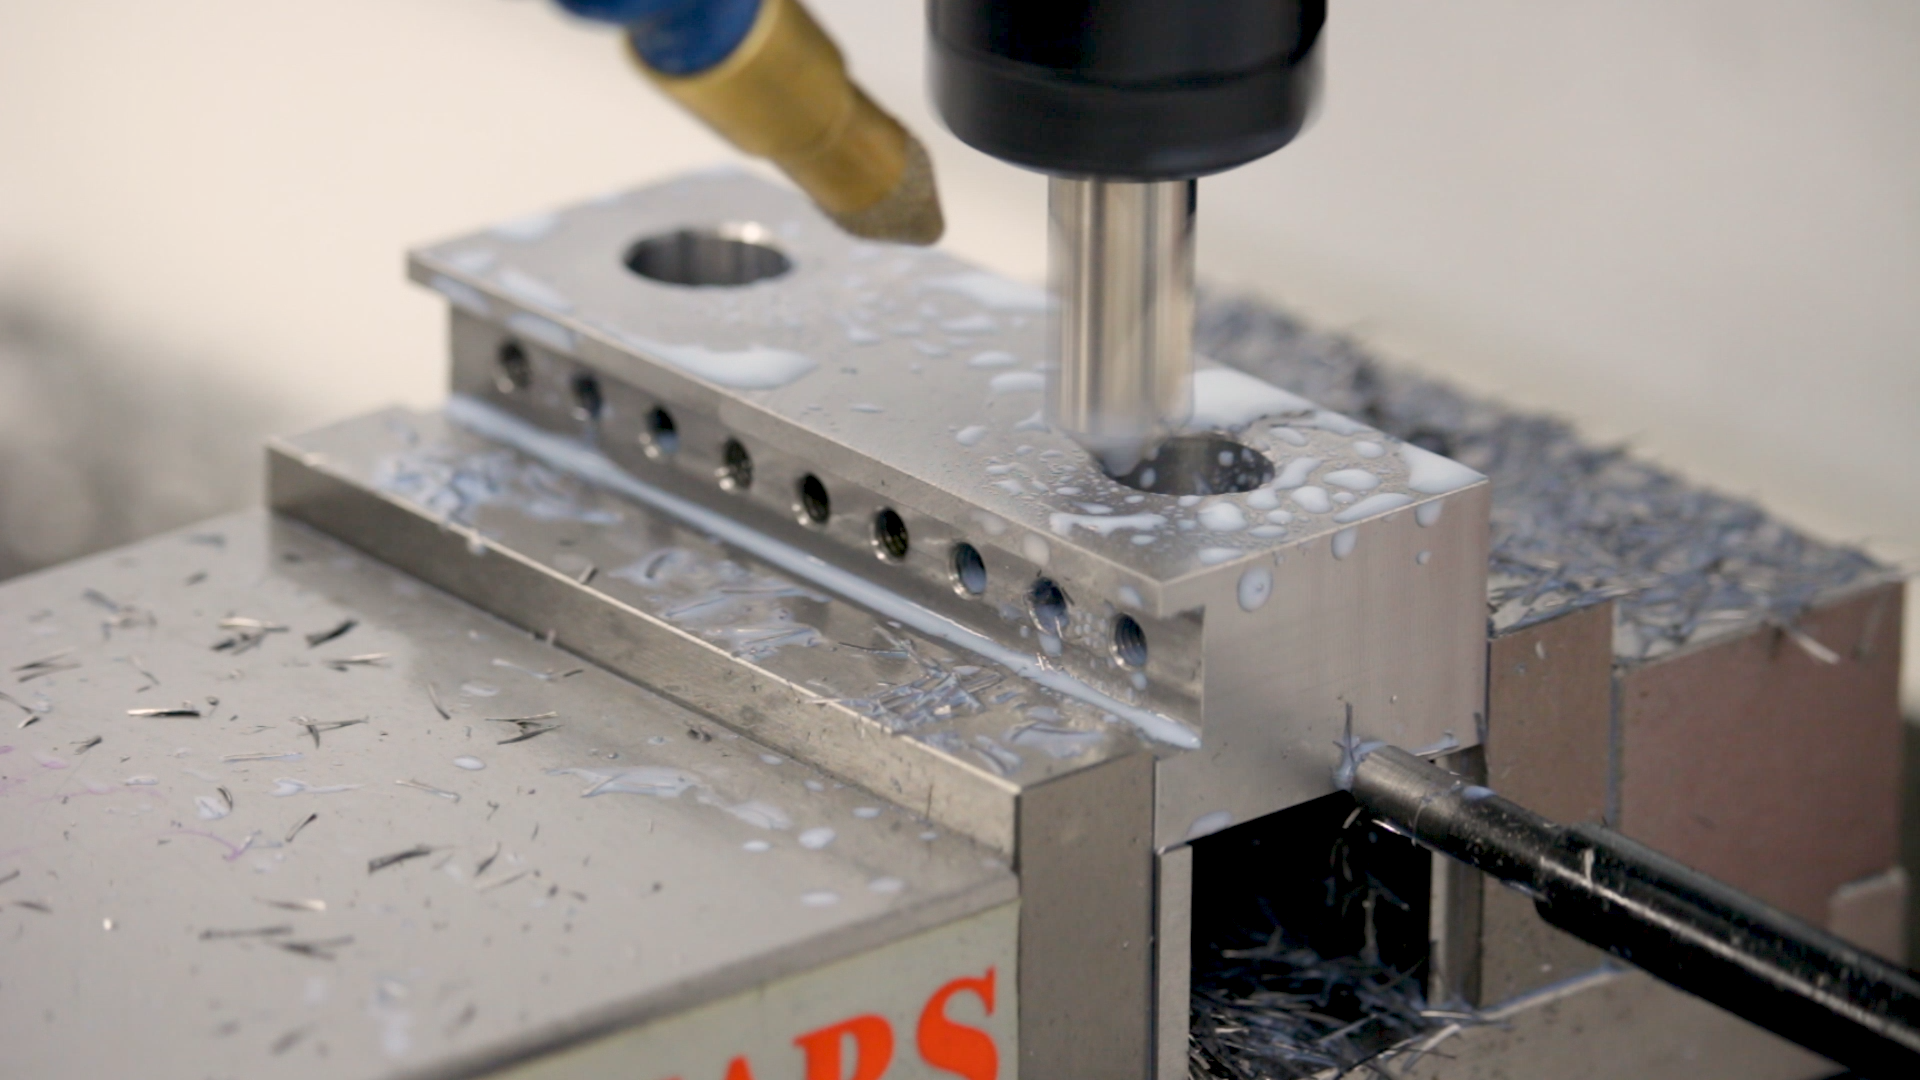
Now, drills are notorious for wandering, and this is no exception. It looks like the holes may have pushed a few thousandths off-center, but it doesn’t matter because we followed up with a 1/4″ carbide end mill to interpolate the counterbores and clean up the through holes at the bottom.

A few chamfers complete the milling operations. As usual, we use a cheap 1/2″ HSS 90 degree spotting drill as a chamfer mill, and it doesn’t disappoint.
The First Victim
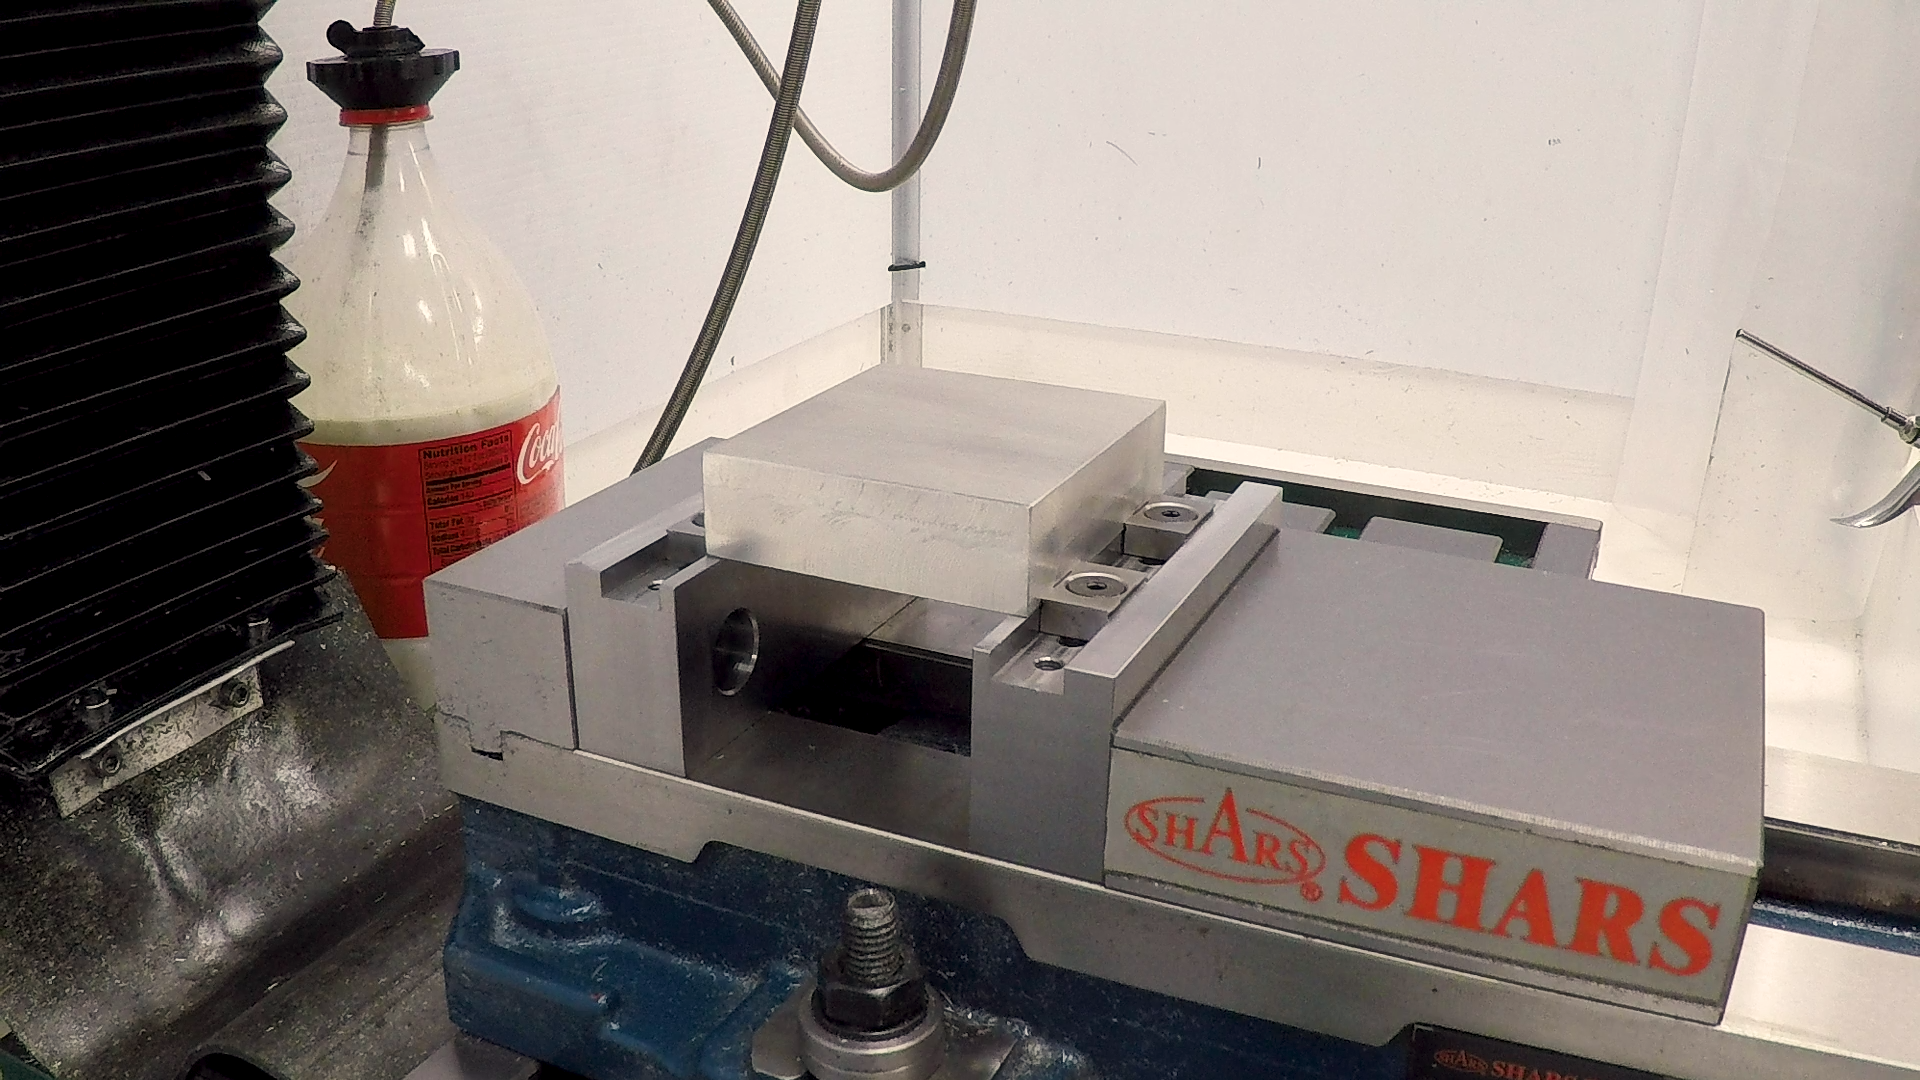
The jaws are done, so it’s time for a test. I found a block of aluminum in my scrap drawer and clamped it up in the vise. I couldn’t be happier with the results. The teeth gripped into the aluminum, holding it securely in the vise with relatively light pressure. We won’t know for sure until we try to make some parts with these, but so far, it looks like a rousing success.
Engraving
The last step with any shop-made tool is to mark it. These jaws have big, flat faces that will stick up from the vise when they’re in use. They’re just begging for a logo.

Next Time
Next time, we’ll use these new jaws to mill out the motor clamp for the toolpost grinder.
Until then, if you’re following along with this build, here are a few of the tools used in the video:
*This site contains affiliate links for which I may be compensated
- YG-1 4-Flute Carbide 1/4″ end mill (eBay*): https://goo.gl/1dLomn
- YG-1 1/4″ 120 degree spotting drill (eBay*): https://goo.gl/6zqTzb
- YG-1 1/2″ 90 degree spotting drill (eBay*): https://goo.gl/CpoZ31
- Noga Deburring Set (Amazon*): http://amzn.to/2xMfiPz


