Today we’re working on the a poly-v pulley for the spindle. The pulley transfers power to rotate the spindle, and it also captures the Belleville disc spring to provide preload force to the spindle bearings.
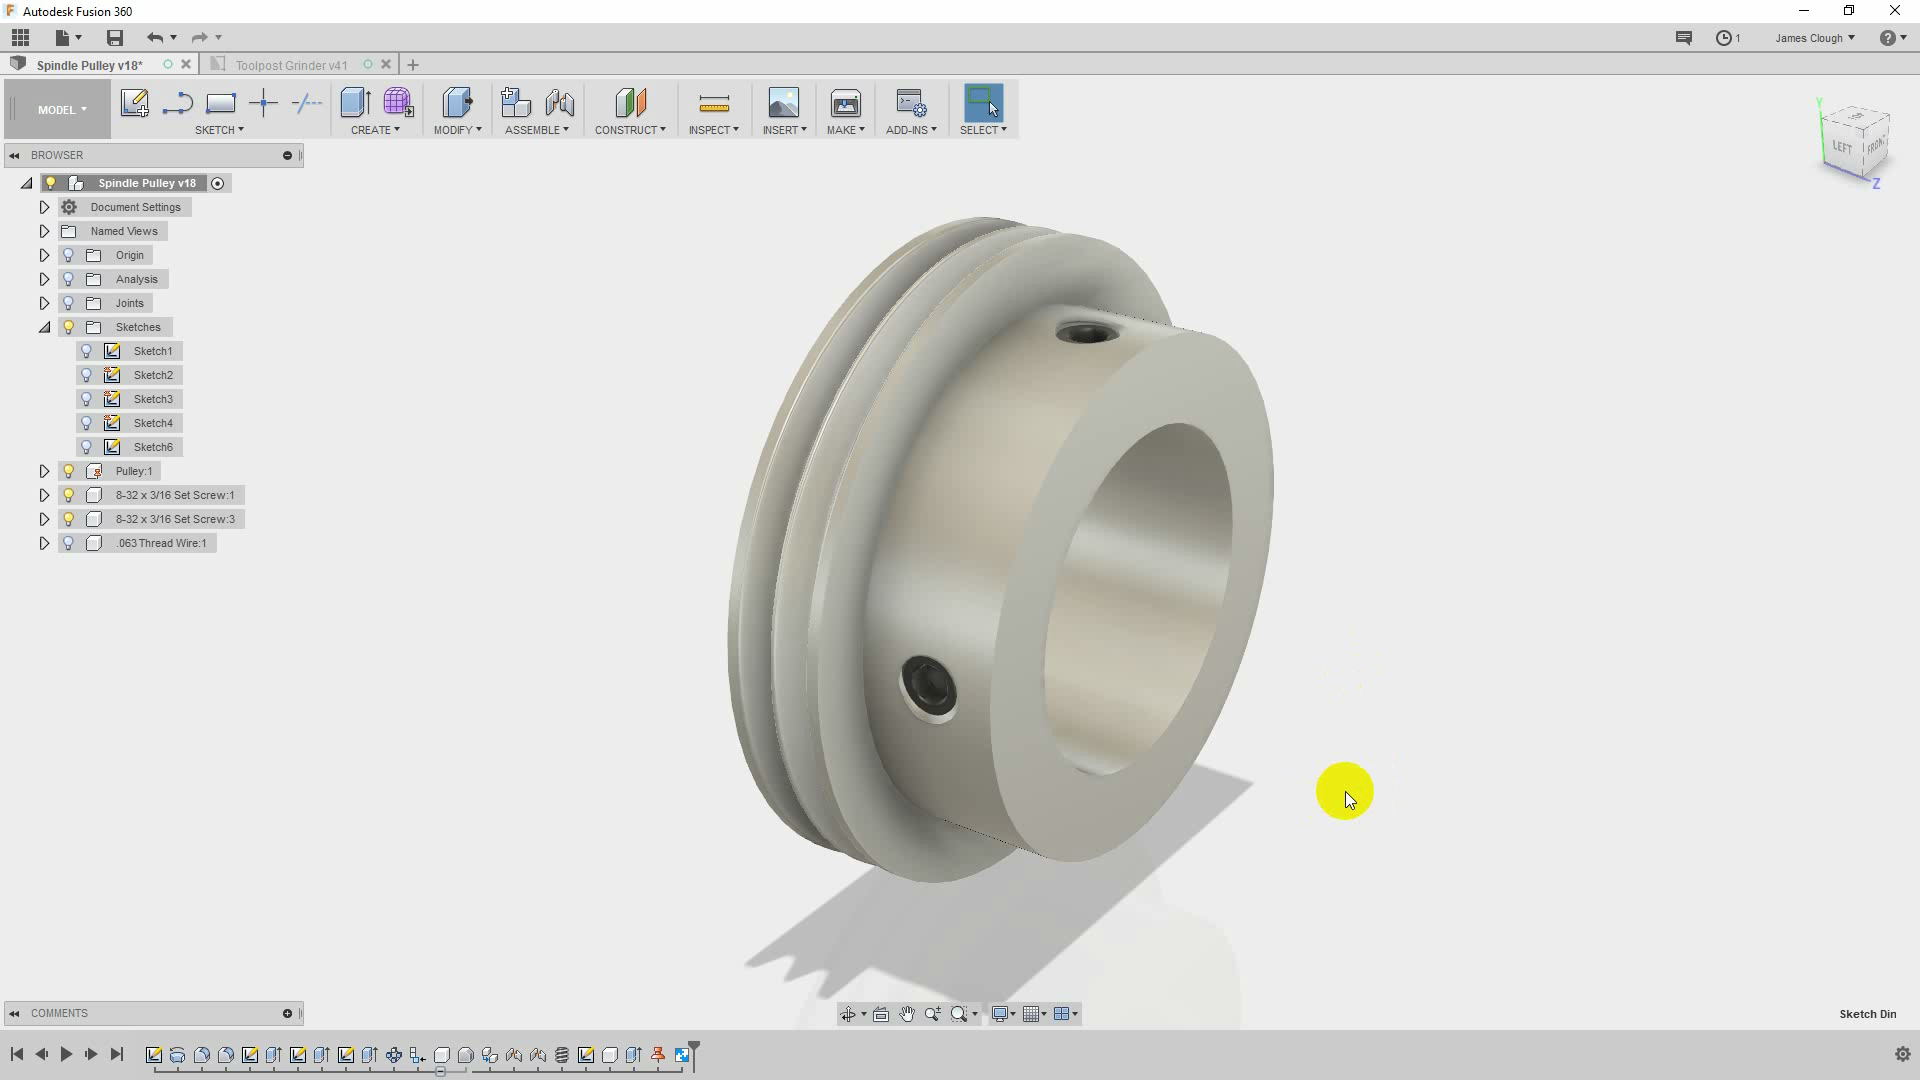
Turning the Pulley
The pulley is turned out of a blank of 6061-T6 aluminum. When turning a pulley like this, the most important thing is to be sure all of the features are concentric. The easiest way to do this is to form the bore, the outside diameter and the pulley grooves all in a single setup.
The first step is to face off the blank, drill and bore a 20mm hole to closely fit the spindle shaft.
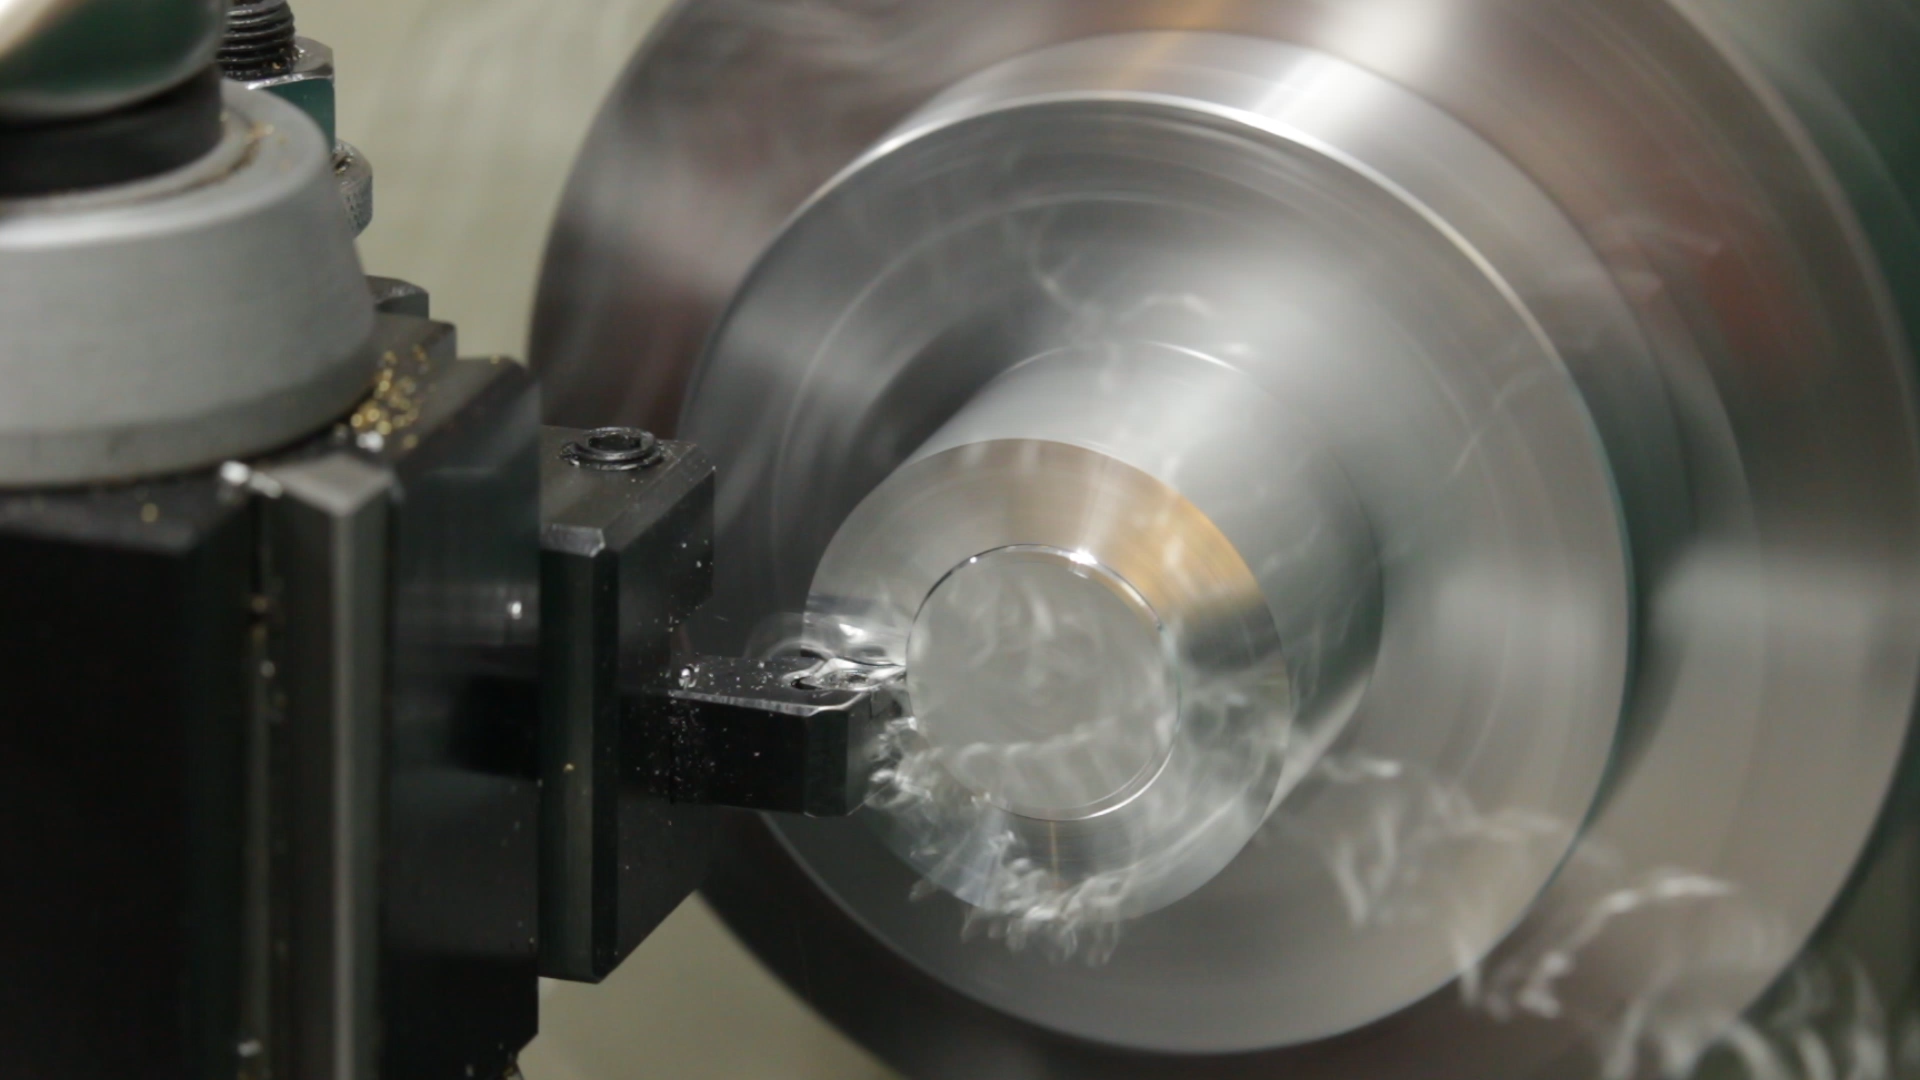


Forming the Grooves
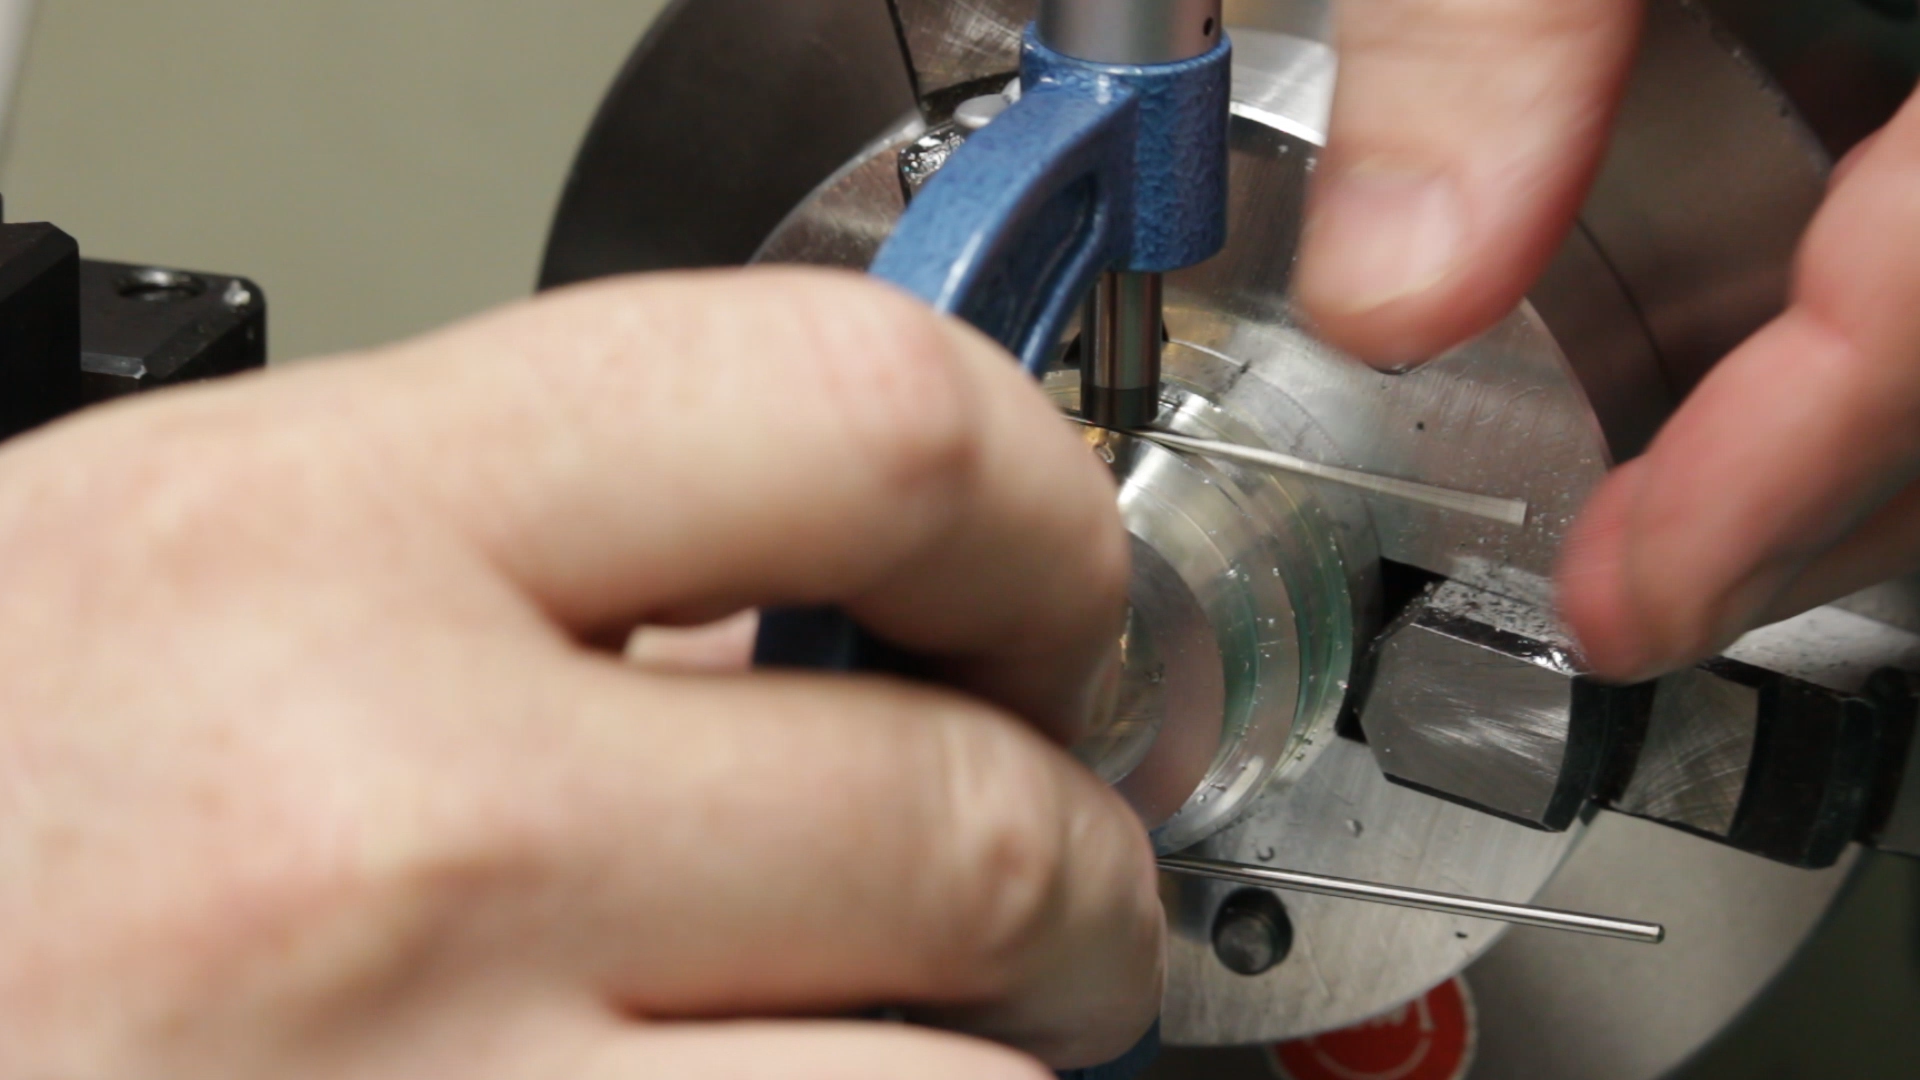
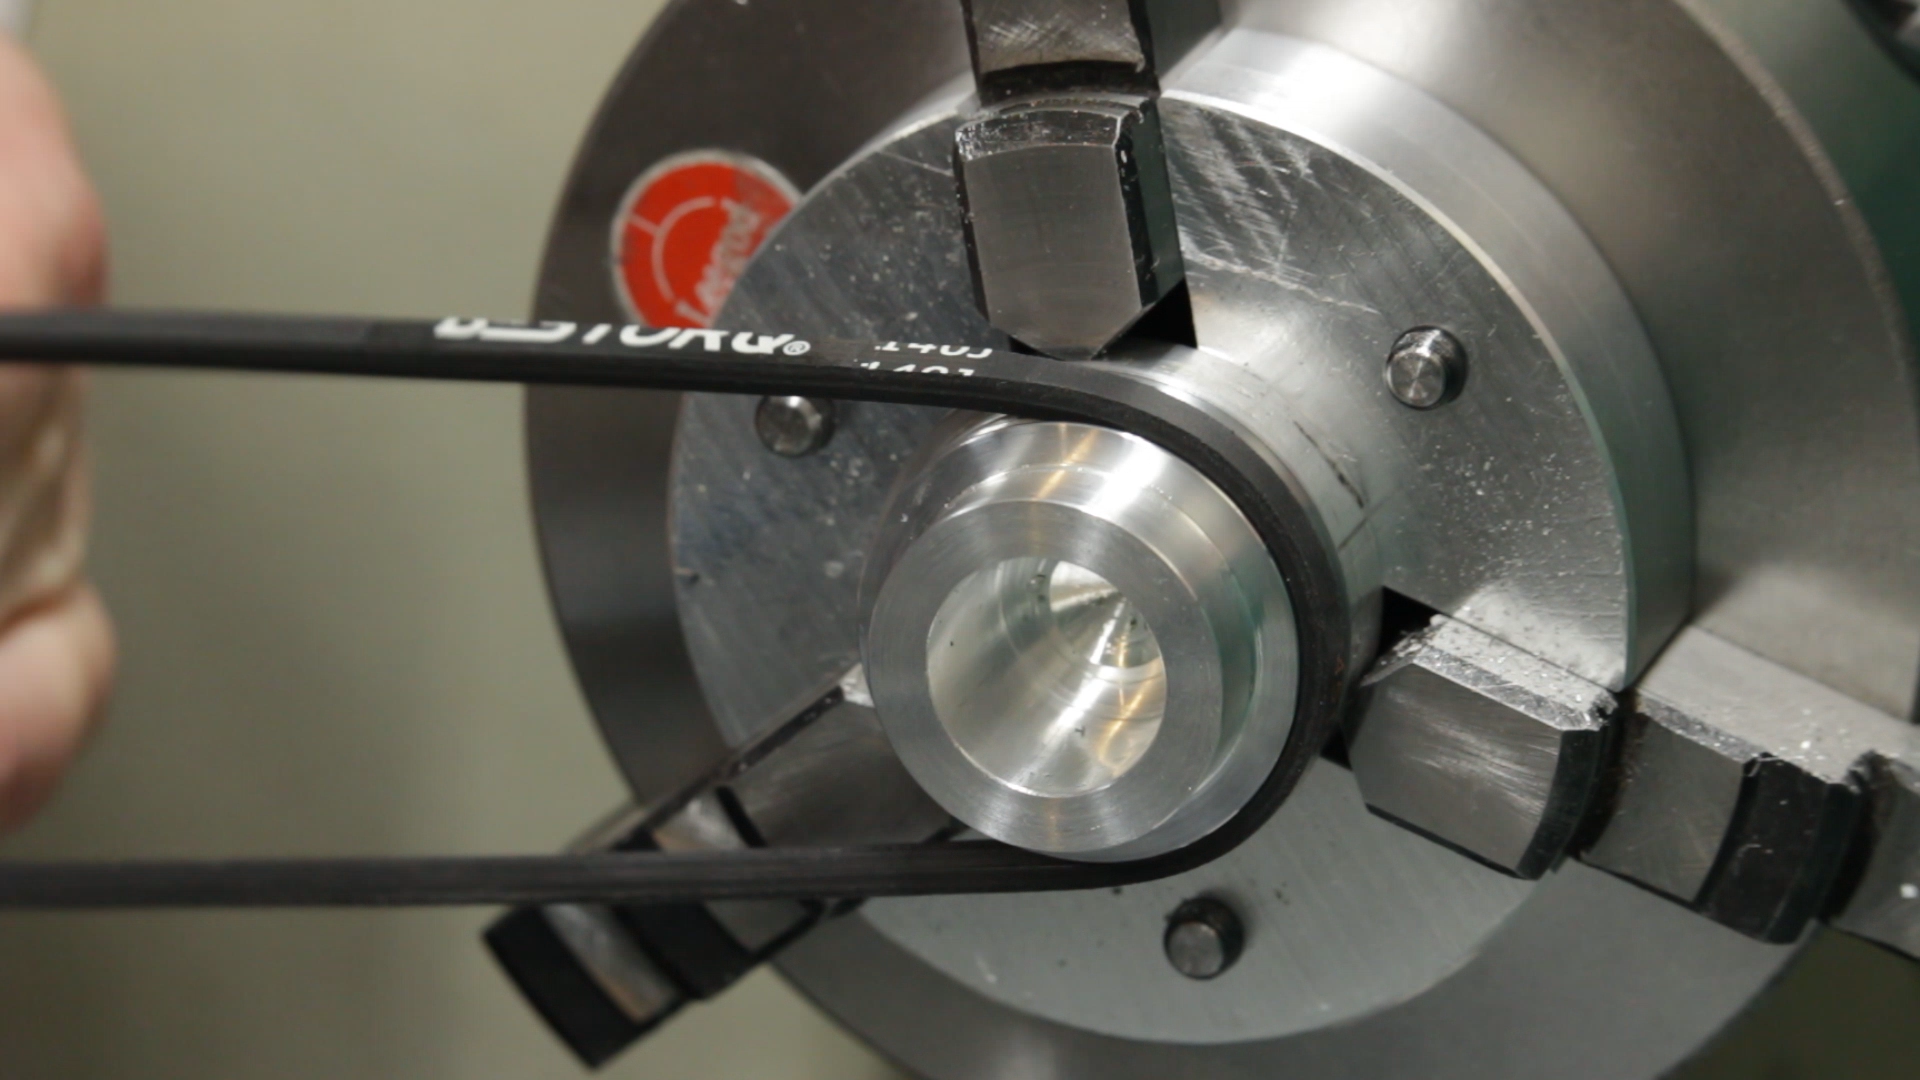
This is a poly-v pulley, so we need two grooves. The easiest way to cut these grooves is with a form tool. The walls of the grooves need to form a 40 degree included angle, so I ground a custom high-speed tool for the job. It’s ground exactly like a threading tool, except with a 40 degree included angle instead of the usual 60 degrees used for threading.
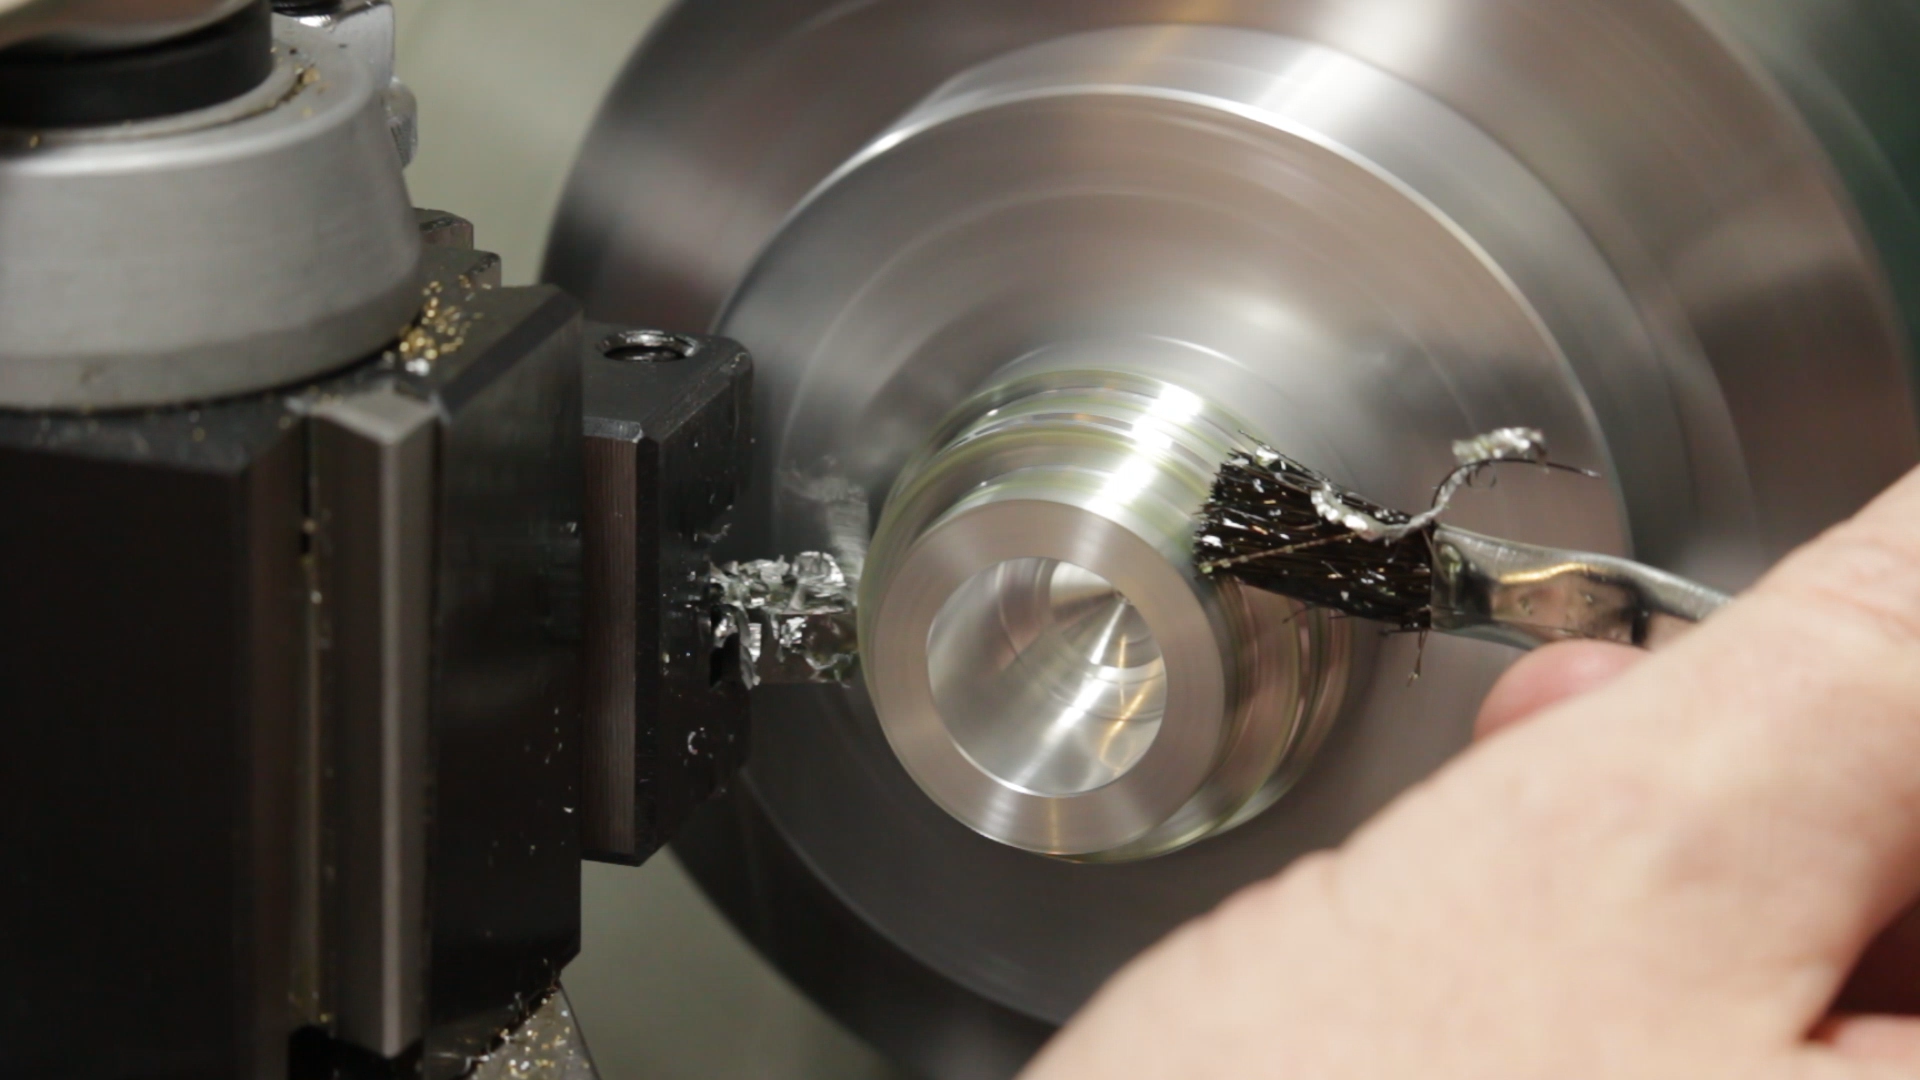
We could feed the tool in at a 20 degree angle so it only cuts on one side, but this makes it hard to precisely position the grooves, so I opted to just feed it straight in. It starts to chatter slightly at the bottom of the cut, but I just let the cutter dwell there to scrape the surface clean.
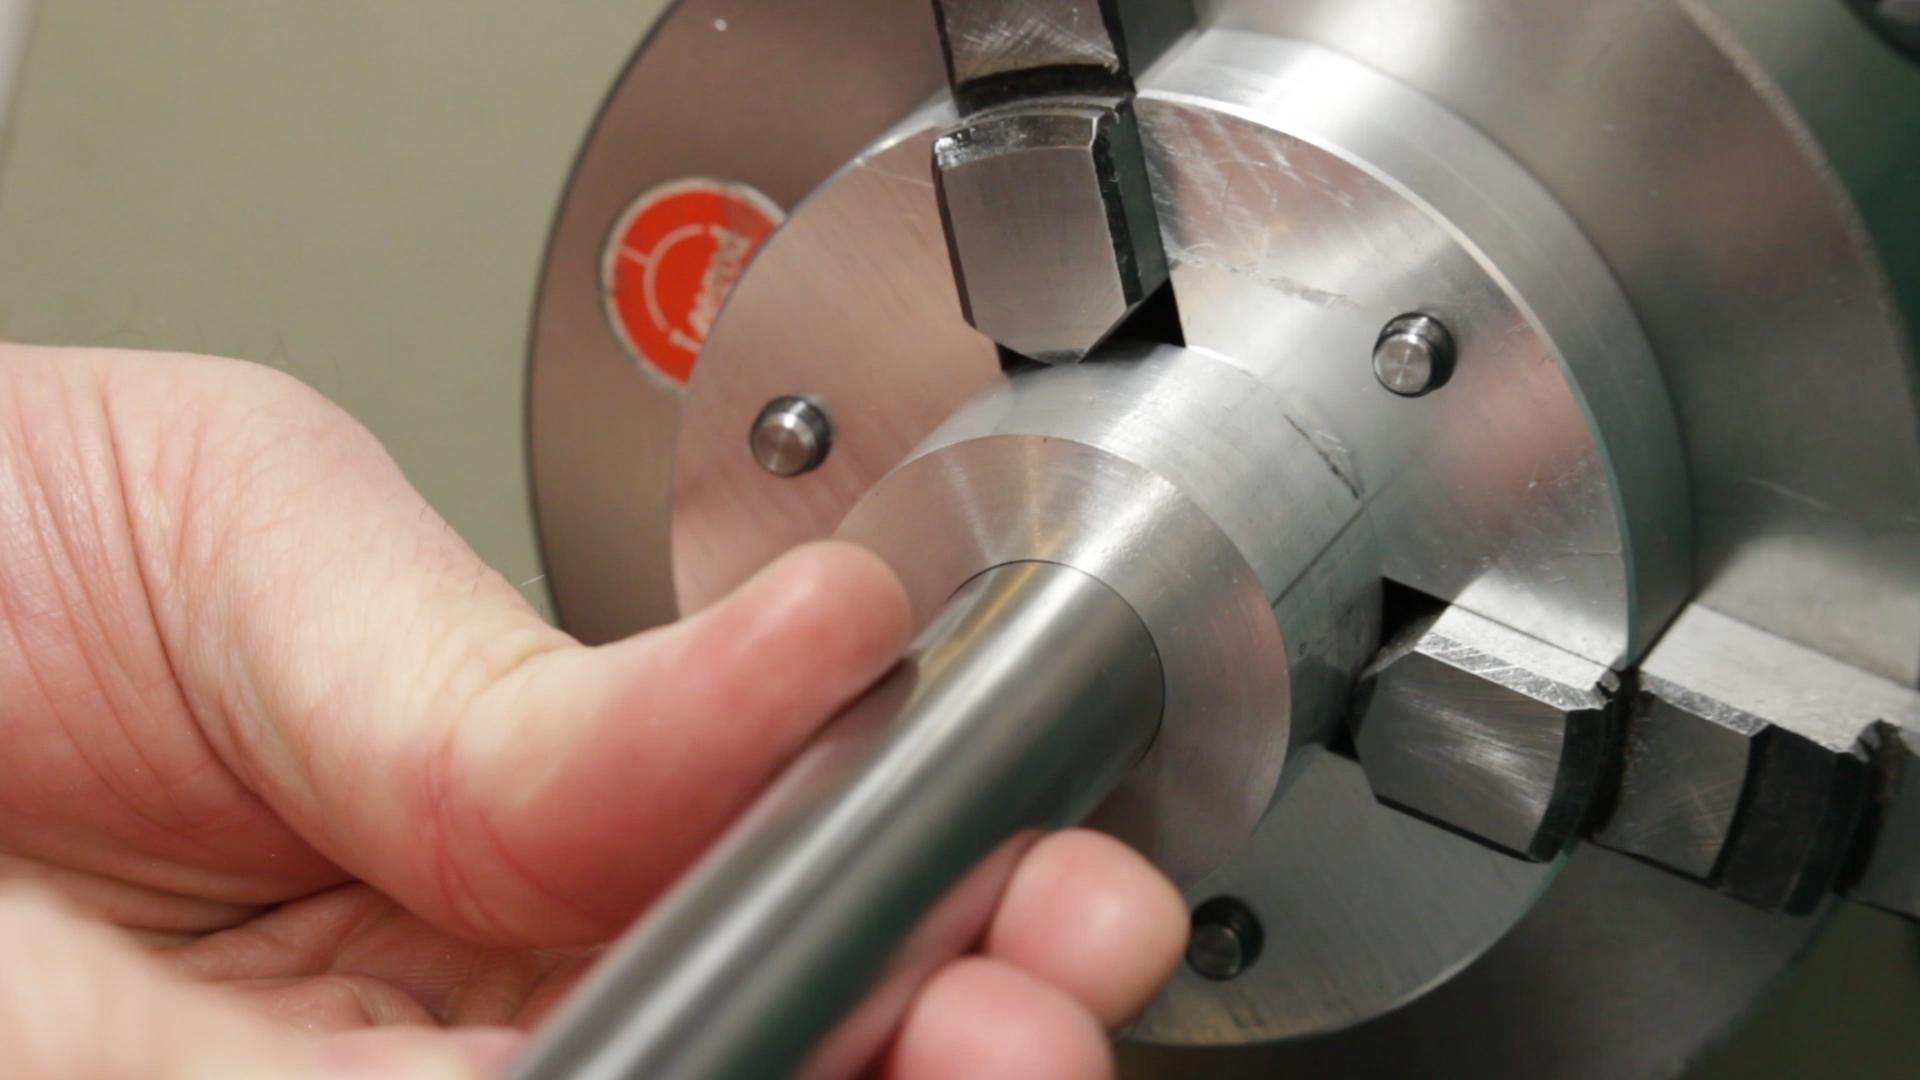
I measured the depth of the pulley grooves using thread wires, with geometry calculated in Fusion 360.

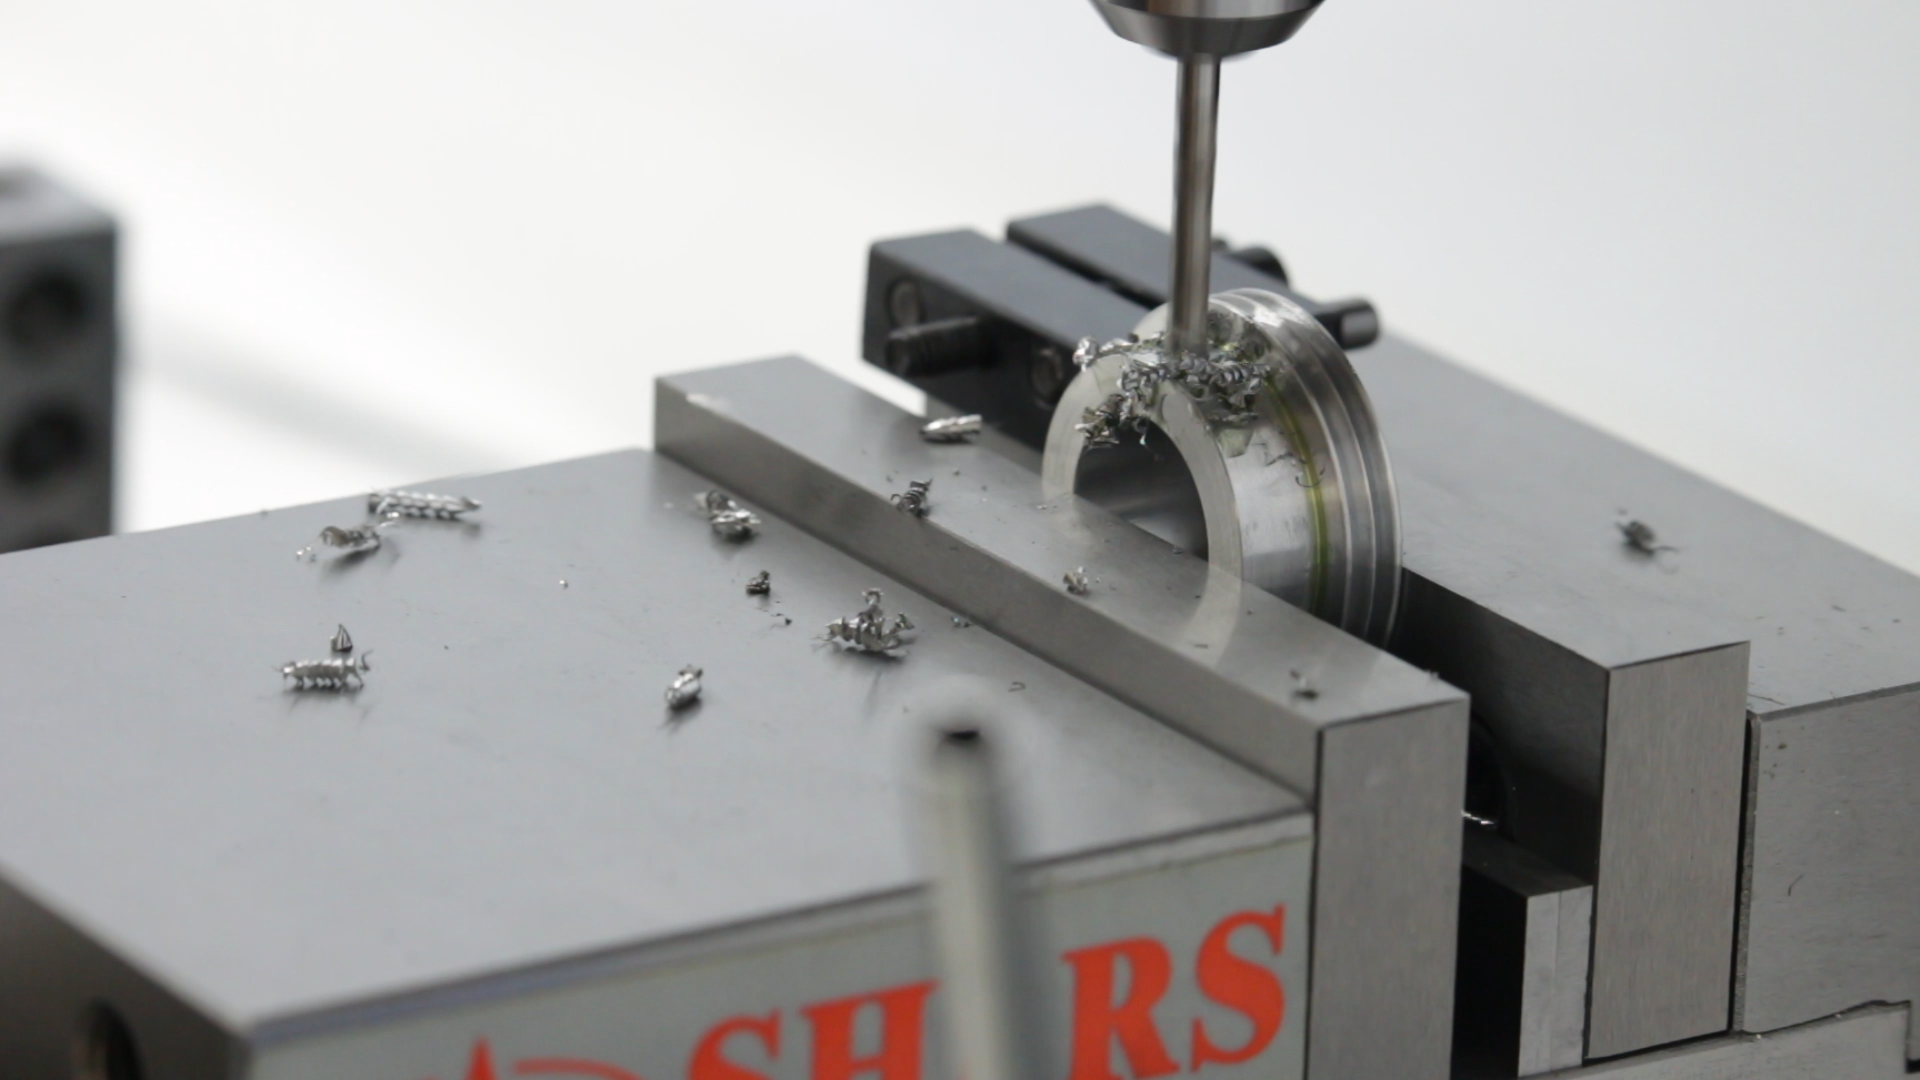
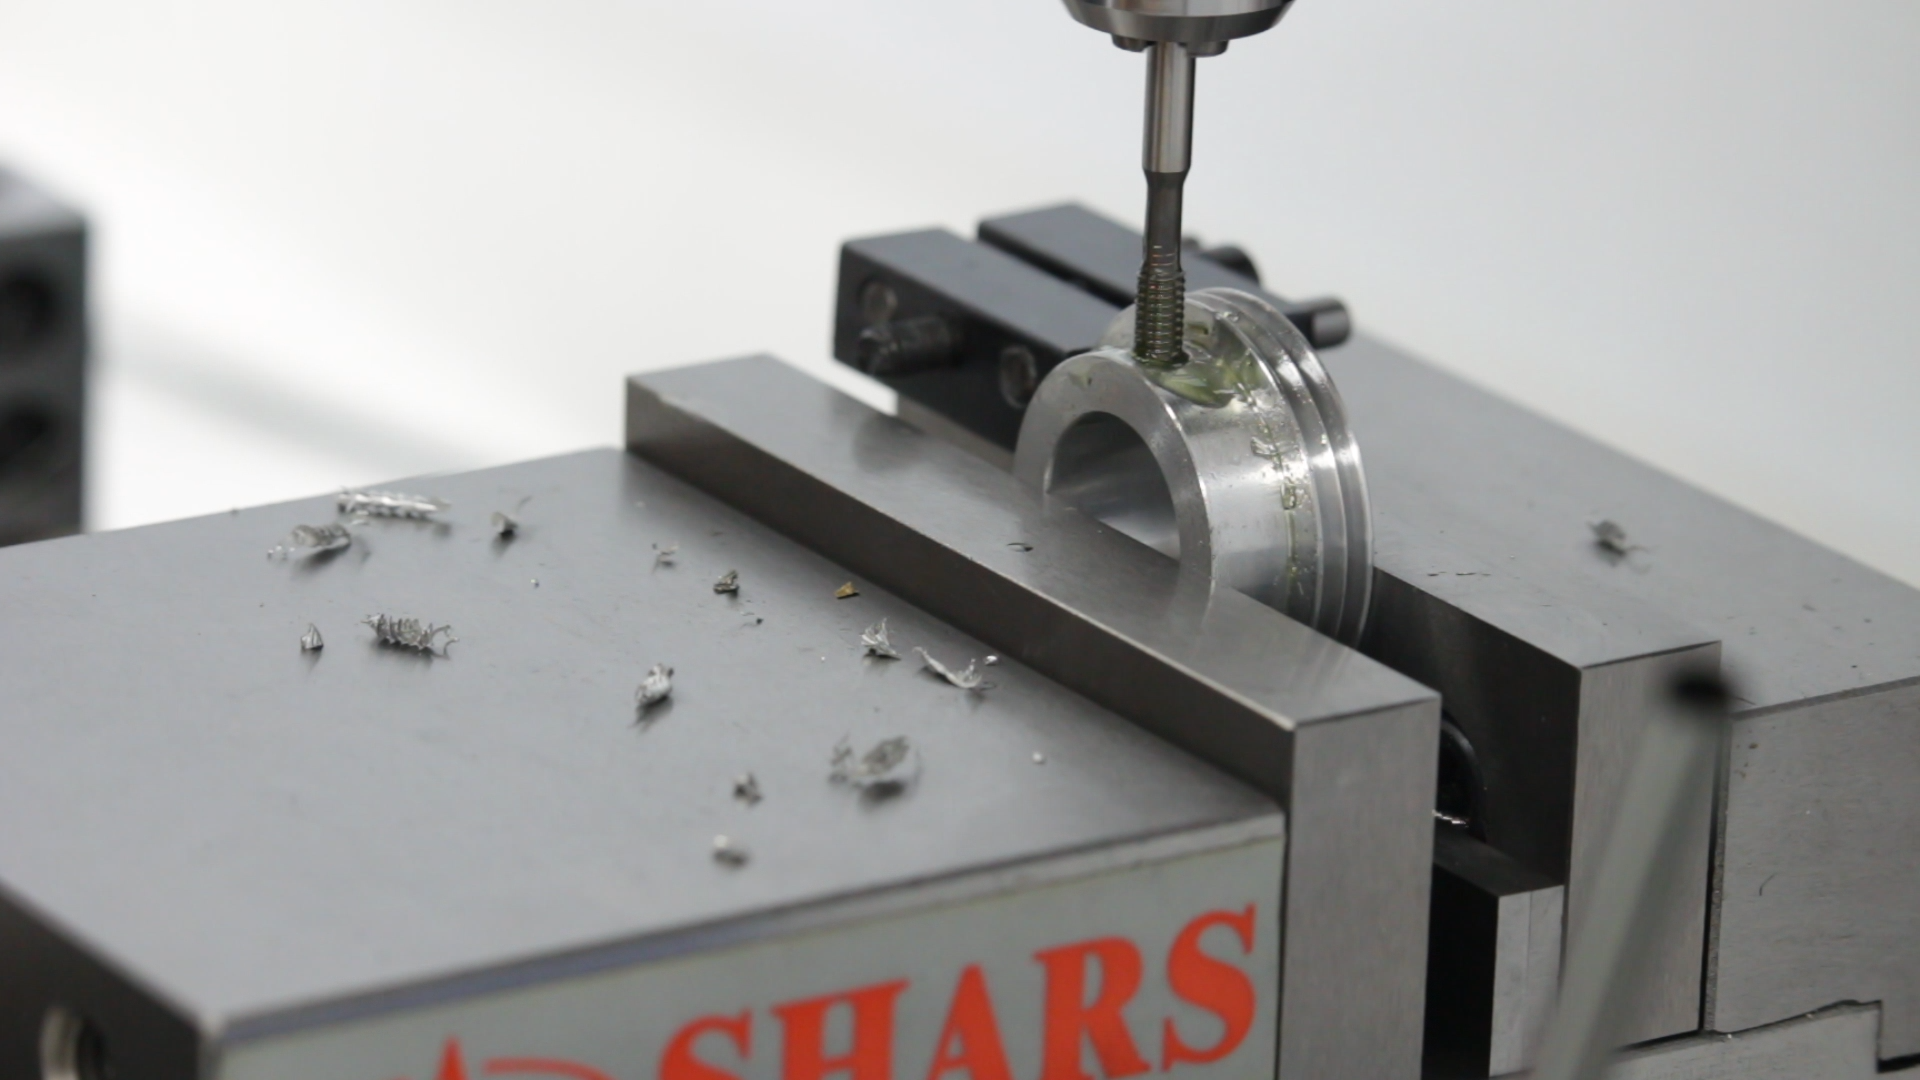
Drilling and Tapping for set screws
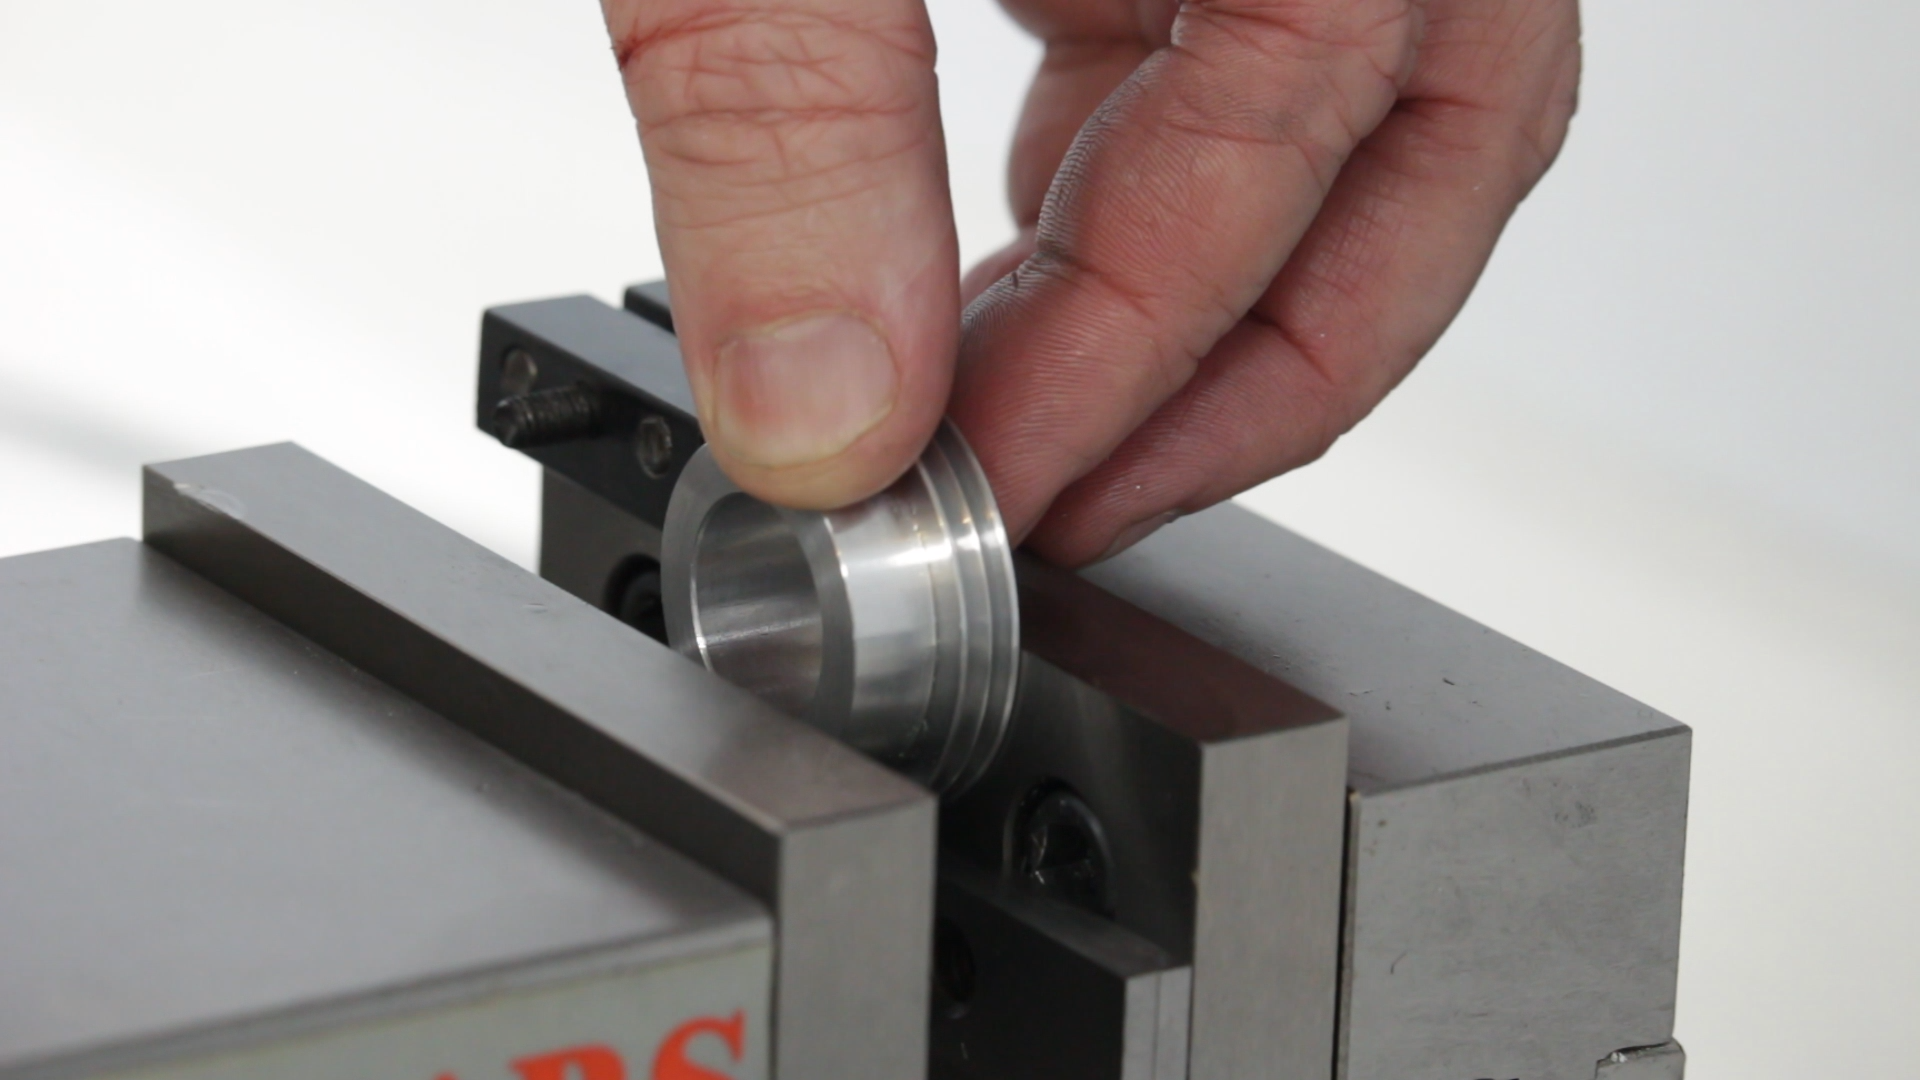
Next, we need to put in some threaded holes for set screws. We take a quick trip over to the mill to put these in. This is a rounded surface, so it’s always a good idea to spot drill first. We’re also using a form tap. A form tap rolls the threads into the metal instead of cutting, so it work-hardens the aluminum and makes a much stronger thread.
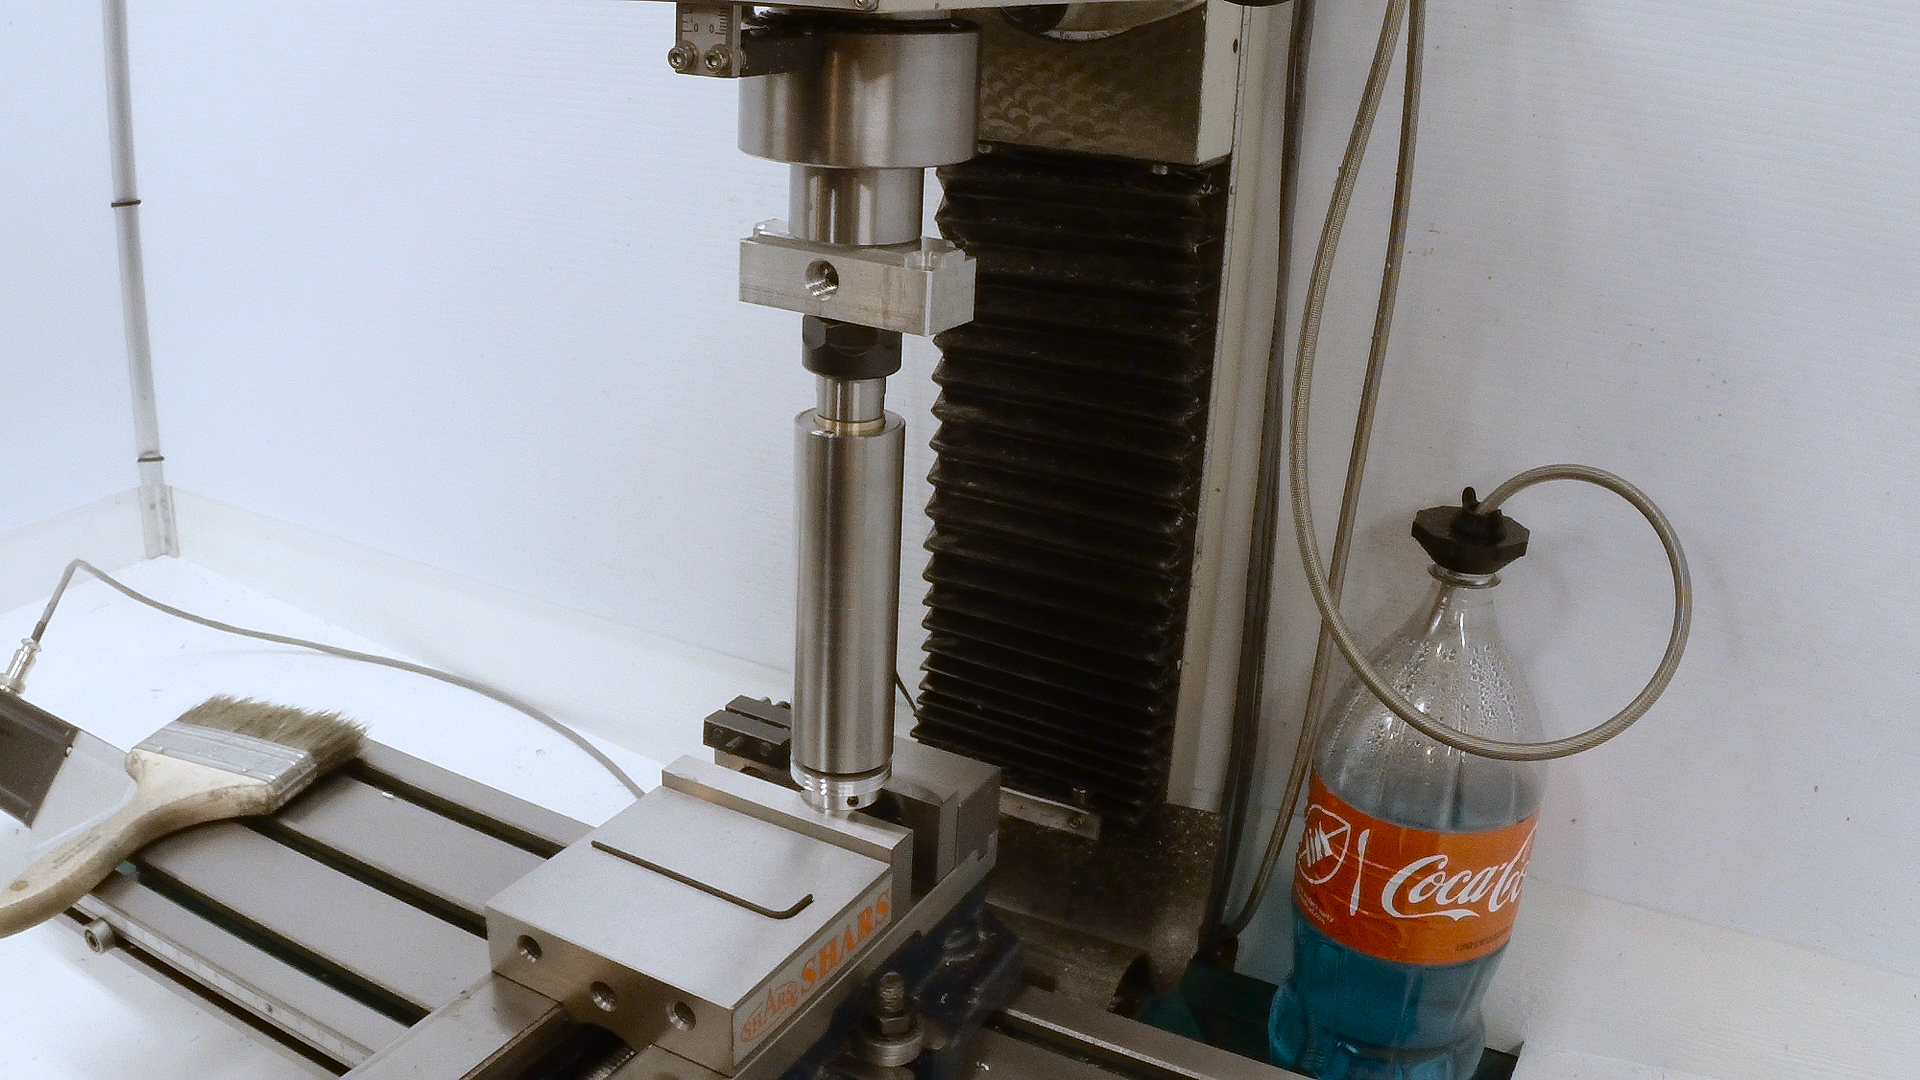
Preloading the bearings
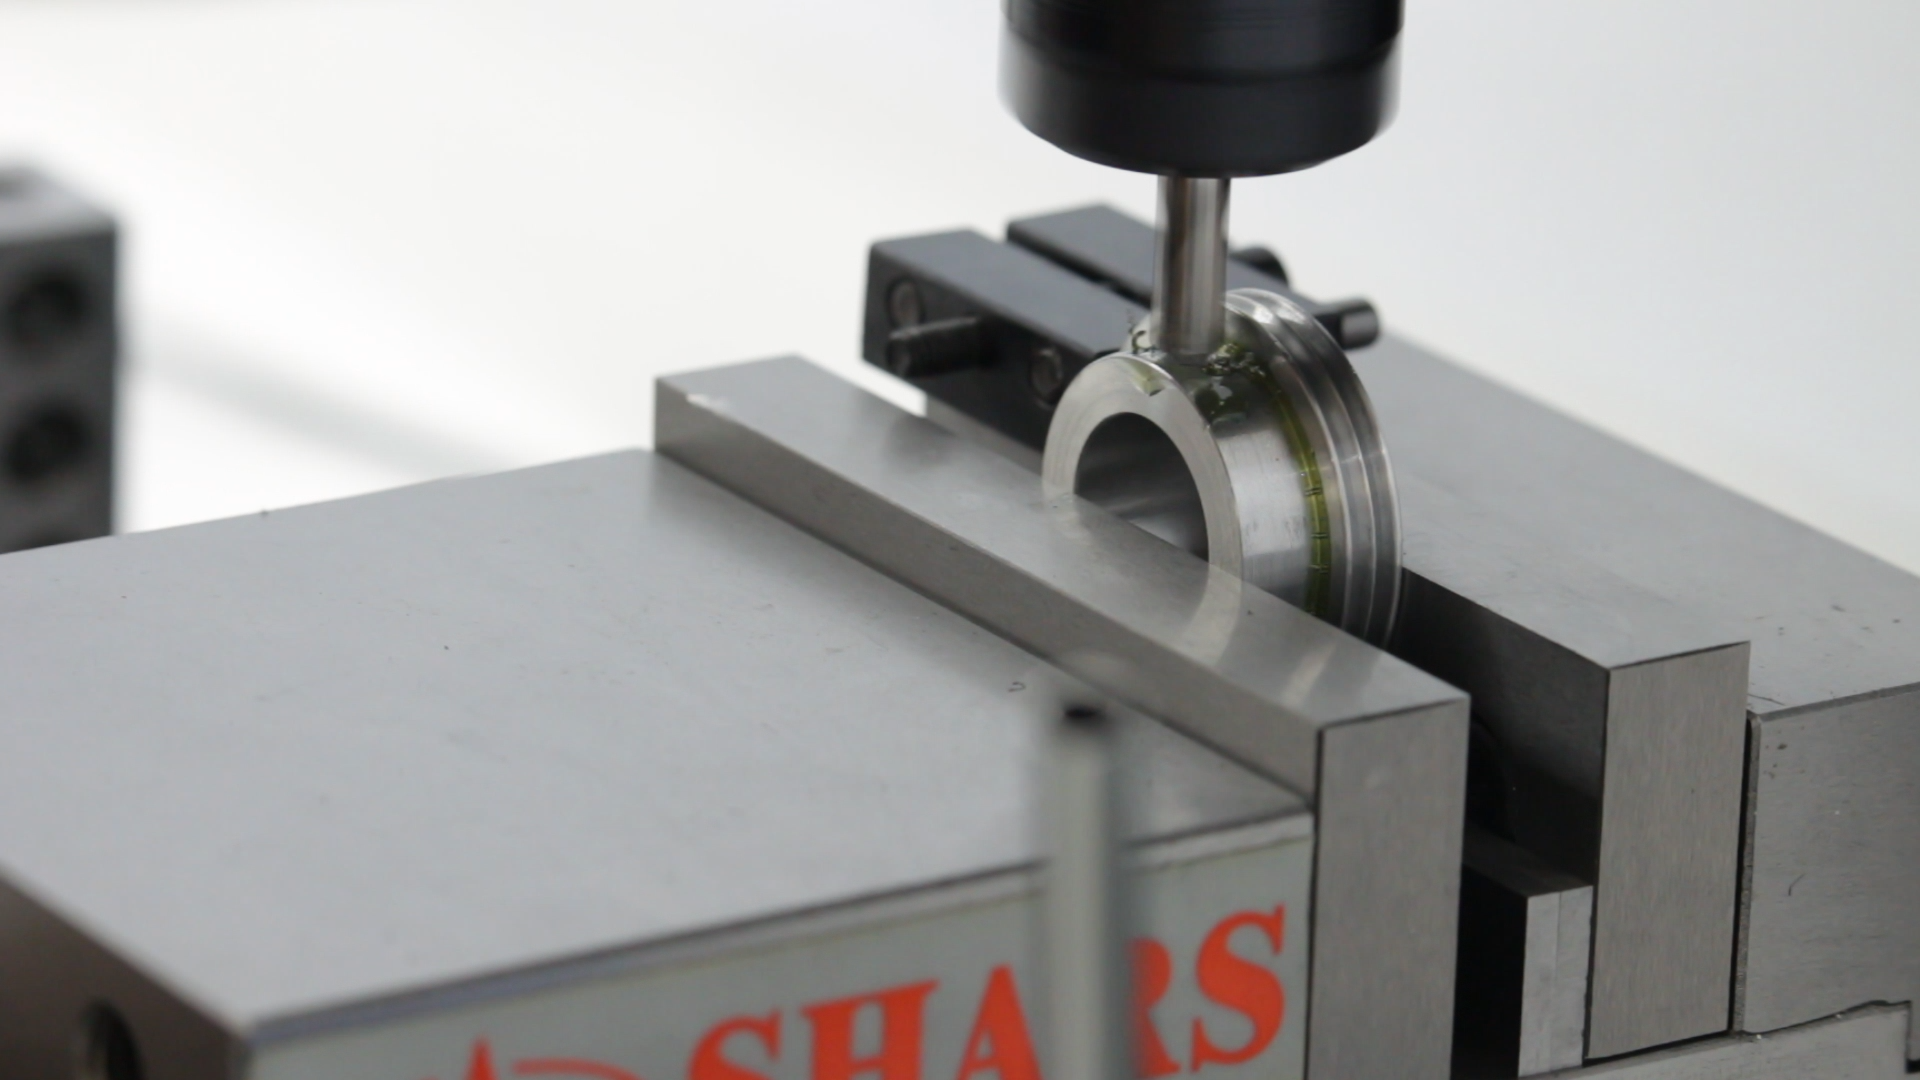
The last step is to mount the pulley and compress the belleville disc spring to preload the bearings. It’s easy to compress the spring by hand, but hard to control. We don’t want the spring completely bottomed. We want some remaining motion to absorb thermal changes.
In the video, I show how to use the quill of the mill with its DRO to precisely set the spring compression.

If you haven’t seen the previous videos, a playlist with all of the parts of this project is here: https://www.youtube.com/playlist?list=PLDlWKv7KIIr-uFMjbe7AlsHswL6qihPPU
If you’d like to follow along with the build, here are some links to some of the parts and tools used in this video:
*This site contains affiliate links for which I may be compensated
- Carbide internal threading bar (eBay*): https://goo.gl/azQcdj
- Noga Deburring Set (Amazon*): http://amzn.to/2xMfiPz
- C20-ER20A-150L Collet Holder (eBay*): https://goo.gl/xufUxa
- 6805-2RS Deep Groove Ball Bearings (eBay*): https://goo.gl/GuCyHu


