Today, we’re finishing the grippers for our shop-made Talon Grip clamping jaws. These parts present a little bit of a workholding challenge, since they have to be held at a 45-degree angle and positioned accurately to cut the fine features of the gripping teeth.
The Fixture
We start by making an aluminum fixture to hold the grippers.
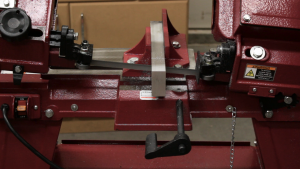
The fixture starts out as piece of 1×2″ aluminum bar, cut at the bandsaw and squared up in the mill.
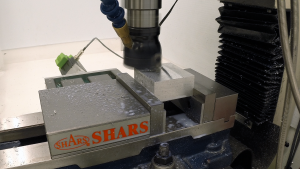
To mill the fixture, we need to set it up at 45 degrees in the mill vise. We do this with a stack of angle blocks and a couple of parallels to space it off the bed of the vise. This is a fiddly operation, but we only have to do it once. Once the fixture is milled with the appropriate angles on it, we can mill grippers all day without any additional steps.
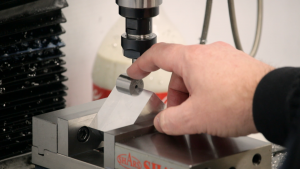
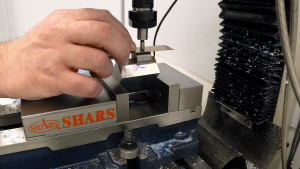
This video also features the first appearance of the edge-finding tool we made in a previous video. In this case, we have to accurately locate the 45-degree top edge of the fixture before milling. We use the edge-finding cylinder to locate both the X coordinate of the top edge and the height.
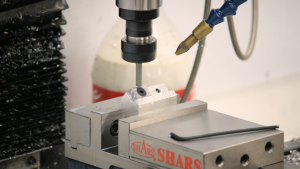
Once the fixture is mounted and located accurately, we can CNC mill the basic shape, and then drill and tap the holes to complete the fixture. We left about .005″ on the side wall of the fixture to crowd the part against the wall with the mounting screw. This ensures reliable positioning every time we mount a gripper.
Milling the Gripper Teeth
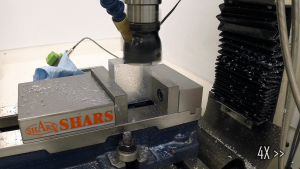
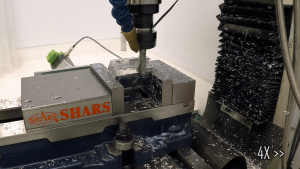
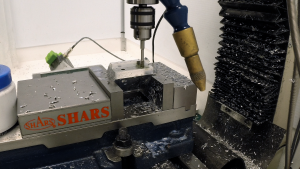
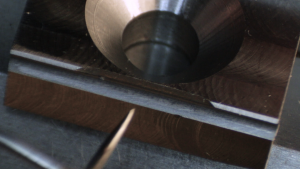
The next step is to mill the gripper teeth. We mount the fixture vertically in the mill vise, screw down a gripper and go to town with a carbide end mill. The .030″ corner radius on the mill allows us to easily mill the groove under the tooth and the flat bottom of the end mill forms the bevel on top.
Inspection
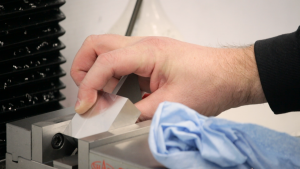
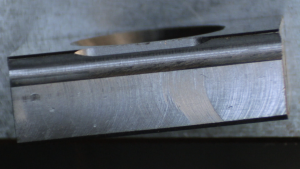
After milling the teeth, we take the milled parts to the microscope for inspection. The fixture does a great job of accurately positioning the parts, one after another, and the CNC mill repeatedly mills the features, as always.
Heat Treatment
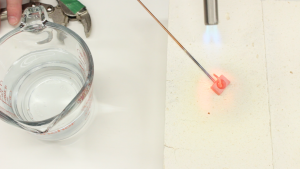
Once all of the grippers have been milled and deburred, it’s time to heat-treat them. They’re made from W1 tool steel, which is normally around HRC20 in its annealed state. Heat treatment will bring it up to around HRC67, and we can then temper it back to around HRC60 to add a little toughness.
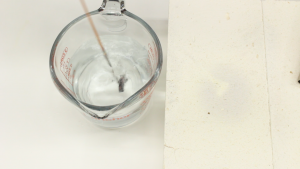
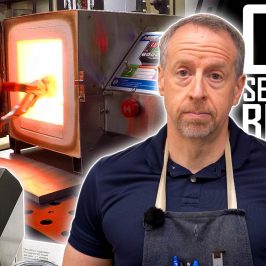
We don’t have a heat treatment oven in the shop. Fortunately, parts this size are easy to bring to temperature with a MAPP (MAP-PRO) torch on a refractory brick, and they’re easily quenched in water. After quenching, we temper them in a kitchen oven at 400F.
Next Step: Jaws
This completes the grippers. The next step is to make the jaws themselves. That will have to wait until next time.
If you’d like to follow along with the build, here are links to some of the tools used in this video:
*This site contains affiliate links for which I may be compensated
- 50MM Face Mill with APKT inserts (eBay*): https://goo.gl/npAADu
- YG-1 3/8″ Al-Power end mill (eBay*): https://goo.gl/g6Kpp7
- YG-1 1/4″ 120 degree spotting drill (eBay*): https://goo.gl/6zqTzb
- CGC Primate 1/4″ .030″ radius 4-Flute Carbide end mill (Amazon*): http://amzn.to/2C13rin
- Bernzomatic TS8000 High Intensity Torch (Amazon*): http://amzn.to/2iKLkV7
- Bernzomatic Extension Torch Hose (Amazon*): http://amzn.to/2BPFrhd
- iGaging 0-1″ Digital Micrometer (Amazon*): http://amzn.to/2BlPrST


