Today we’re working on part two of the motor clamp for the toolpost grinder. We have the body of the clamp machined on one side, and now it’s time to make some soft jaws and machine the other side.
Making the Soft Jaws
When we machined the first side of the clamp, the stock was rectangular and it was easy to grab it in a pair of TalonGrip jaws for machining. When we flip it over, though, it has no parallel sides, so there’s no easy way to hold it. The solution is to carve out a set of aluminum soft jaws with an opening that fits the shape of the clamp.
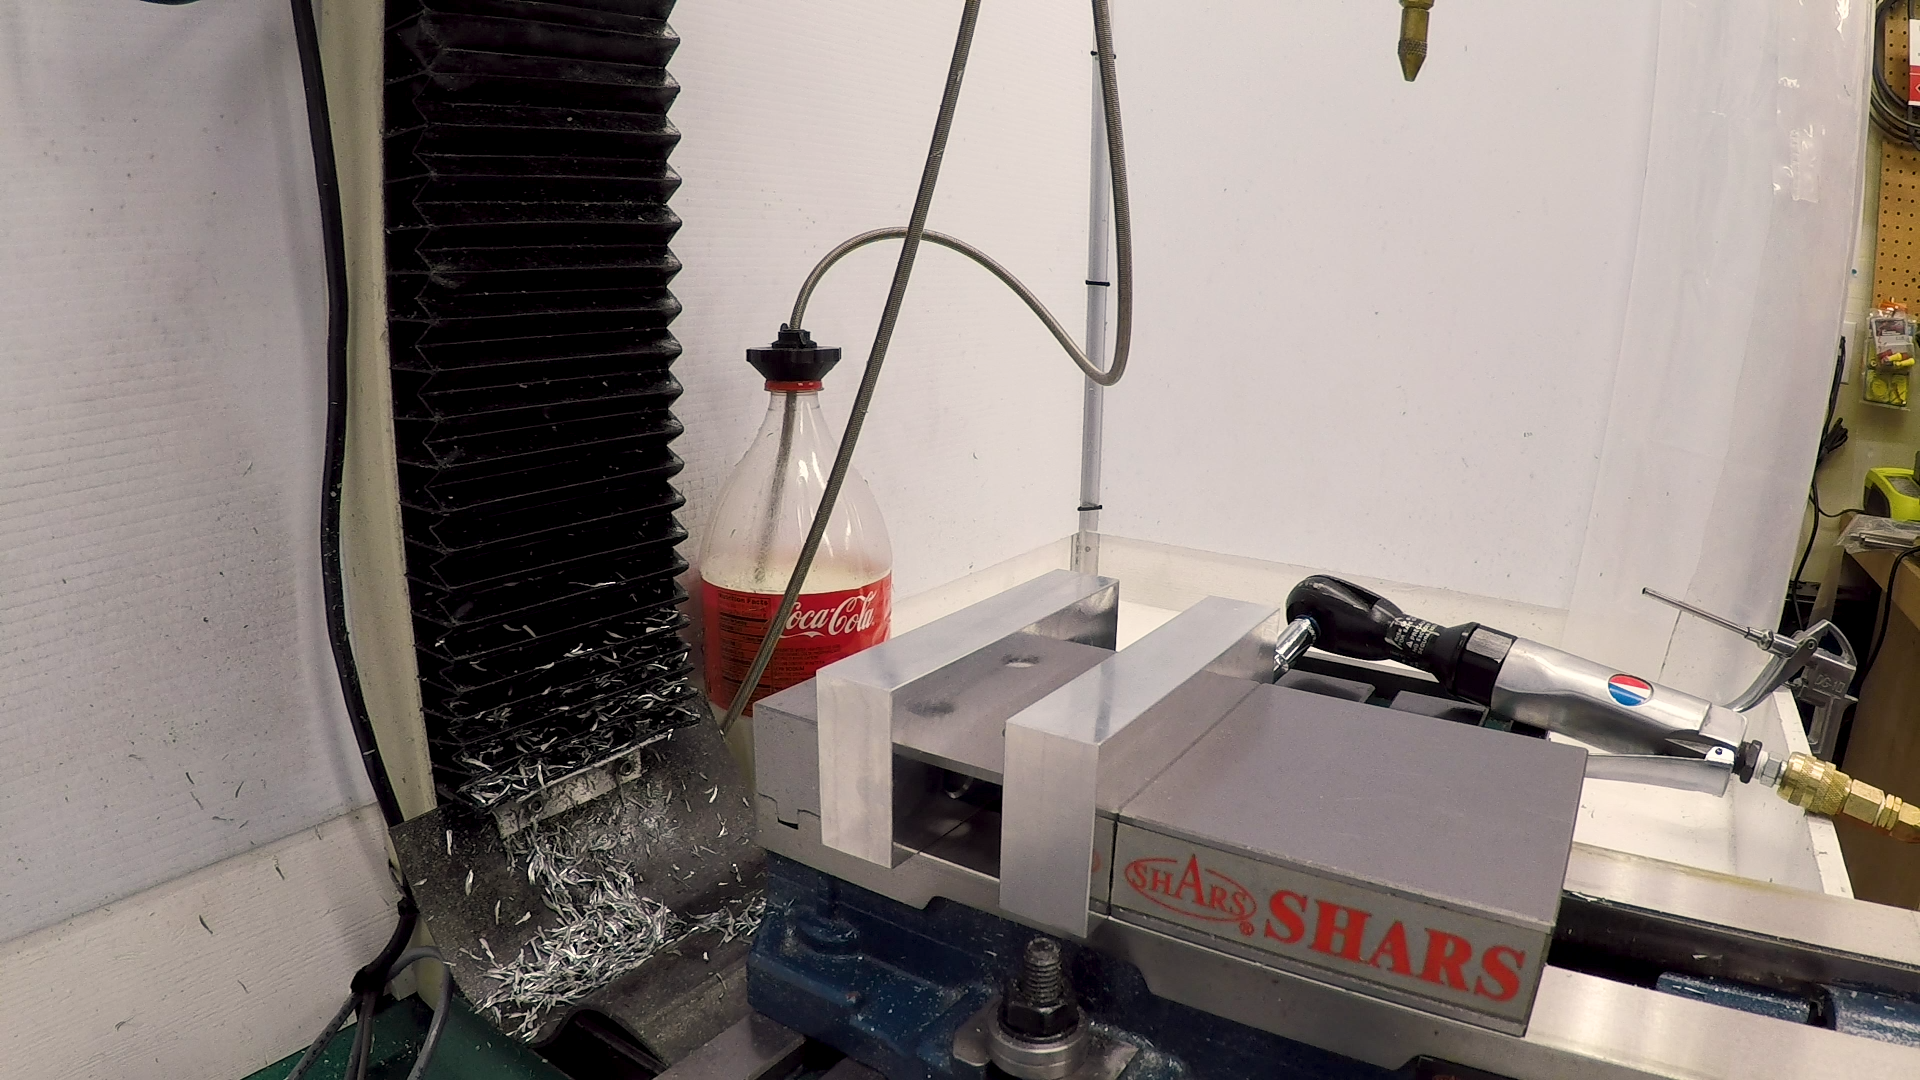
I designed the soft jaws in Fusion 360, using the part as a template. The fusion model is set up with 1-1/4″ between the jaws when they’re clamped, so I clamped down on a 1-1/4″ parallel to machine them. The parallel is set deep enough that it will be out of the way of the cut, but high enough that the jaws should lift and flex they way they will when the real part is clamped.
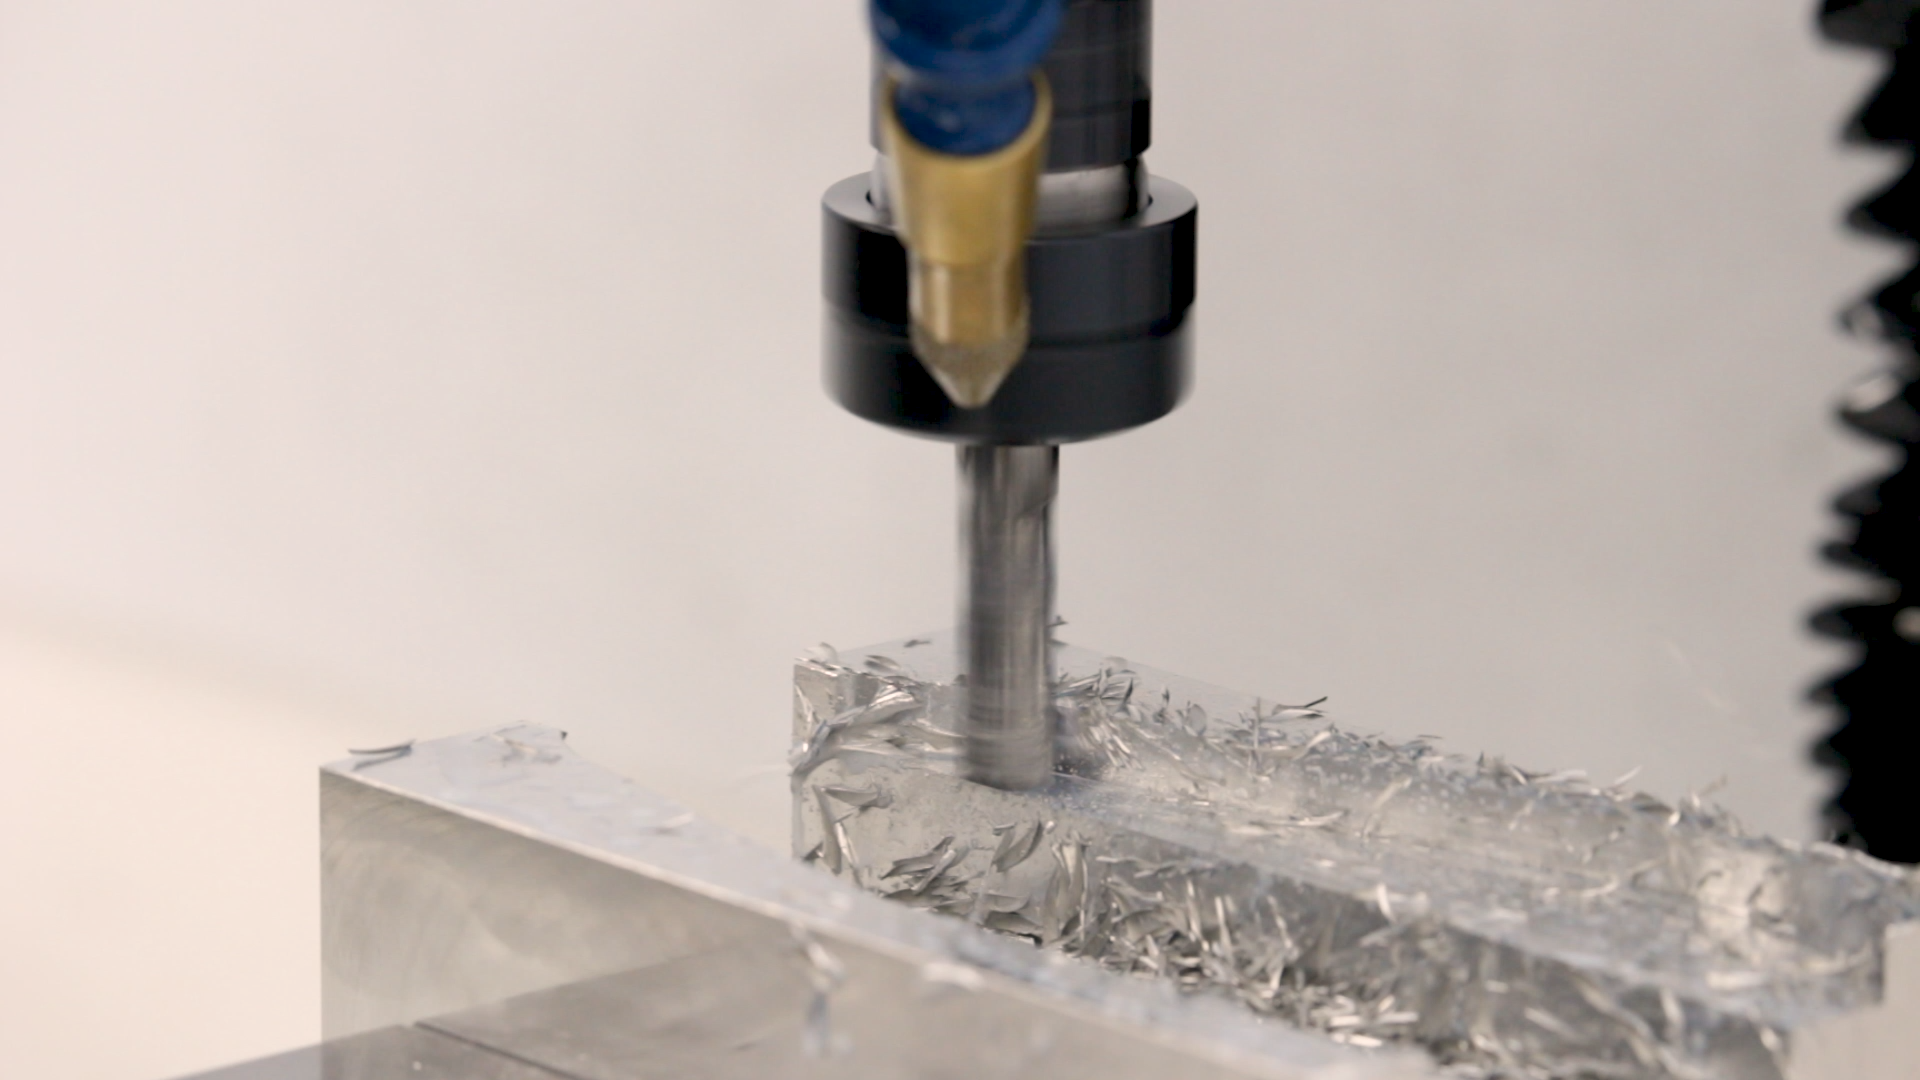
Once the part was clamped, it was a quick task to CNC mill out the recesses in the jaws. I used a 3/8″ YG-1 Alu-Power end mill, and it performed well, Running at its full recommended width of cut, it’s about as much end mill as I want to run on a mill this size.
Removing the Excess Overhang
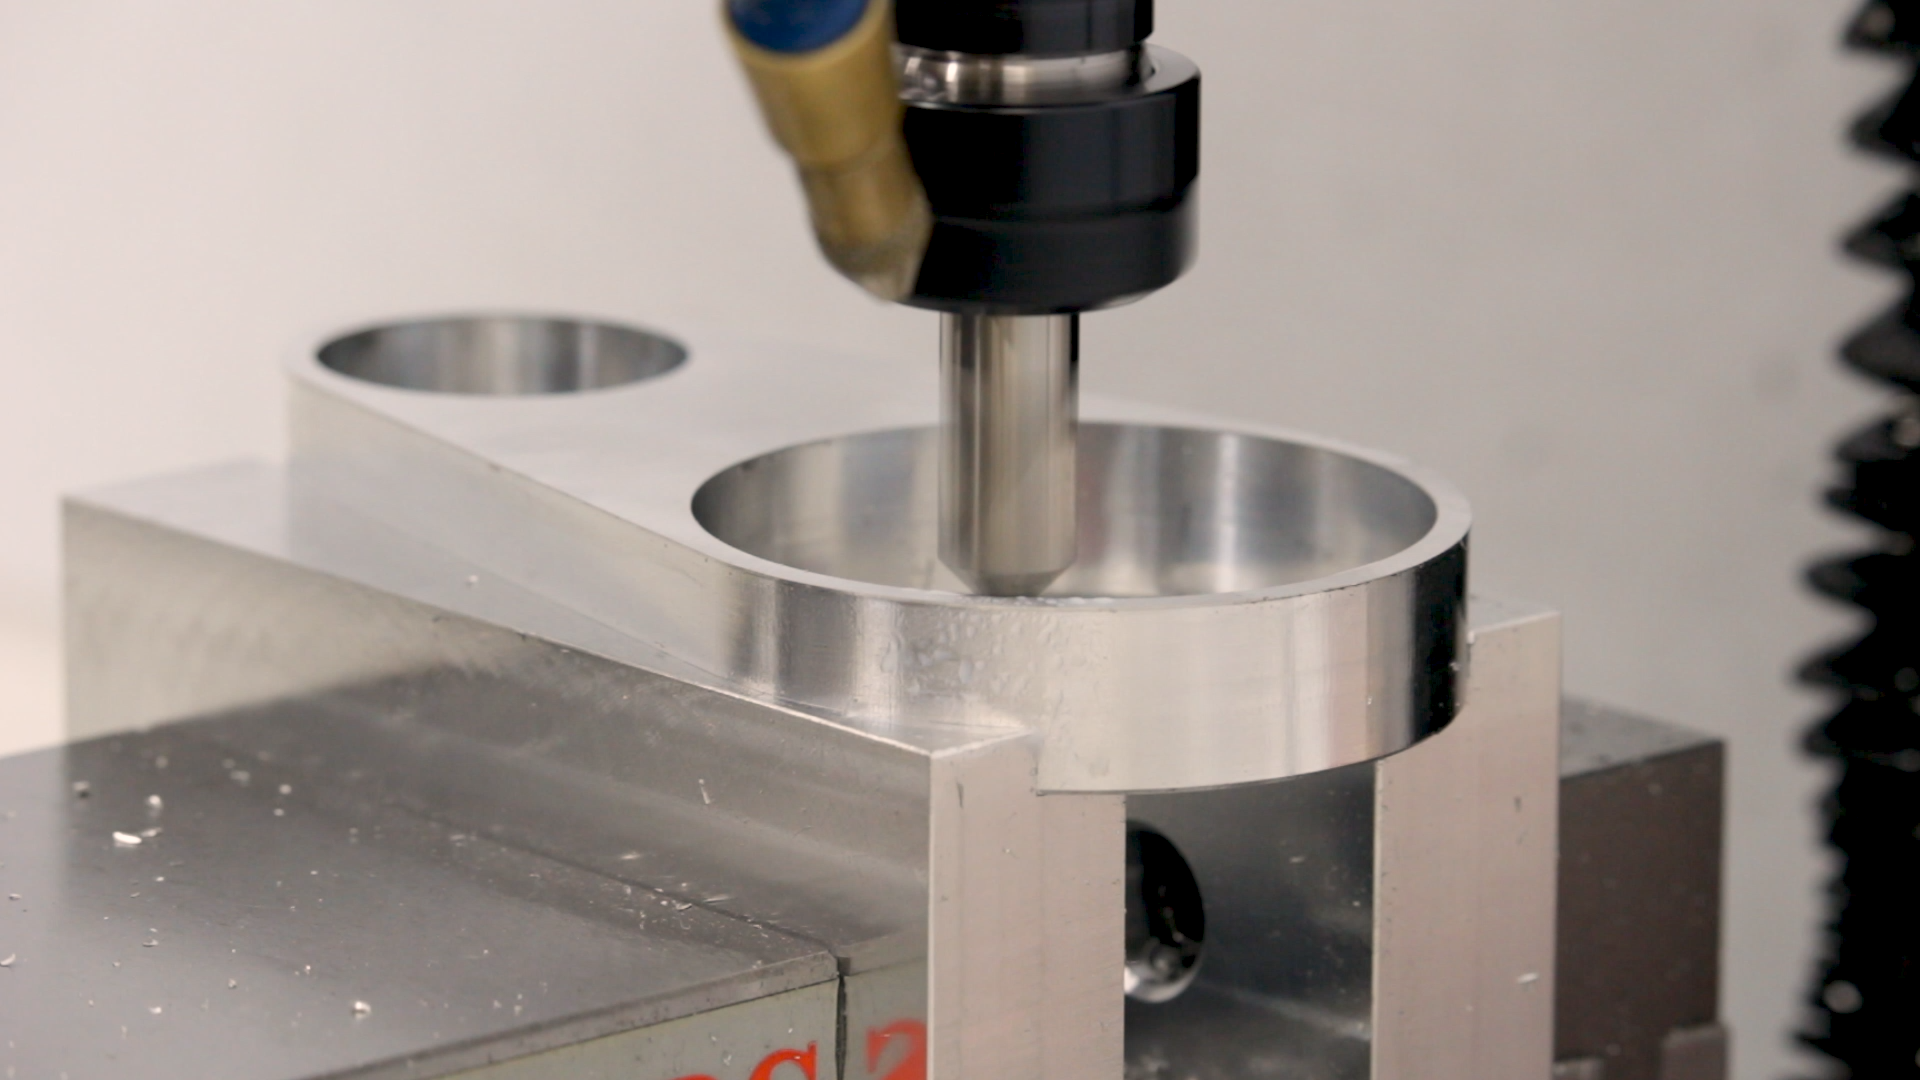
Once the jaws were milled out, the half-finished motor clamp fit neatly in place. At least it seemed to fit neatly in place. As it turned out, the overall tapered shape and thin cross section causes it to move slightly to the right (positive X) of where it should have seated. I left plenty of extra space (0.020″) in the slotting operations, so I was able to adjust without scrapping the part.
The first step was just to slot off the overhangs. I wanted to get rid of these before pulling out the face mill because I didn’t want to risk the material flexing and catching in the face mill. I’ve heard horror stories about this ripping parts out of the soft jaws, and I didn’t want to have my own stories to add to the list.
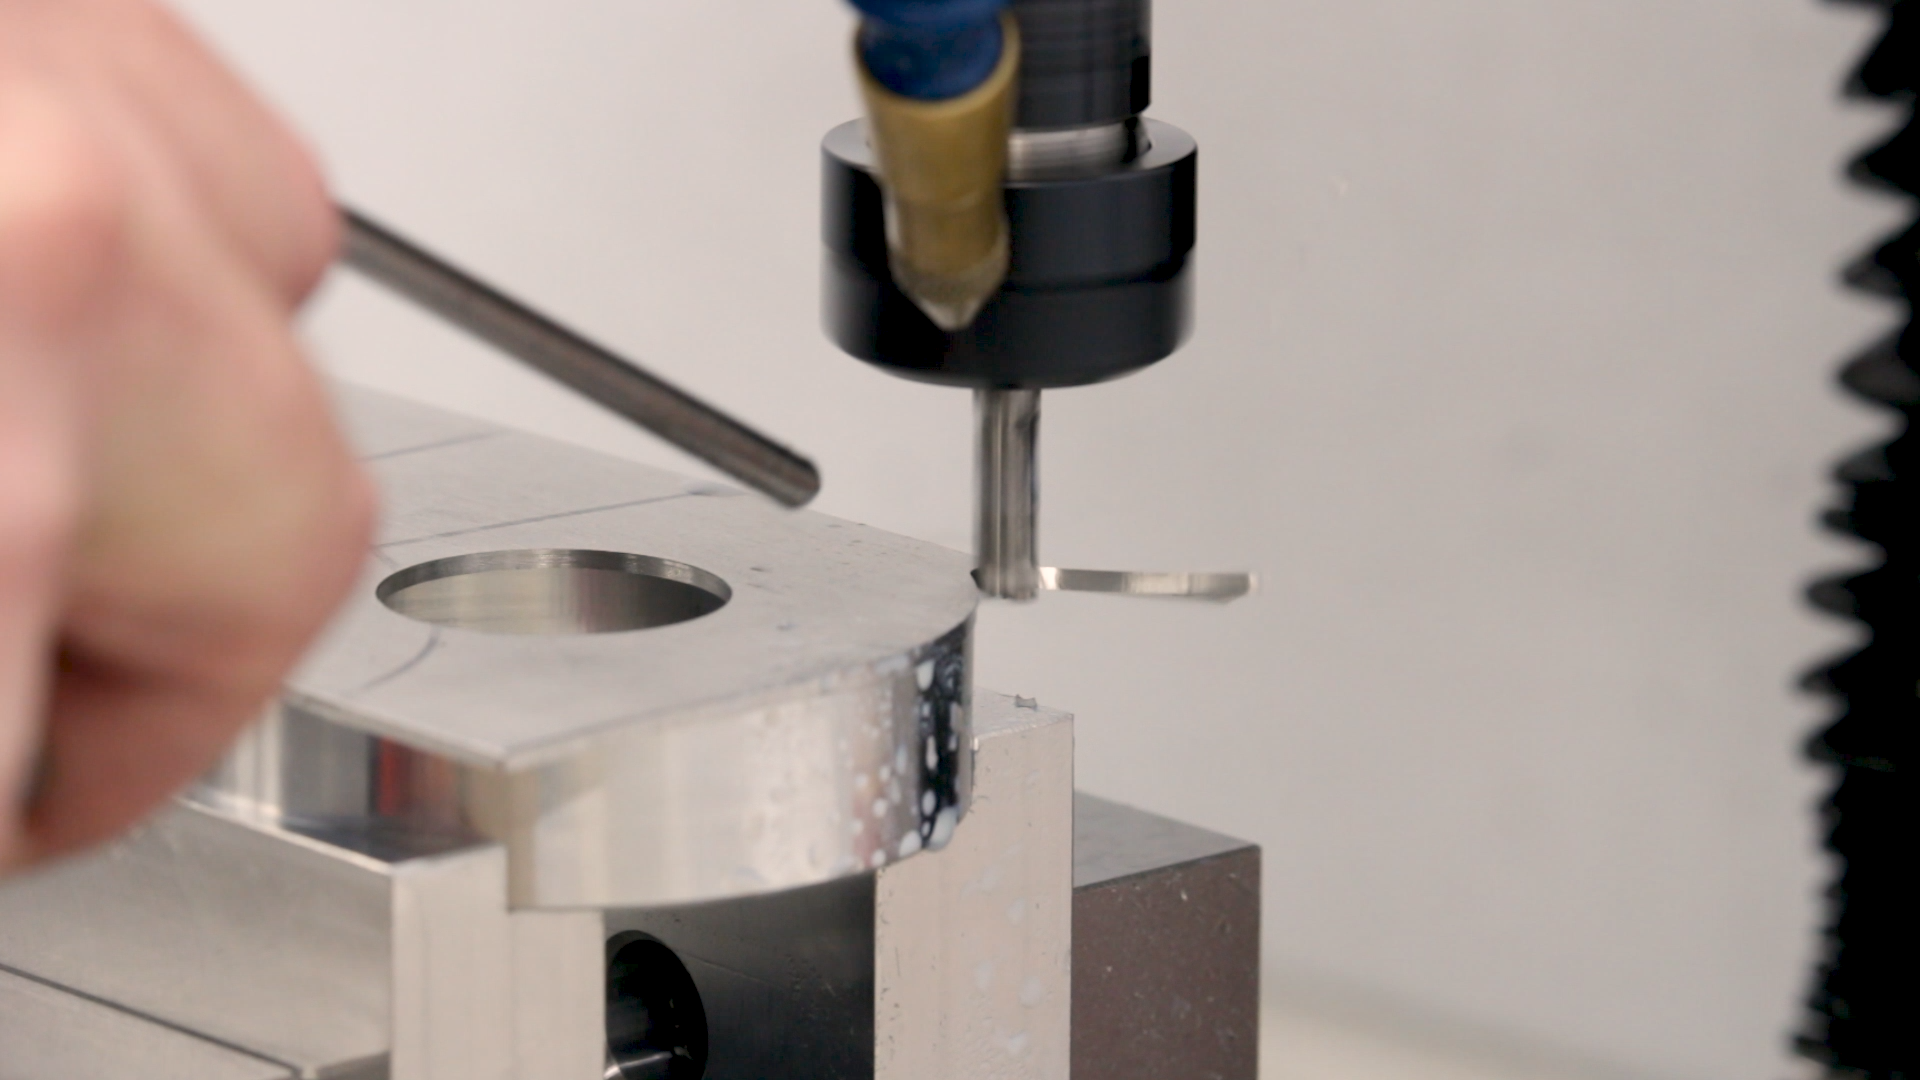

I did the slotting with a very sharp 1/4″ tool (YG-1 Alu-Power) to minimize the cutting forces. I also ran the mill in a conventional milling direction to make sure the forces were directed away from the part. I wanted to be sure when the excess material came free it would fly away from the part and not risk getting caught between the end mill and the part I wanted to keep.
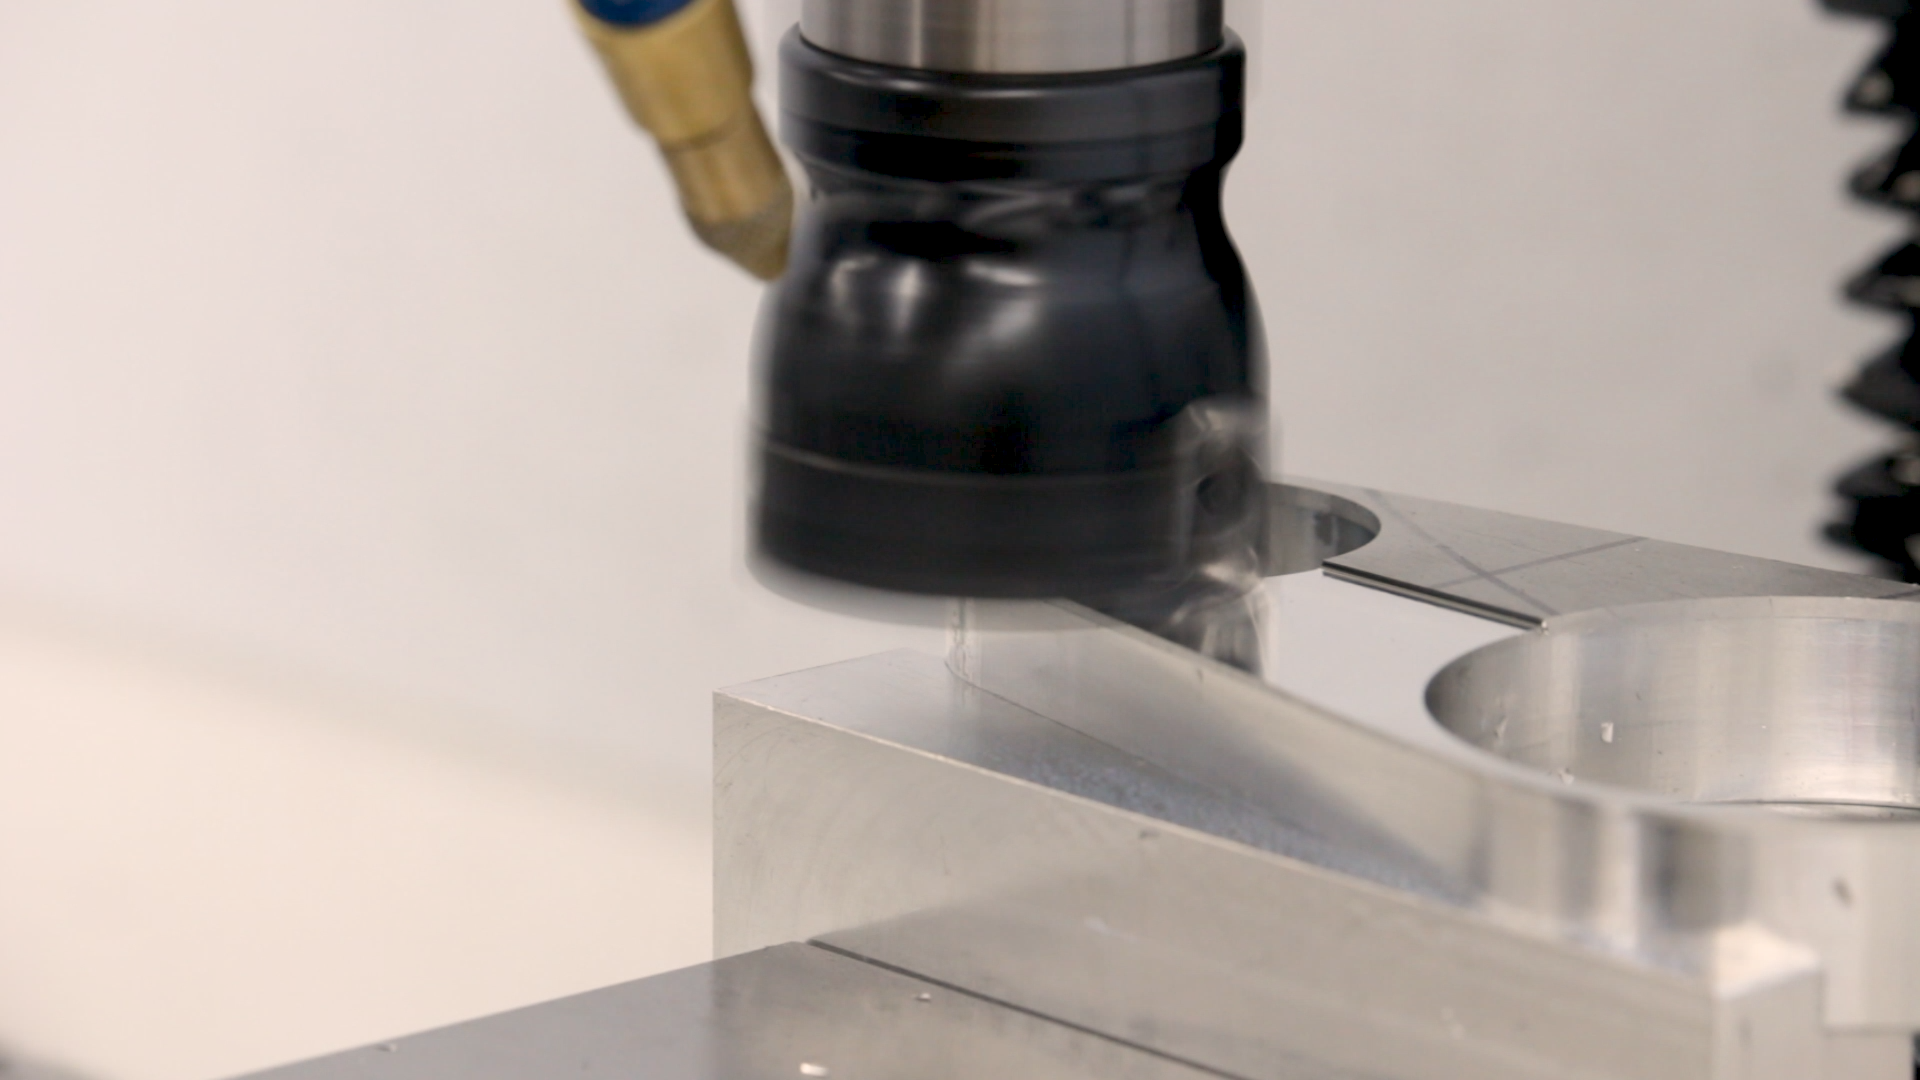
Facing Off
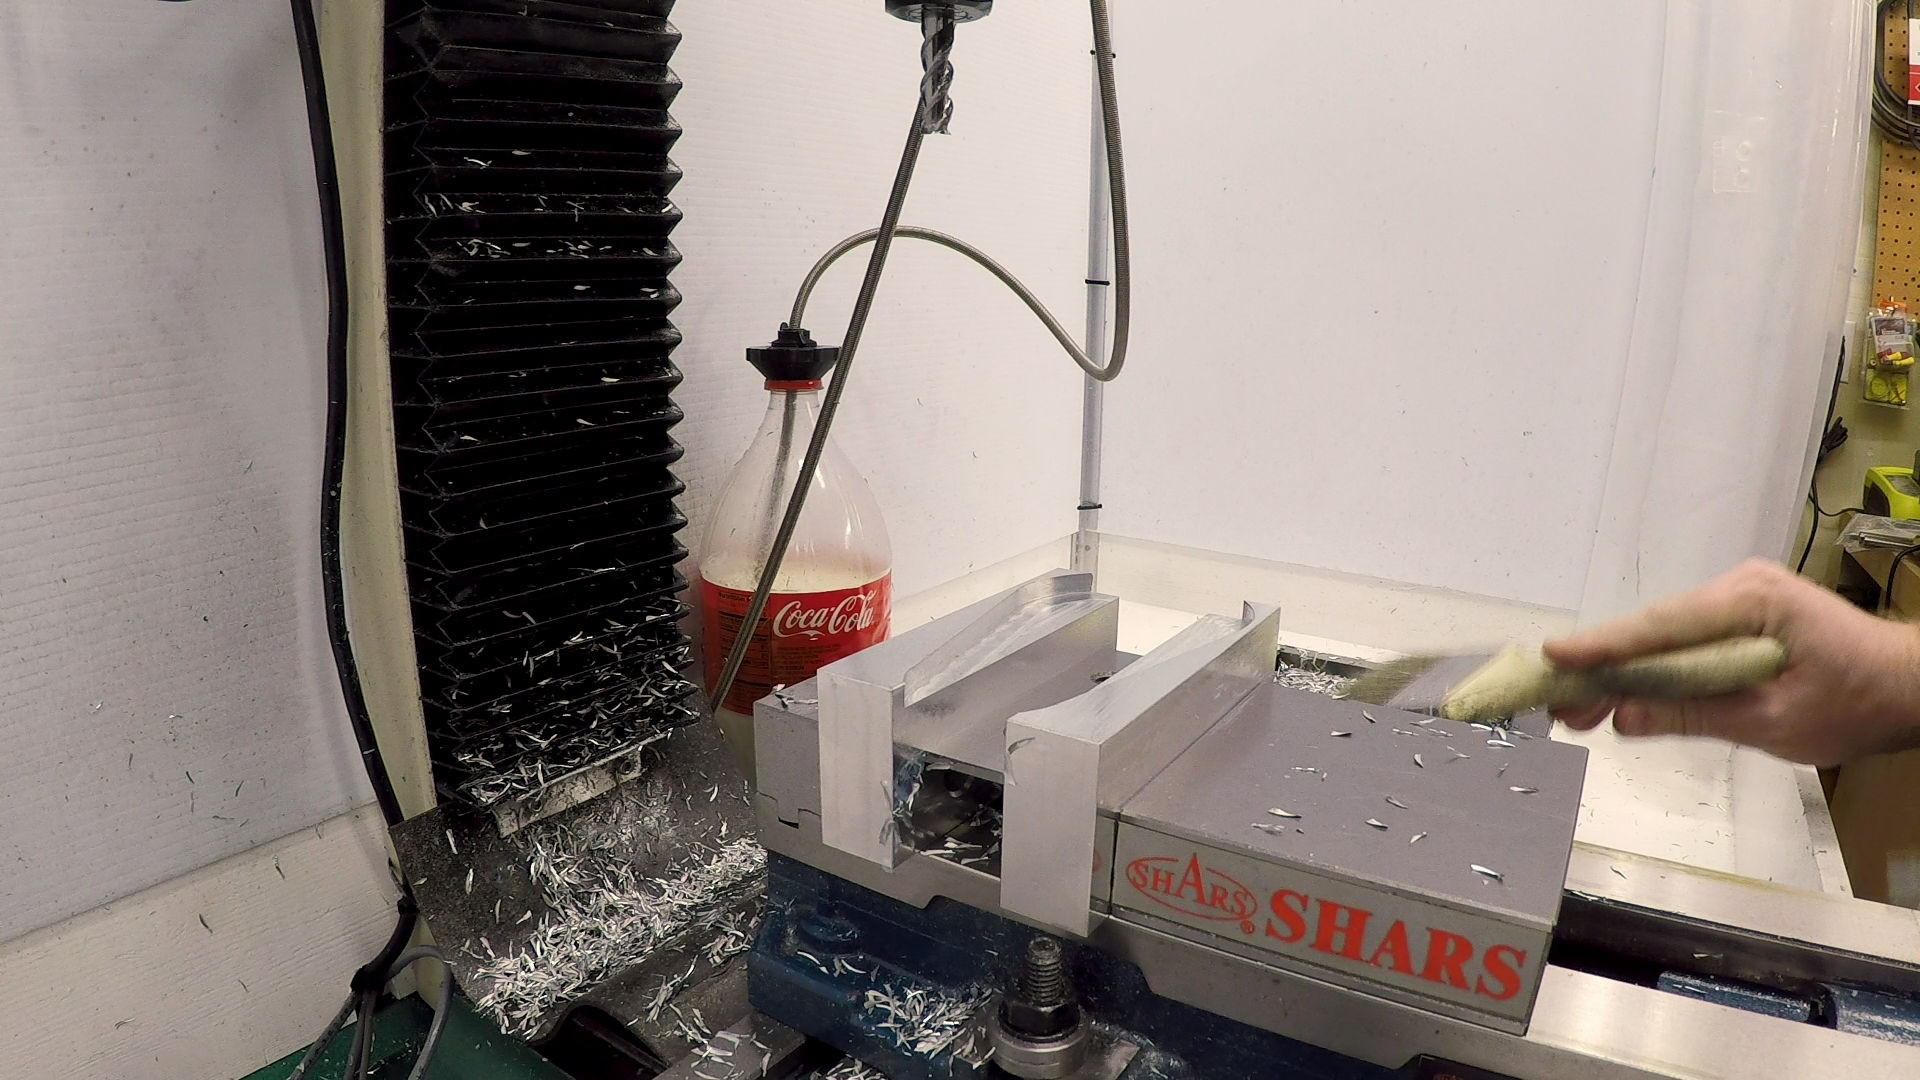
The 50mm carbide face mill made short work of removing the holding material from the back side of the clamp. And you’ve got to love the surface finish it leaves.
Chamfering
The last step was to chamfer all of the edges on the back side. I was really pushing the boundaries to get this thick of a part out of 3/4″ material. I couldn’t quite face off enough material to totally remove the ledge around the edge of the part. I slotted to within 0.020″ of the edge and then let the chamfer absorb the remaining overhang, which it did nicely.
I took some measurements and realized that the part had moved about 0.009″ to the right when it was clamped, so I adjusted my coordinate system by that much and got pretty decent chamfers.
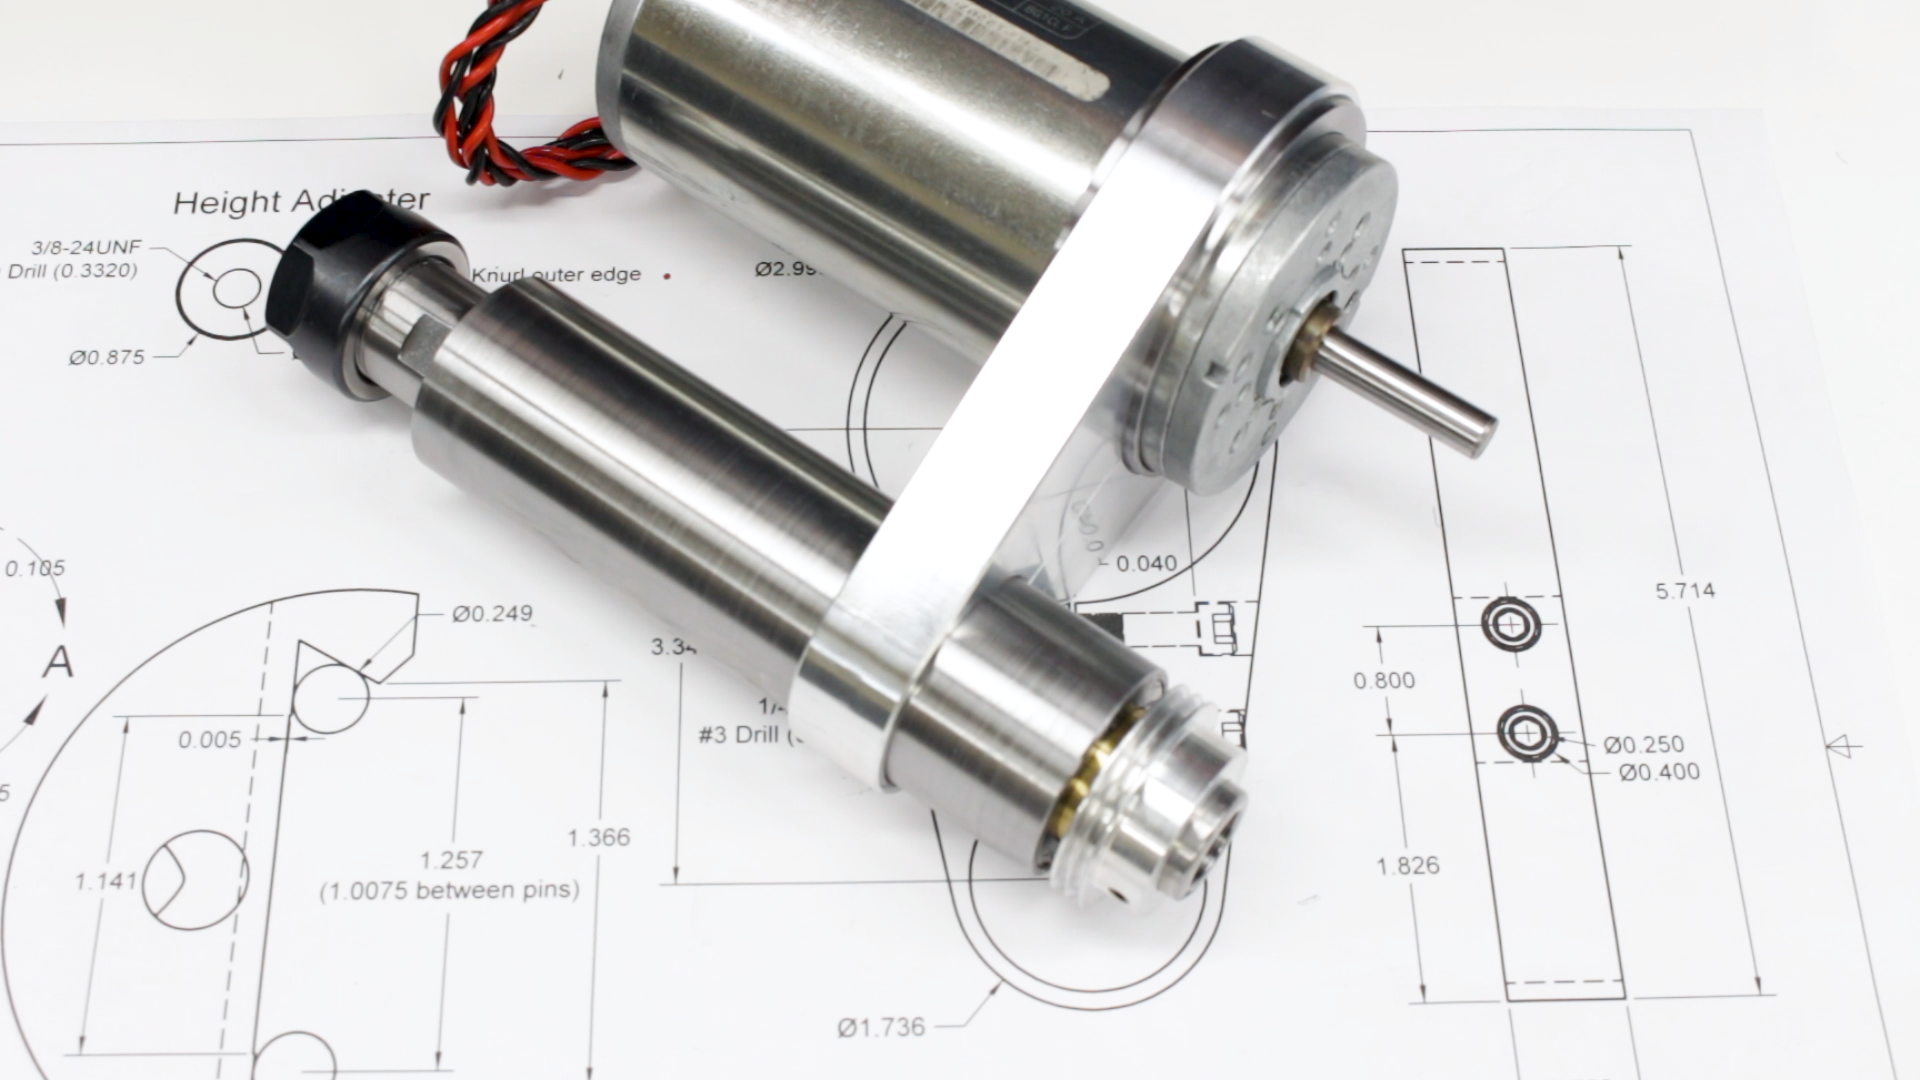
The Result (So Far)
I’m very happy with how the motor clamp is working out so far. The surface finish is fantastic and the fit is great.

Up Next
The next step is to drill, countersink and tap for the clamping screws and then slit the clamp to allow it to actually clamp down on the motor and spindle. We’ll do that next time.
If you’re following along with the build, here are links to some of the tools used in the video:
*This site contains affiliate links for which I may be compensated
- 50MM Face Mill with APKT inserts (eBay*): https://goo.gl/npAADu
- YG-1 3/8″ Alu-Power end mill (eBay*): https://goo.gl/g6Kpp7
- YG-1 1/4″ Alu-Power end mill (eBay*): https://goo.gl/GpBkLh
- YG-1 1/2″ 90 degree spotting drill (eBay*): https://goo.gl/CpoZ31


