This time we finish the toolpost clamp for the toolpost grinder. We drill and tap the part for clamping screws and then split it with a slitting saw to form the clamp. We also bore out a shallow hole for the height adjuster and thread it with a tiny carbide thread mill.
Drilling The Holes
I started out this week by mounting the clamp in the mill vise. I intentionally gripped it lengthwise in the vise so the clamping pressure is axial along the spindle bore rather than across it. I did this so the stress of the clamping pressure was less likely to distort the part. The metal web adjacent to the bore is pretty thin, and the part has already expanded slightly in that area due to the stresses in the cold-finished steel that we released when we bored it. I didn’t want to add more pressure to distort it further.
The clamping holes have three diameters: The tapping diameter for the threads, the clearance diameter in the top half of the hole and the countersink for the screw head. I started by spotting the holes with a 120 degree spotting drill and drilling with a tap-size drill (#3) to full depth.
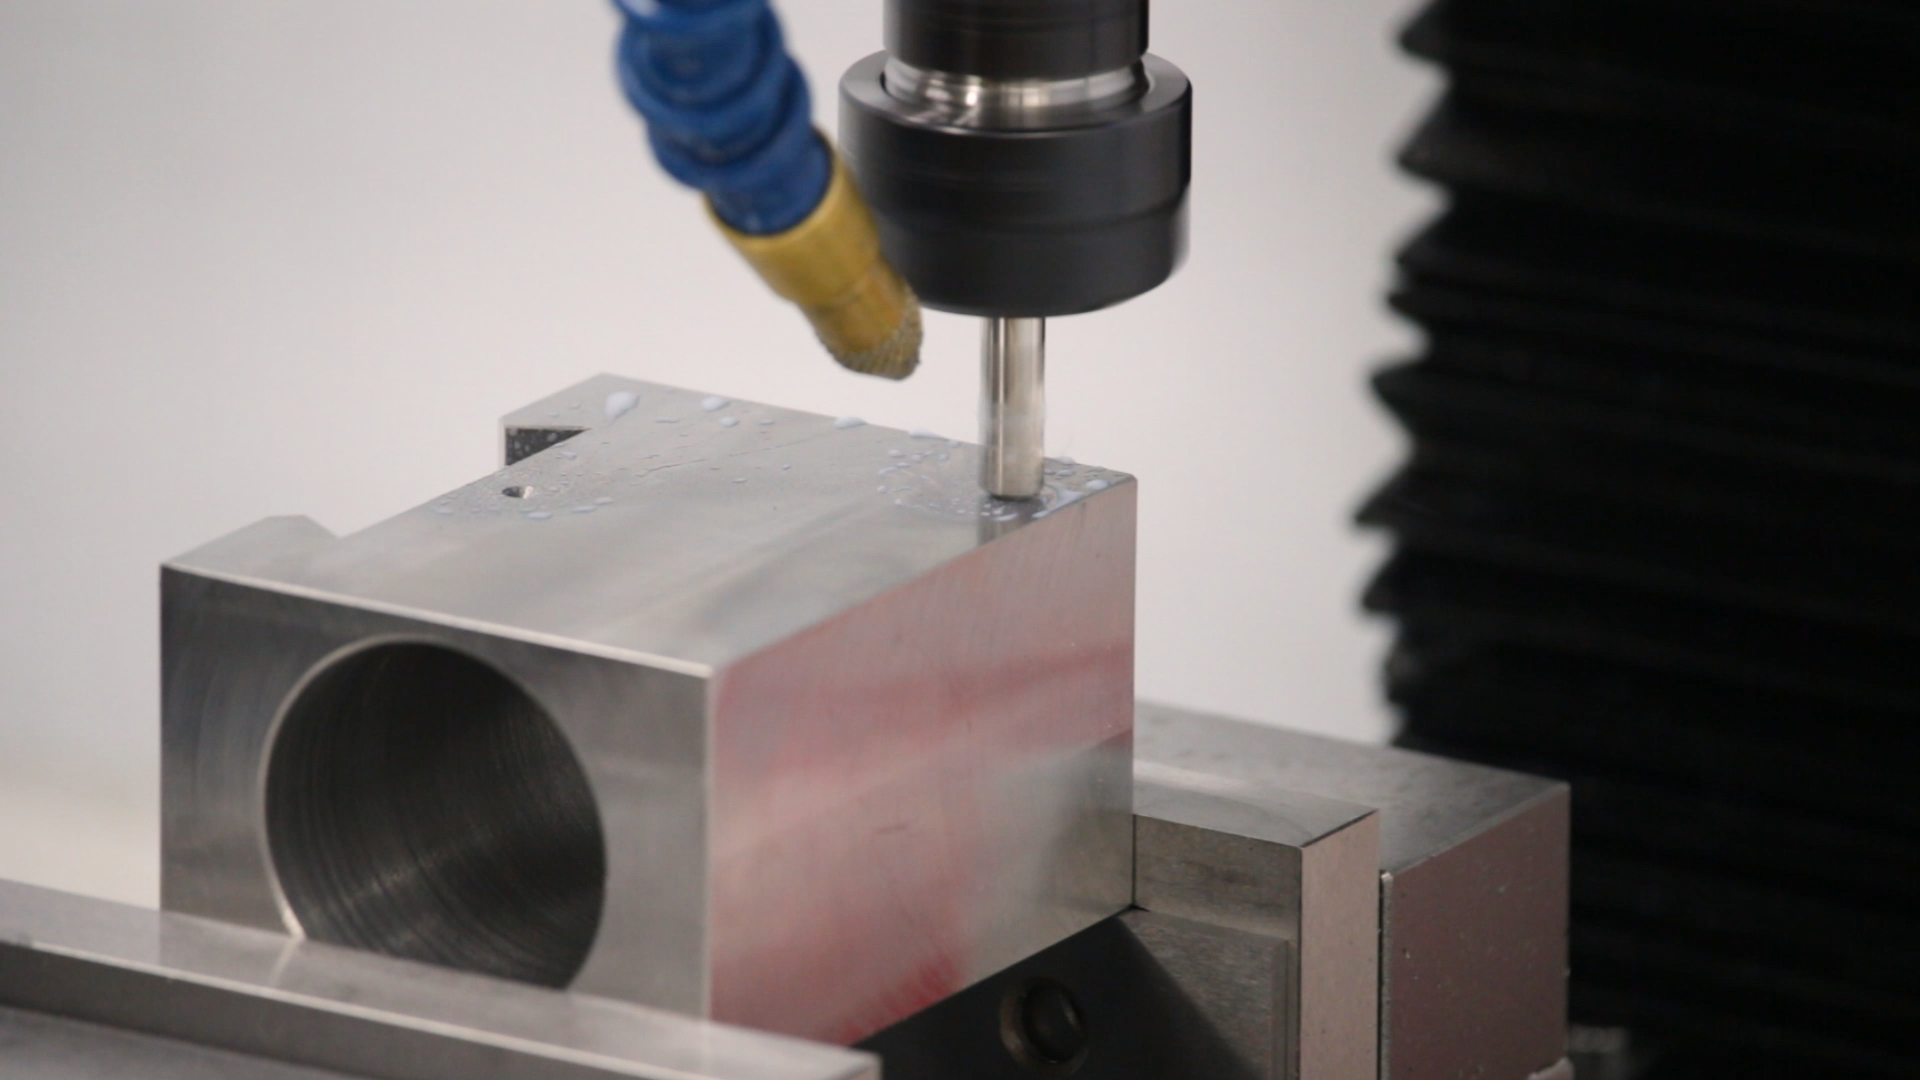

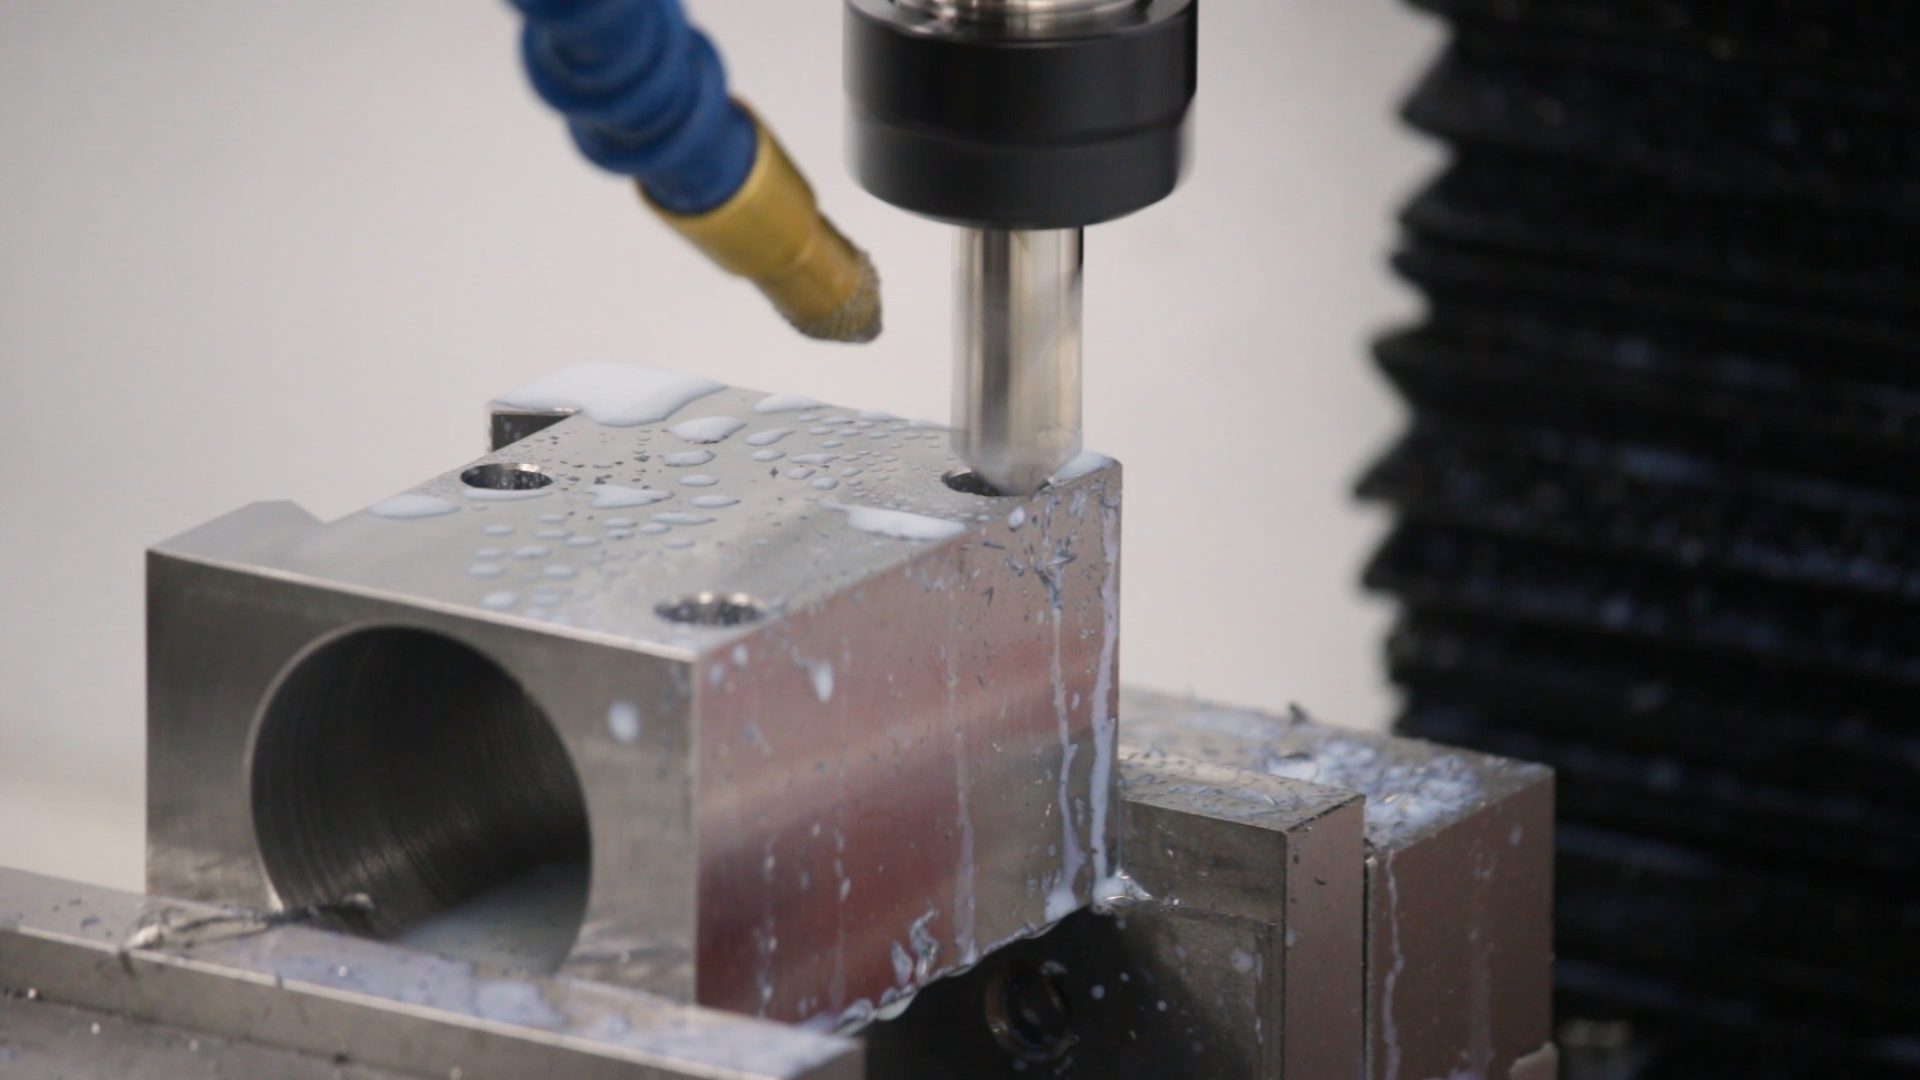
The holes extend most of the way through the block. I stopped short of breaking through because I figured the drill would wander a bit, and I didn’t want the position error to be visible on the bottom of the part. There’s plenty of hole length below the center line for threads. The top part of the hole (above the split) needs to be opened up to clear the threads to allow it to clamp. I opened up the top half of the hole with a letter F drill.

Forming the Countersinks
I don’t have a countersink cutter, so I used a 1/4″ carbide end mill to interpolate the countersink holes. Since most of the material was already removed by the drill, the end mill didn’t have to work too hard. It still complained a little. I think I’ve got something loose in the head of my mill. Maybe the gib needs to be tightened.

I followed the boring operations with a quick chamfering pass.
The Height Adjuster Hole
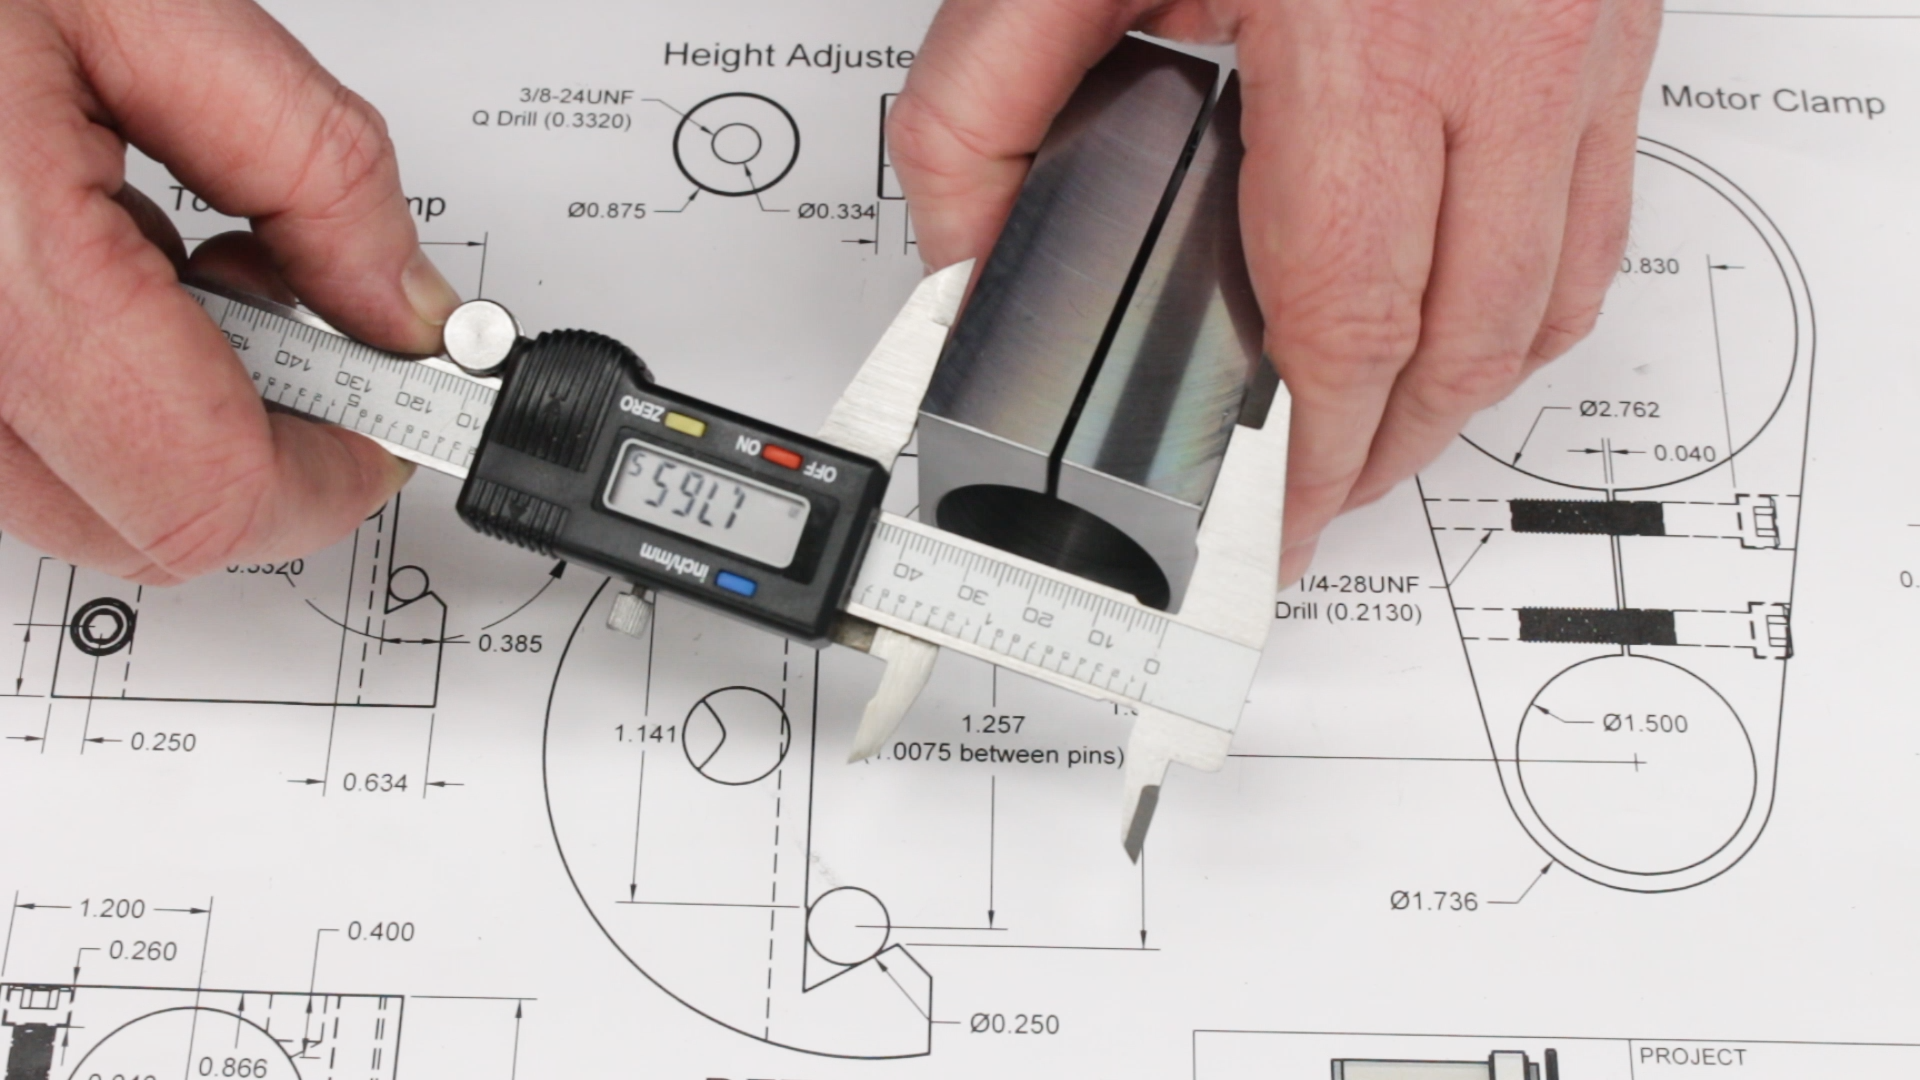
The hole for the height adjuster screw presented some interesting challenges. There wasn’t much material left after boring out the spindle hole, so the final hole needed to have a flat bottom and there was only room for about five threads. Because of this, I didn’t want to try to use a tap. Instead, I decided to CNC mill the threads using a single-form carbide thread mill.

The thread mill is very small, and I really didn’t want to break it, so I used a very conservative recipe of .0007″ per tooth feed and three .010″ passes to form the thread.
With a tool this small, runout and hole position are critical, so I did a couple of things to increase my chances of success. First, I ran the tool directly in an R8 collet in the mill spindle. I normally use TTS-style collet holders so I can use the tool table to swap tools without losing my Z height. But the collet holders add runout, and runout can kill a small tool like this. If the tool is running out .003″, I might program in .0007″ per tooth of feed, but end up cutting with only one of the four teeth, resulting in .0028″, four times the recommended feed rate. With a long carbide tool like this one, that’s a good way to snap it off.
Running the tool directly in the R8 collet meant I had to touch off again.
The other thing precaution I took was to interpolate the tap size hole with an end mill instead of trusting a drilled hole. Drills wander. I’ve seen holes in my mill wander by .007″ (again, I may need to tighten something). Being off this far could lead to a much deeper cut than expected or even a collision between the shaft of the tool and the hole wall at depth.


One advantage of milling the threads is that it’s possible to tailor the fit. I started with a shallow thread and made a couple of extra passes to open it up until I got a snug fit. The jack screw will be installed permanently, and I wanted it as tight as I could get it.
Tapping the Clamping Holes
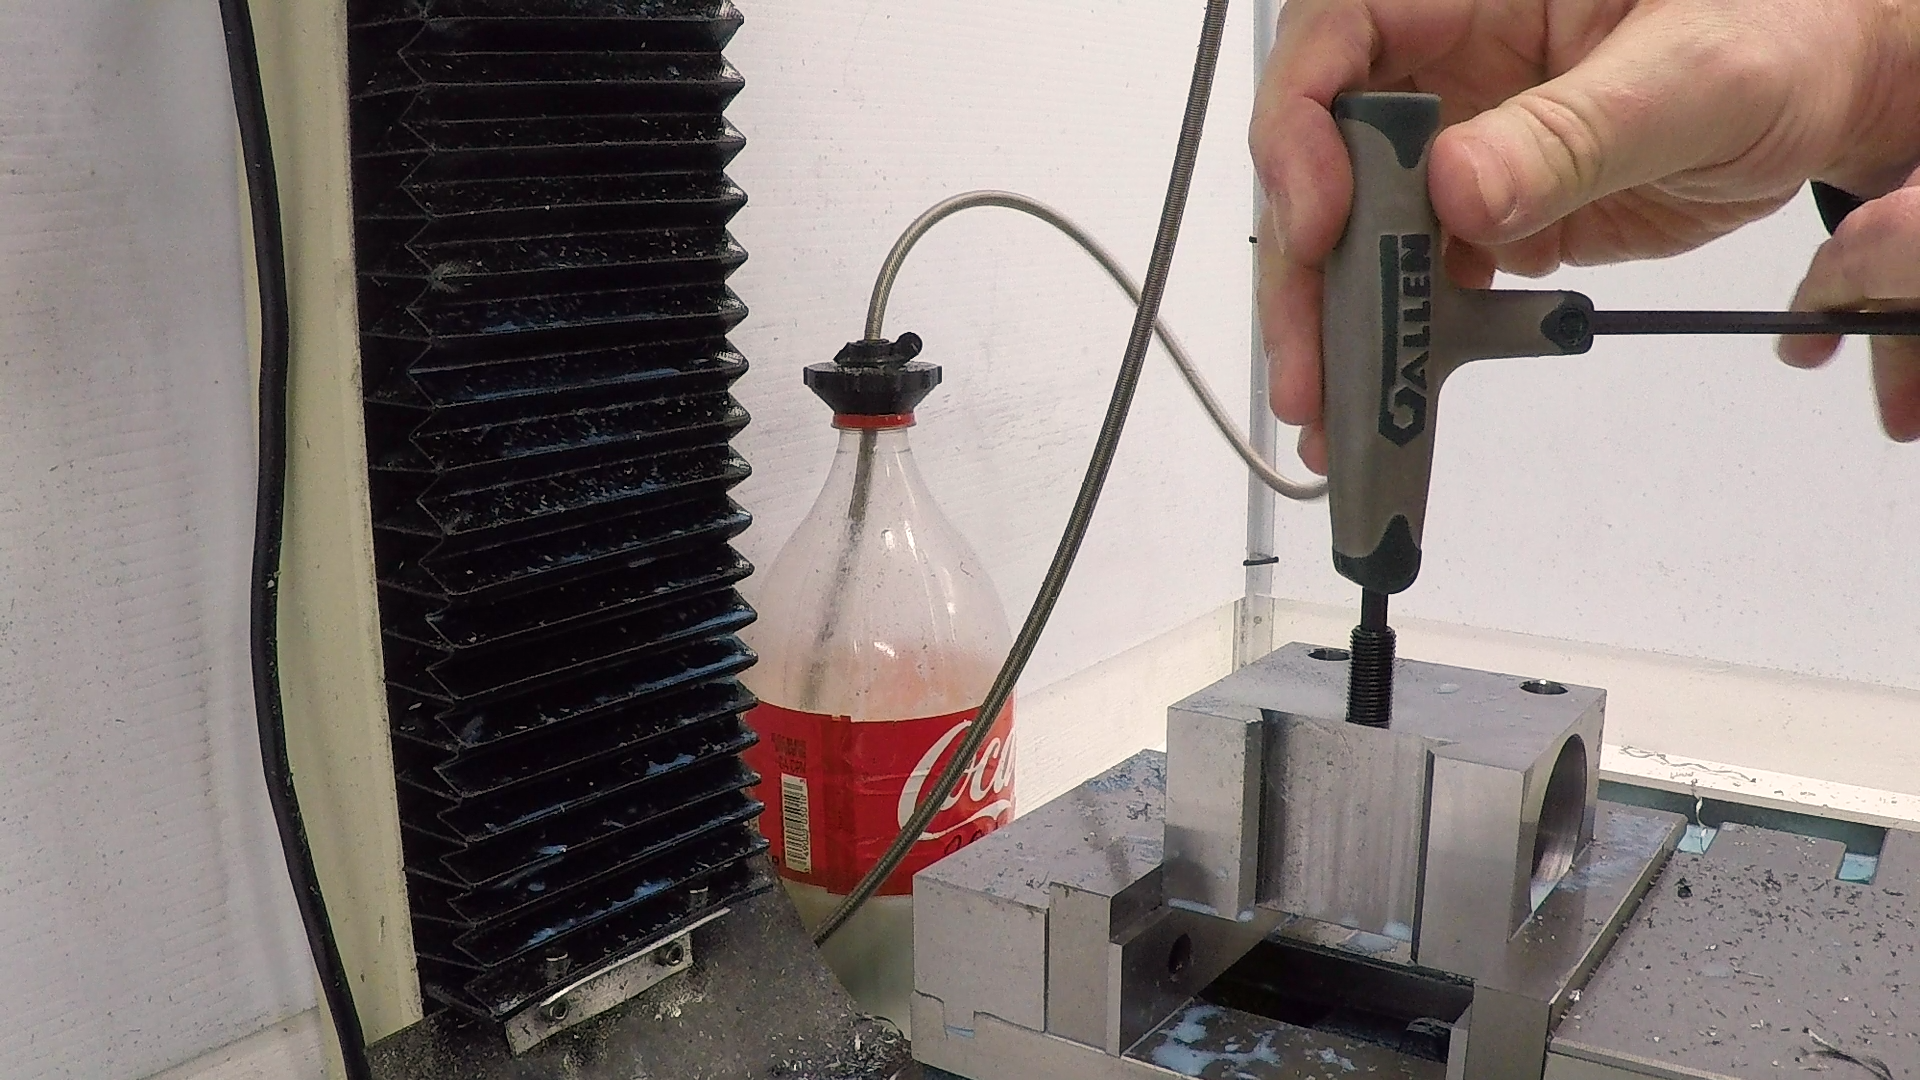
I tapped the clamping holes by hand, using a spiral-flute tap. The holes are deep and the spiral-flute tap pulled the chips up and out of the hole rather than packing them in the bottom. I decided to do this before splitting the block because I wasn’t sure how much the steel would spring and if the clearance hole would still be aligned well enough to use it as a tap guide.

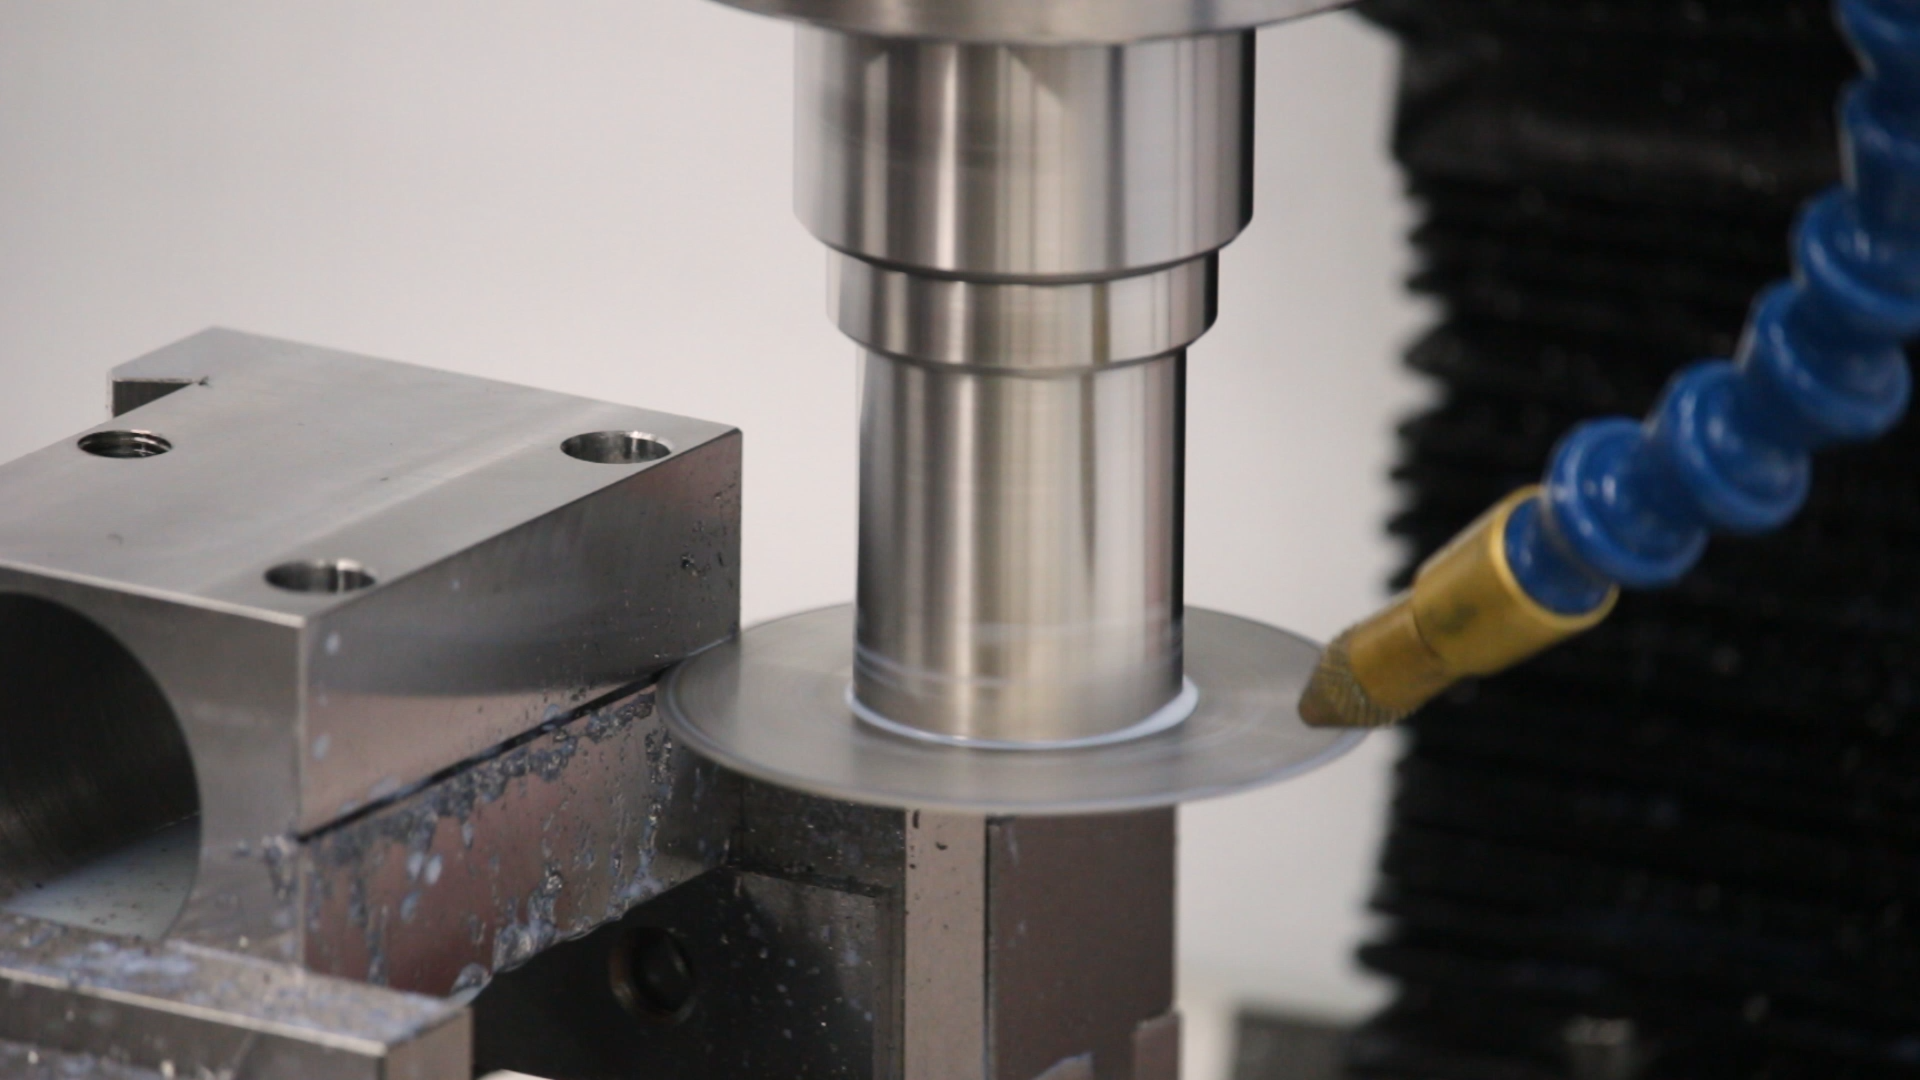
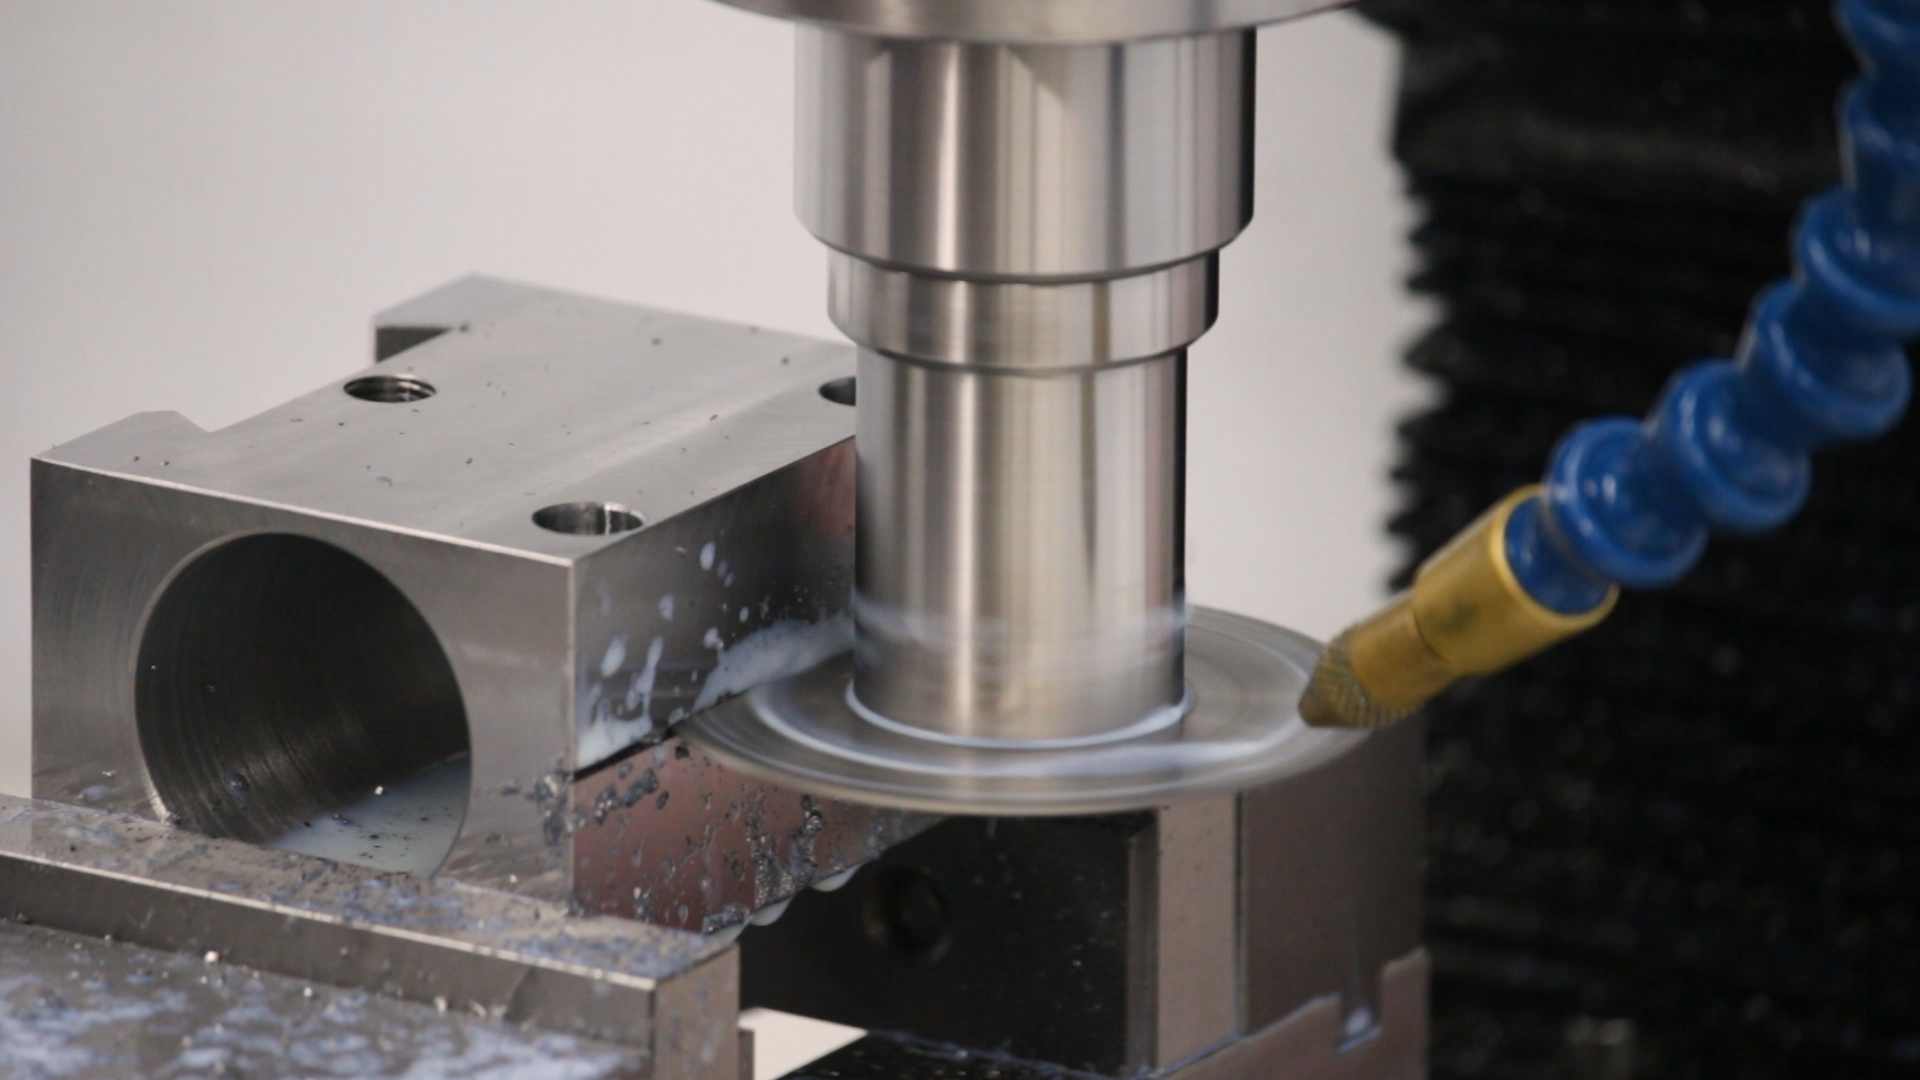
Slitting the Clamp
I split the clamp with a 2-3/4″ x 0.040″ (1mm) 72-tooth slitting saw. I did this in two passes. I made a shallow pass the full length of the part, just to establish the location of the slit and then made a single pass at full depth to cut through the clamp.
I wasn’t sure if the steel would spring open or closed, so I cut most of the way through, and then installed one screw and some shims to keep it from springing as I finished the cut.
Testing the Fit
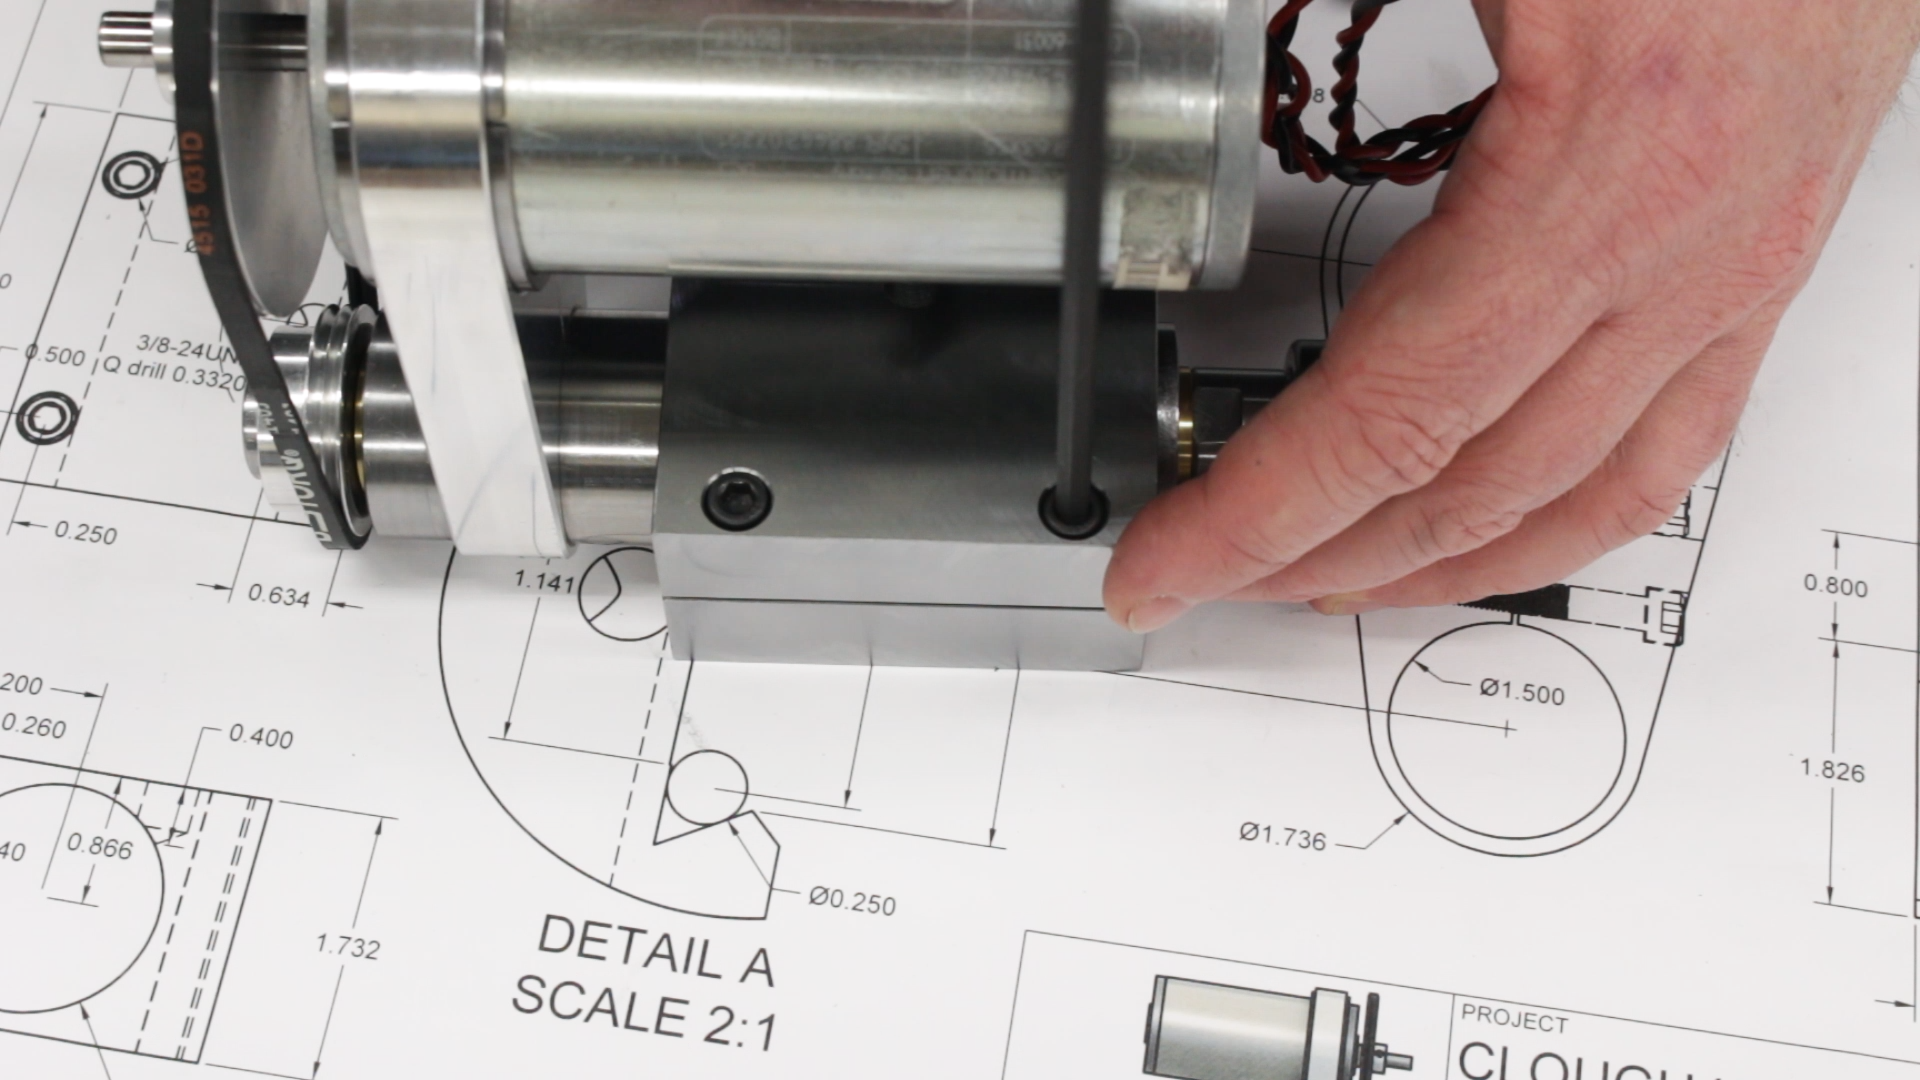
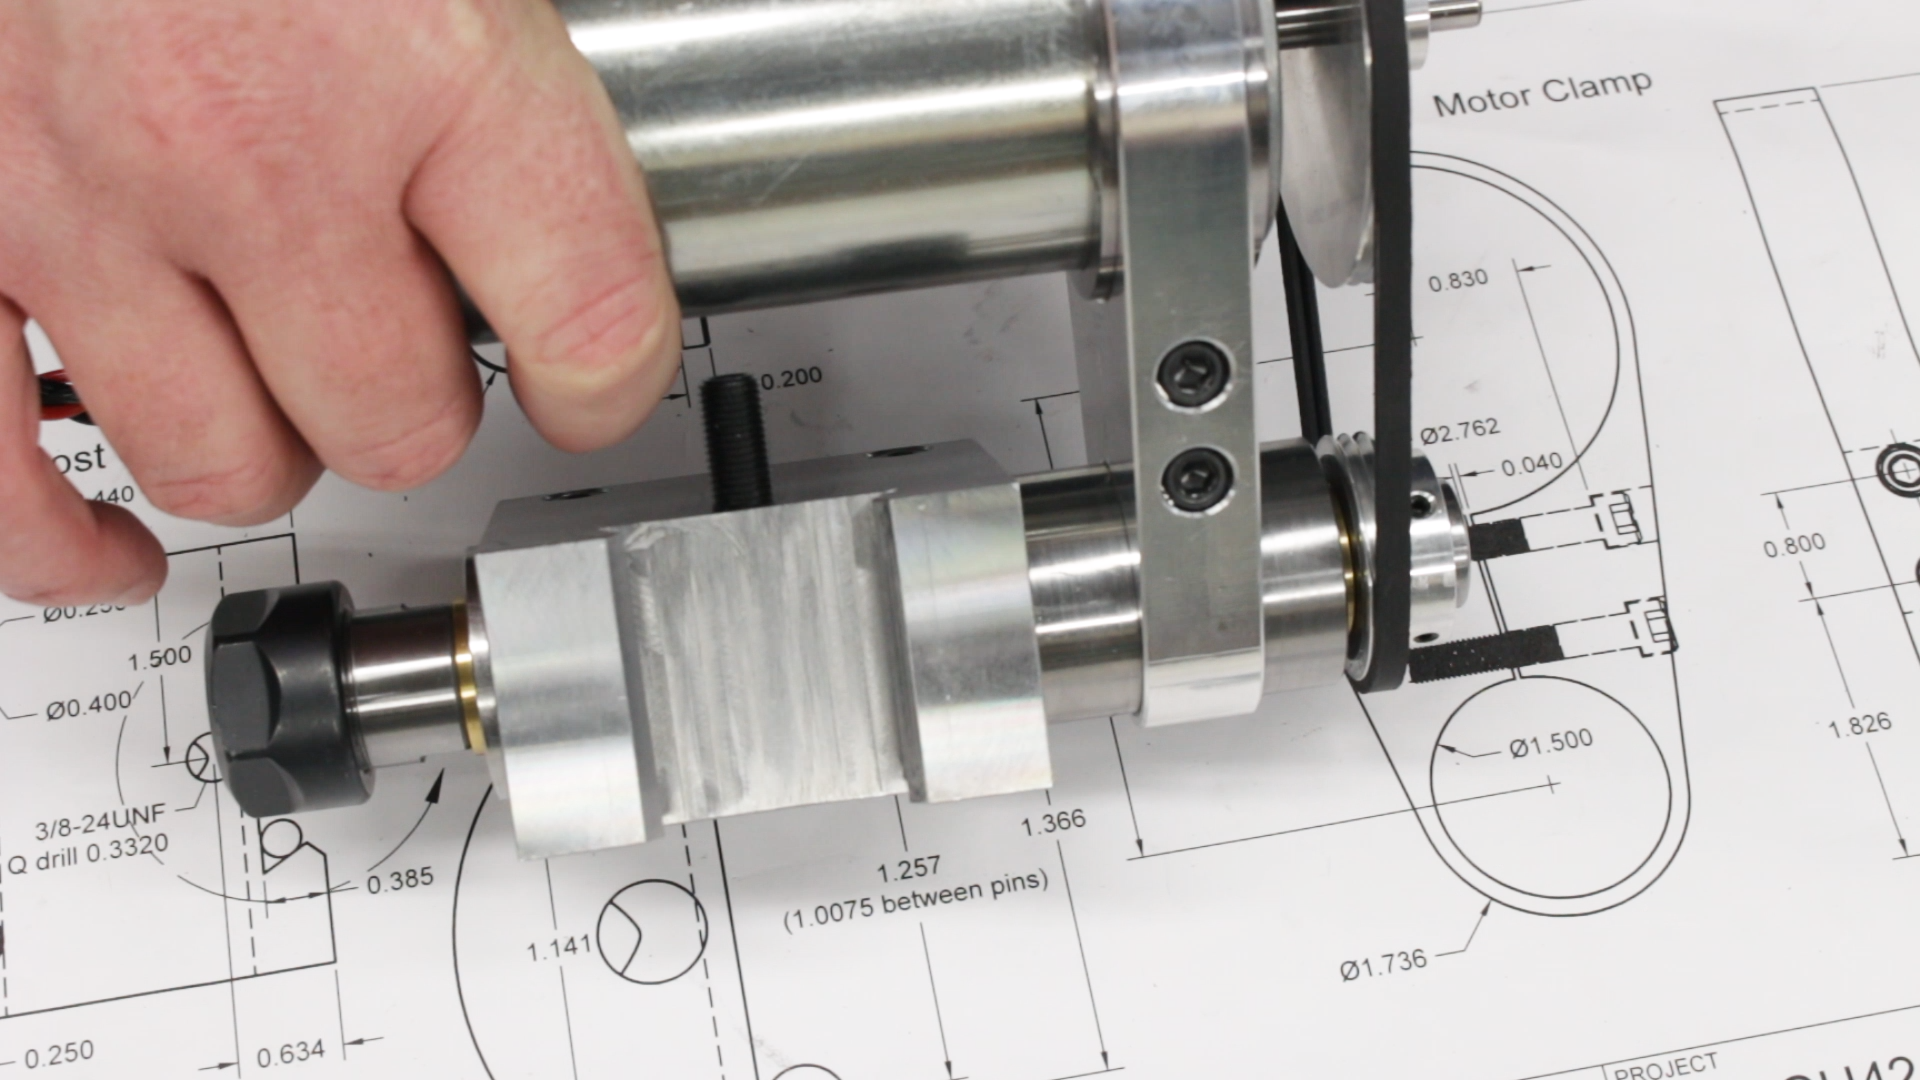
In the end, the clamp sprang open by 0.017″ when I slit it open. This is minimal. It actually makes it easier to install on the spindle, and the clamping screws easily close it to hold the spindle securely.
Next Steps
This is about it for the body of the toolpost clamp. We still need the height adjuster, of course, and we’ll tackle that next time.
If you’re following along with the build, here are some of the tools used in this video:
*This site contains affiliate links for which I may be compensated
- YG-1 4-Flute Carbide 1/4″ end mill (eBay*): https://goo.gl/1dLomn
- YG-1 1/4″ 120 degree spotting drill (eBay*): https://goo.gl/6zqTzb
- YG-1 1/2″ 90 degree spotting drill (eBay*): https://goo.gl/CpoZ31
- 1/4″ Single-Form Carbide thread mill (eBay*): https://goo.gl/QuA19i
- General Tools Tap Wrench Set (Amazon*): http://amzn.to/2znrcOW


