Today we finish up the AXA toolpost clamp for the toolpost grinder by making the height adjuster wheel. This isn’t a complex part in principle, but it’s knurled and knurls require a little bit of planning for success.
Planning the Knurl
To get a good result when knurling, you have to understand the pitch of your knurling tool and how that pitch is going to lay around the circumference of the part. My knurling tool has 16-pitch imperial knurling wheels, which means it forms 16 teeth per inch around the circumference of the part. To get a good, single-tracked knurl, the part circumference needs to be an exact multiple of 1/16 of an inch.

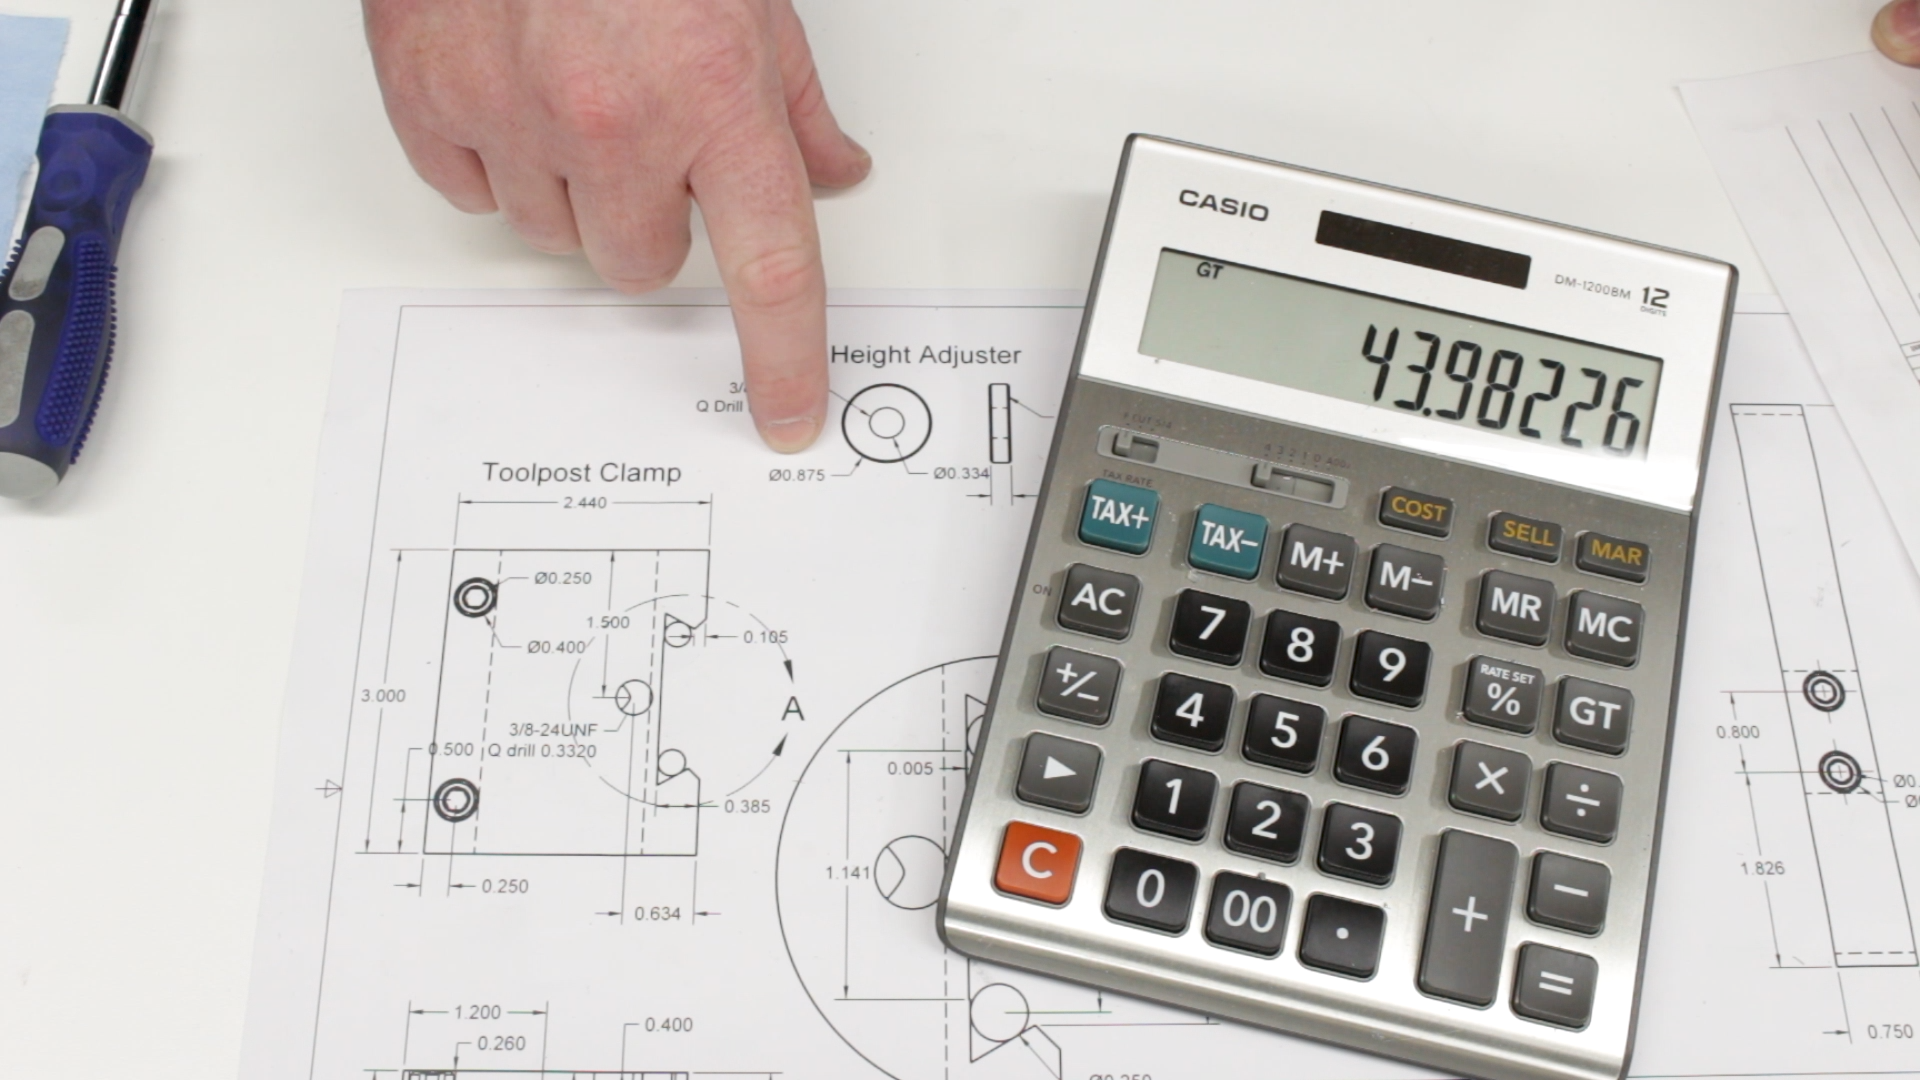
On the drawings, the part is shown with a diameter of 0.875″. To calculate the circumference, we just multiply this value by pi and we get 2.749″. Dividing this by 1/16″ (0.0625) we get 43.98. This means that the circumference is almost exactly 44 times the knurl pitch. In practice this is close enough and the knurl will track nicely. However, I actually wanted a finer knurl. To get it, I wanted to get the knurl to double-track, laying down a second set of teeth between the ones laid down on the previous pass.
To do this, I adjusted the diameter so the circumference was 44.5 times the knurl pitch. 44.5 times 1/16″ is 2.781″. Dividing this by pi, the diameter of the part needs to be 0.885″. I turned it to this diameter, and the knurl made a nice, fine knurl.
Besides the additional flexibility of being able to use the same too for two different sizes of knurl and the finer texture, there’s another good reason to double-track a knurl. The higher pitch means that the teeth don’t have to be pressed as deeply into the workpiece and this reduces the tool pressure. Making a full-depth 16-pitch knurl with a bump-knurling tool is a real challenge for my little lathe. At half-depth, it handles it reasonably well.
Drilling and Tapping
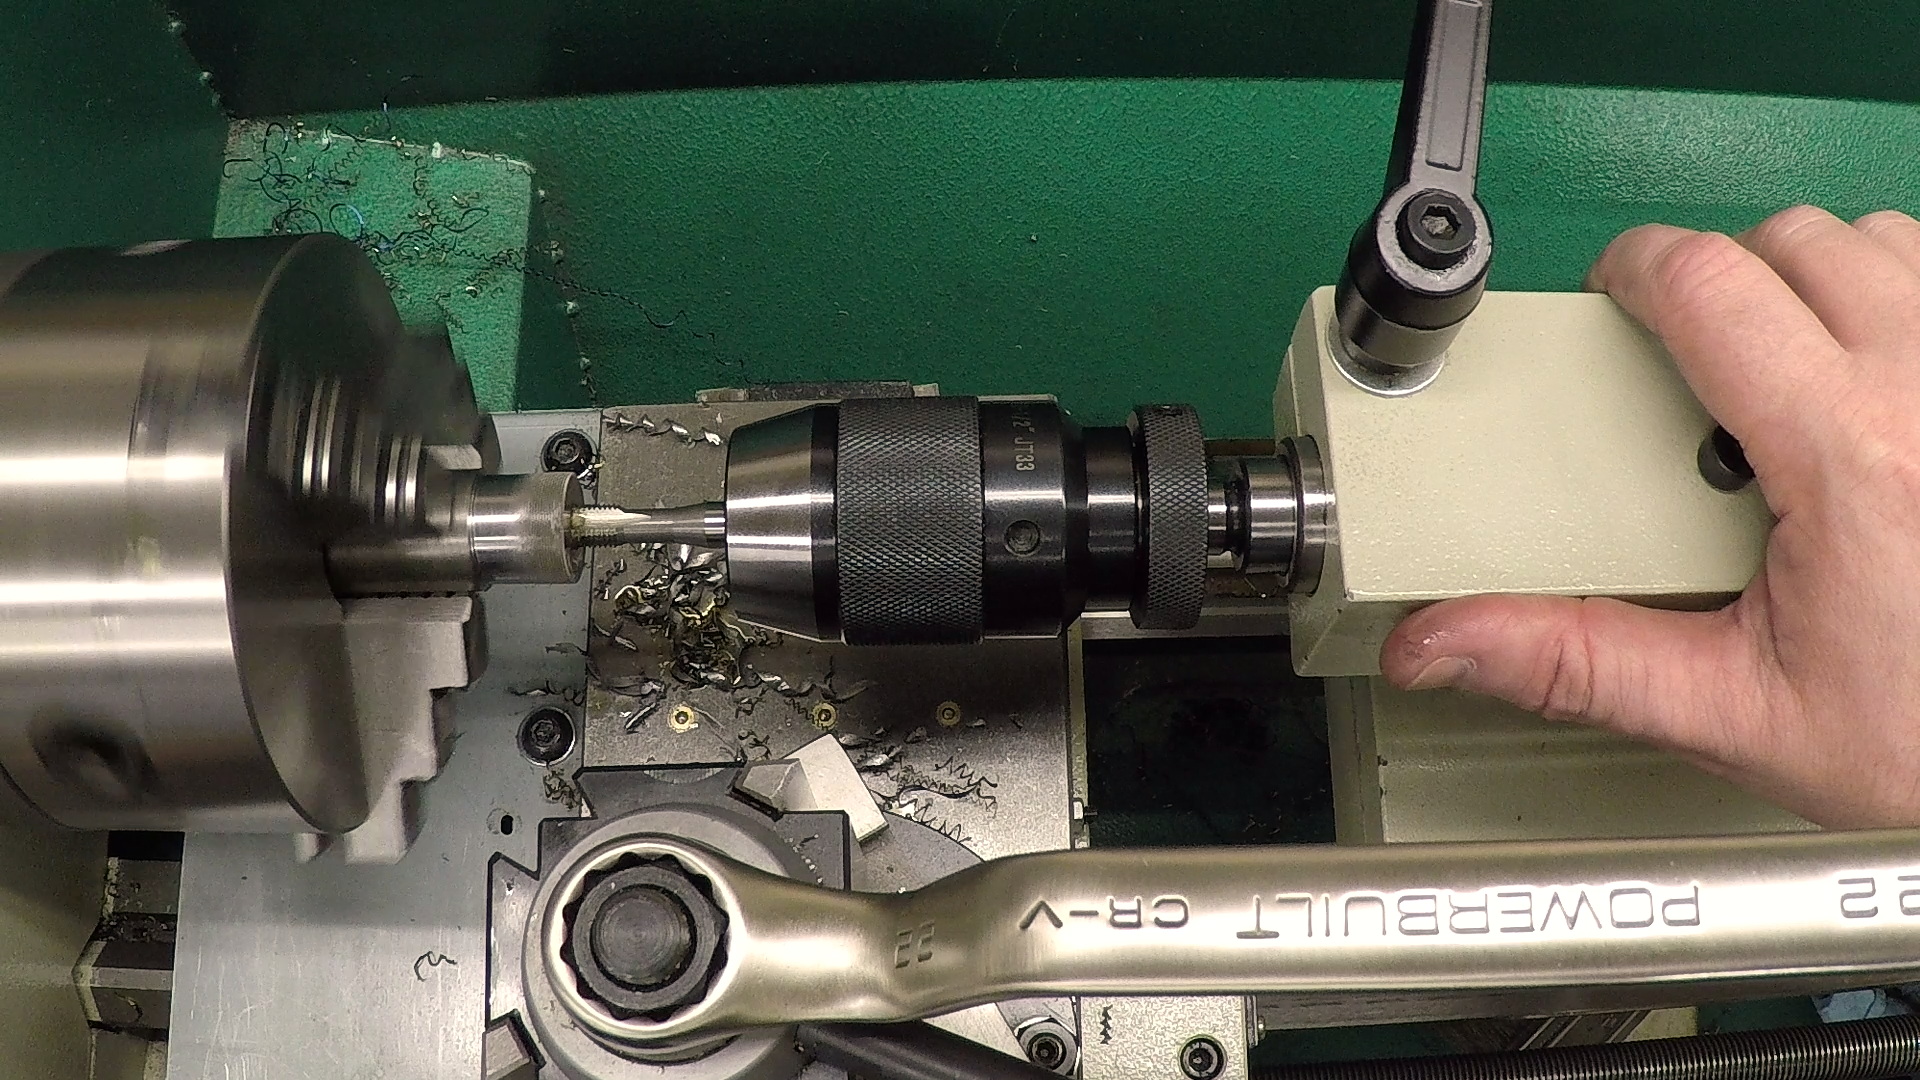
Once I had the knurl the way I wanted it, I went ahead and drilled and tapped the hole. Because it’s a pretty large tap (3/8-24) I had to drill the hole significantly past the thickness of the finished part. This was to accommodate the many partial thread forms at the end of the plug tap. I used an H3 limit tap for this application instead of the more common H7. The H3 limit tap is smaller than H7, resulting in a thread that fits more tightly on the stud.

Parting Off
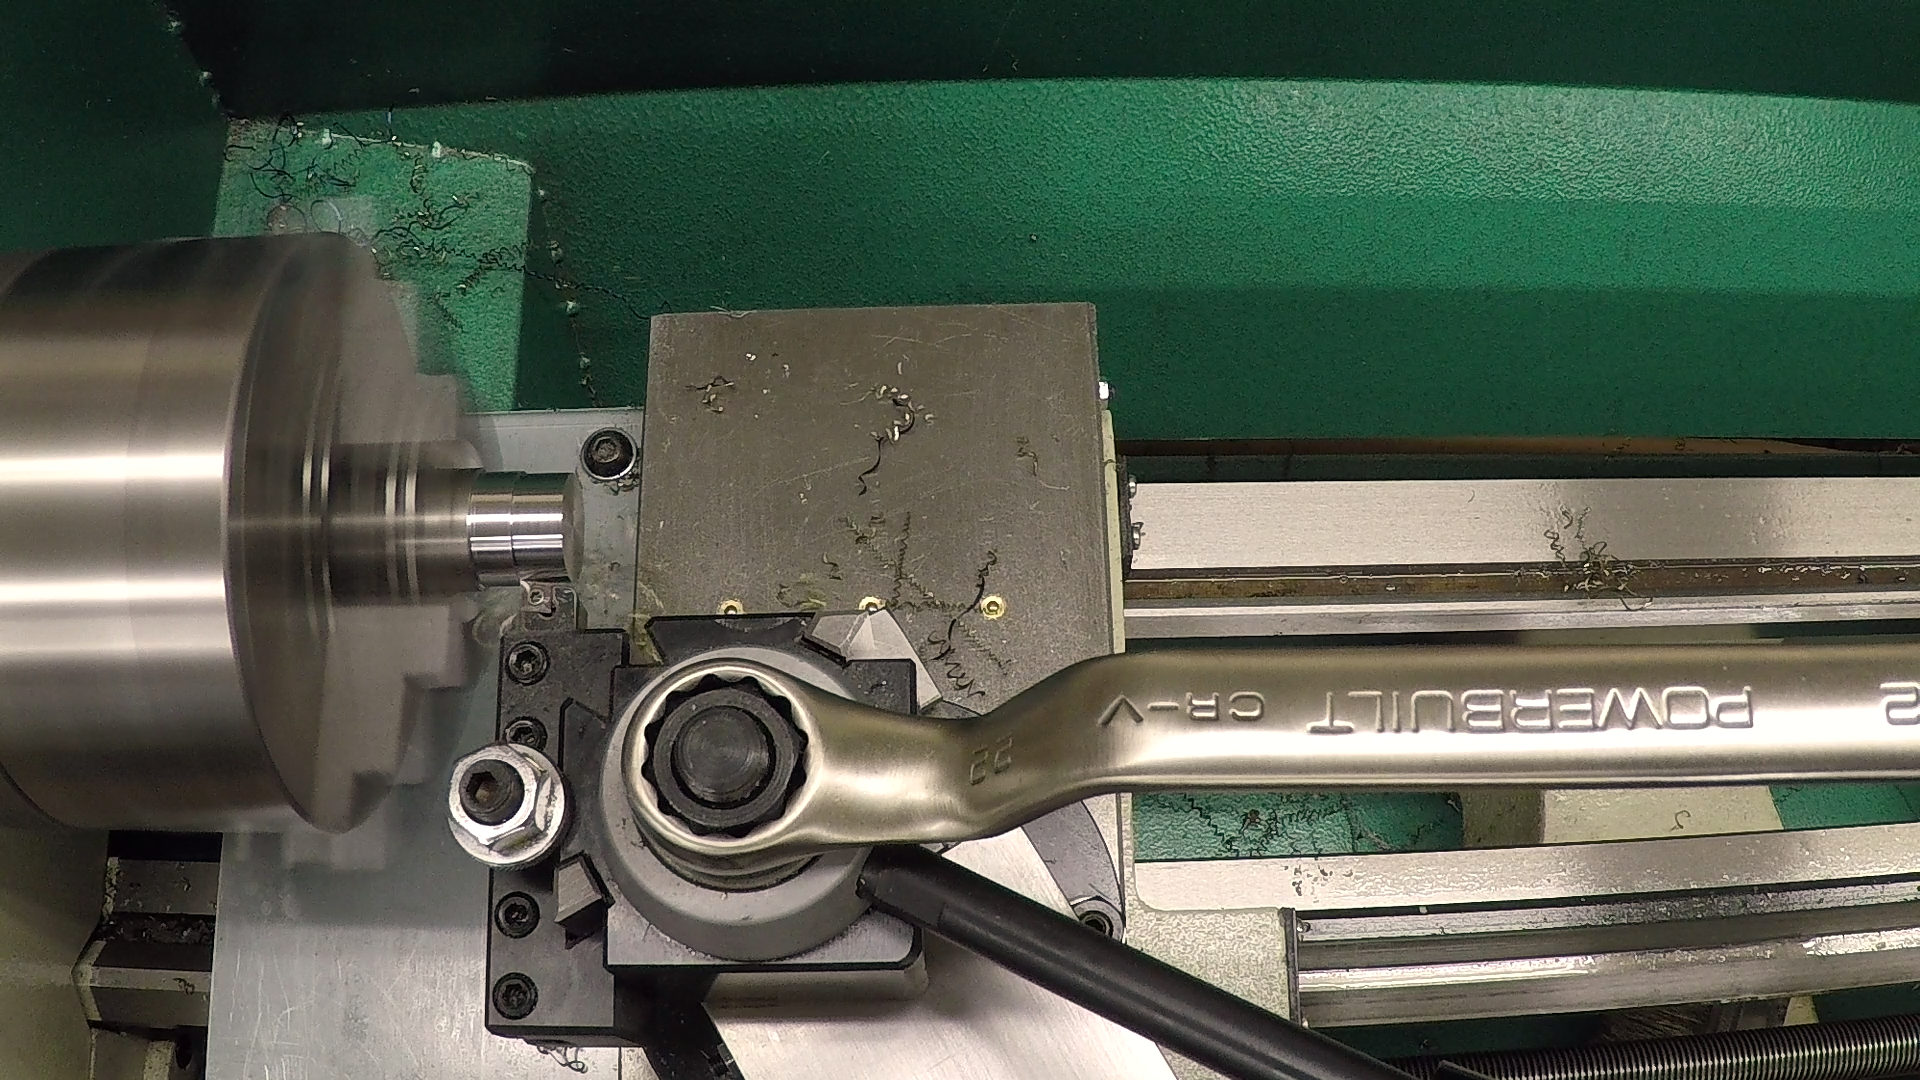
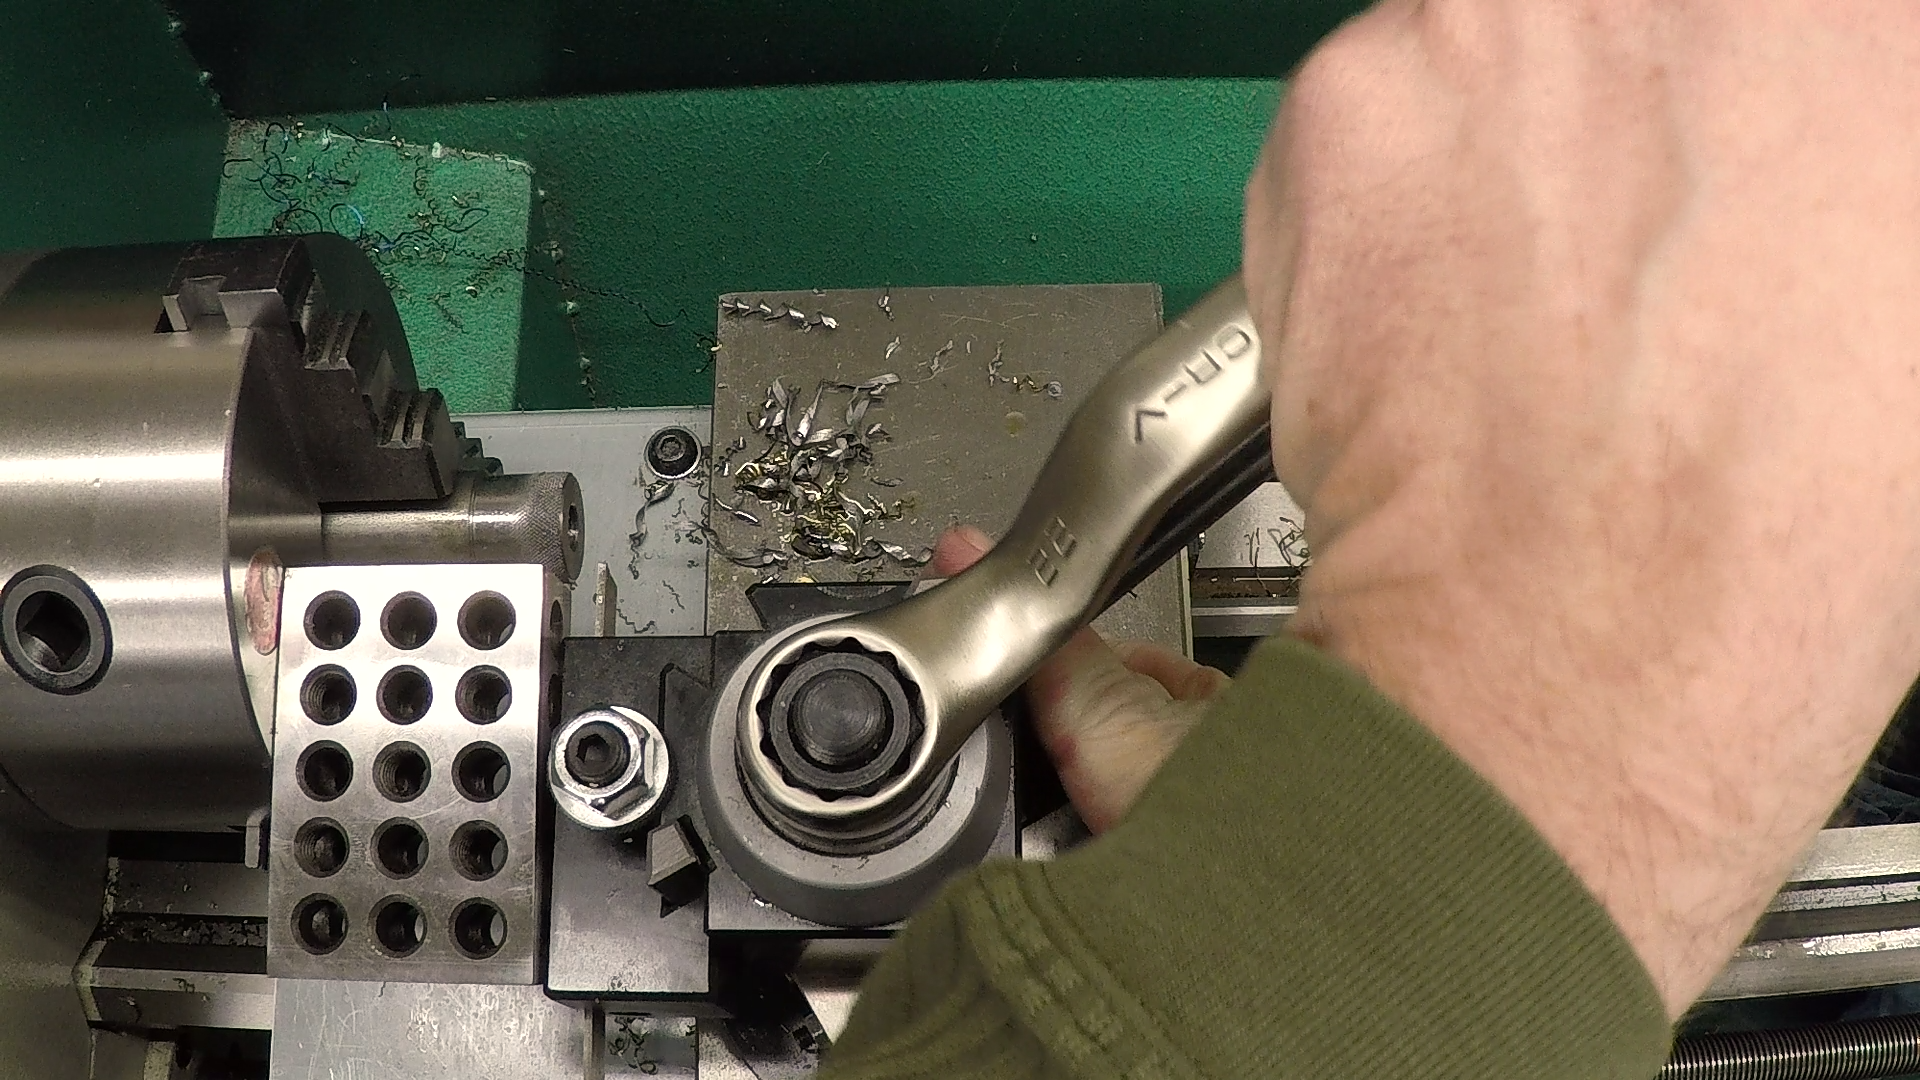
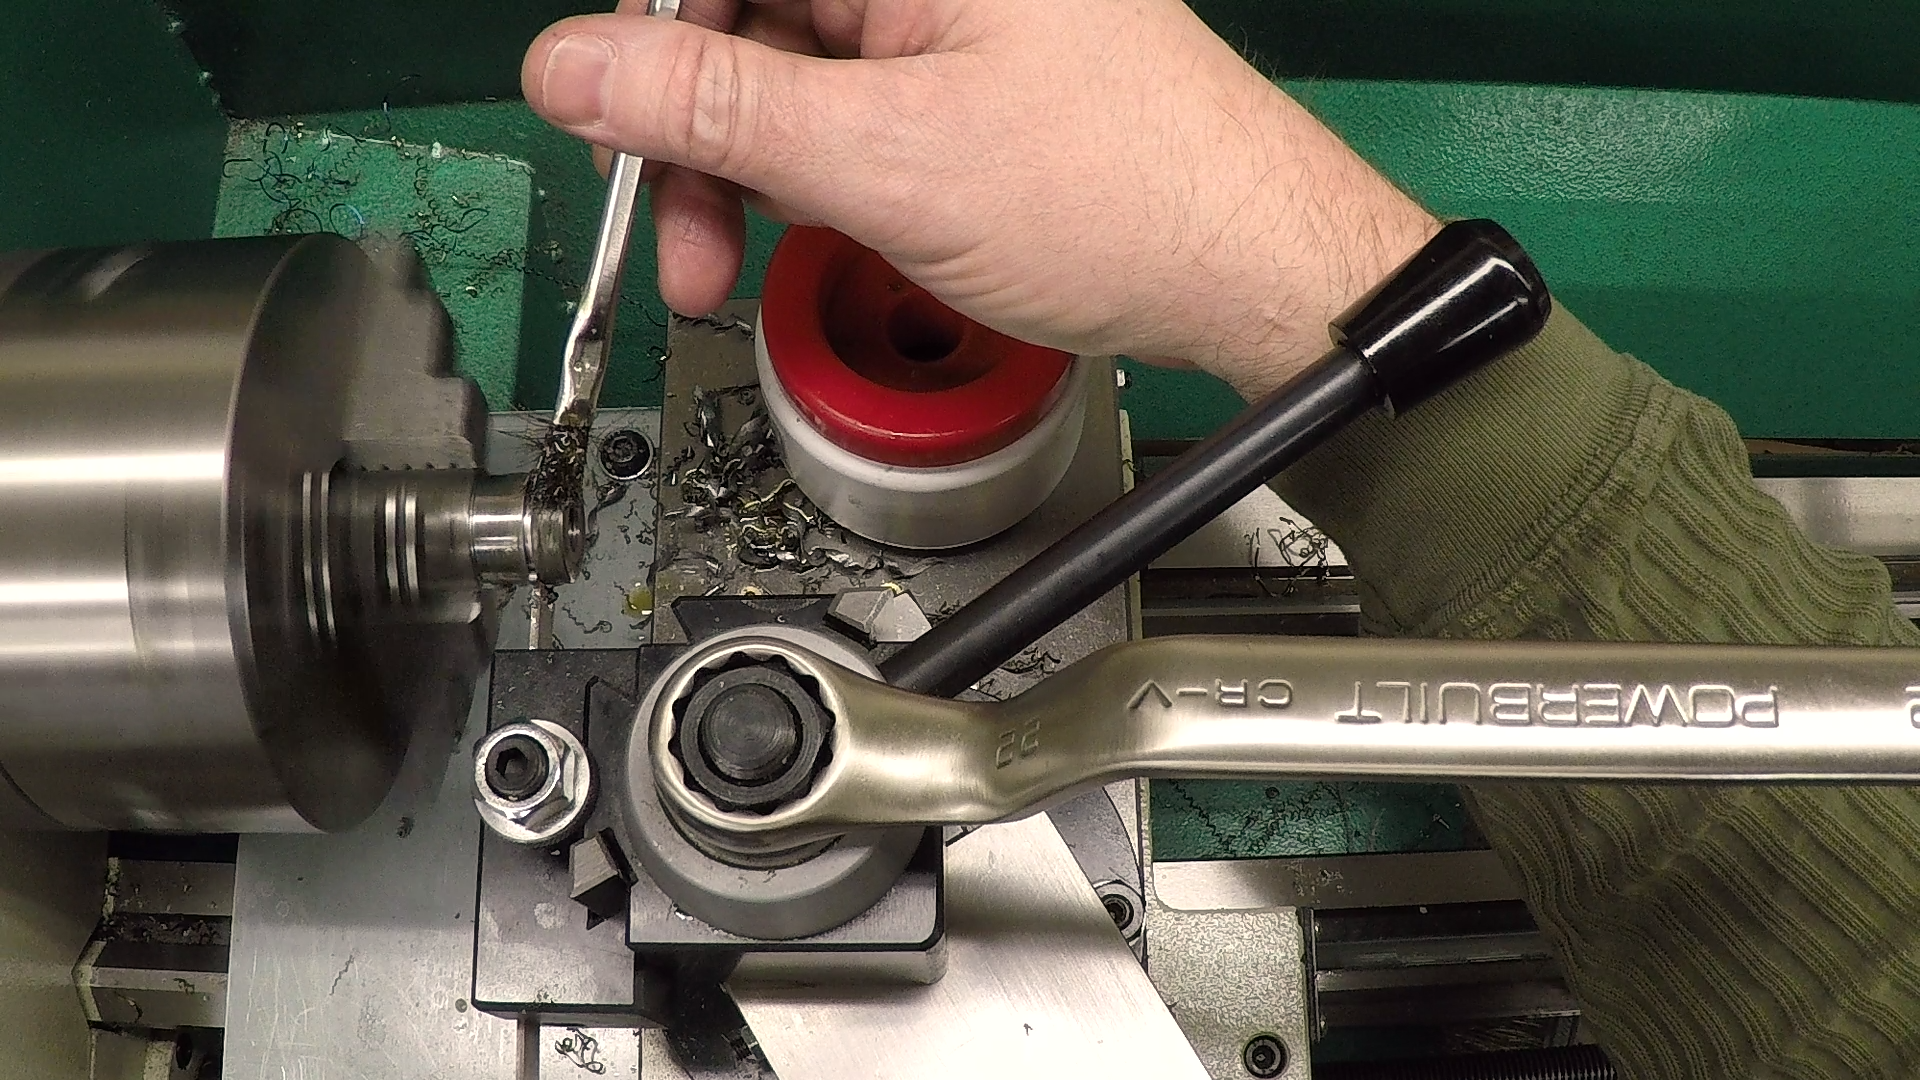
Once the hole was drilled and tapped, I parted off with a 1/16″ HSS parting tool. One neat trick I use regularly is to square the toolholder against the chuck with a 1-2-3 block. This is quick and simple and works with a small chuck. One important tip if you do this: rotate the chuck until the front jaw is horizontal and set the block on top of the jaw. That way, when you tighten the toolpost and things move, the block won’t fall out.
Flipping and Facing
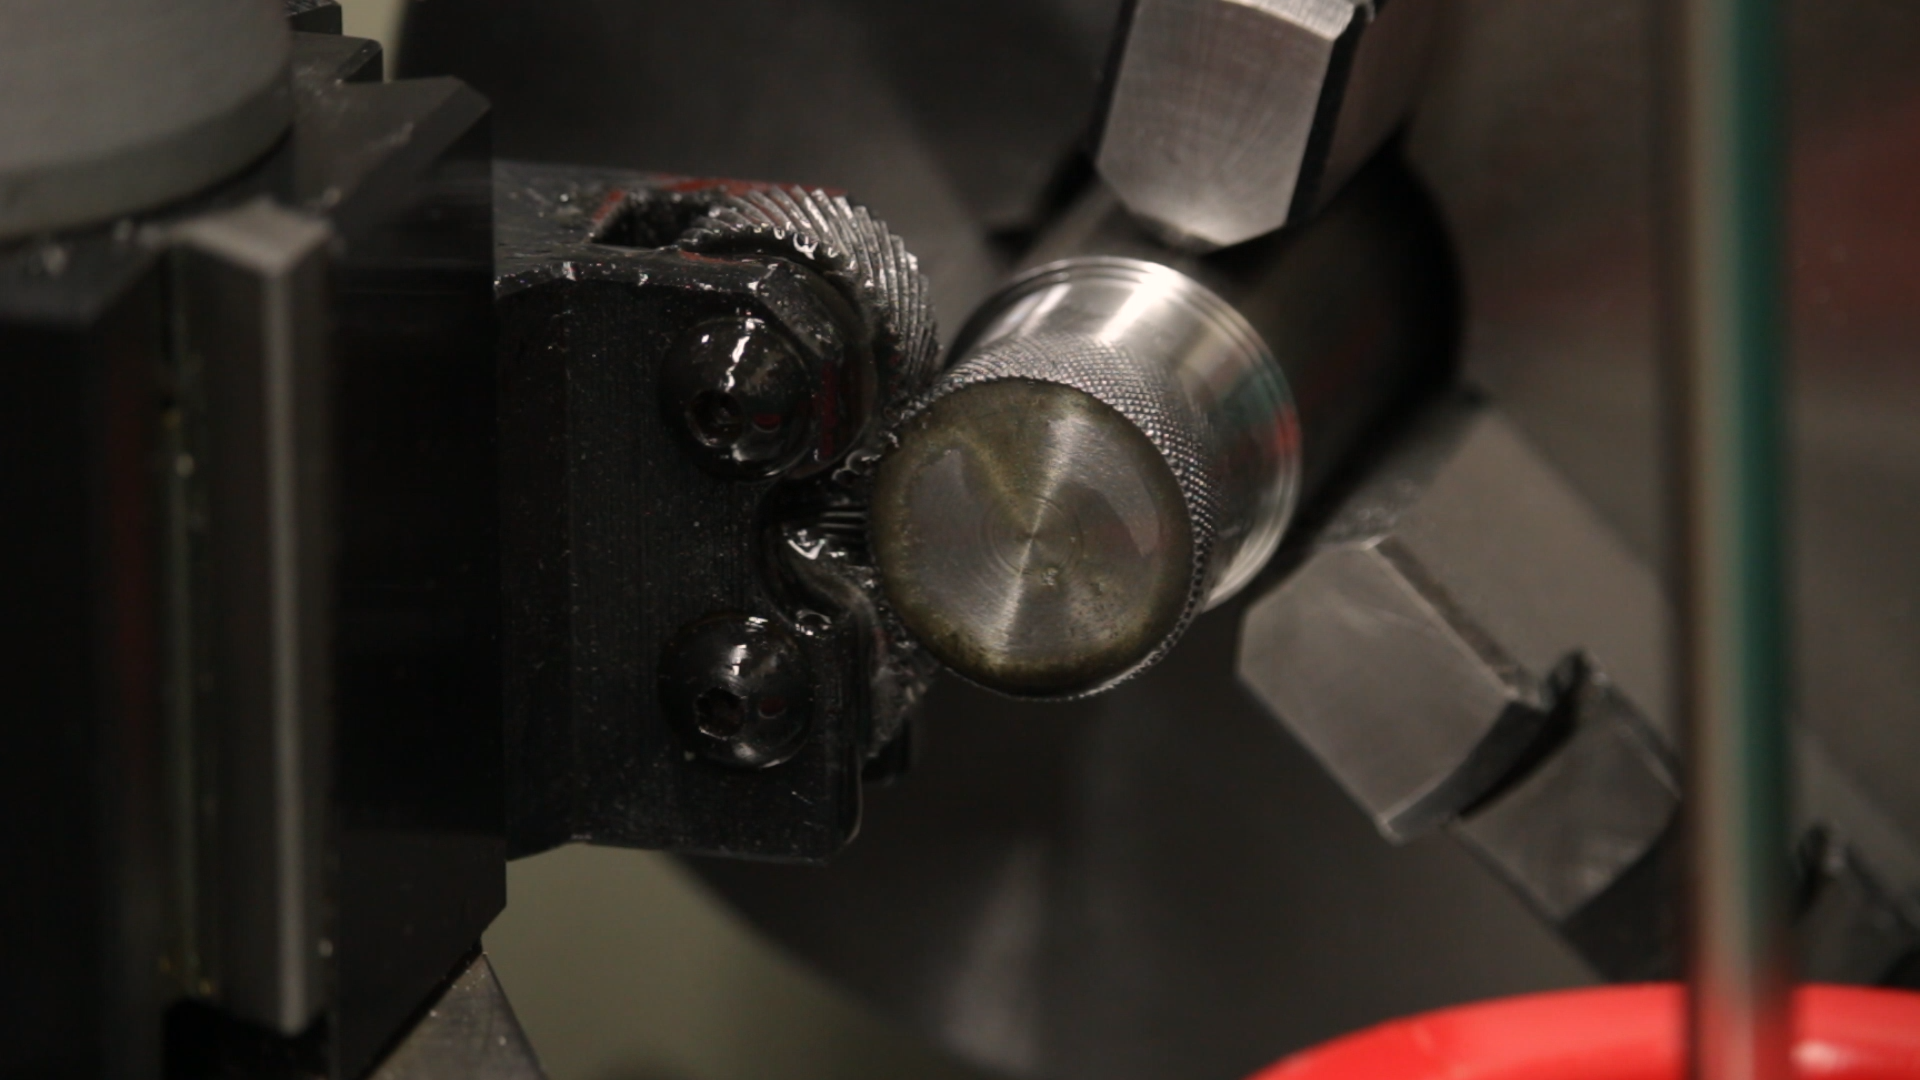
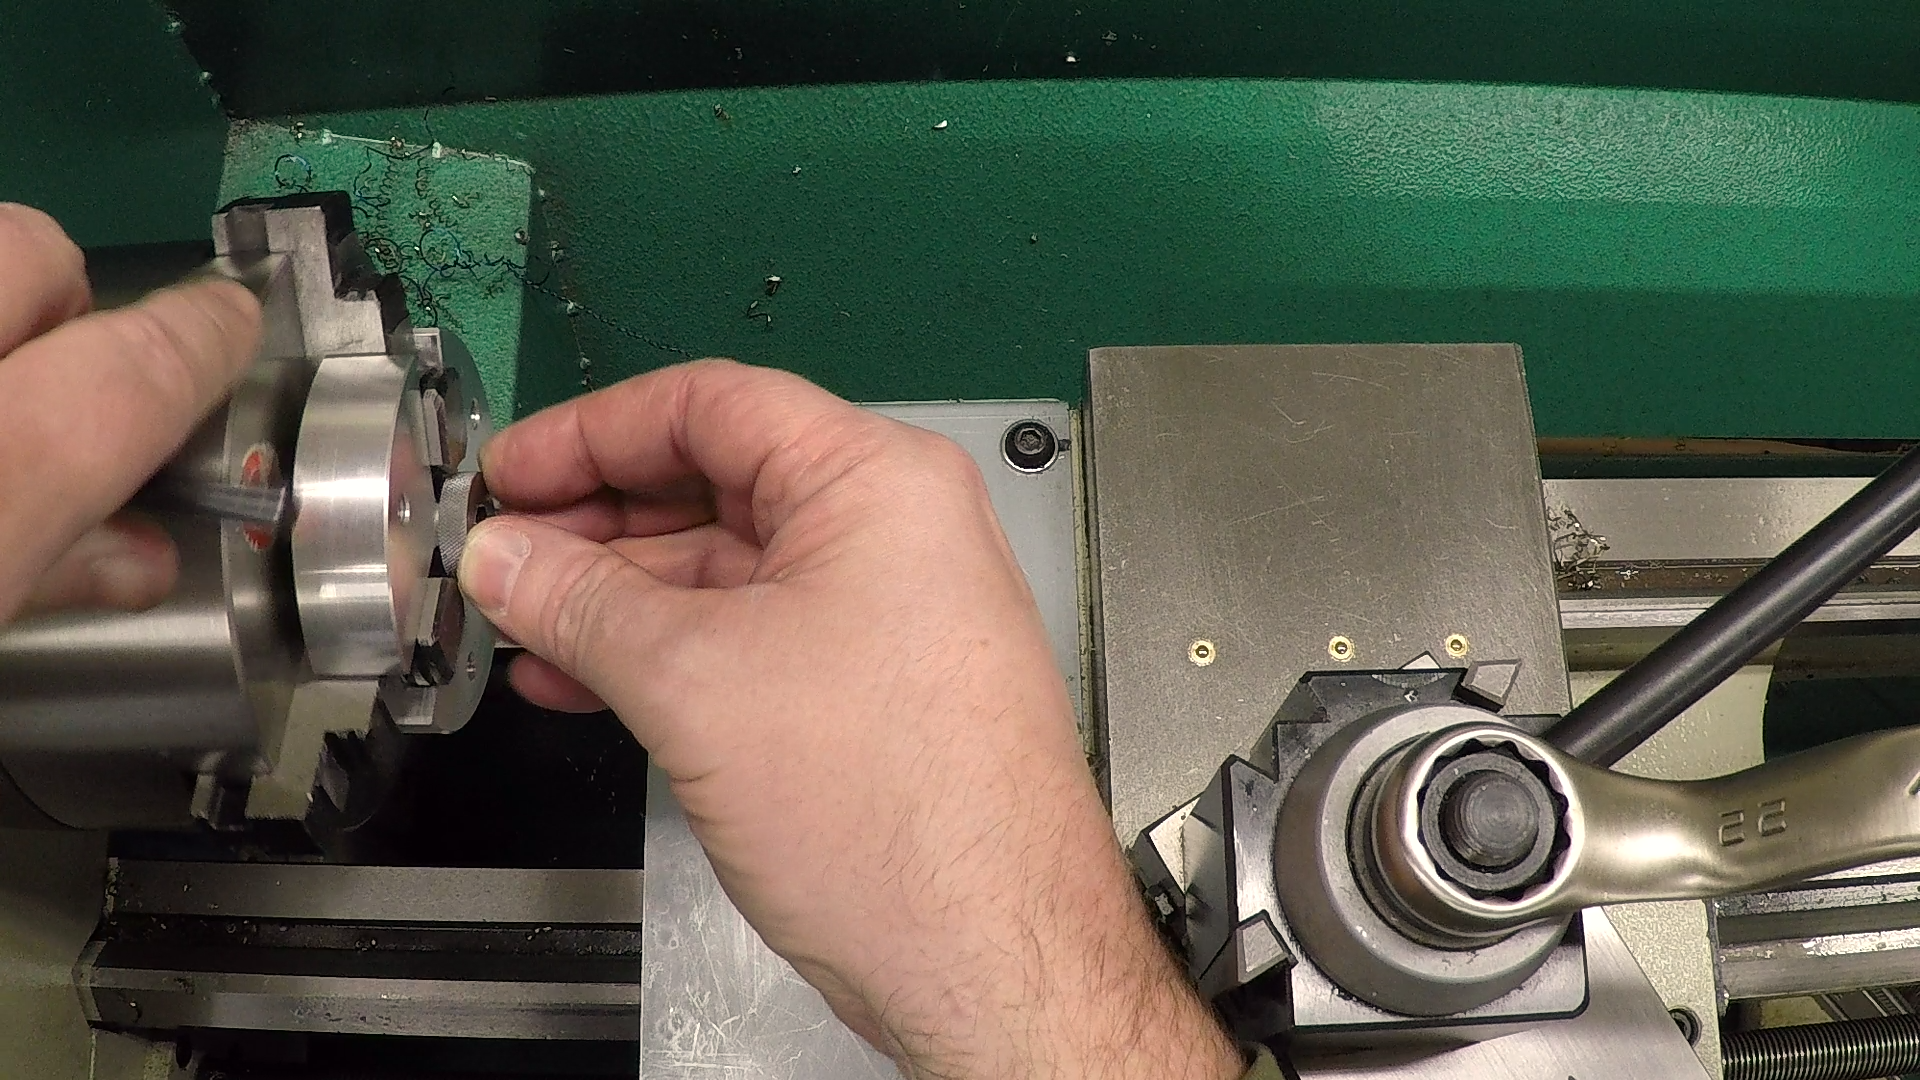
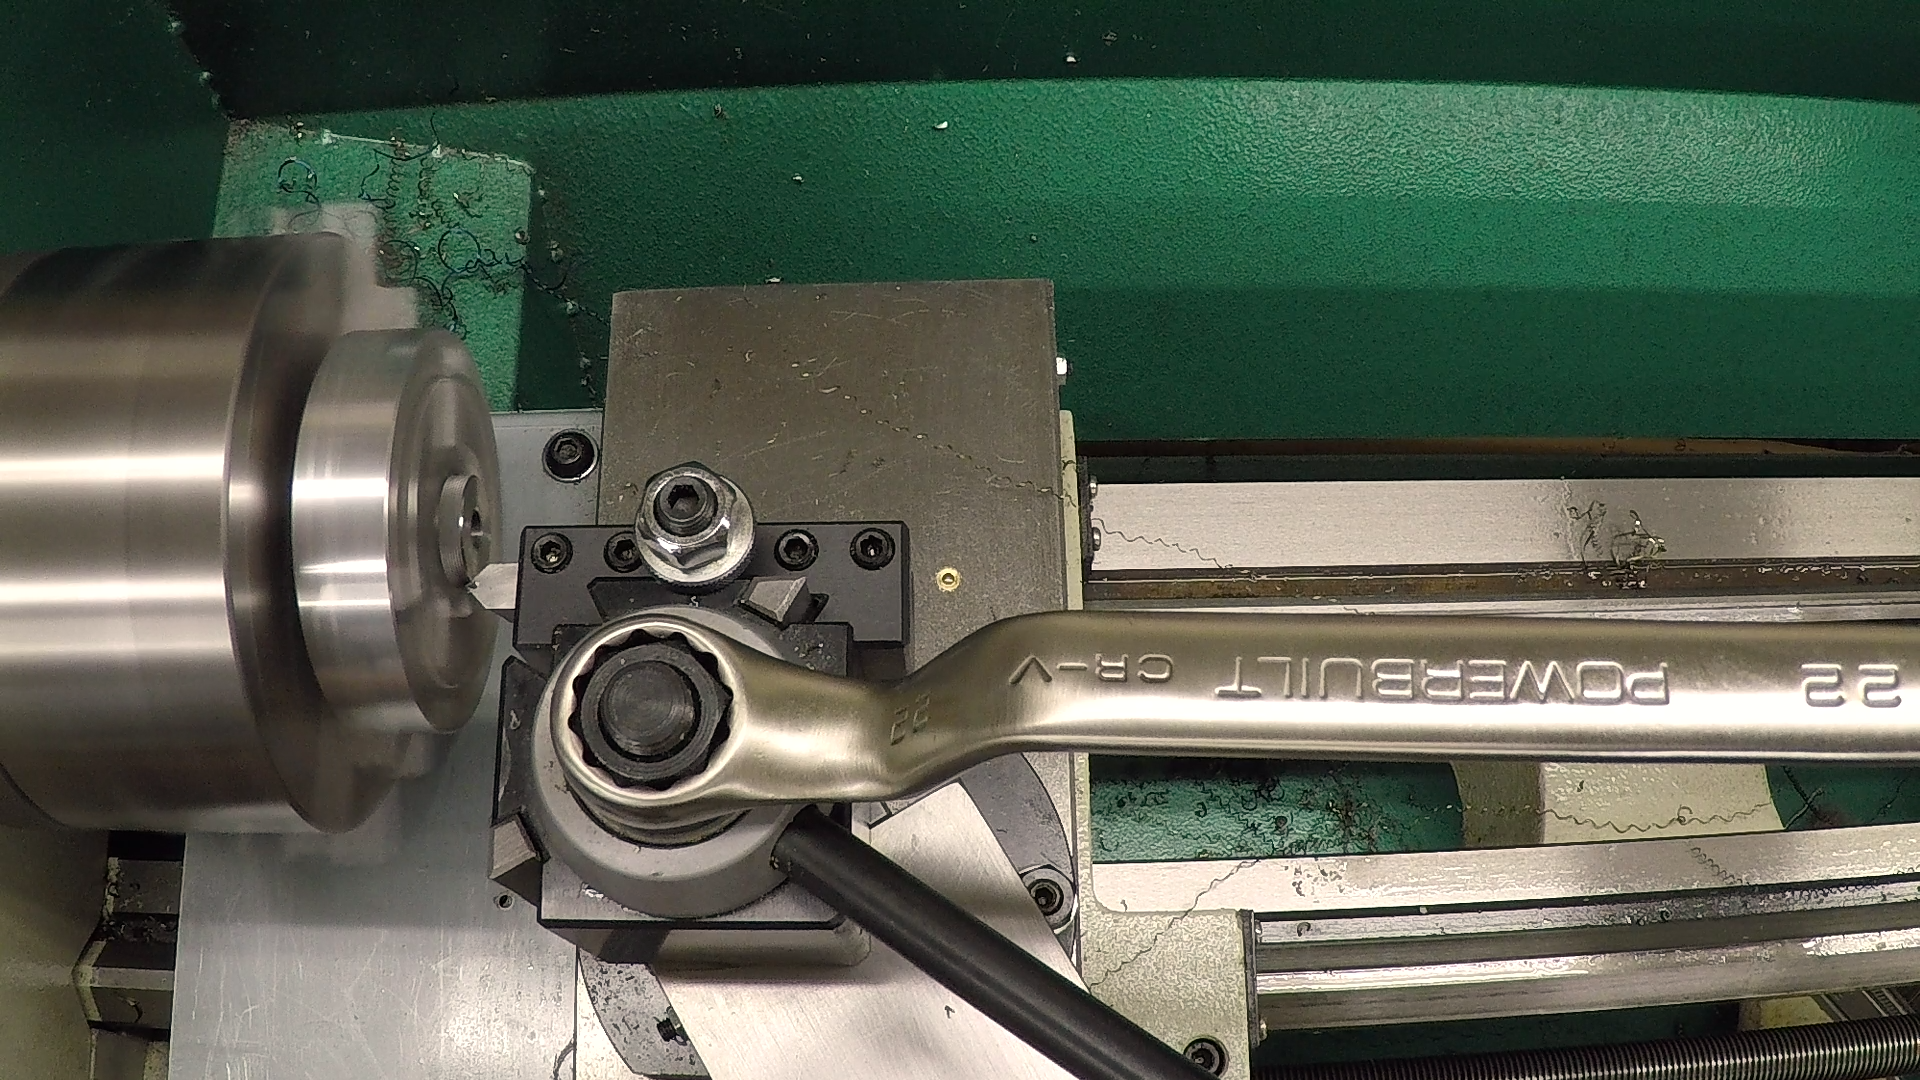
Once the part was separated from the stock, all that remained was to flip it around in the chuck and face it to thickness. Holding something small like this and getting it straight in the chuck is a challenge, so I pulled out my lathe spider. It’s a 3/4″ thick aluminum plate that fits between the jaws and provides a flat surface against which to align the part.
I clamped the chuck jaws onto the knurl, but I did it gently, using only enough force to hold the part and not enough to deform the knurl. The chamfer tool was very close to the chuck jaws, so I started with the lathe stopped, rolled the carriage up until it touched the jaw, then backed off slightly. After spinning by hand to make sure everything cleared, I fed the tool in using only the cross slide to cut the chamfer.

A quick pass with a rotary deburring tool cleaned up the threads.
Testing the Fit
A quick trip to the lathe confirmed that everything fits and the height adjuster works as expected. It does appear that the 1″ set screw I fitted as a stud is a little short another quarter or half inch would help. I’ll have to see if I can find something a little longer.
Next Steps
That’s the toolpost clamp complete. We now have the spindle done. The pulleys are done. The motor clamp and eccentric are done. The toolpost clamp is done. We still need wheel arbors, a drawbar and some kind of wheel guard system. Those will be coming soon.
If you’re following along with the build, here are some links to some of the tools used in the video:
*This site contains affiliate links for which I may be compensated
- Shars CCMT0602 RH turning tool holder (eBay*): https://goo.gl/Q1Jsdp
- Shars AXA #10 Knurling tool holder (eBay*): https://goo.gl/vFXyko
- Shars 1/16×1/2″ P-Type HSS Cut-Off Blade (eBay*): https://goo.gl/Ejs4qY
- Shars AXA Quick Change Tool Post Set (eBay*): https://goo.gl/sjsf9N
- Noga Deburring Set (Amazon*): http://amzn.to/2xMfiPz
- Shars 0-6″ .0001″ micrometer set (eBay*): https://goo.gl/vvgJ9A
- Shars Ultra Precision 1-2-3 Blocks (pair) (eBay*): https://goo.gl/8Ykyhk


