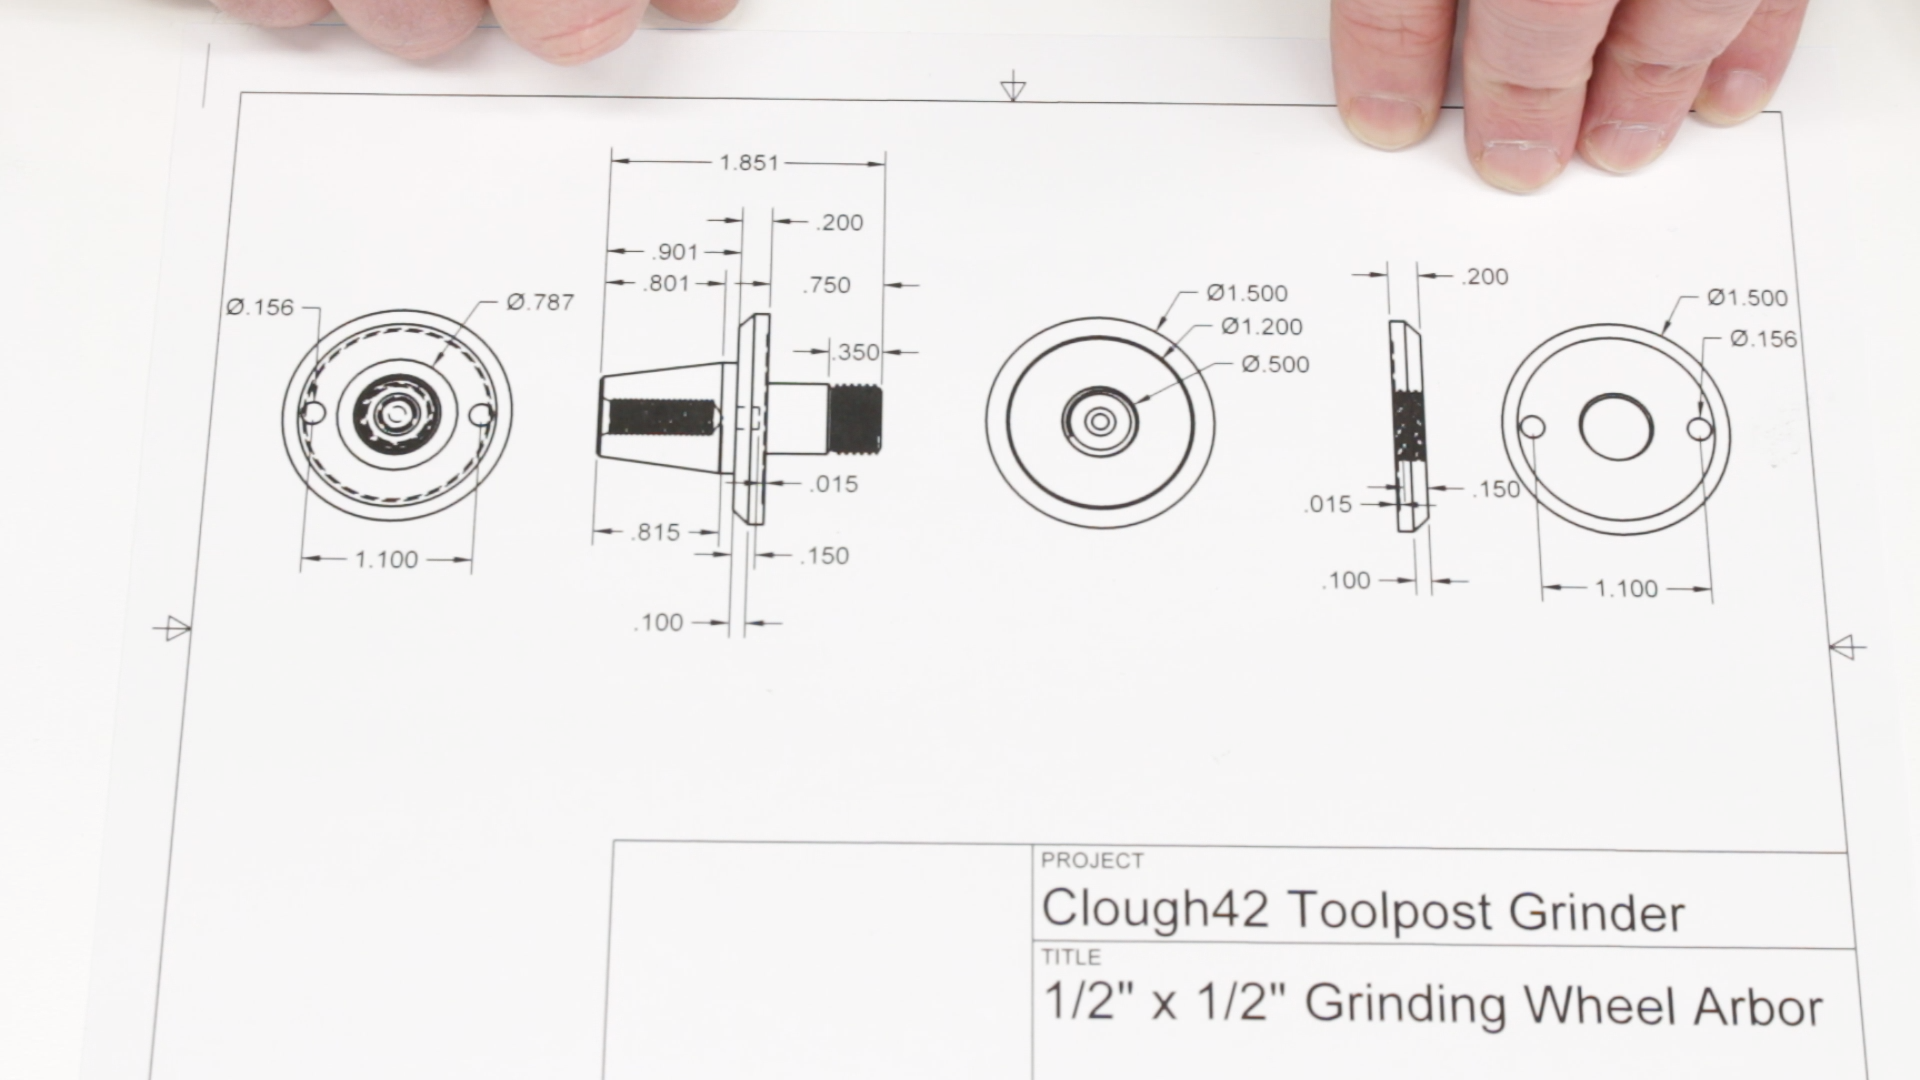
This week, we’re working on the arbor and flange to hold a grinding wheel in the toolpost grinder.
The parts are made from 1144 StressProof steel. This is an ideal choice, since we don’t plan to heat treat and grind the arbor when we’re done. 1144 is strong and wear-resistant, easy to machine and does not have internal stresses, so it doesn’t tend to move when machined.
The Plan
The arbor would be relatively simple to turn between centers, and this would be an ideal way to do it. But I don’t have a drive dog and I didn’t want to stop and make one, so we’re going to do it using the 3-jaw chuck and a fixture.
The operations have to be ordered carefully to make sure we always have something cylindrical to hand on to (turn the taper last), and to be sure we can keep everything concentric when we flip it around in the chuck.
The Flange
I decided to form the flange first for a couple of reasons. First, I have a tap for the thread, so it makes more sense to turn and tap the flange first so it can be used to gauge the single-pointed threads on the arbor later. Second, I want to mount the flange on the arbor to turn its outside diameter, and I don’t want to take the arbor out of the lathe before doing that. This maximizes the chances of everything running true in the end.
To form the flange, I faced off the stock and then cut off a slice in the bandsaw.
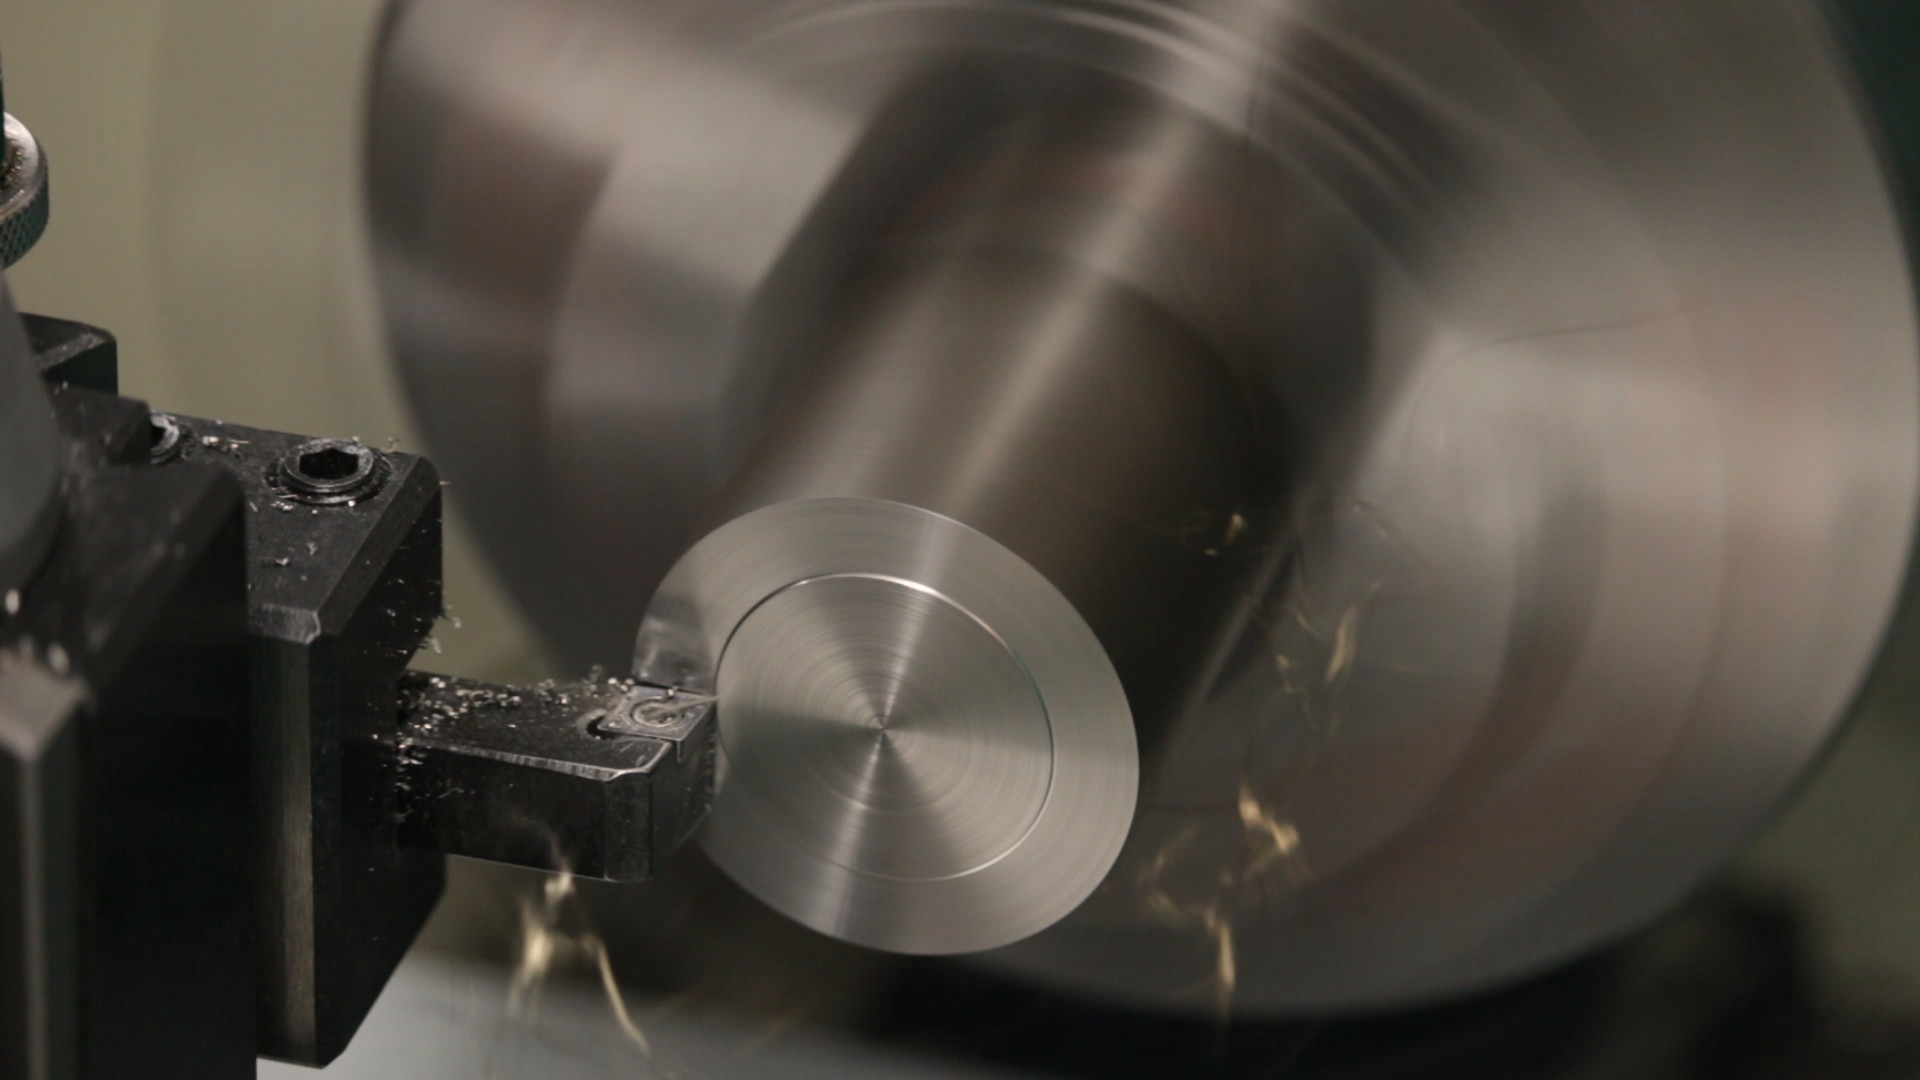

Since I have to drill through the flange, I can’t use my beloved lathe spider, so I just mounted the slice in the 3-jaw chuck using parallels. I generally hate using parallels in this way because I once left a parallel in the chuck and turned it on. I live in fear that I’ll get distracted at the last moment and do that again. With the flange in the chuck, I faced it to thickness.


Drilling, Boring and Tapping
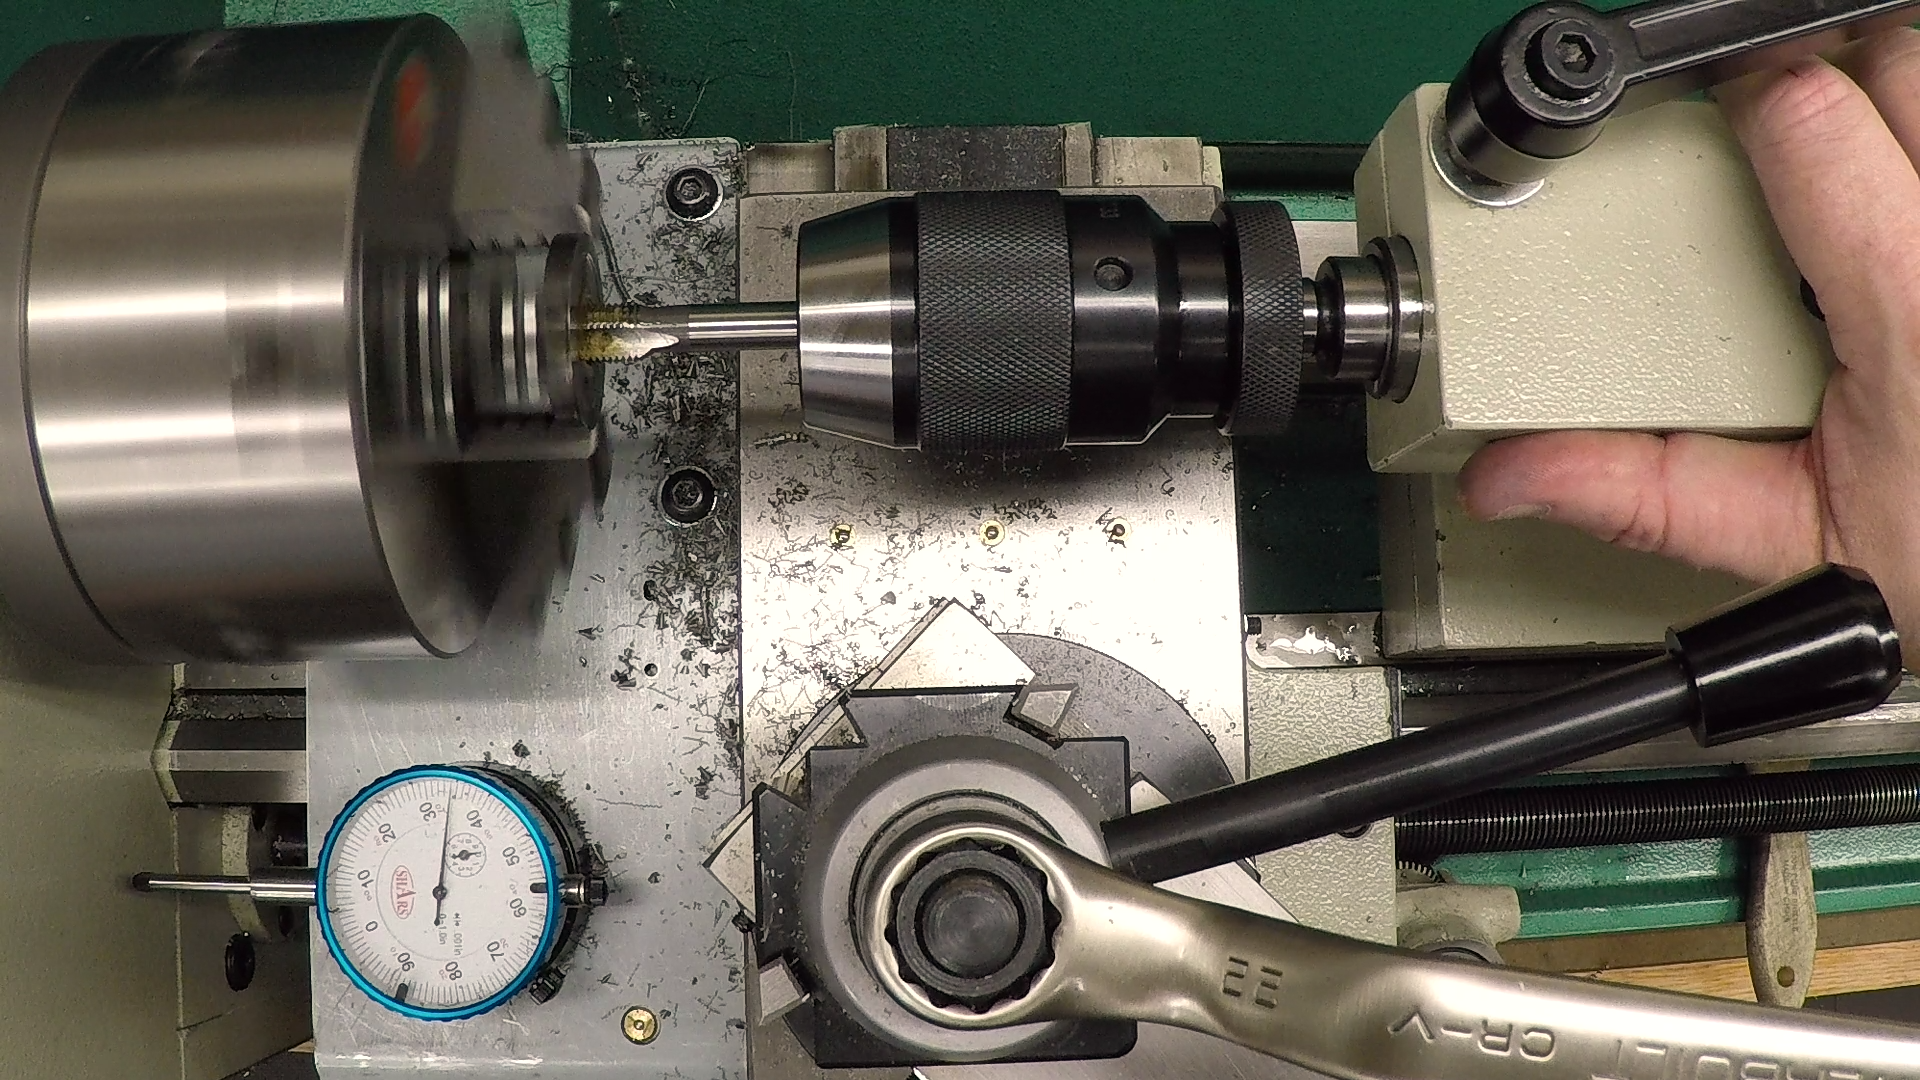
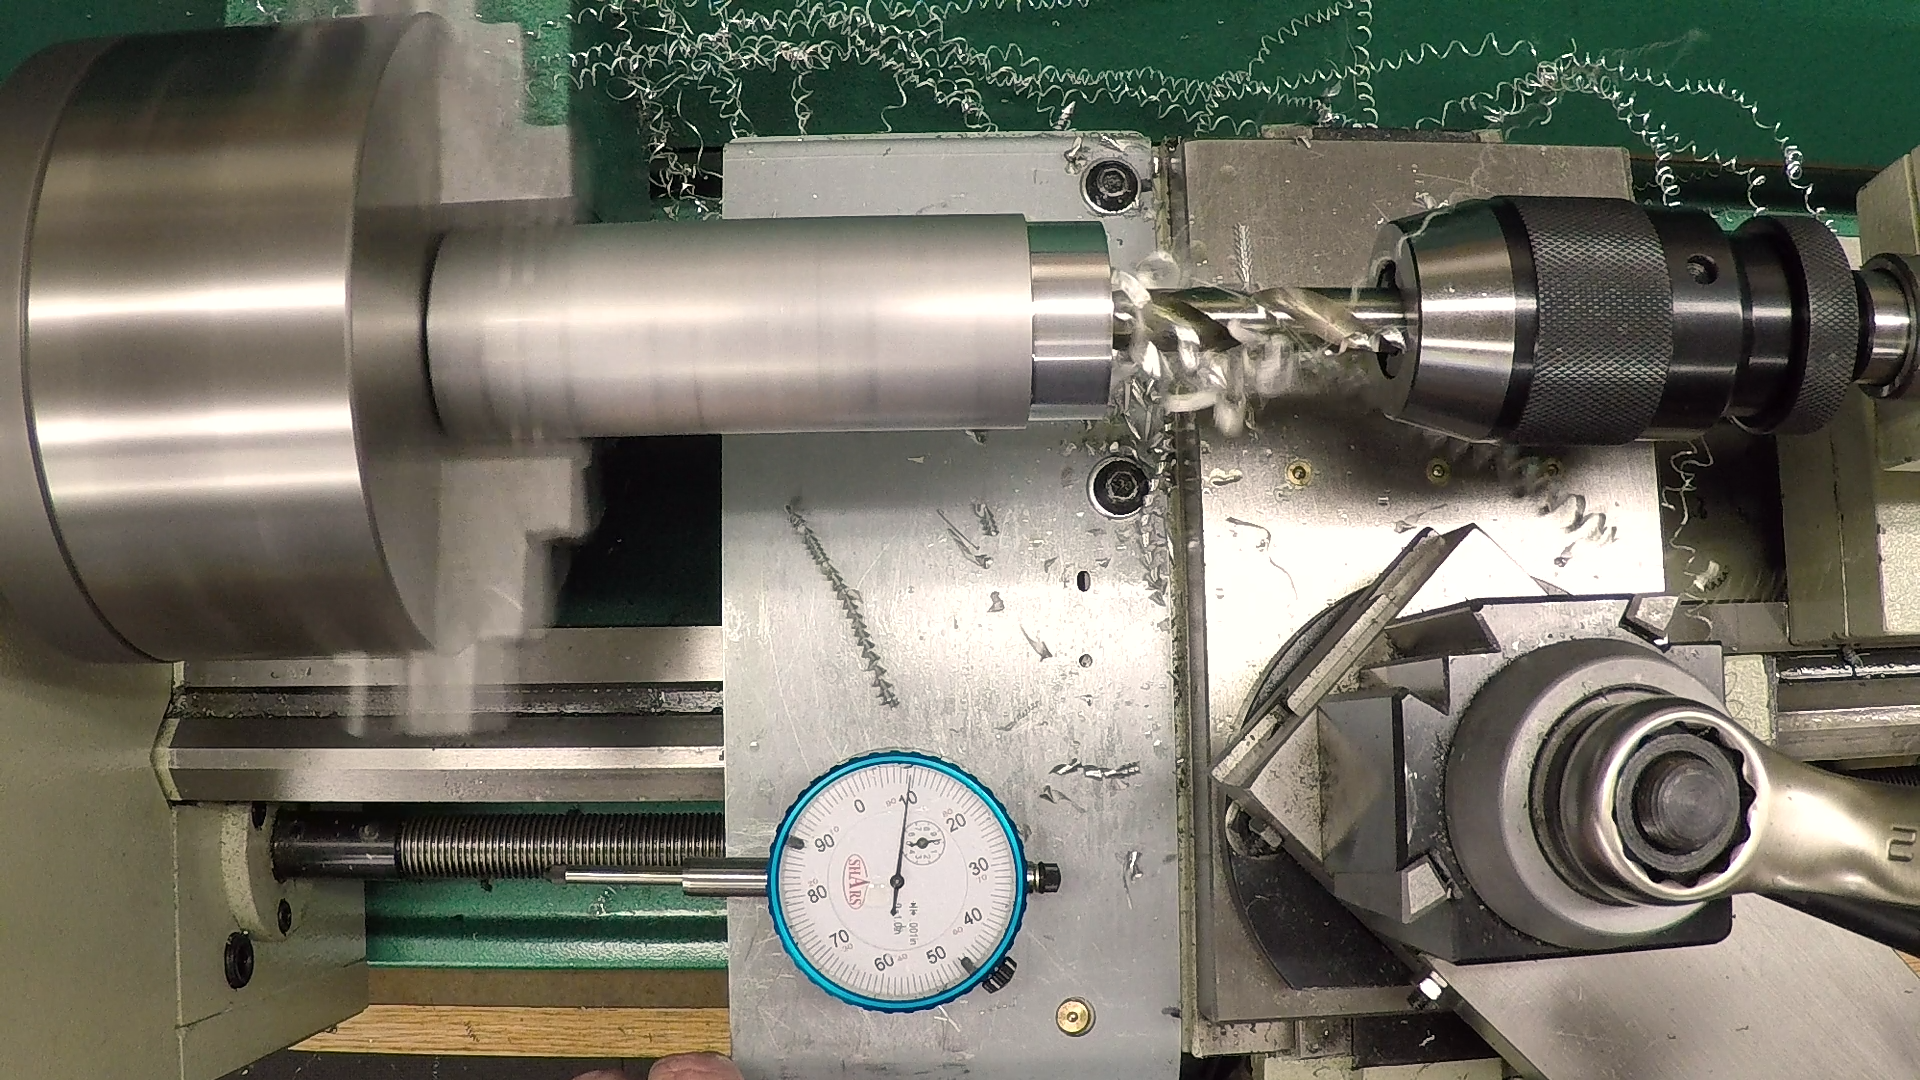
Since the emphasis for this project is on concentricity, I didn’t want to trust a drill to put the hole exactly in the center. So I drilled it 3/8″ first, then bored out to the tap size for 1/2-20 UNF.

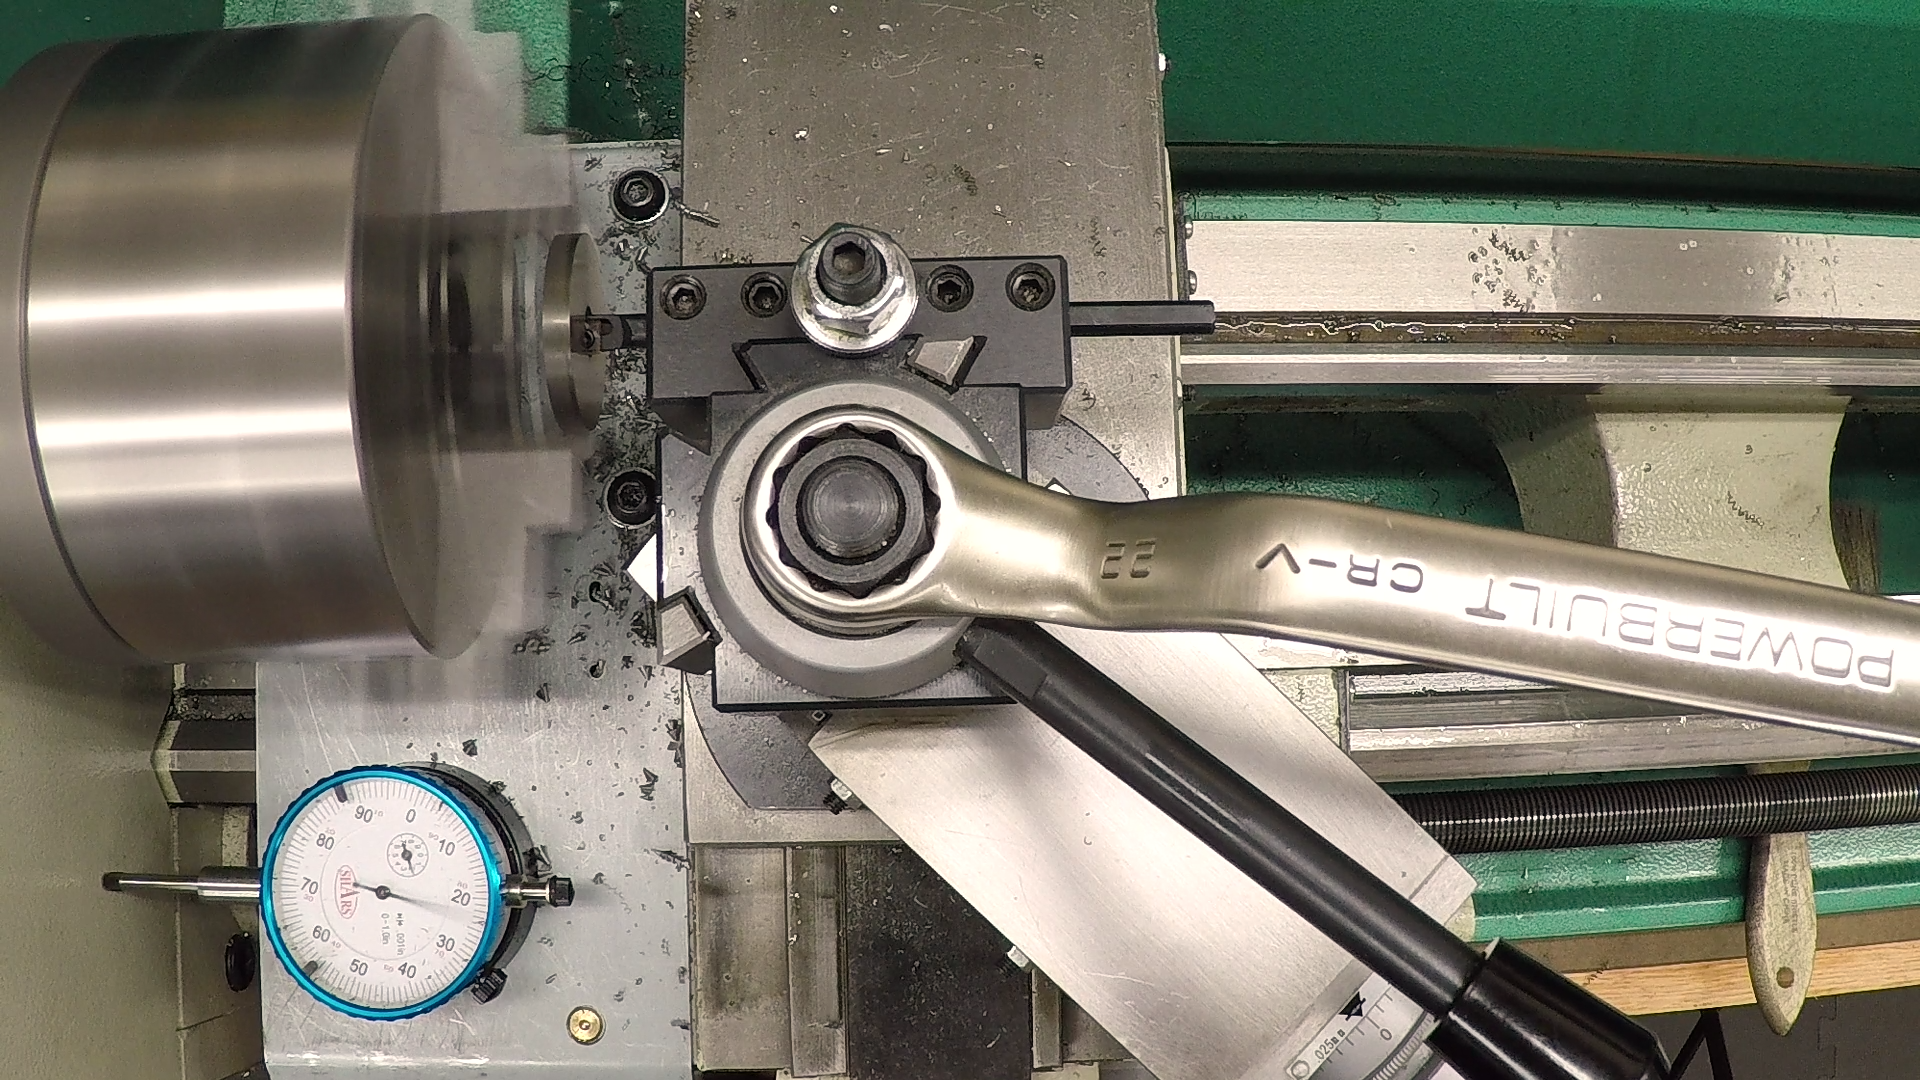
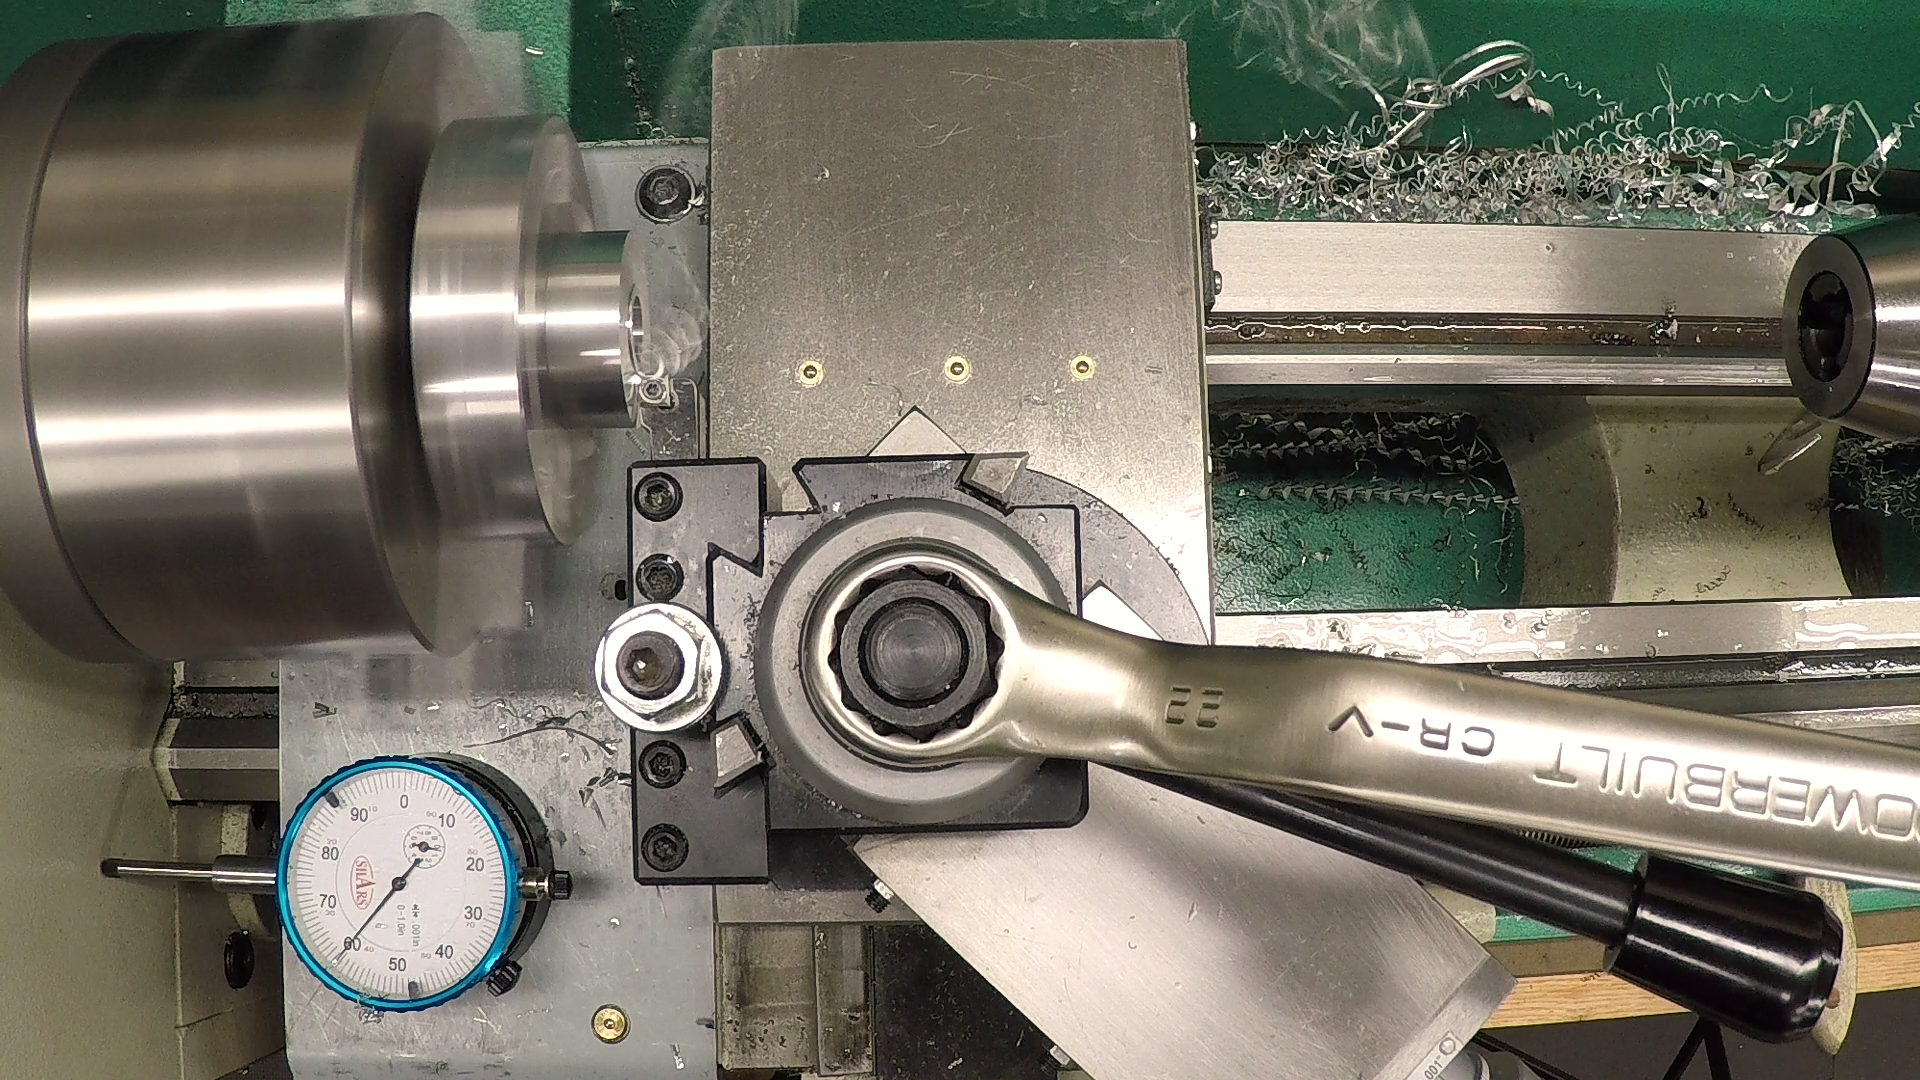
And since I had the boring bar in the lathe, it was a good time to go ahead and form the recess in the flange. The recess allows the flange to bear on the wheel only around its perimeter. This compresses the paper blotters on the wheel more evenly and reduces the negative effects of any uneven glue.
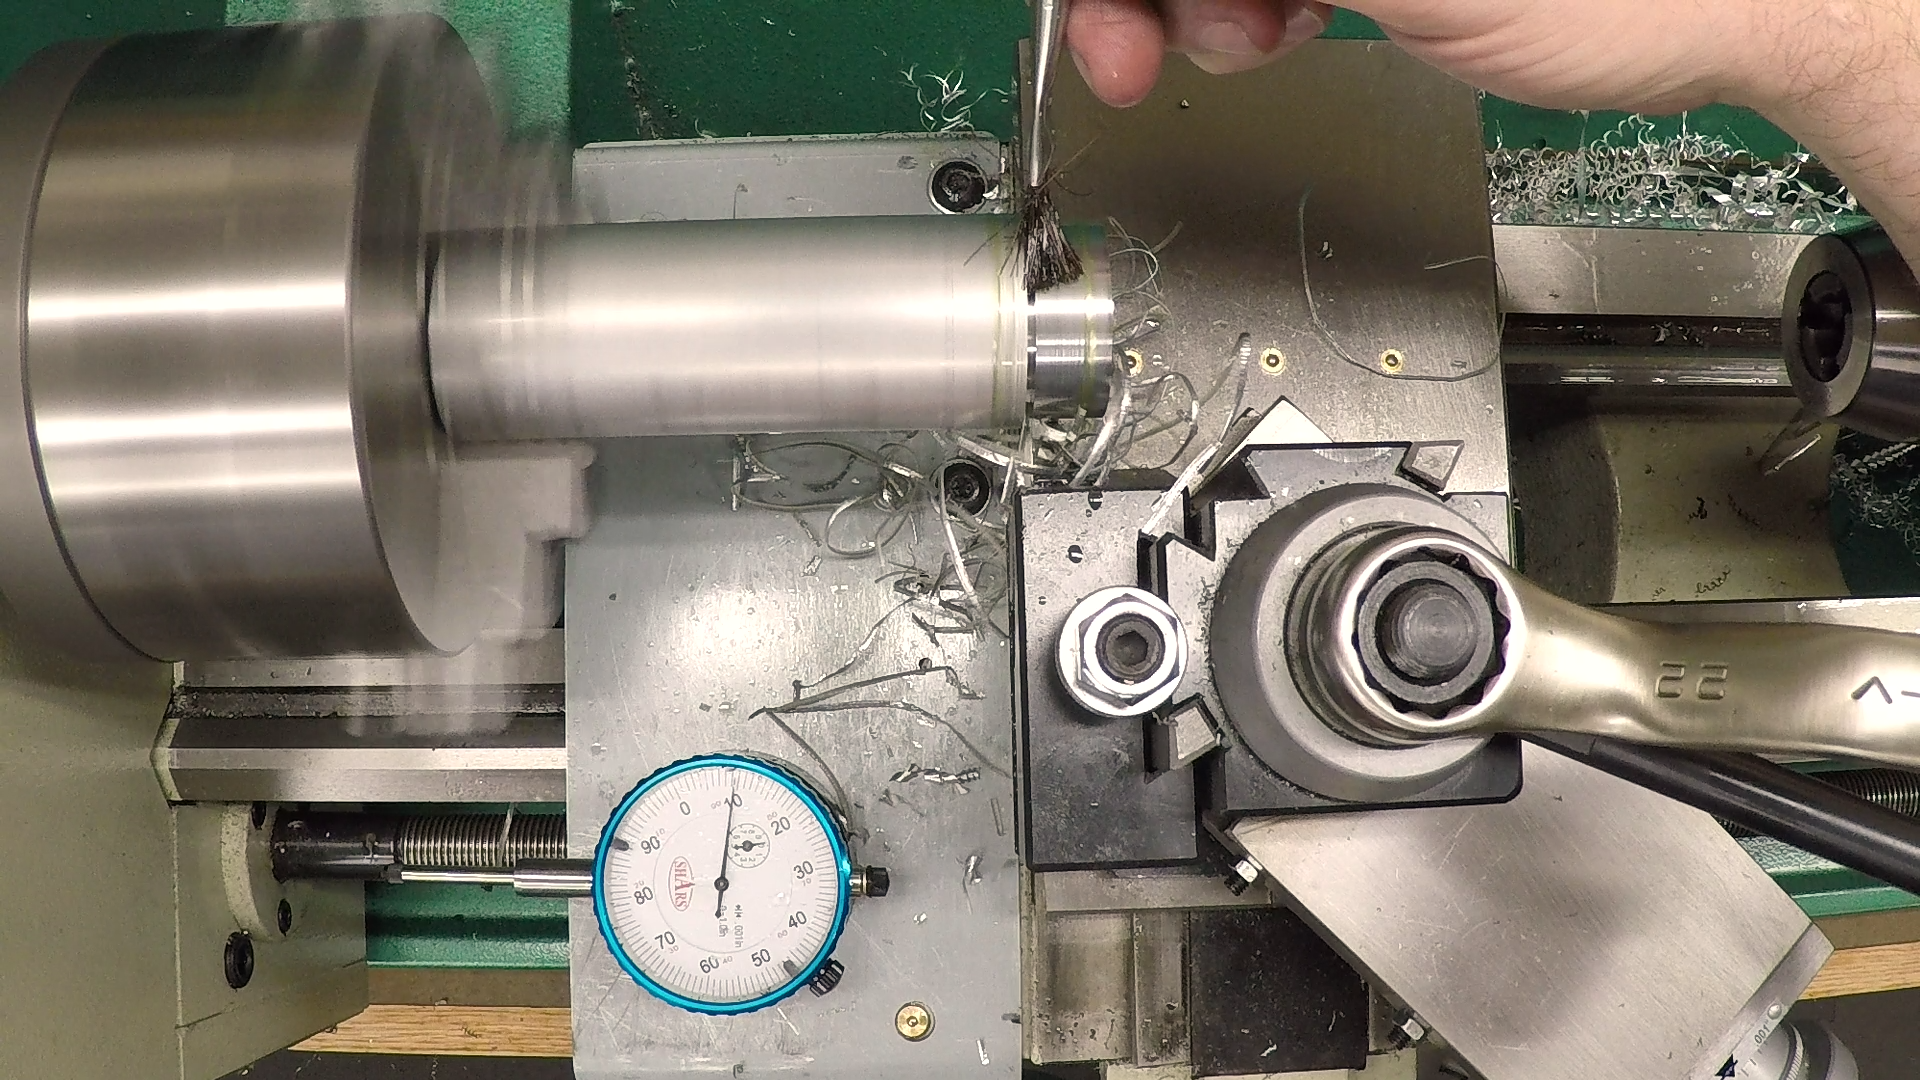
Finally, I ran a 1/2-20 tap through the flange and set it aside for later.
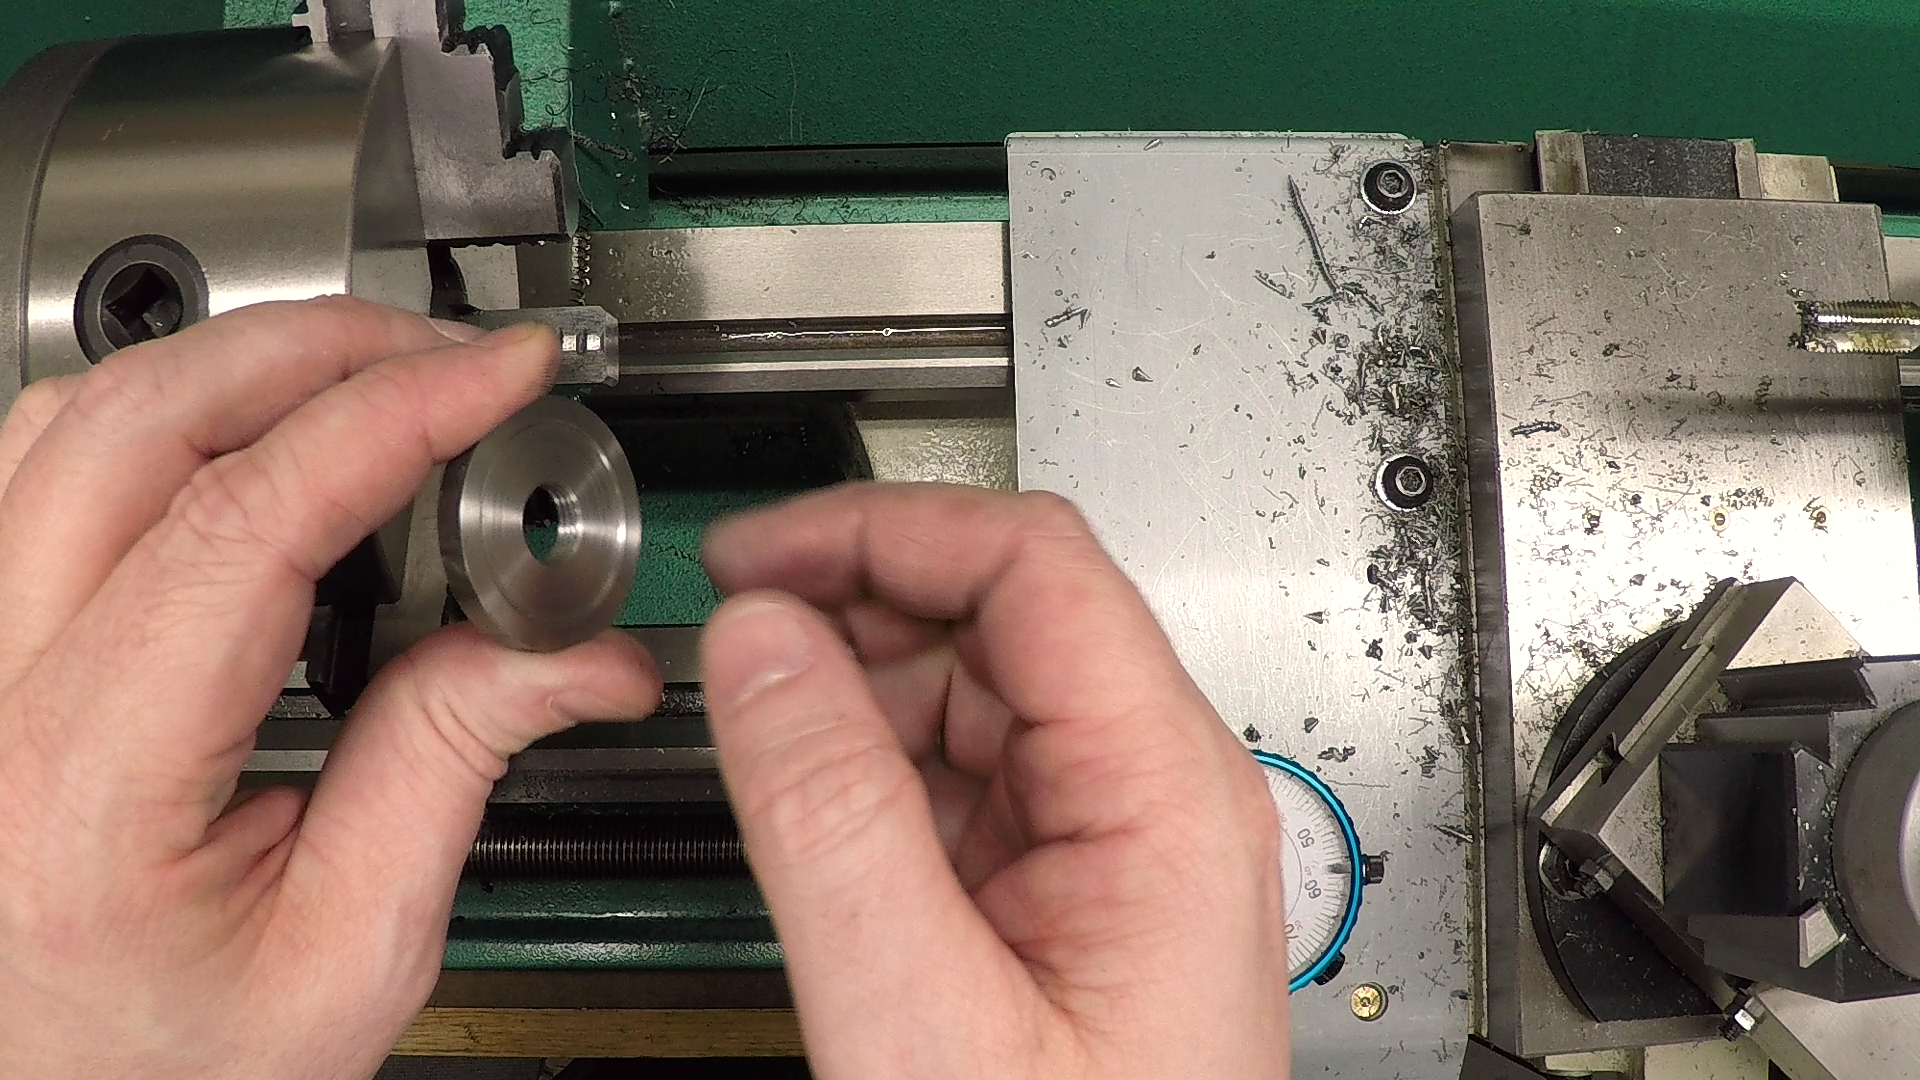
The Aluminum Spacer
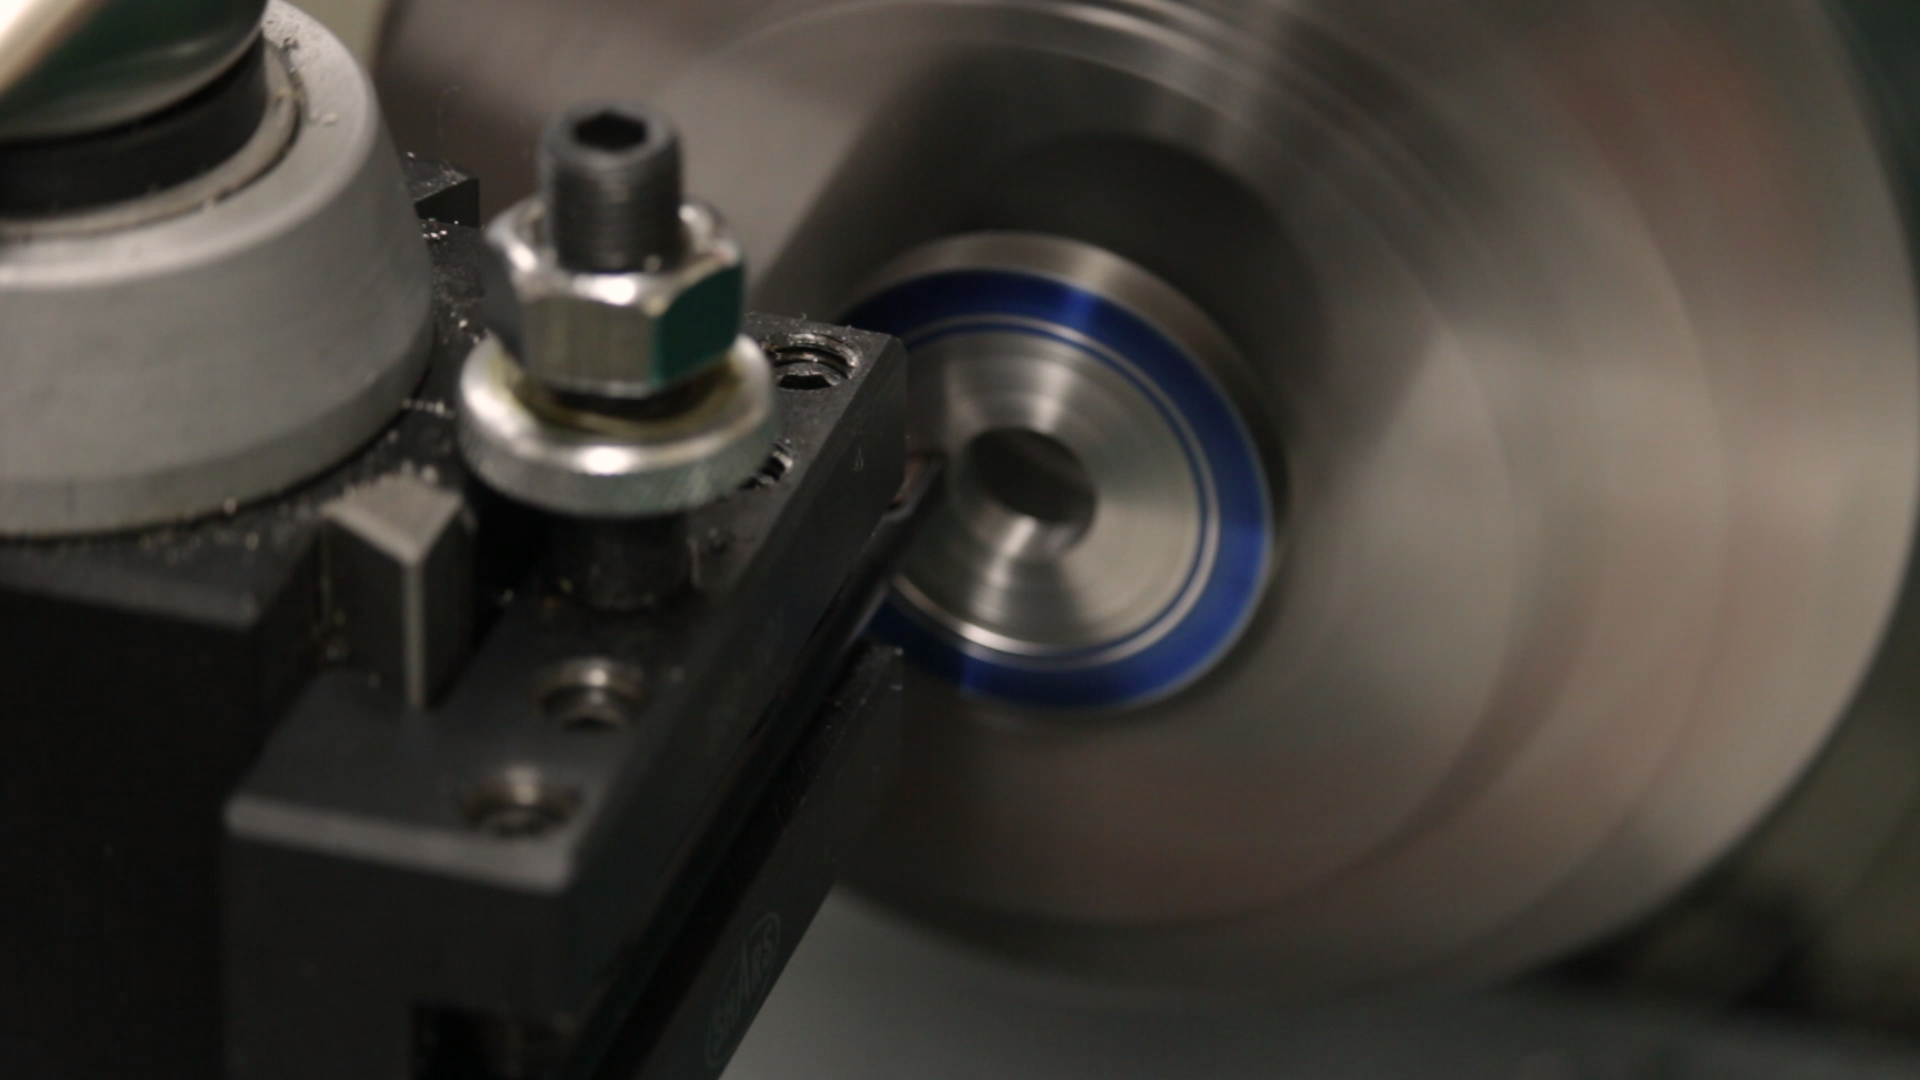
Before I’m done, I want to mount the flange on the threaded arbor and turn both flanges to the same size and concentric. To do this, I’ll need a spacer the same thickness as the grinding wheel. So I made one quickly out of aluminum. It doesn’t have to be a perfect fit on the center register, but it does have to be flat and parallel so the flanges seat properly for turning.
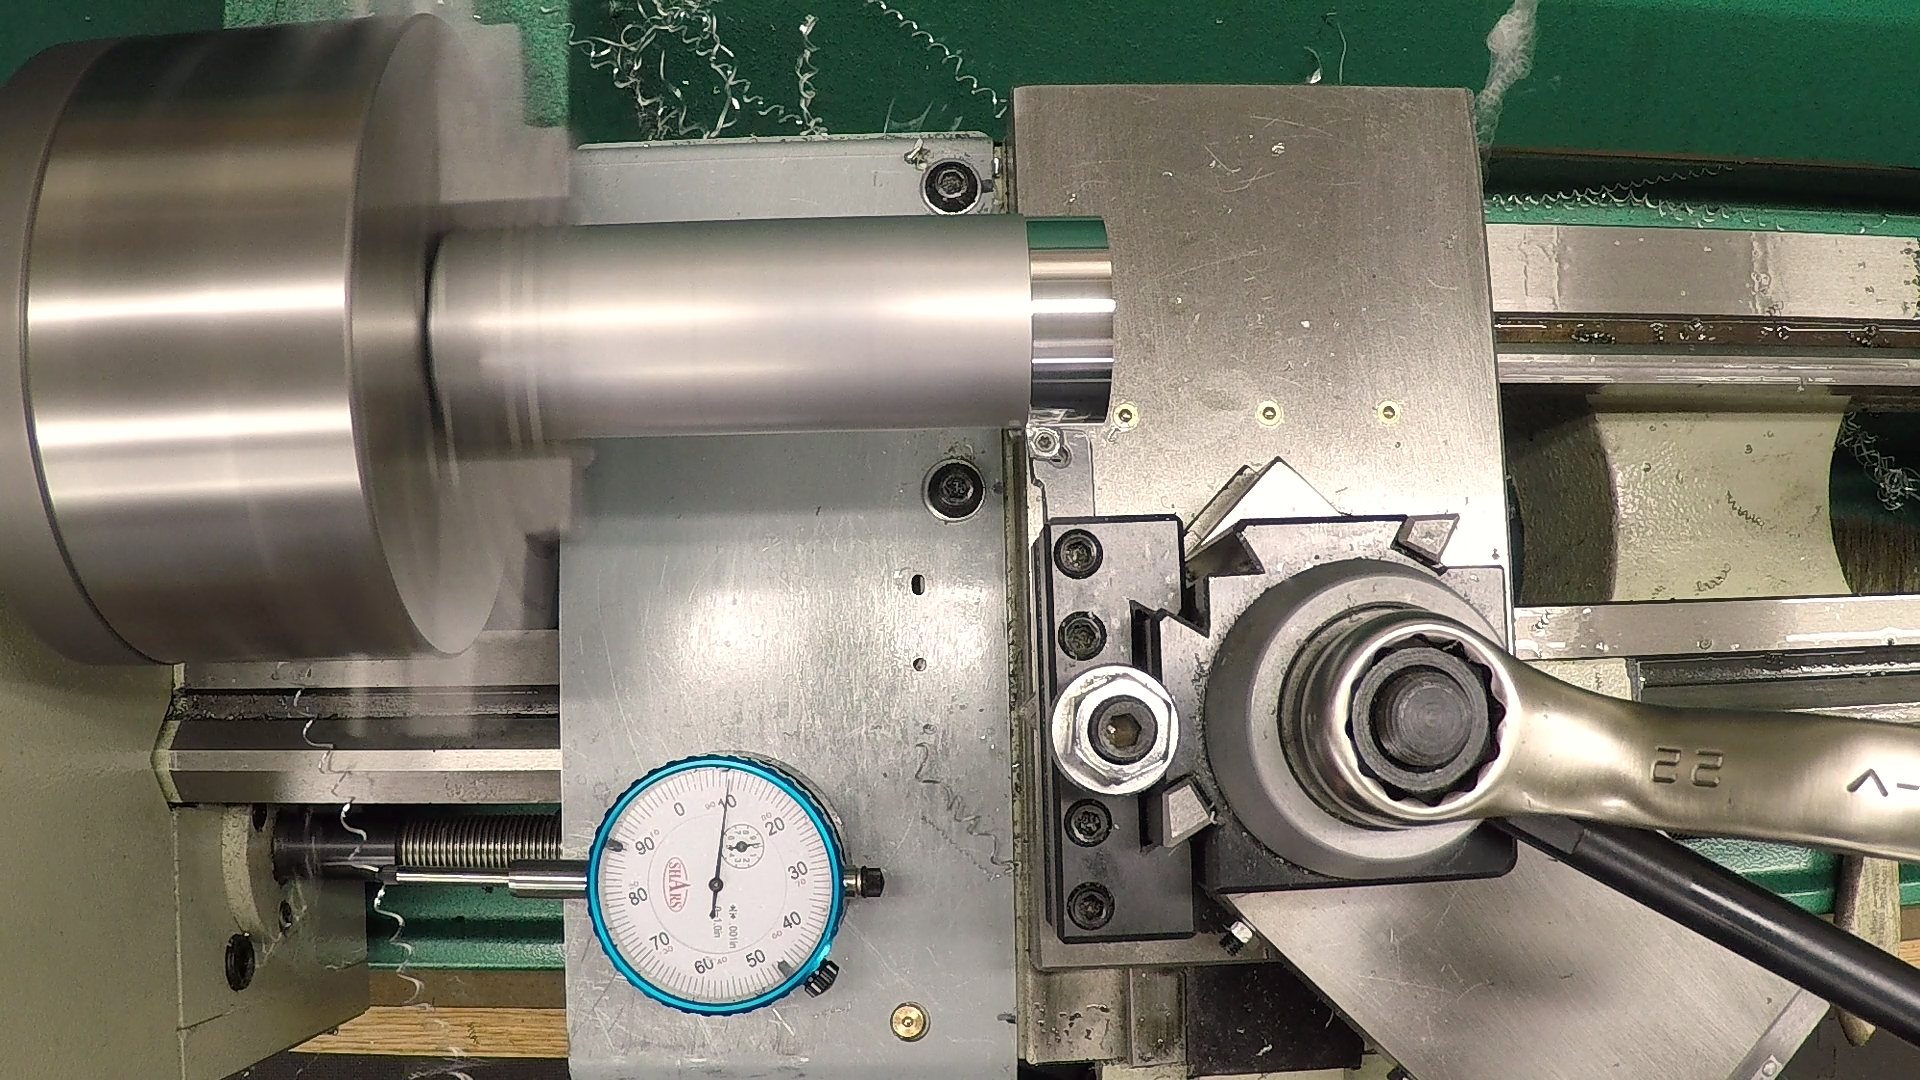
As you can see in the photos, the aluminum blank I used was pretty long, and I didn’t want to waste the grip stock, so I just turned it as it was. Running fast (2400 RPM) it turned just fine. The parting tool started to sing partway in, so I just finished the cut on the bandsaw.

Next Steps
I ran out of time for today, so we’ll have to keep working next week. Where does the time go?
Next time we’ll mount the arbor blank, turn it down to form the registers and single-point some threads.
If you’re following along with the build, here are some links to some of the tools used in the video:
*This site contains affiliate links for which I may be compensated
- Shars CCMT0602 RH turning tool holder (eBay*): https://goo.gl/Q1Jsdp
- 7mm CCMT0602 boring bar (eBay*): https://goo.gl/tJj6Xj
- Kyocera CCMT060204-HQ Cermet Inserts (eBay*): https://goo.gl/pDhFAs
- Shars CCGX 21.52 insert for aluminum (eBay*): https://goo.gl/t3CWy8
- OSG 1/2-20 spiral point plug tap (eBay*): https://goo.gl/fYVpVR
- Noga Deburring Set (Amazon*): http://amzn.to/2xMfiPz
- Shars 1/16×1/2″ P-Type HSS Cut-Off Blade (eBay*): https://goo.gl/Ejs4qY
- A9 Cutting Fluid for aluminum (eBay*): https://goo.gl/SPe2DL
- RapidTap Cutting Fluid for steel (eBay*): https://goo.gl/2vgW9H


