This week, we’re still working on the wheel arbor for the toolpost grinder. Last time we made the flange, and this week we’ll make an arbor to fit.
Turning Down the Blank
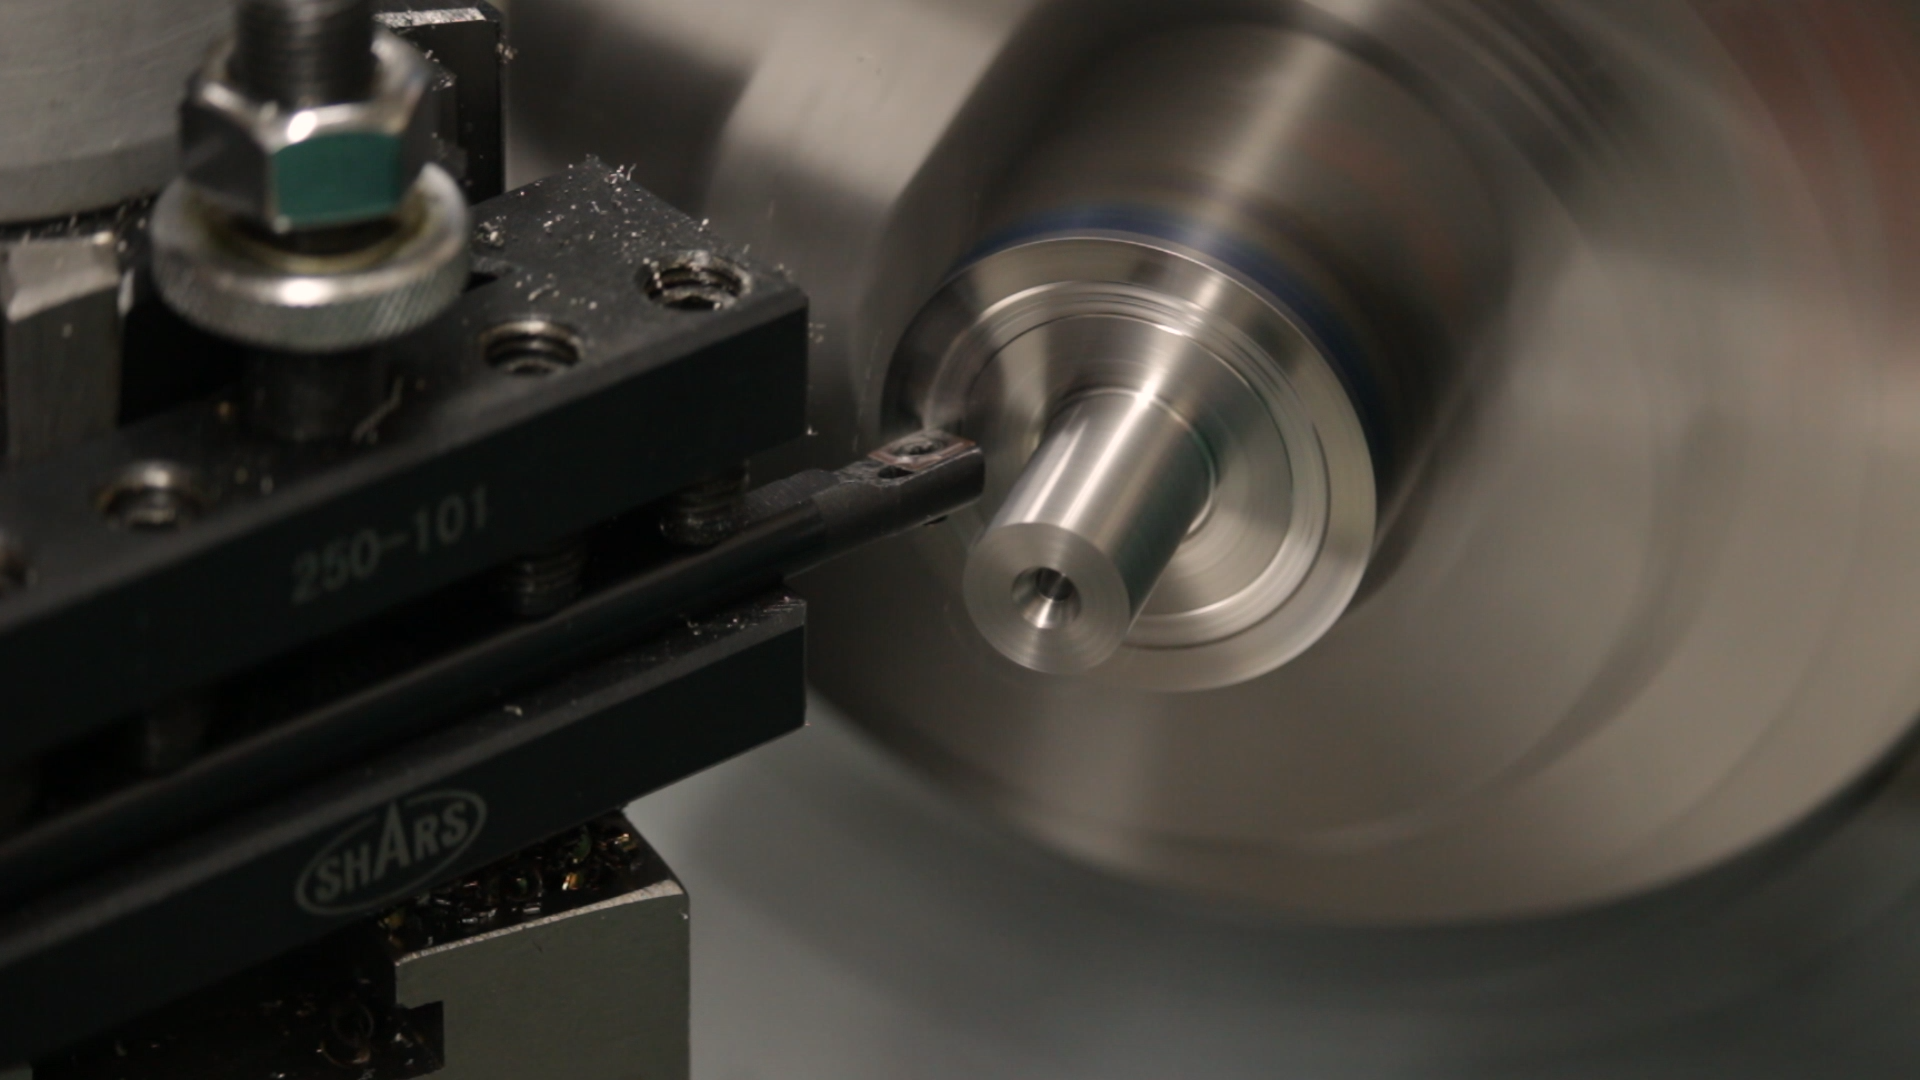
The main body of the arbor is also made from 1144 StressProof steel. I love this stuff. It turns easily and leaves a good finish. It also breaks chips well, so it’s easy to remove a lot of material without creating a stringy nightmare on the lathe.
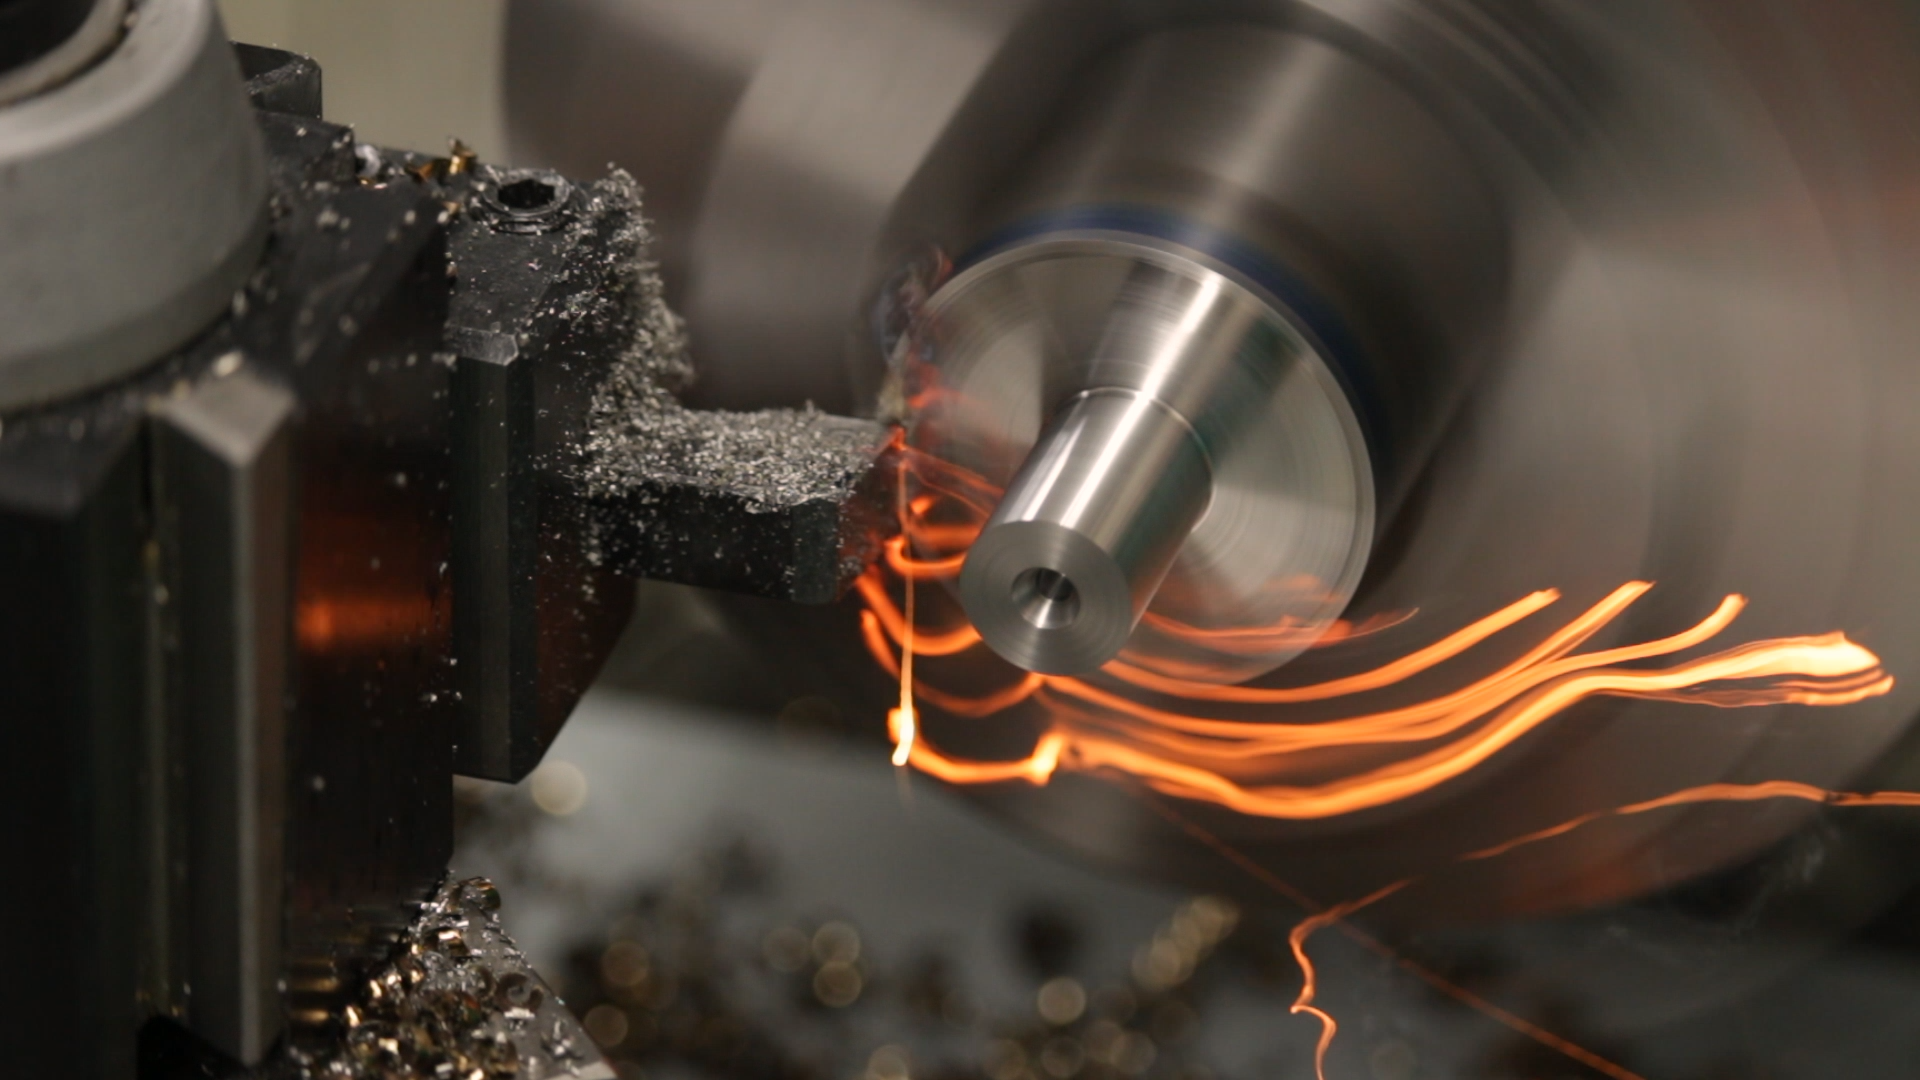
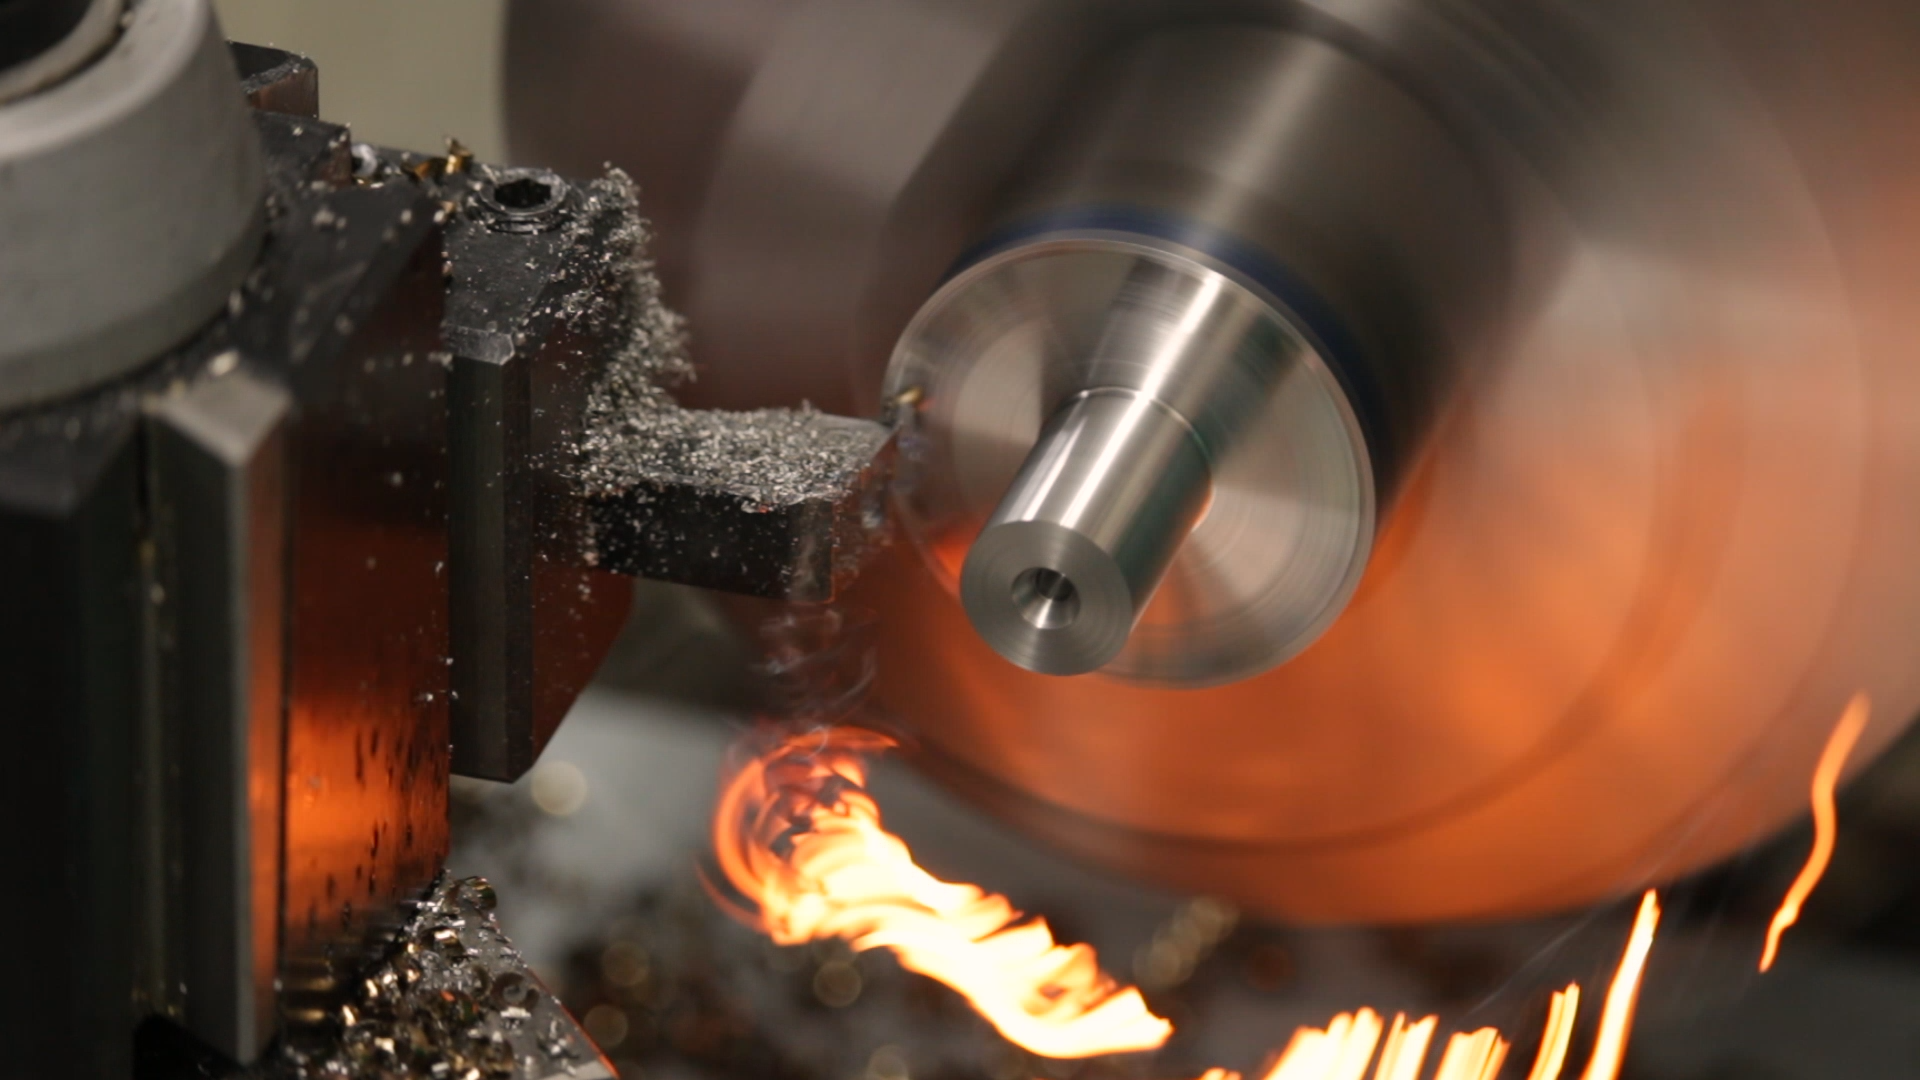
Since I was planning to turn the entire part, I didn’t waste time dialing the stock in. I just slapped it in a 3-jaw chuck and went to town. I started by facing it off and turning the body down to the 1/2″ diameter required for the wheel. I used a dial indicator to control the length of the cut, stopping about .010″ shy of the shoulder.

I love these Kyocera CCMT0602 inserts (link below). I found the best combination for my lathe is to run them fast (around 800 SFM) and take relatively deep cuts. On my lathe, in steel, relatively deep is .040″ depth of cut (.080″ off the diameter) with a feed rate of .007″ per revolution. This resulted in decent material removal, and more importantly, it broke off nice blue chips and dropped them on the lathe instead of spitting them in my face.
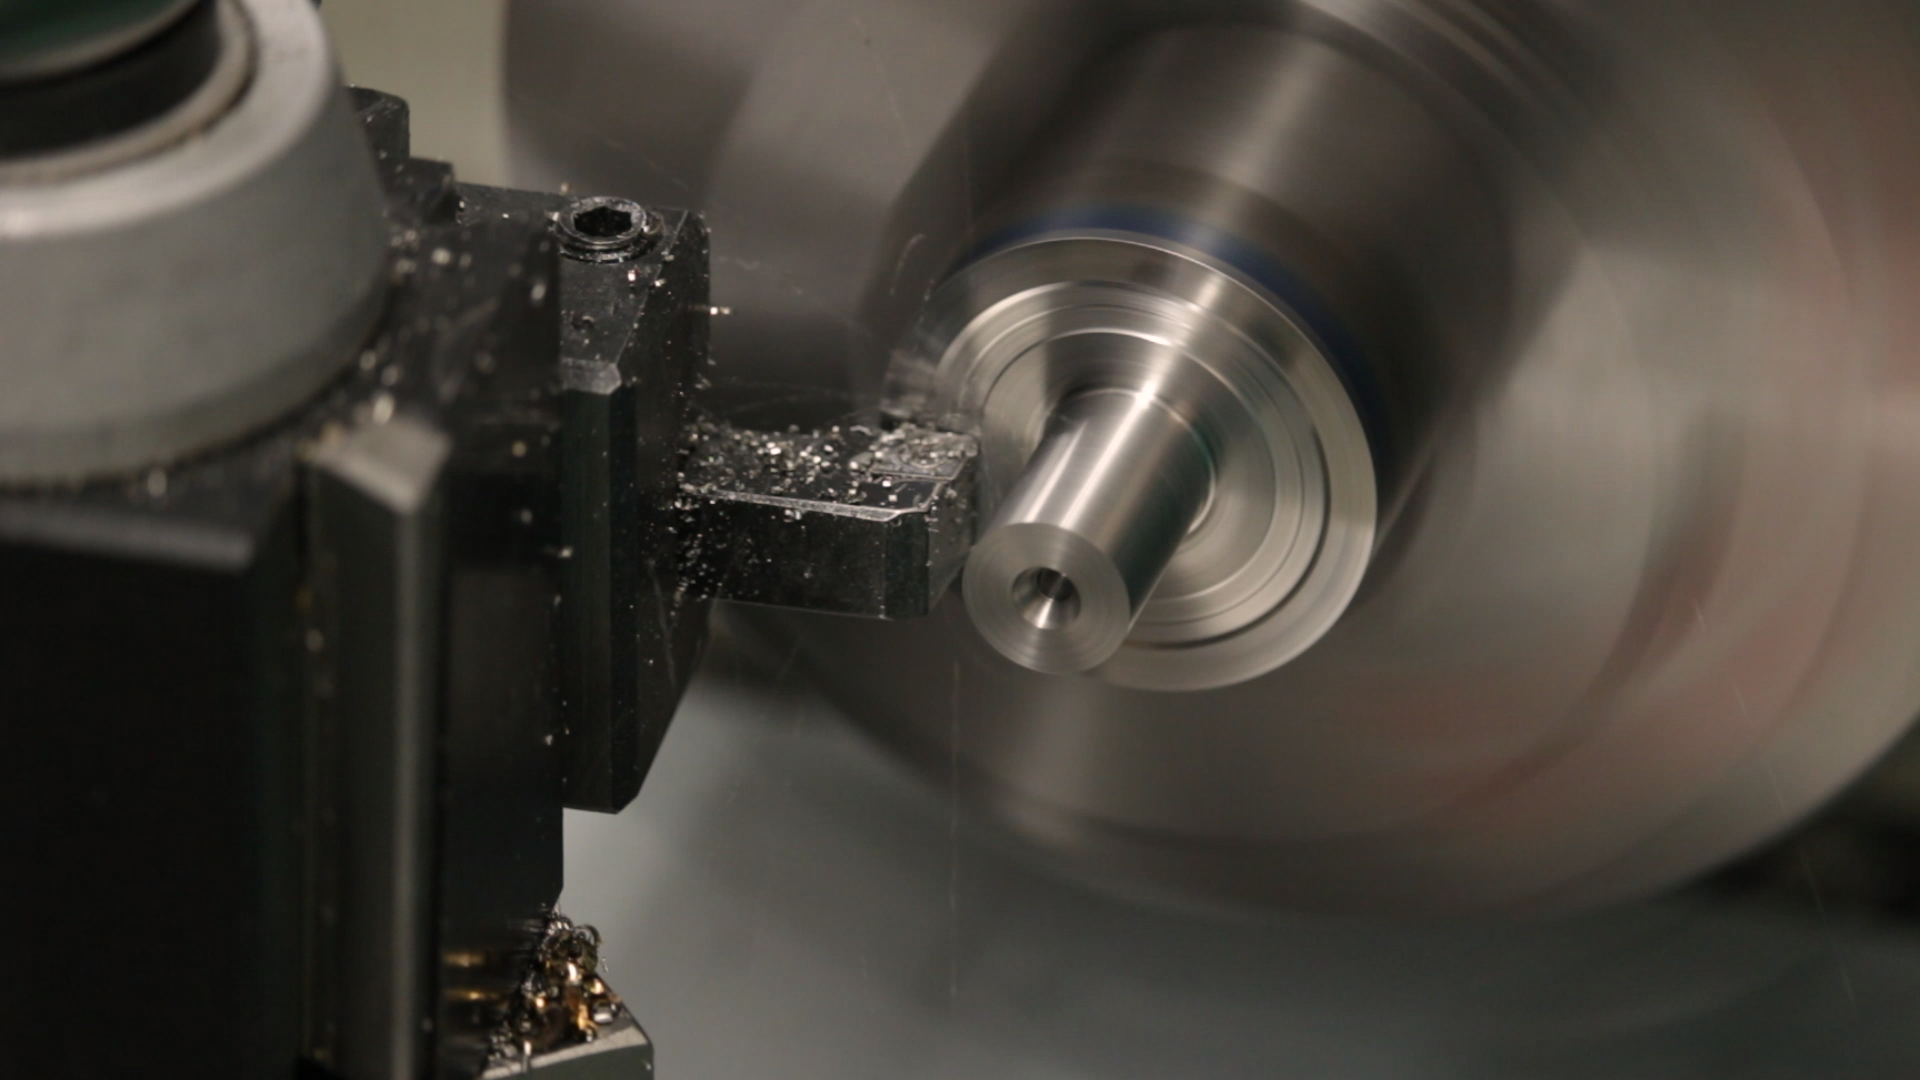
As the diameter got smaller, I had to turn the speed up to 2400 RPM to keep the surface speed up. I forgot about this when I back-faced the shoulder, and got some amazing incandescent chips. This didn’t seem to affect the insert at all.

Forming the Relief
Forming the relief in the fixed arbor flange was a little more difficult than it was in the screw-on flange. This is mostly just because the arbor is in the way. I turned the outer part with a 7mm boring bar and then cleaned it up to the center with a right-hand turning tool. This left a clear line in the middle of the relief, but it doesn’t touch anything and you won’t see it when a wheel is mounted.
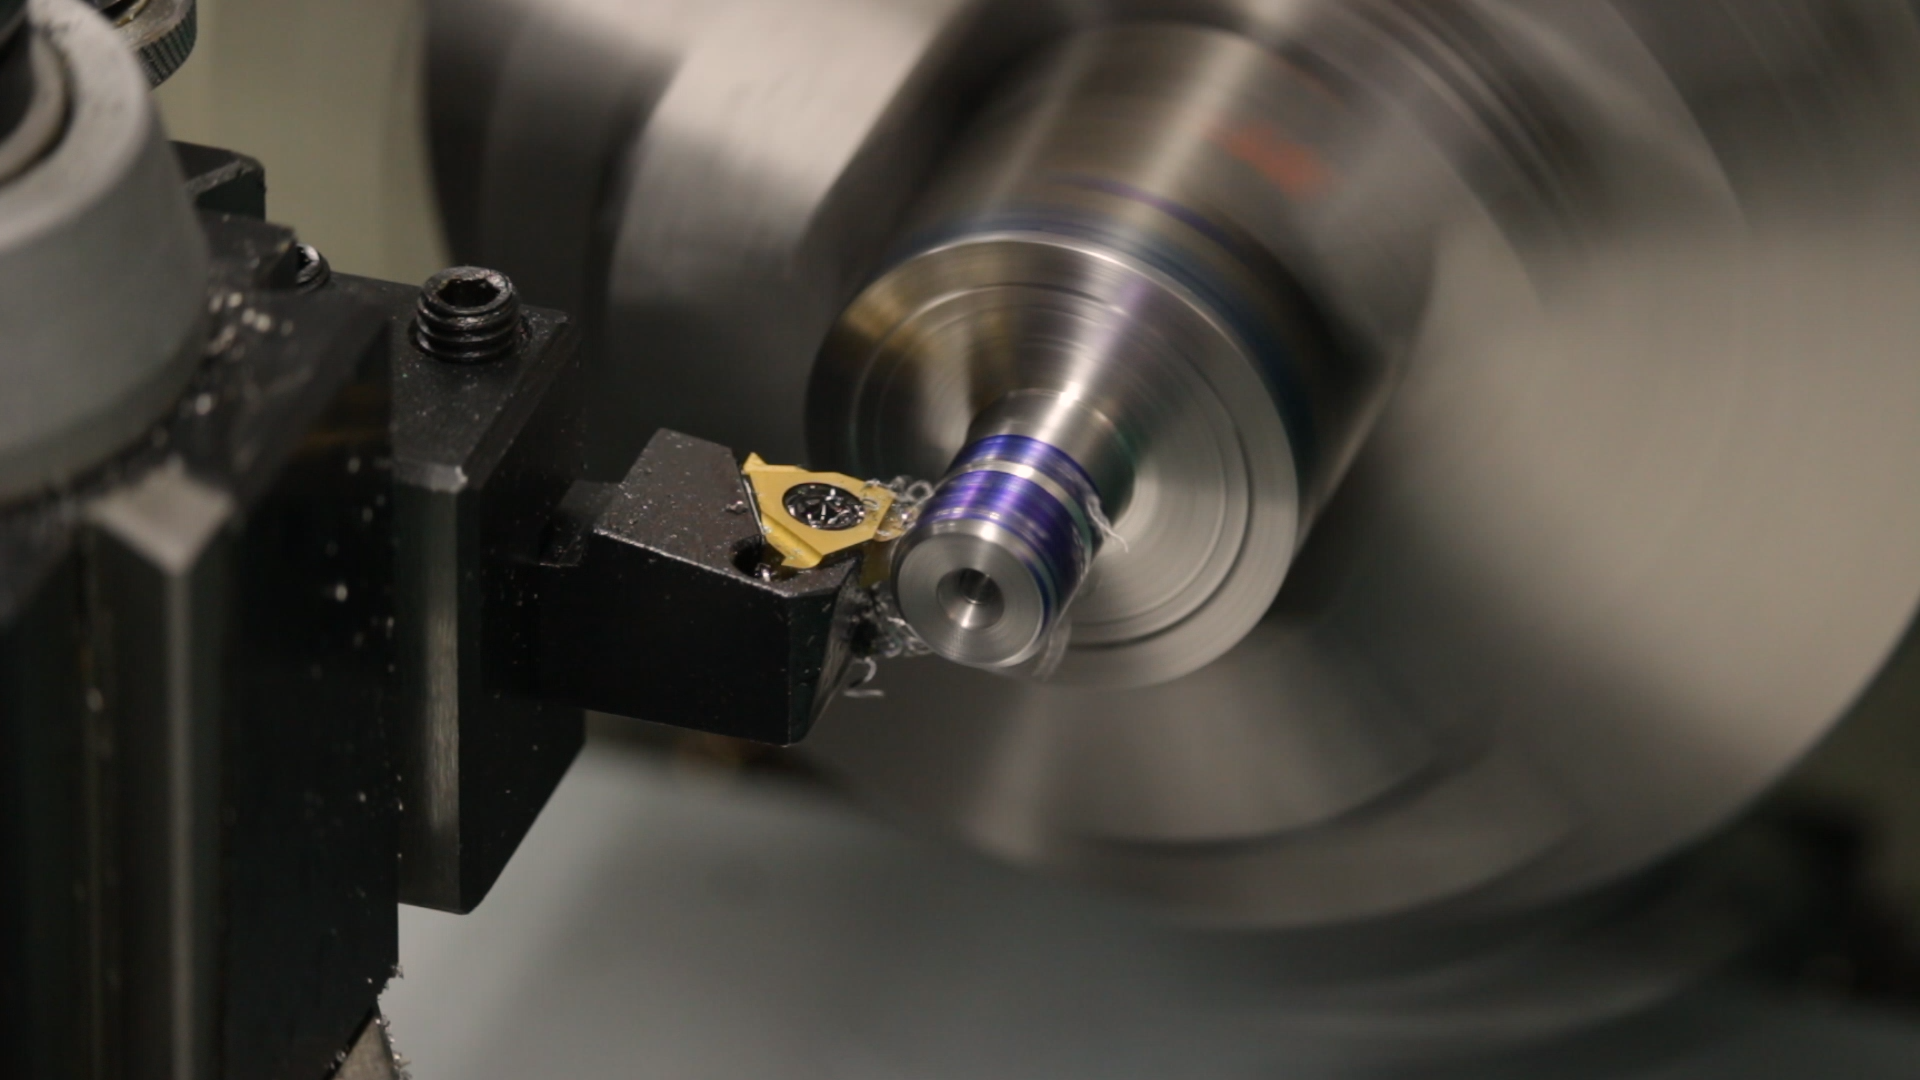
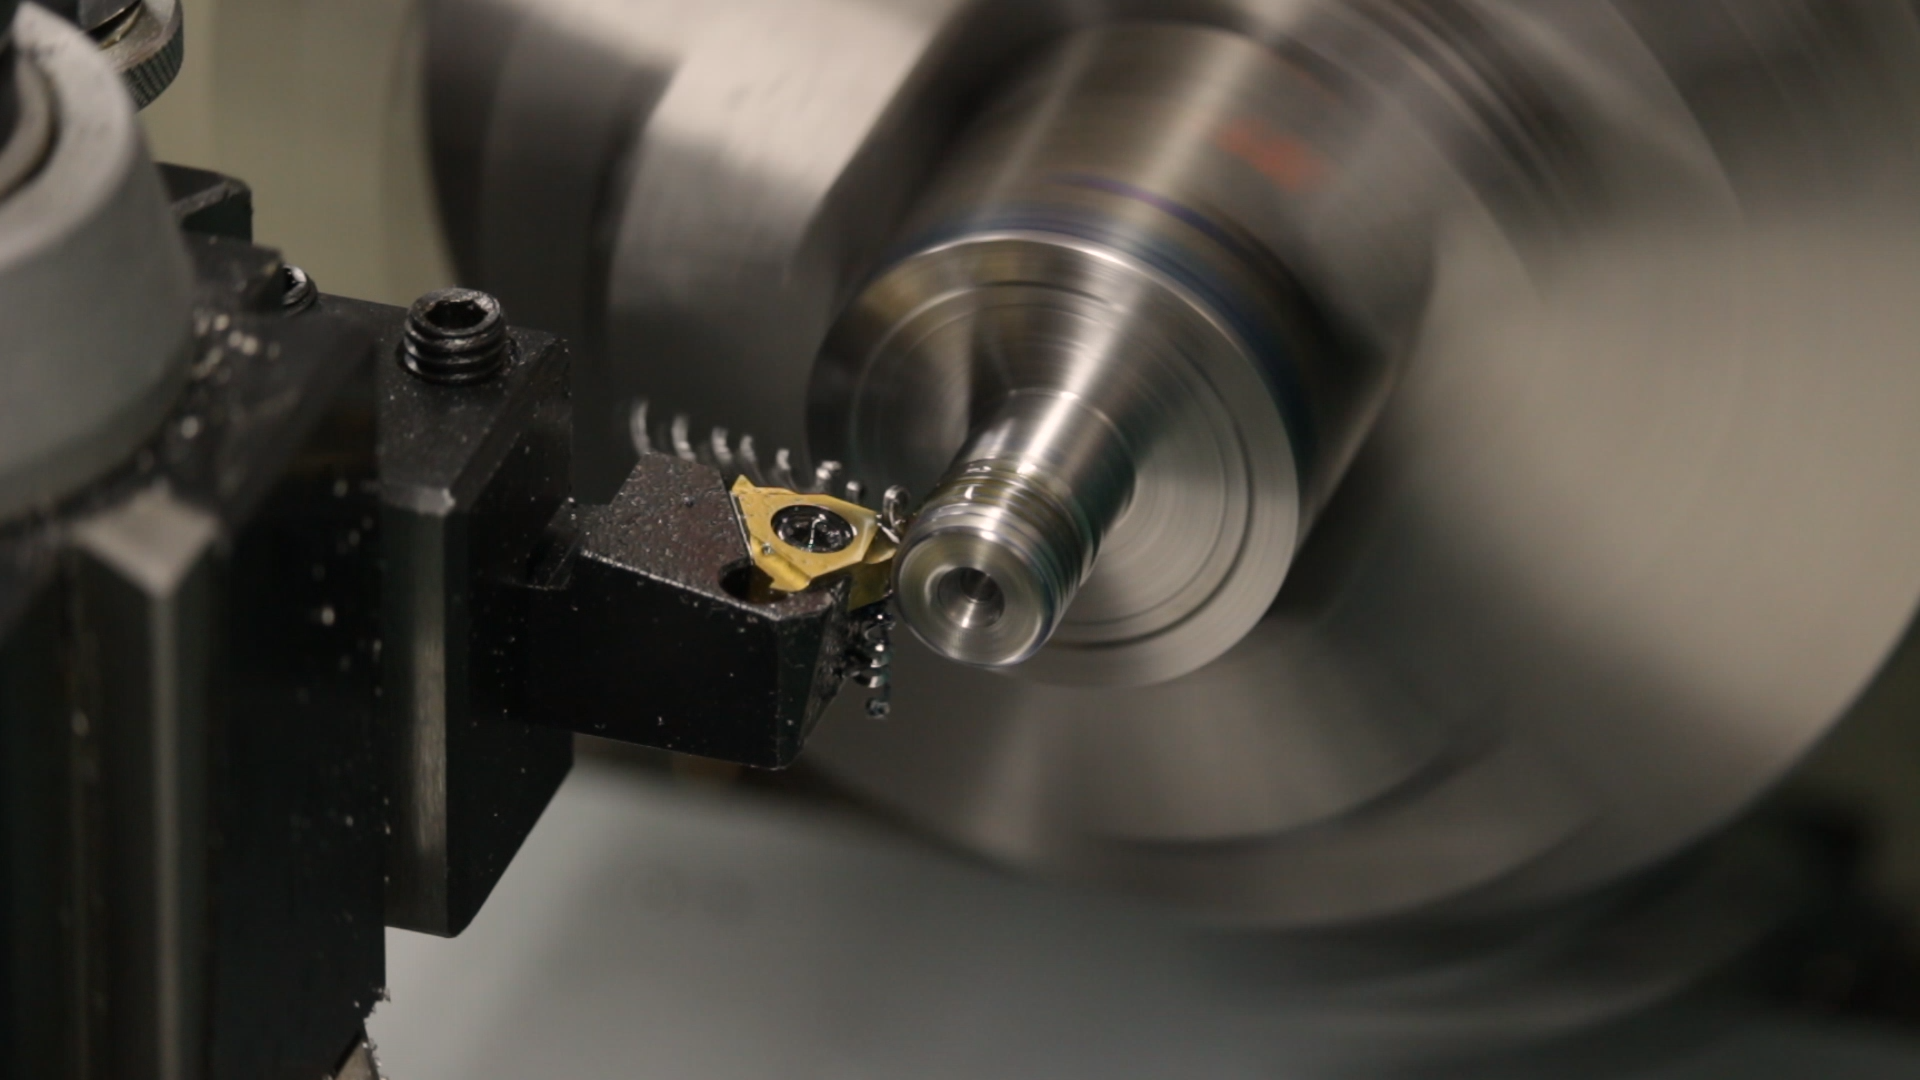
Single-point Threading
The last major operation on this end of the arbor is to form the threads. I used a carbide threading tool, squaring it up to the chuck using a 1-2-3 block, as usual. And as usual, I rotated the chuck so I could rest the block on one of the jaws to keep it from falling out as I tightened the toolpost.

I used the threading tool to form a relief at the end of the thread so I’d have someplace to run off while threading. I didn’t really want to try to quick-draw, and the relief looks nice. The threading went well, all except for one pass where I stopped just a tad short and mangled the last few thousandths of the last thread. It doesn’t matter, though. It’ll still work just fine.
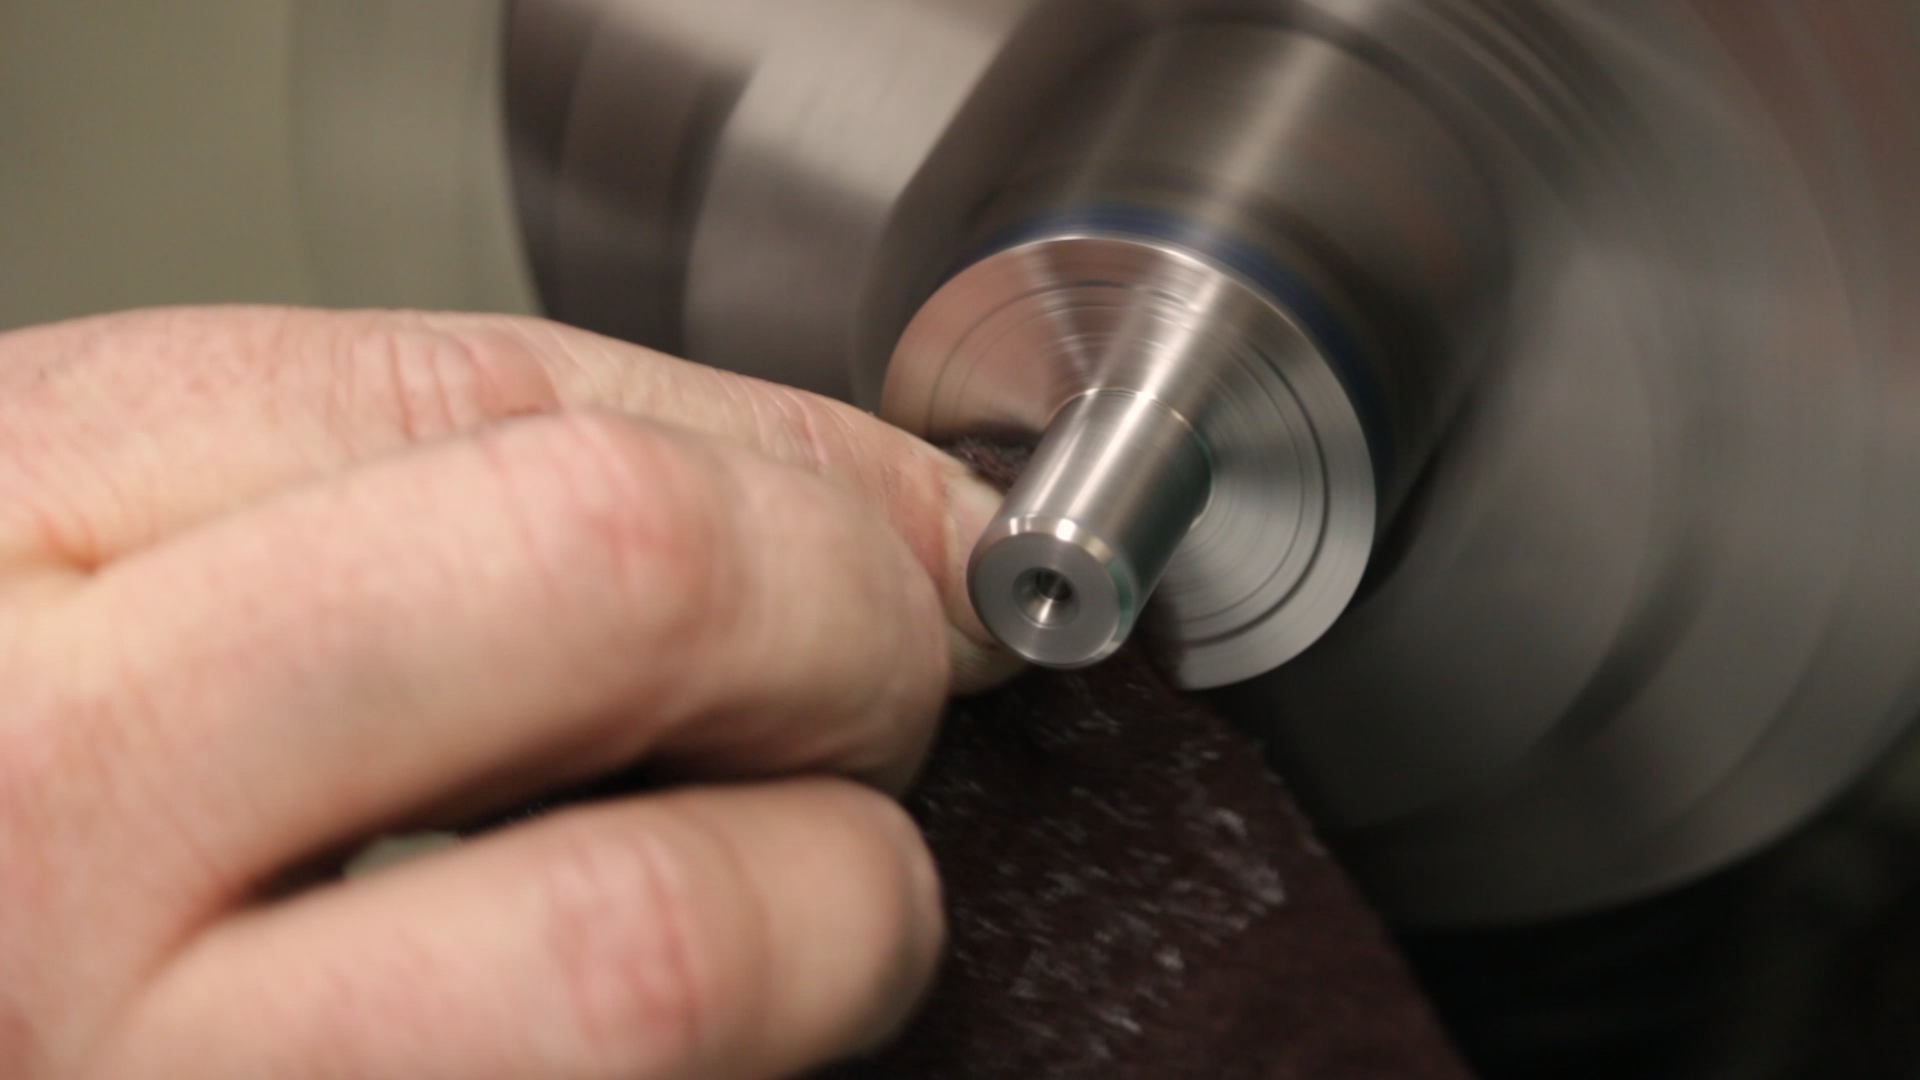
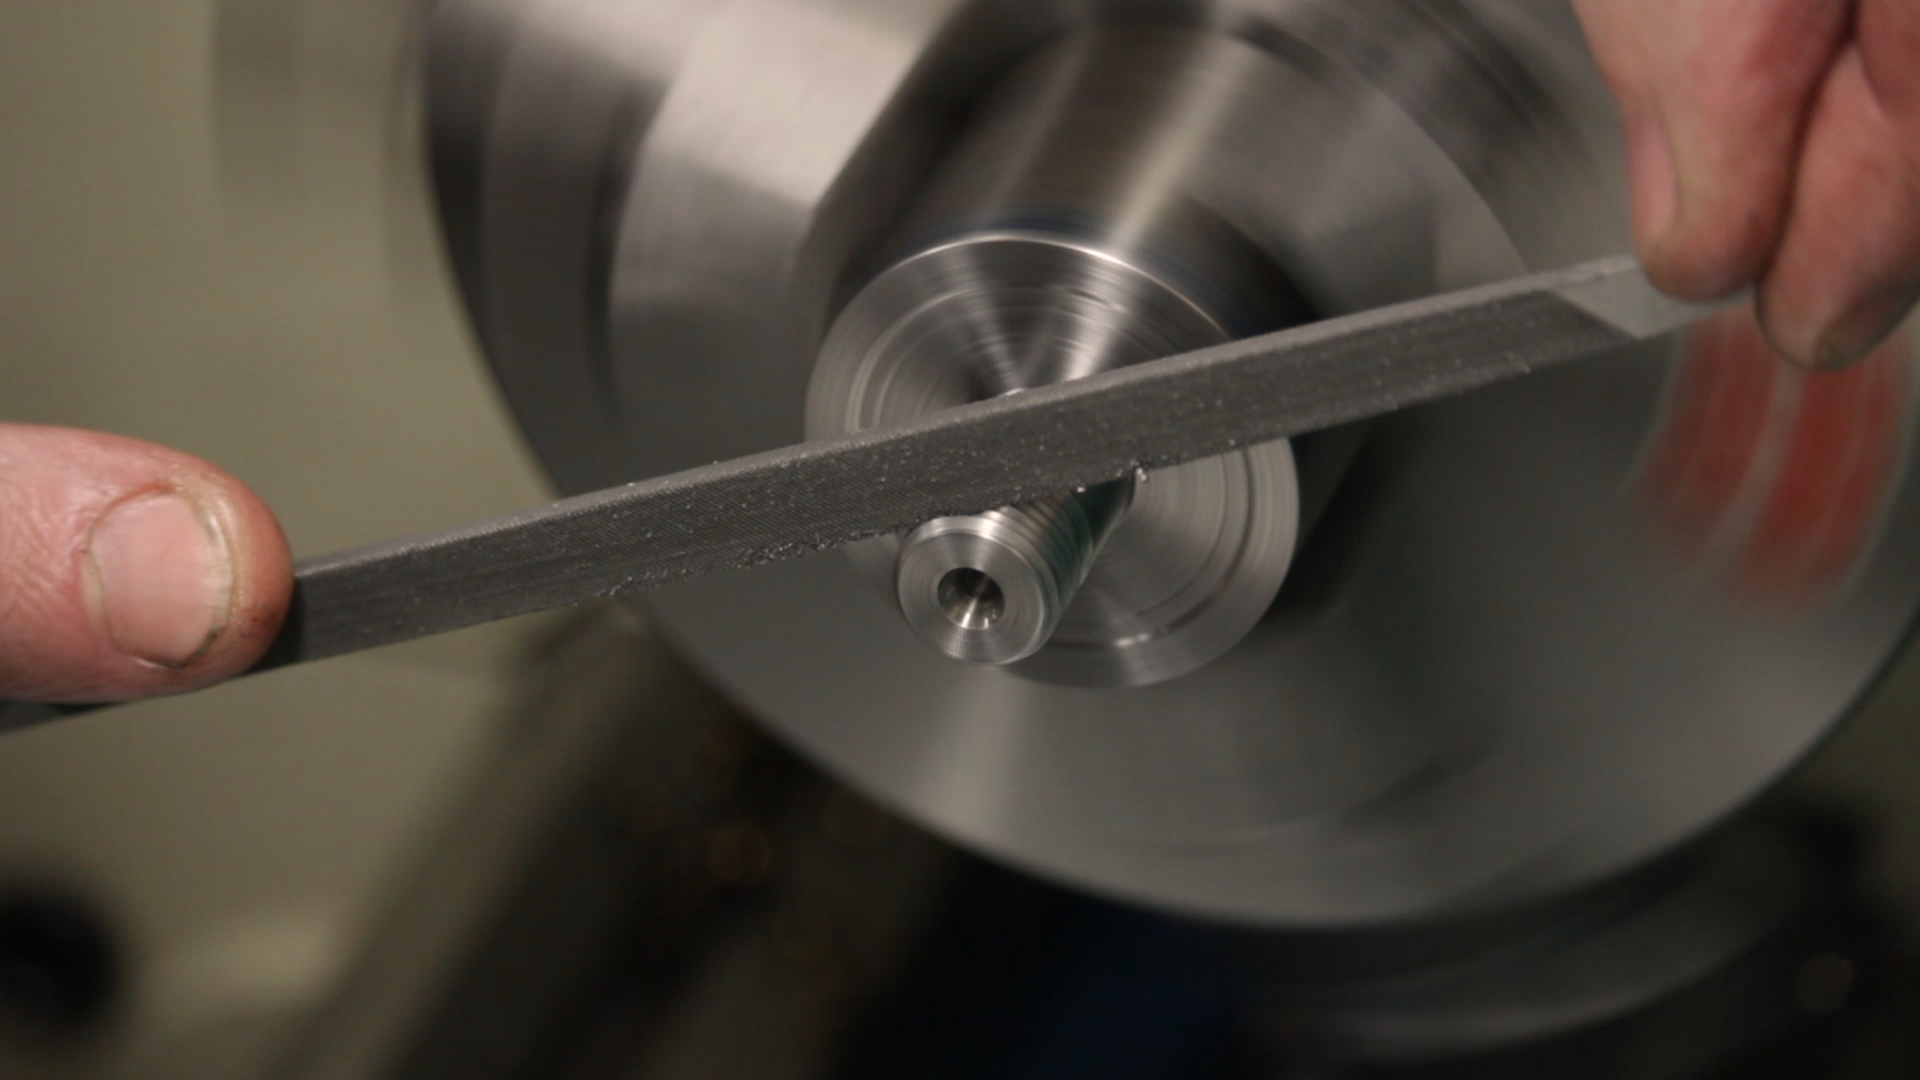
A triangle file made quick work of smoothing and rounding the tops of the threads.
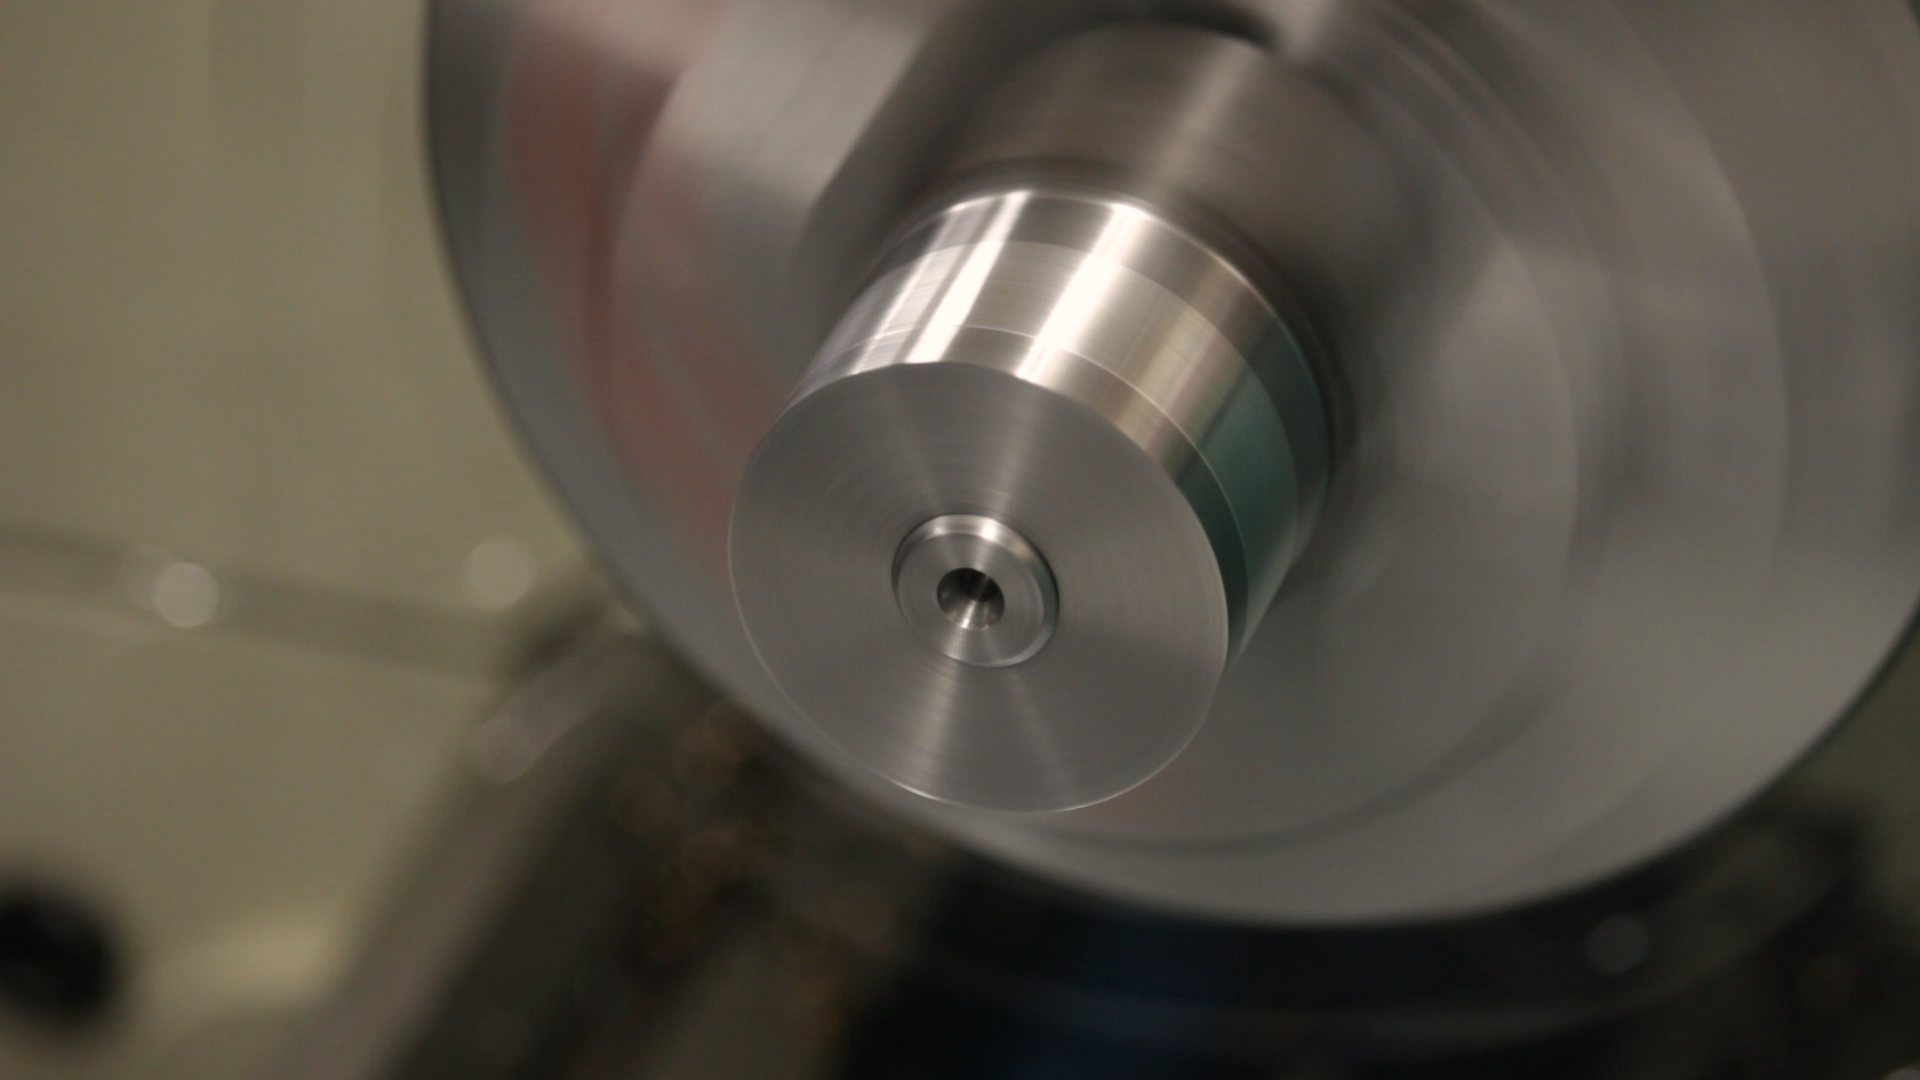
Turning the Flanges
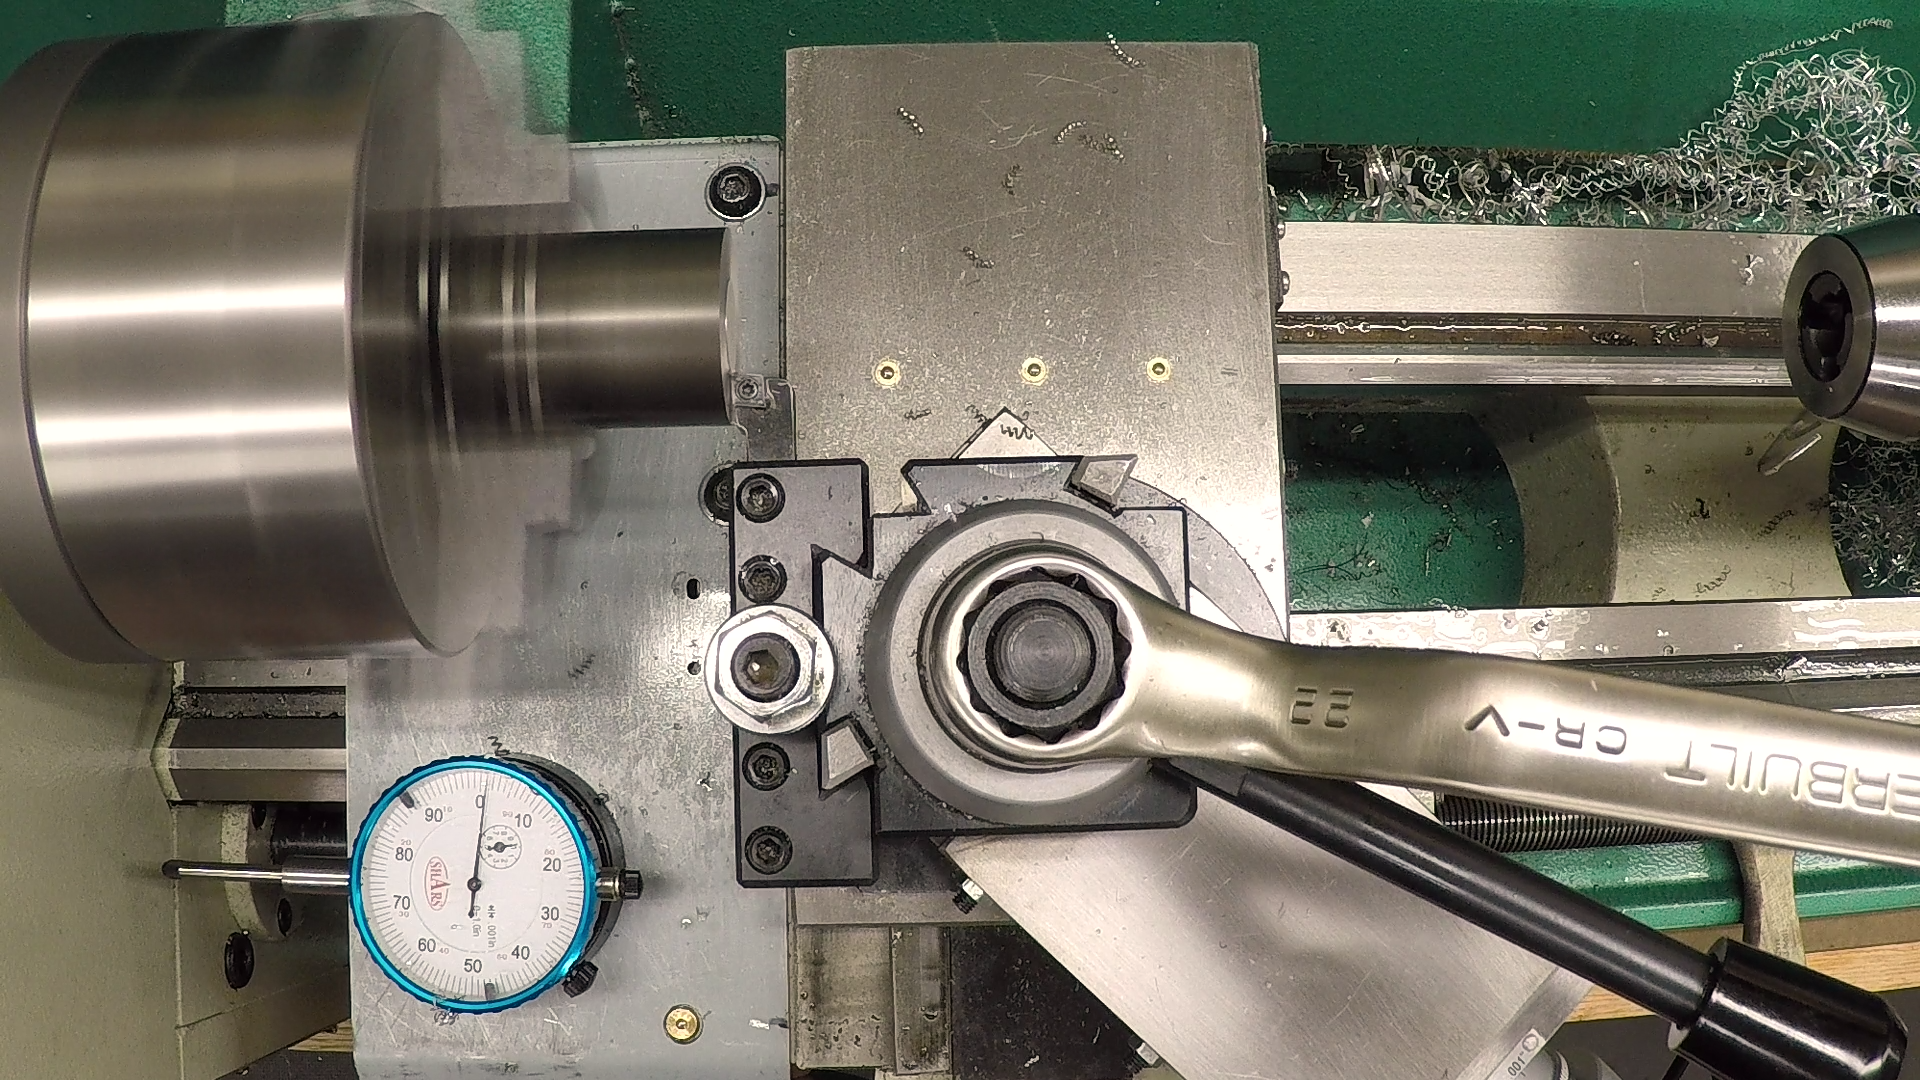
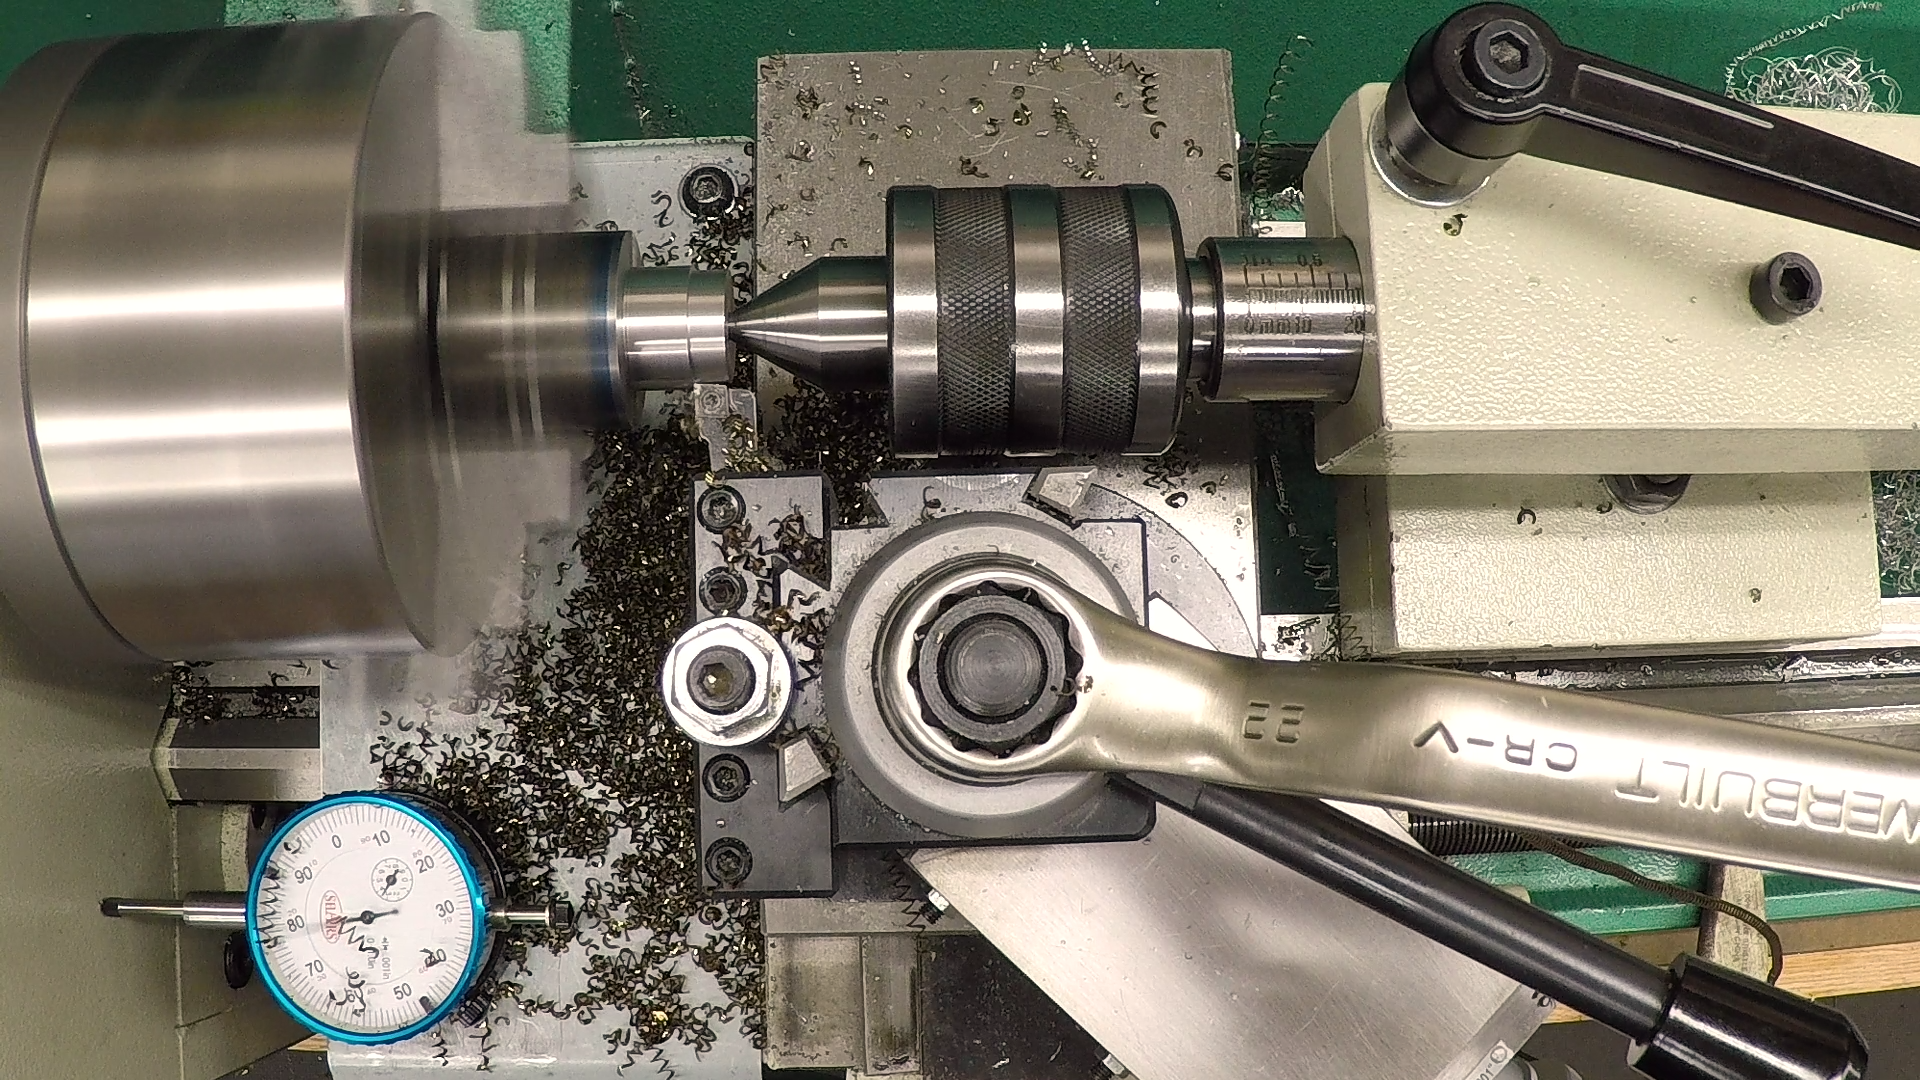
You’ll remember from last week that I never turned the outside of the flange. That was so I could turn both flange diameters in one setup and make sure they were concentric with the thread. I used the spacer that we also made last week to mount the flange on the arbor, tightening it down with a pair of Channel-Lock pliers. It doesn’t matter if the outside gets a little marred at this point because we’re about to turn it off.

I turned the outside diameters just enough to clean them up. It only took a few thousandths off, but this was enough to make it pretty and ensure the flange will run true on the threads.
A strip of copper allowed me to take the flange off without messing up the pretty surface.

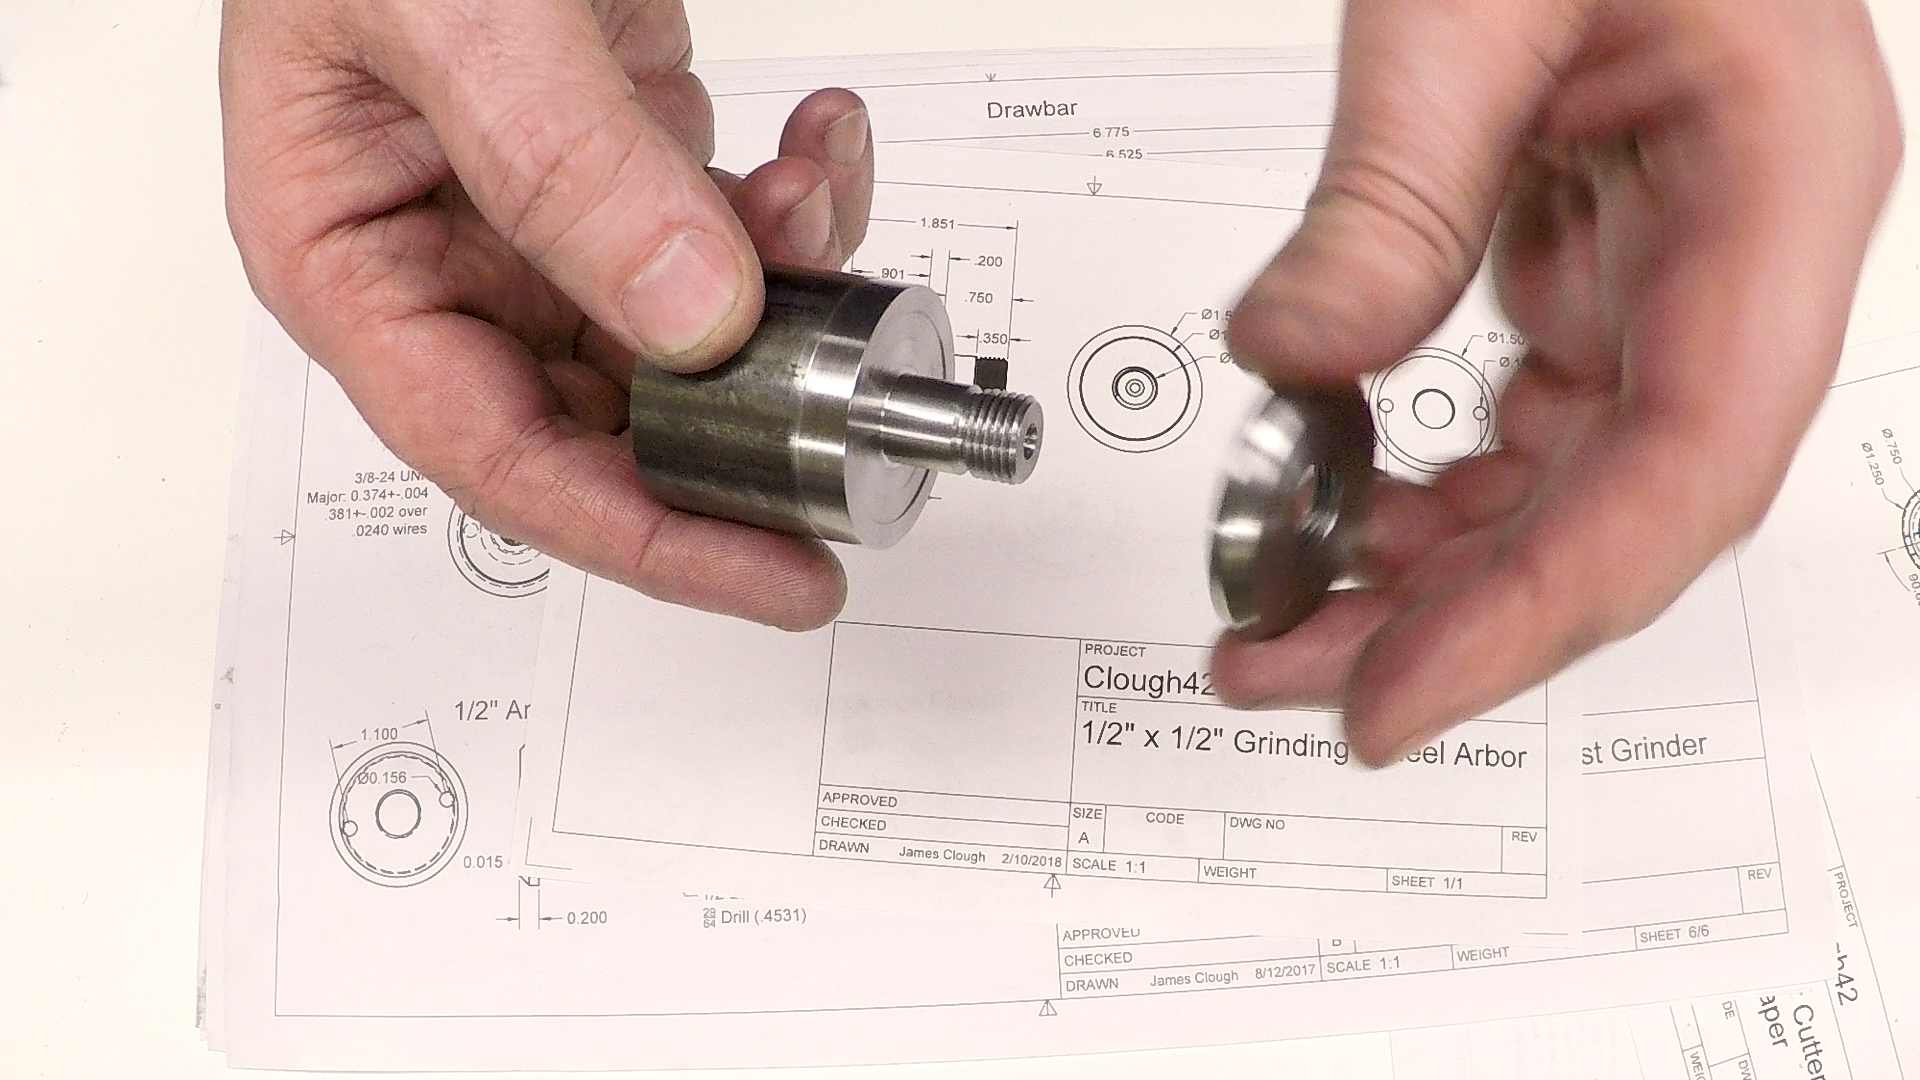
Next Steps
That’s one end of the arbor and its matching flange complete. Next week we’ll flip it around and form the taper on the other end. This is a little tricky, and we’ll be making a fixture to hold it concentric.
If you’re following along with the build, here are some links to some of the tools used in the video:
*This site contains affiliate links for which I may be compensated
- Shars CCMT0602 RH turning tool holder (eBay*): https://goo.gl/Q1Jsdp
- Kyocera CCMT060204-HQ Cermet Inserts (eBay*): https://goo.gl/pDhFAs
- RapidTap Cutting Fluid for steel (eBay*): https://goo.gl/2vgW9H
- ZLiveCenter 3MT triple ball bearing live center (eBay*): https://goo.gl/nE1u2o
- External carbide threading tool: (eBay*): https://goo.gl/mtD1DV
- Shars 0-6″ .0001″ micrometer set (eBay*): https://goo.gl/vvgJ9A
- Scotch Brite Maroon Very Fine (eBay*): https://goo.gl/yEjjXF
- Scotch Brite Gray Ultra Fine (eBay*): https://goo.gl/oeYfvF


