This week we finish up the wheel arbor for the toolpost grinder by turning the taper.
Holding the Arbor Concentric
The trickiest bit of turning the taper is making sure it’s concentric with the other side of the arbor. There are lots of ways to do this. Turning between centers would be a great option. I have dead and live centers, but at the moment, I don’t have any lathe dogs, so I don’t have a good way to do this without stopping to make more tools.
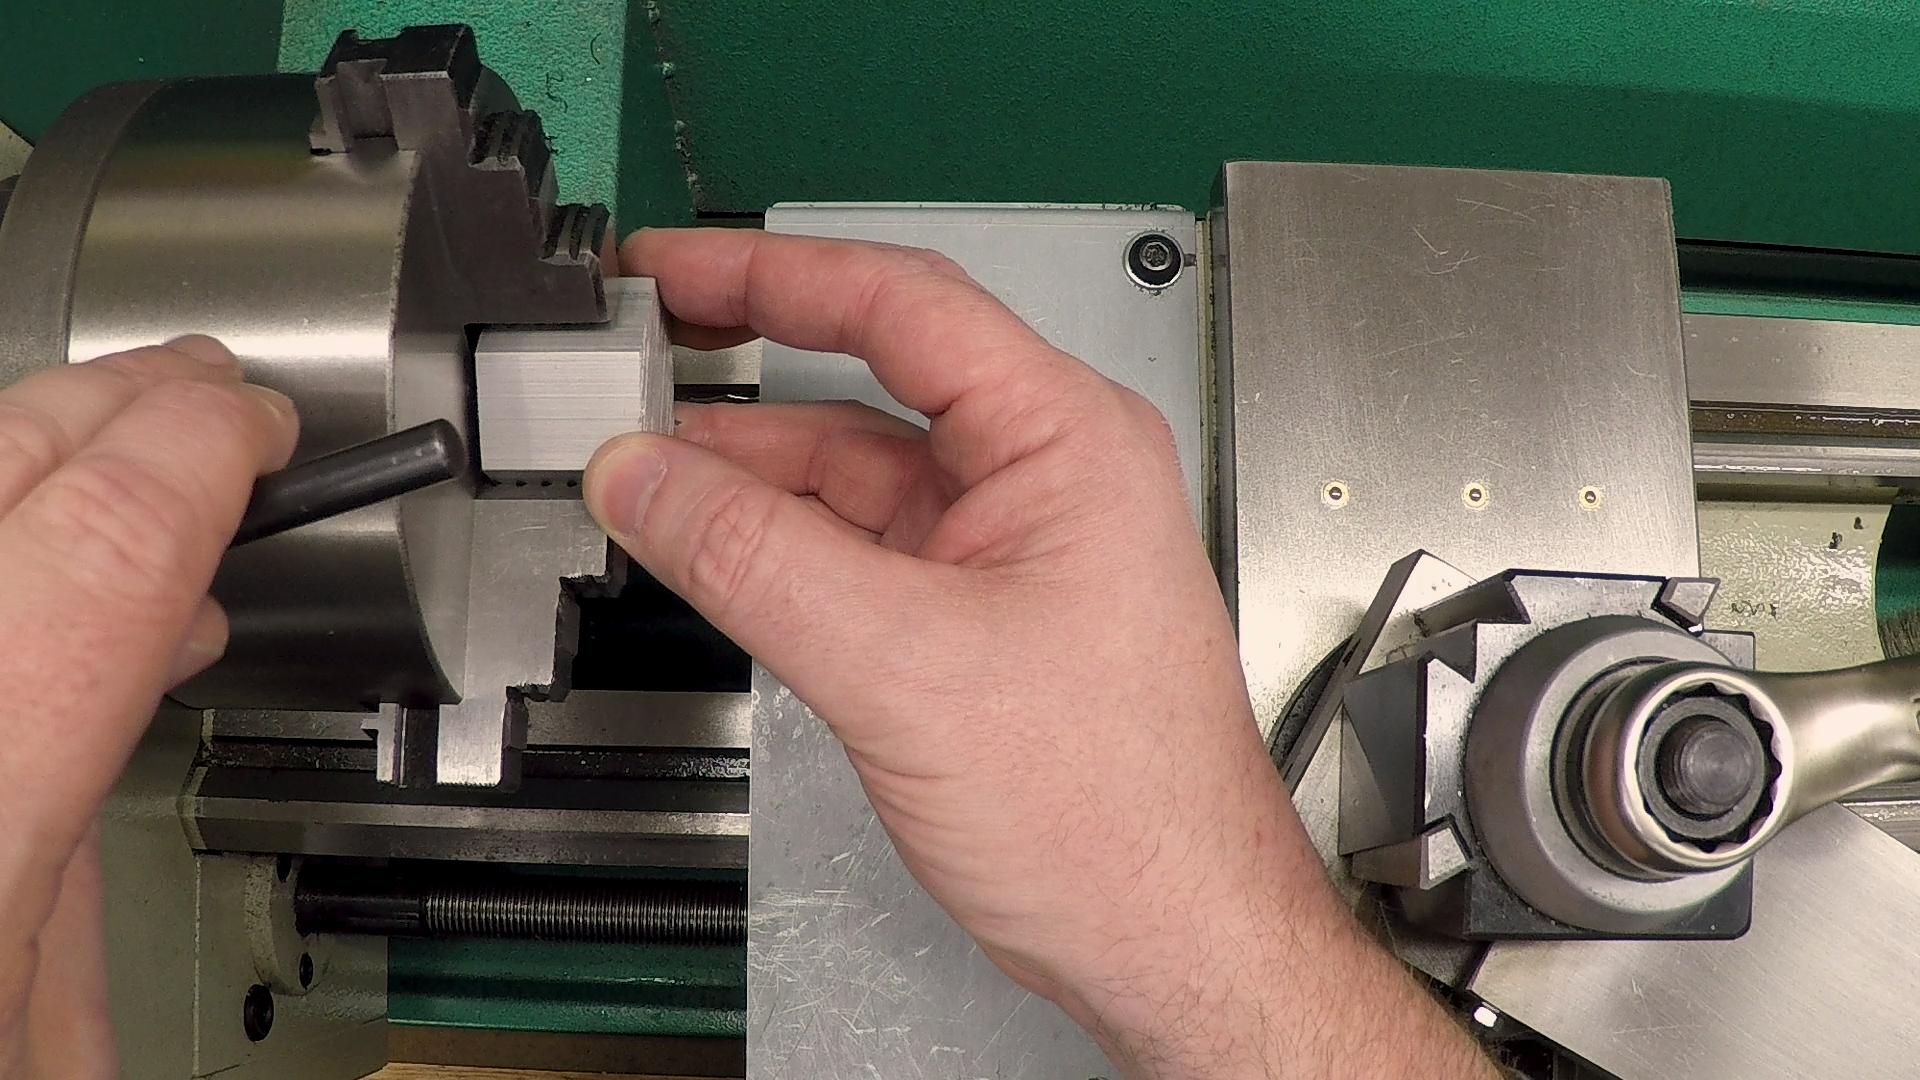
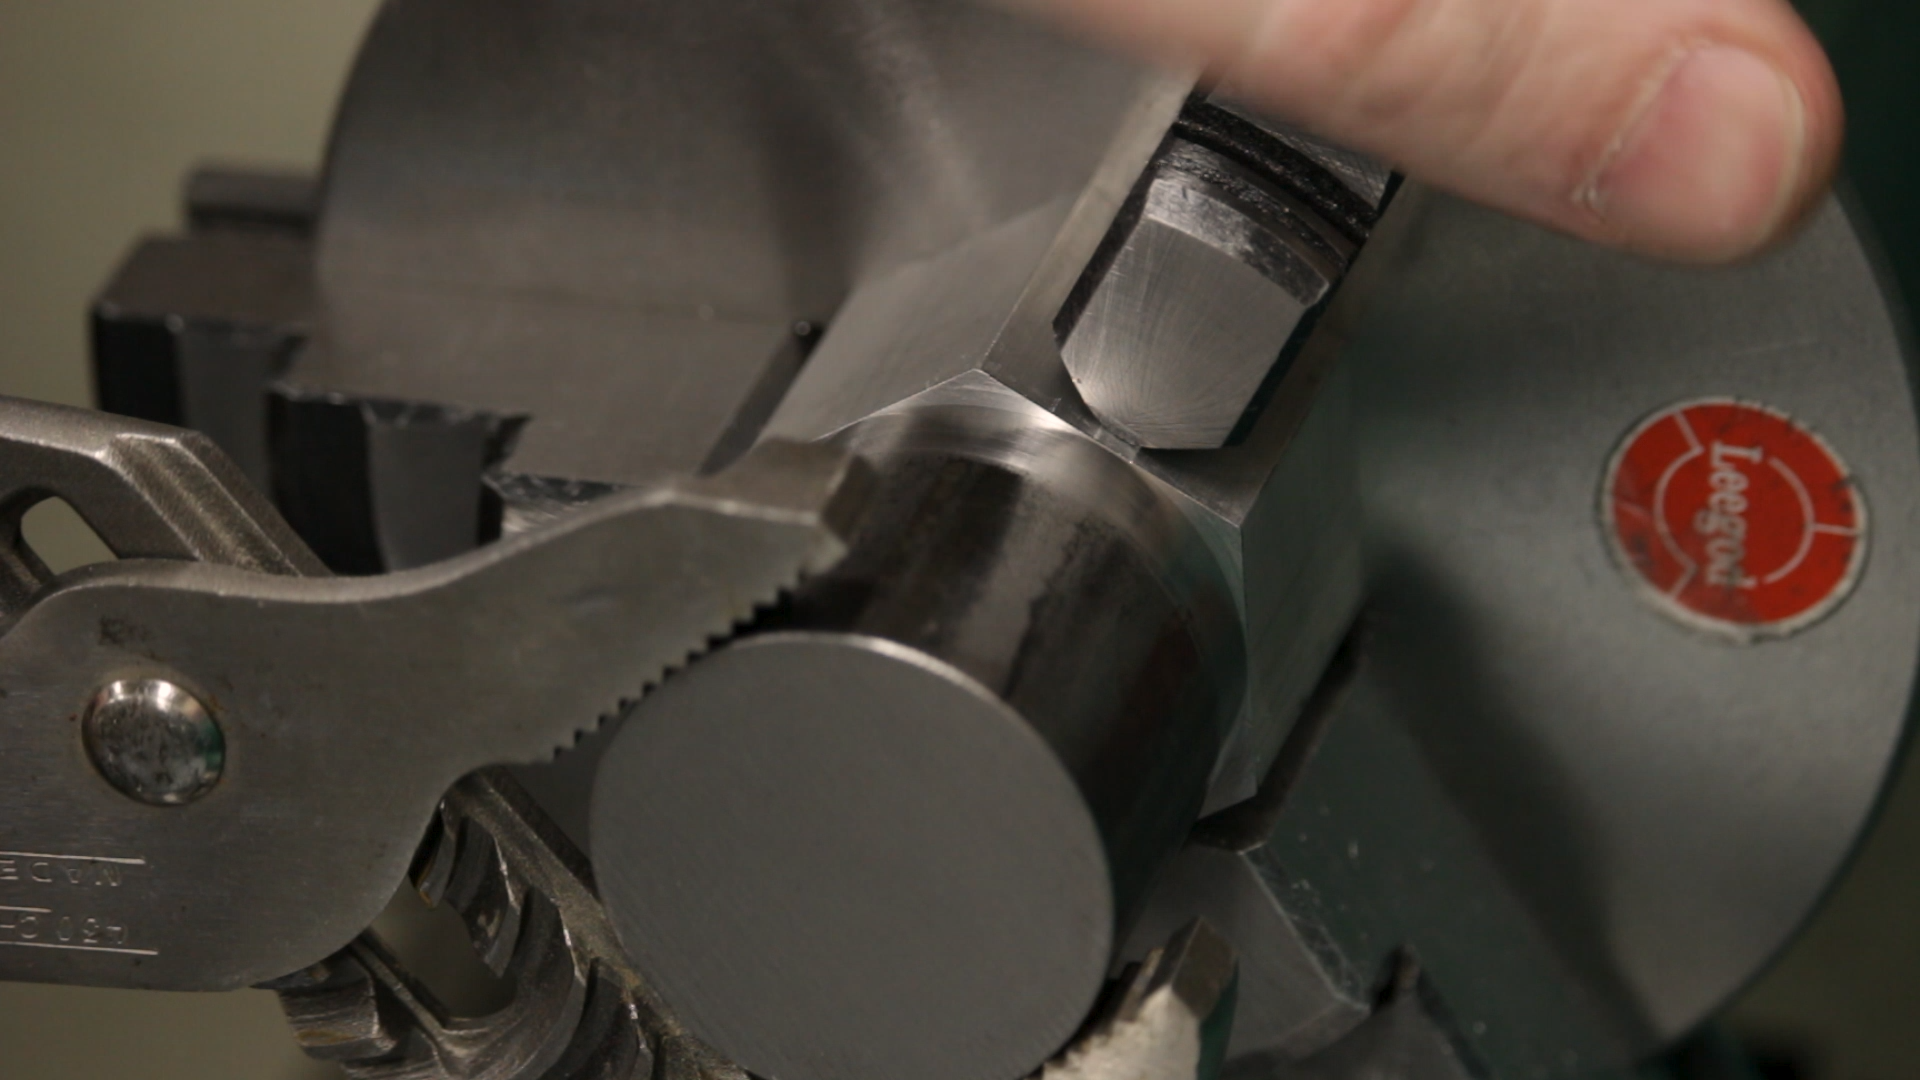
I decided instead to make a fixture. I mounted a piece of aluminum hex in the 3-jaw chuck and faced it off so it would run true with the lathe. I then drilled, bored and tapped a hole to fit the threaded end of the arbor. Finally, I bored the first .400″ or so out to be a tight fit on the wheel arbor. This allowed me to screw it in tightly and hold it for turning without worrying about whether it was running true.
Bulk Stock Removal
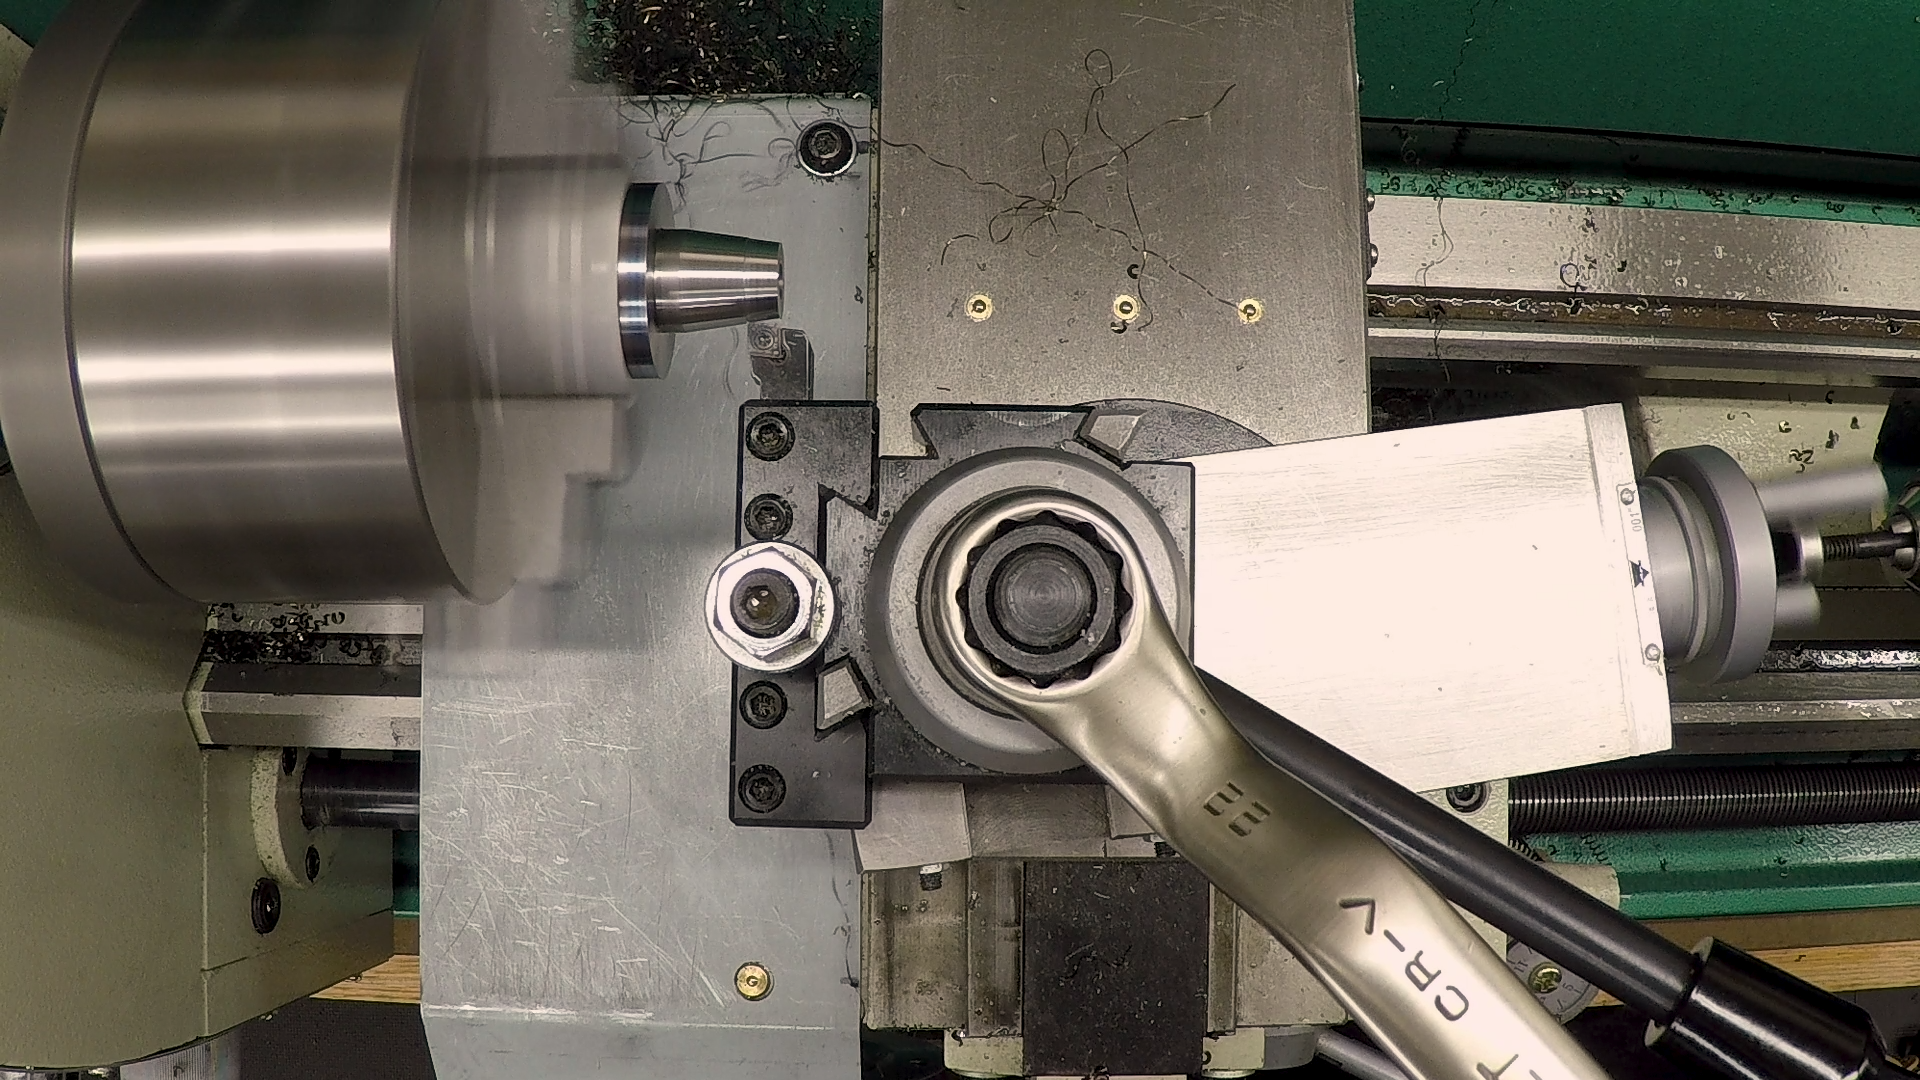
With the fixture done, I mounted the arbor in the threaded hole, tightening it down with Channel-Lock pliers. There are no worries on this end about marring up the finish, since most of this material is turning into chips.
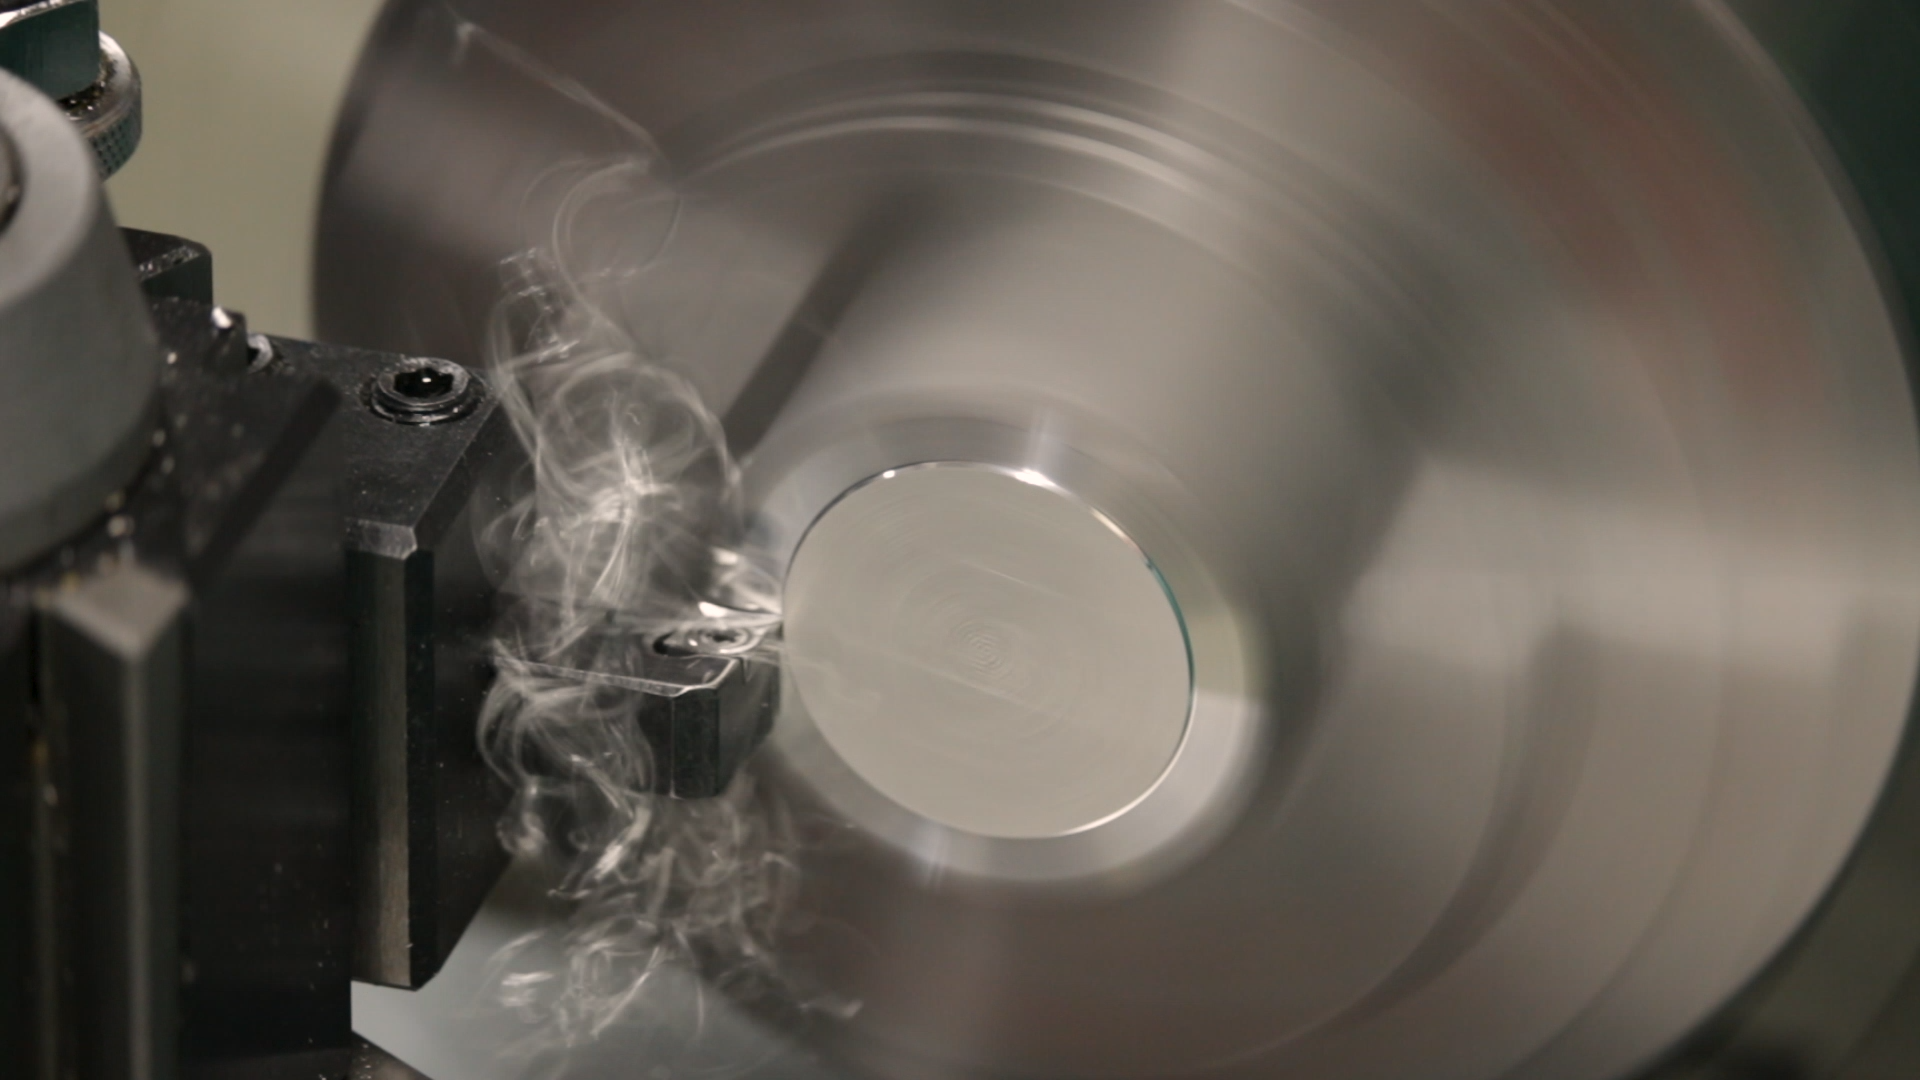
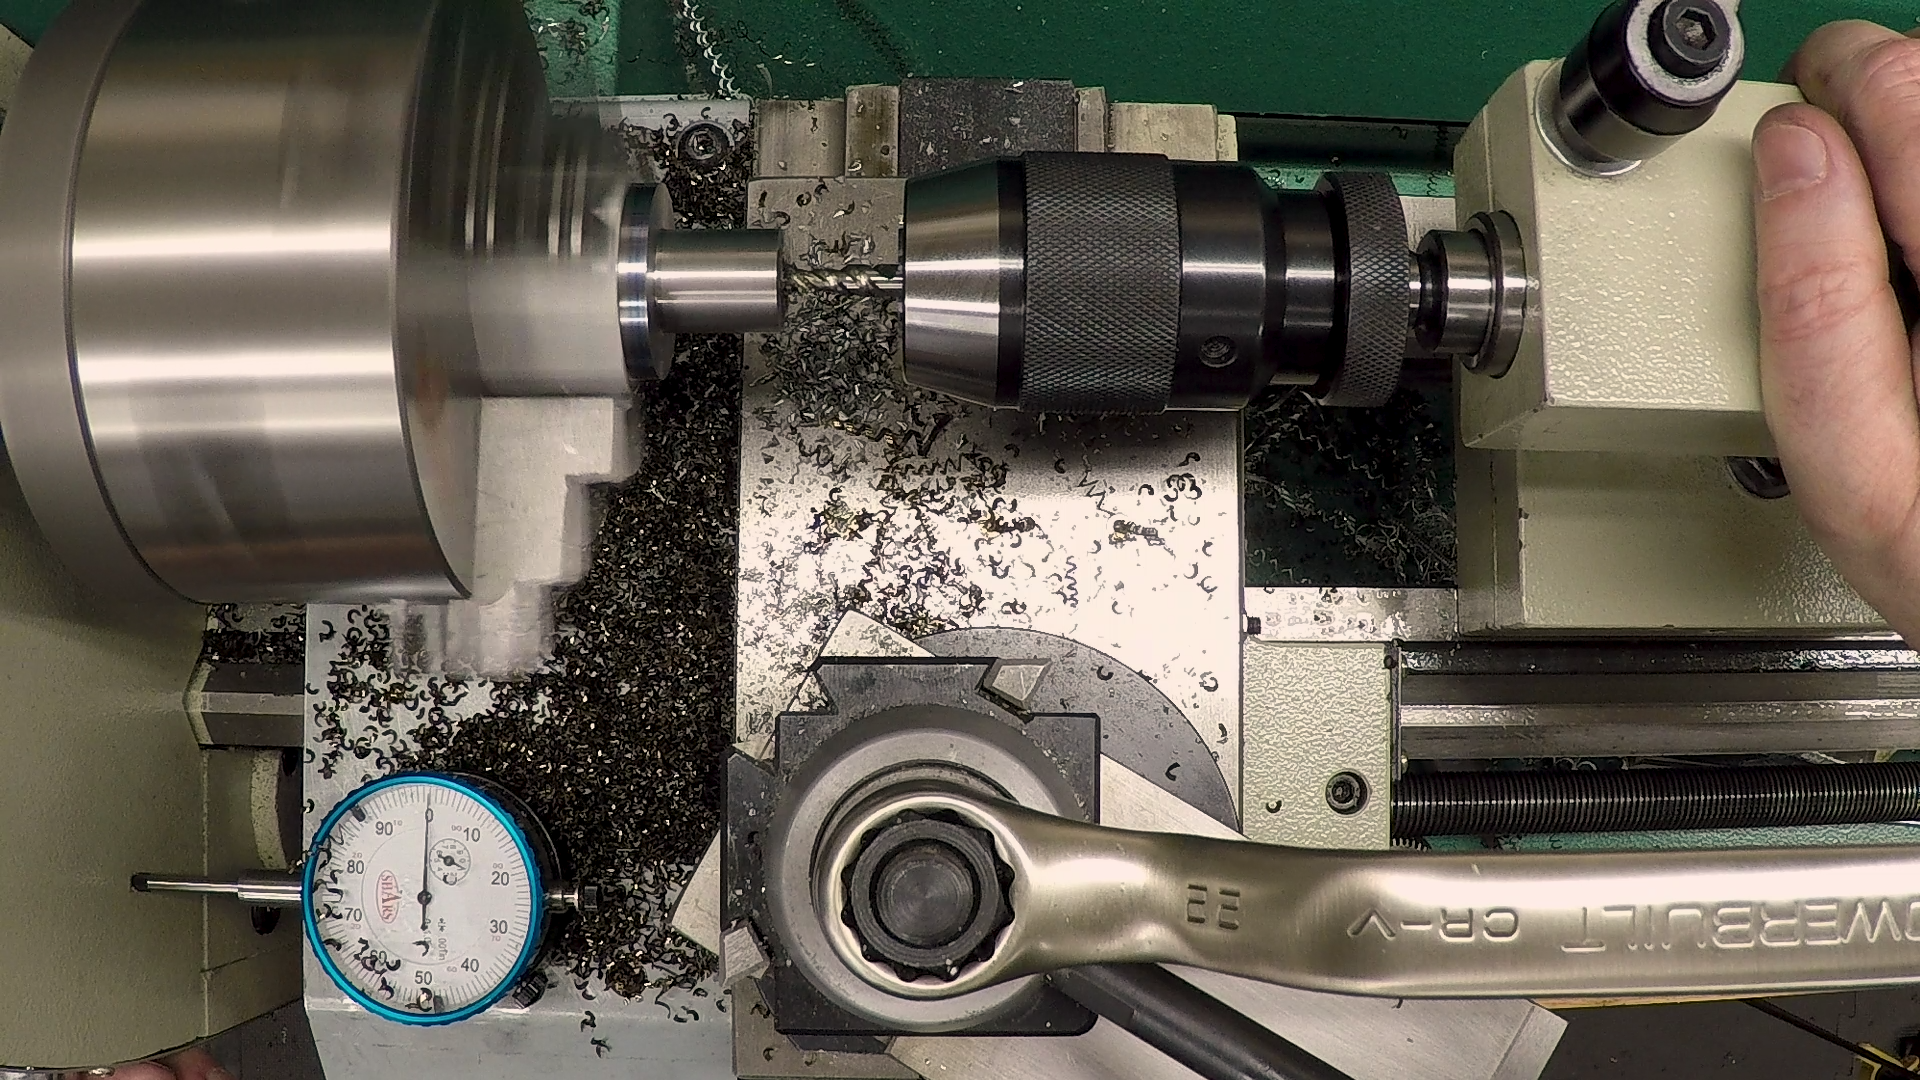
With a lot of material to be removed, this was a great opportunity to push my lathe and see what it could do. I started with light cuts and pushed it up, taking deeper and deeper cuts until I got the results I wanted. Many of the combinations worked but threw chips up in my face. The recipe I settled on was .040″ depth of cut (.080″ off the diameter) with .007″ feed per revolution. This made a big pile of blue comma-shaped chips and didn’t spit them in my face.

Disappointing Drawbar Threads
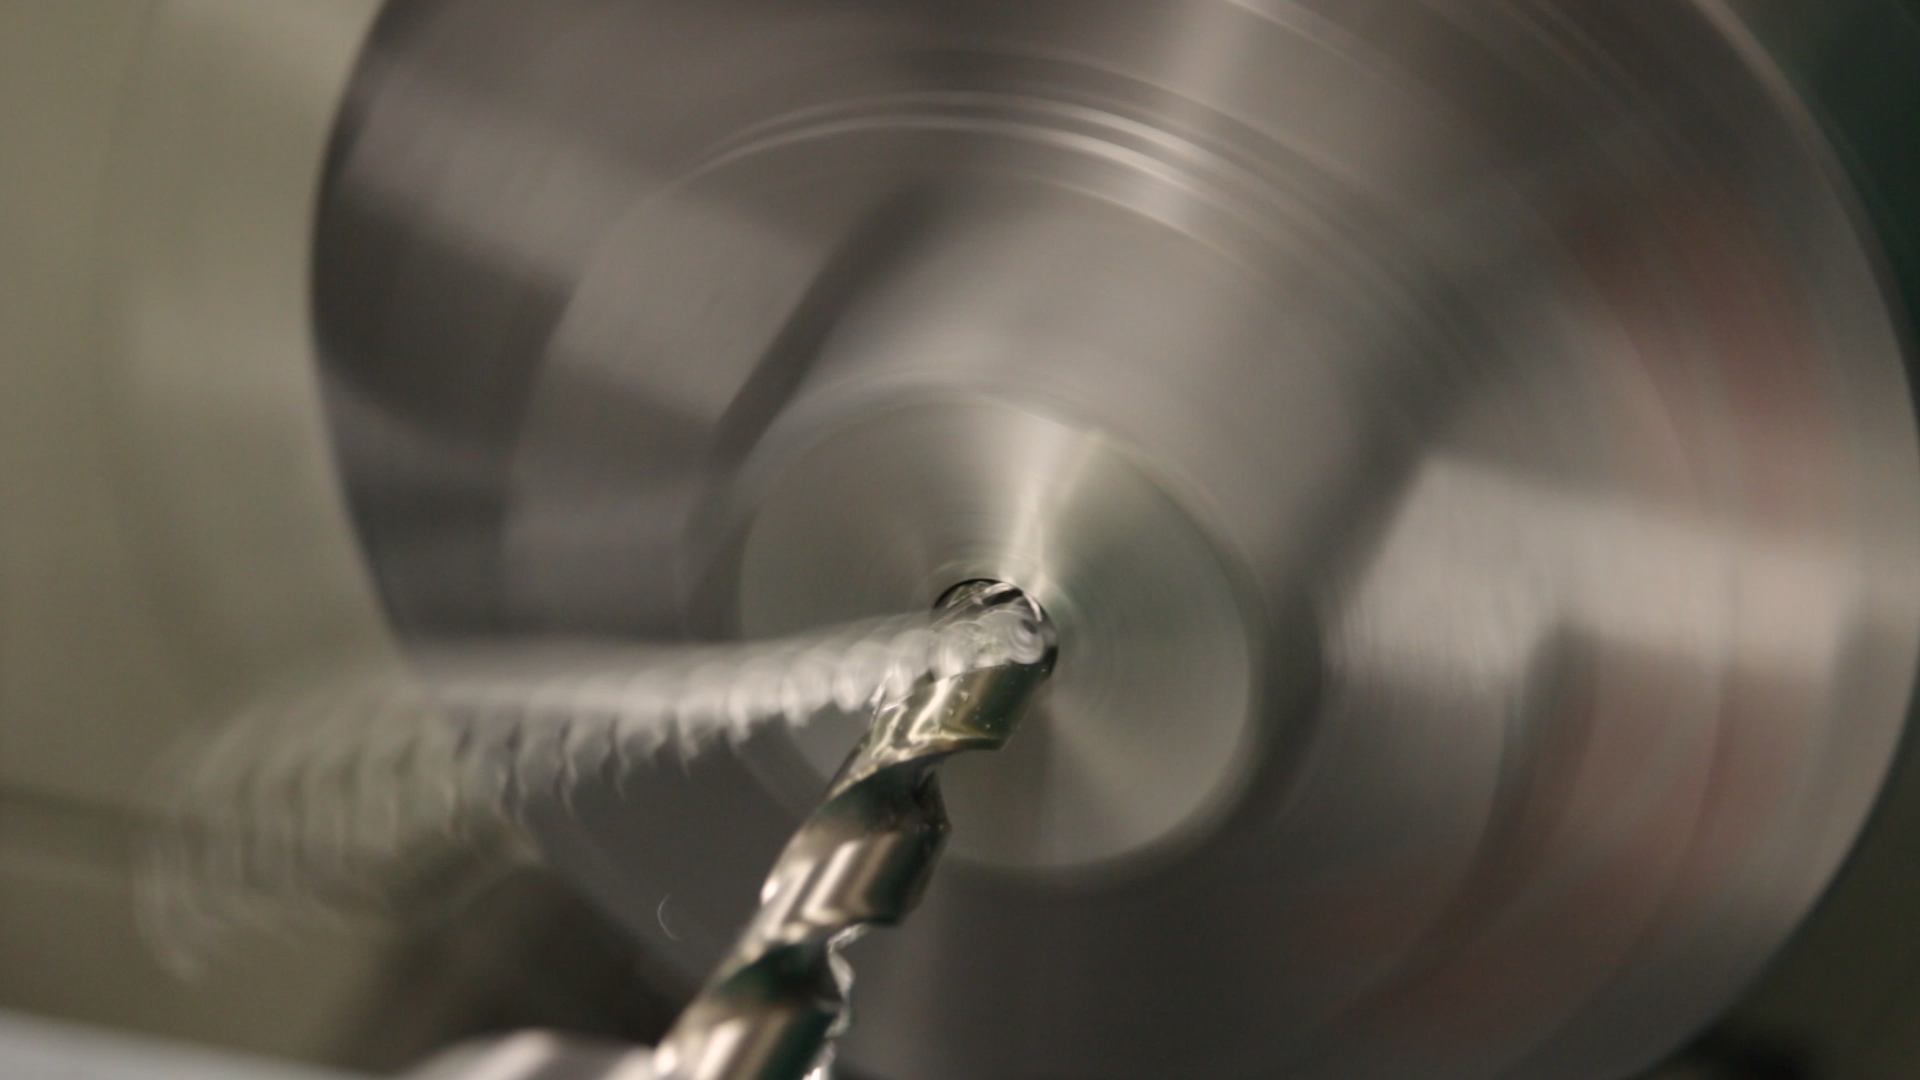
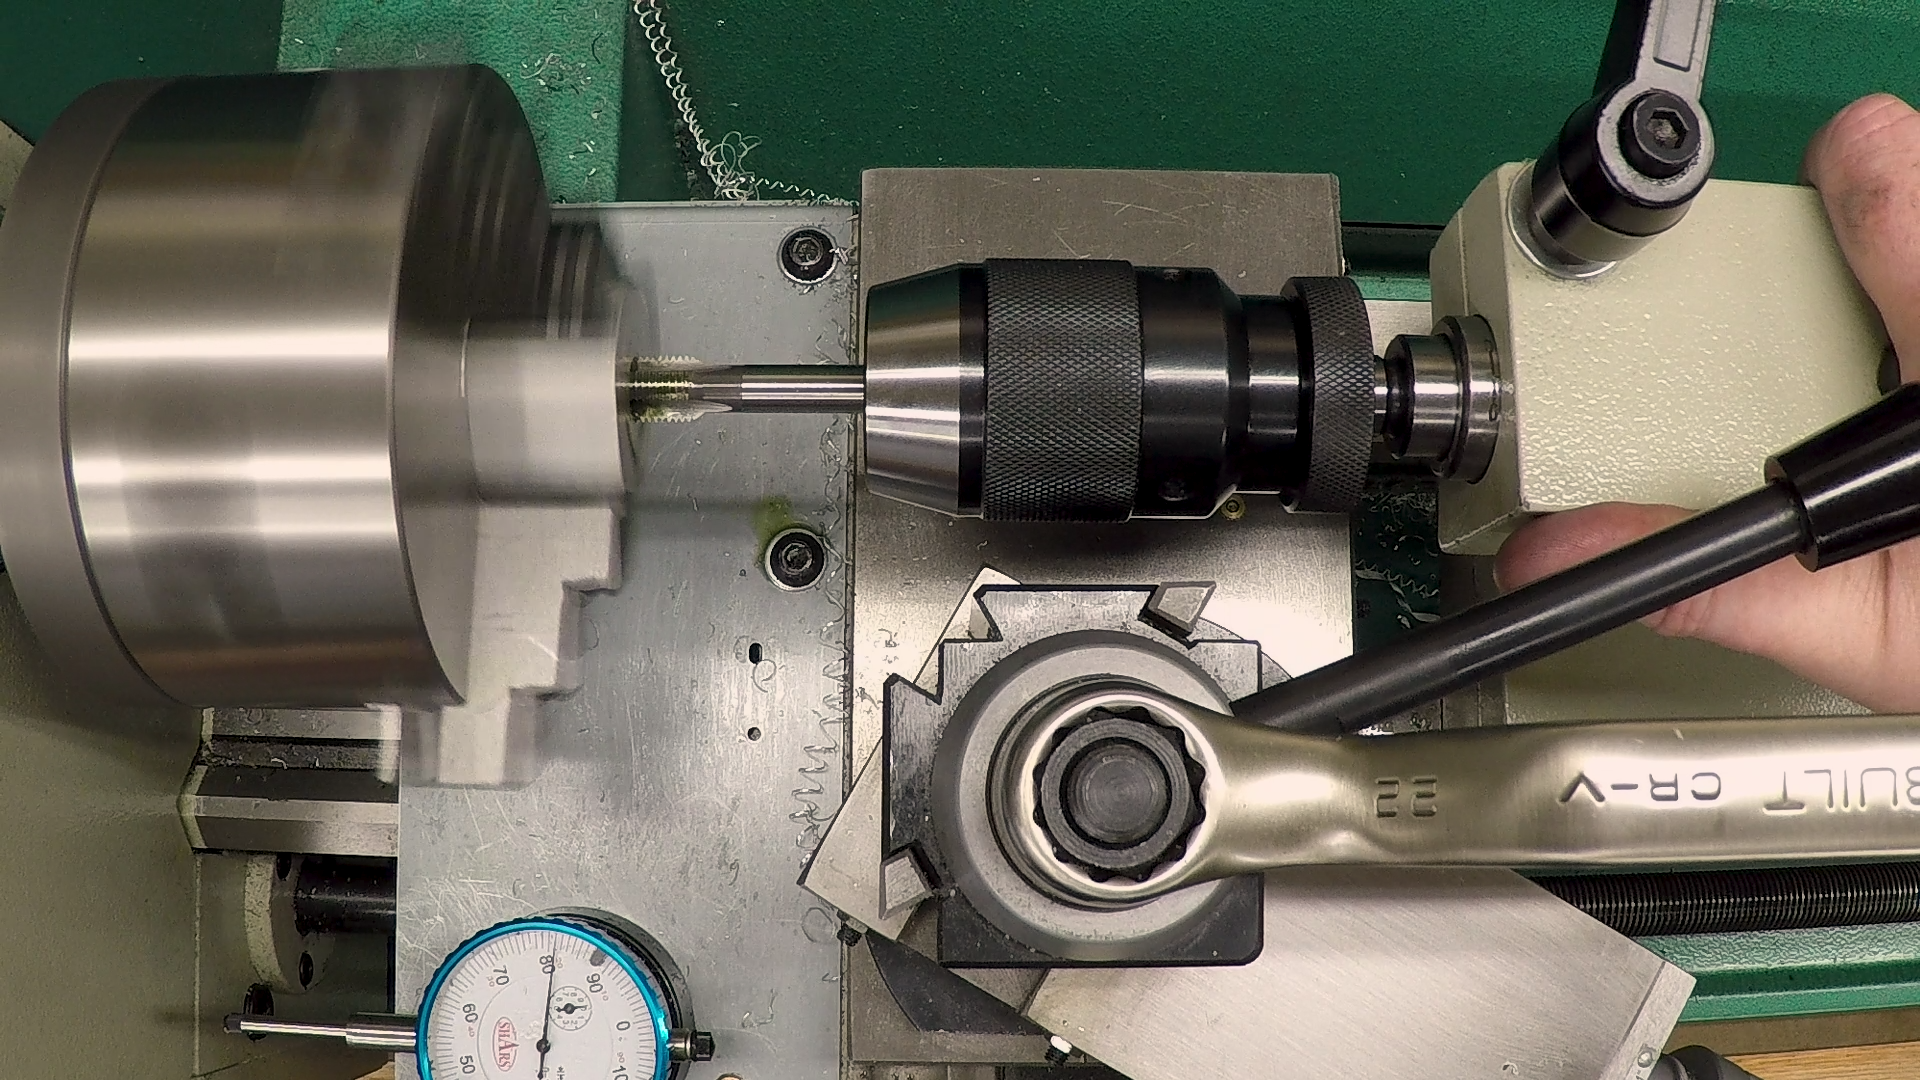
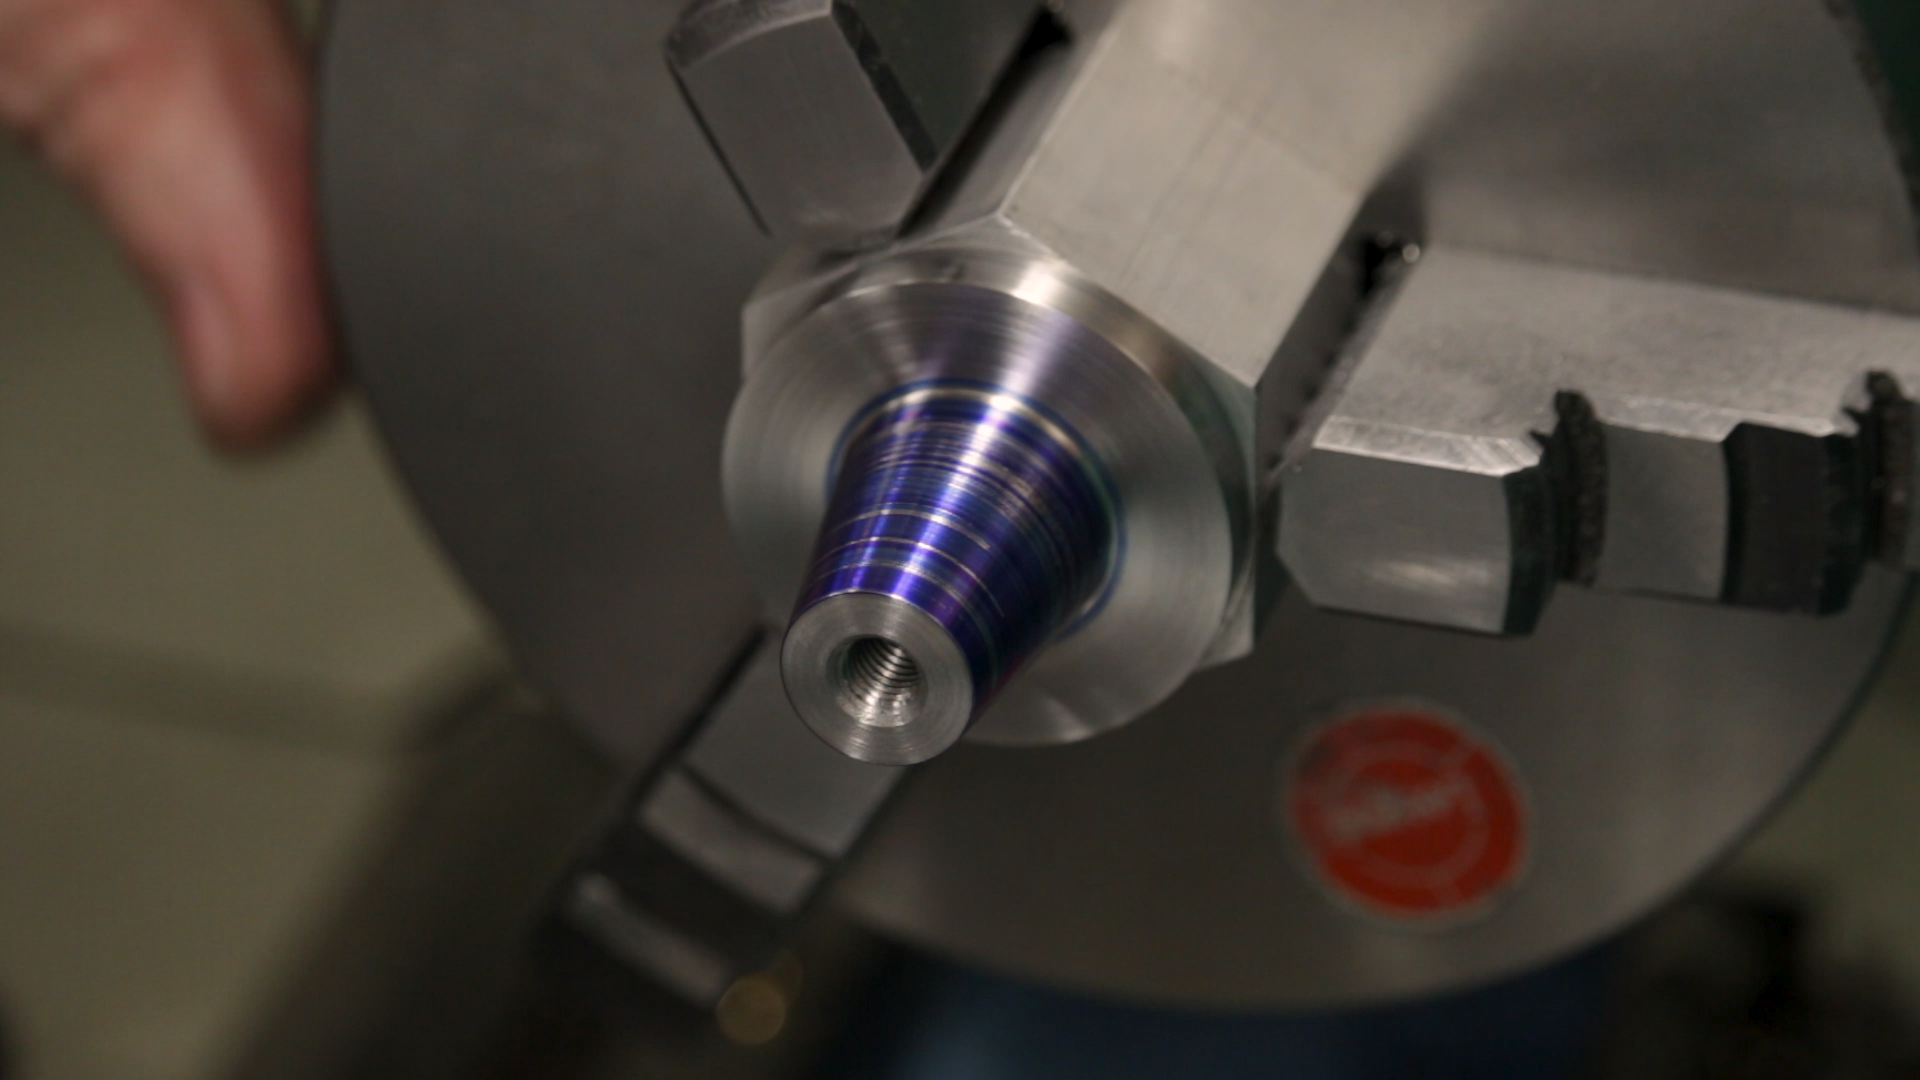
I went ahead and drilled and tapped for the drawbar threads, and I was a little disappointed in the results. I wanted them perfectly concentric, but 1/4-28 is really too small to bore, so I settled for drilling. Usually this is okay, but the drill wandered a bit (as drills are wont to do) and the thread ended up slightly off center.
Unfortunately, this means the end of the drawbar will wobble a bit inside the bore, but there wasn’t much I could do about it. Later testing revealed that this really isn’t much of a problem.
Setting up to Turn the Taper
There are lots of ways to set up to turn a taper. One time-tested method is to mount something with the correct taper in the chuck and use a dial indicator to adjust the compound to follow it exactly. This is fiddly work, and it is very sensitive to having the indicator tip on-center. It’s also very sensitive to small misalignment and concentricity issues.
In any case, I already had a workpiece in the chuck, and I didn’t want to take it out, so I decided to use angle blocks.
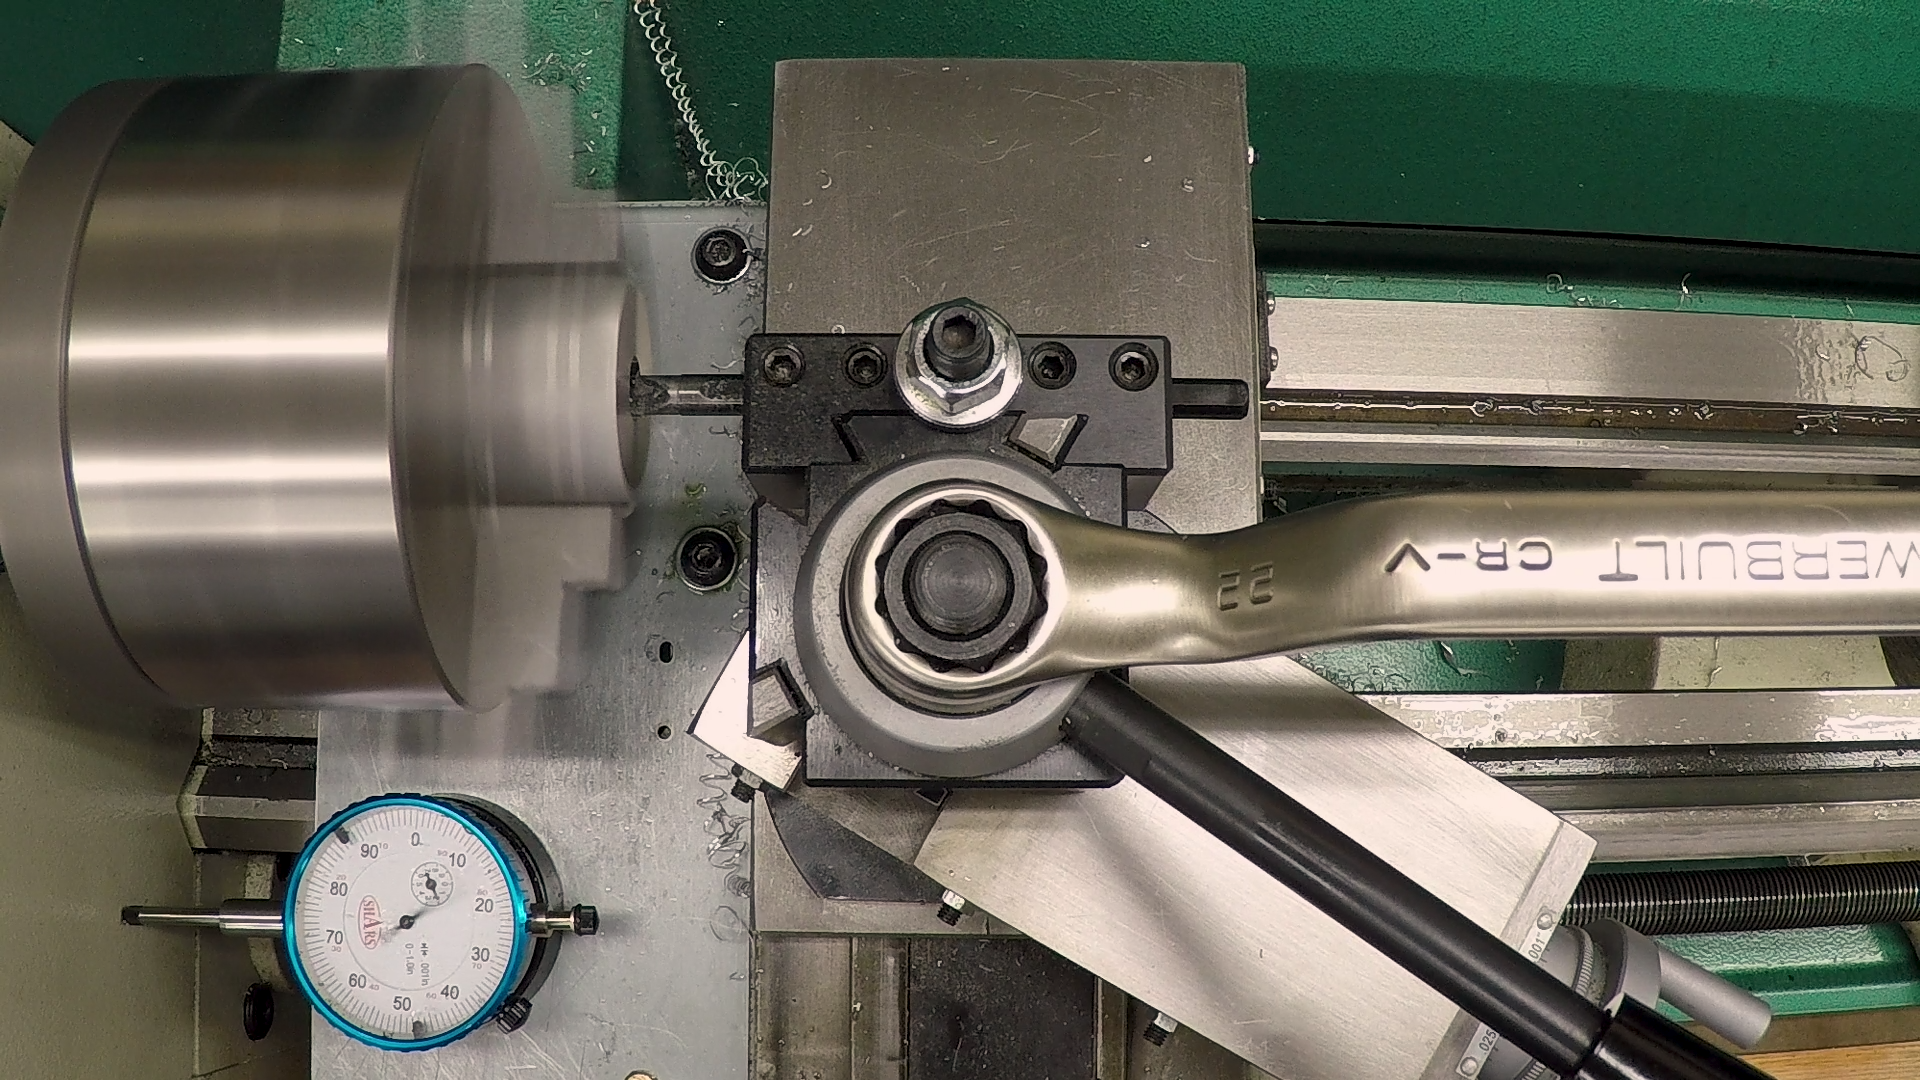
The first step was to verify with a dial indicator that the edge of my compound is truly parallel to the motion of the dovetail. I stoned it lightly to remove dings and it tested parallel.
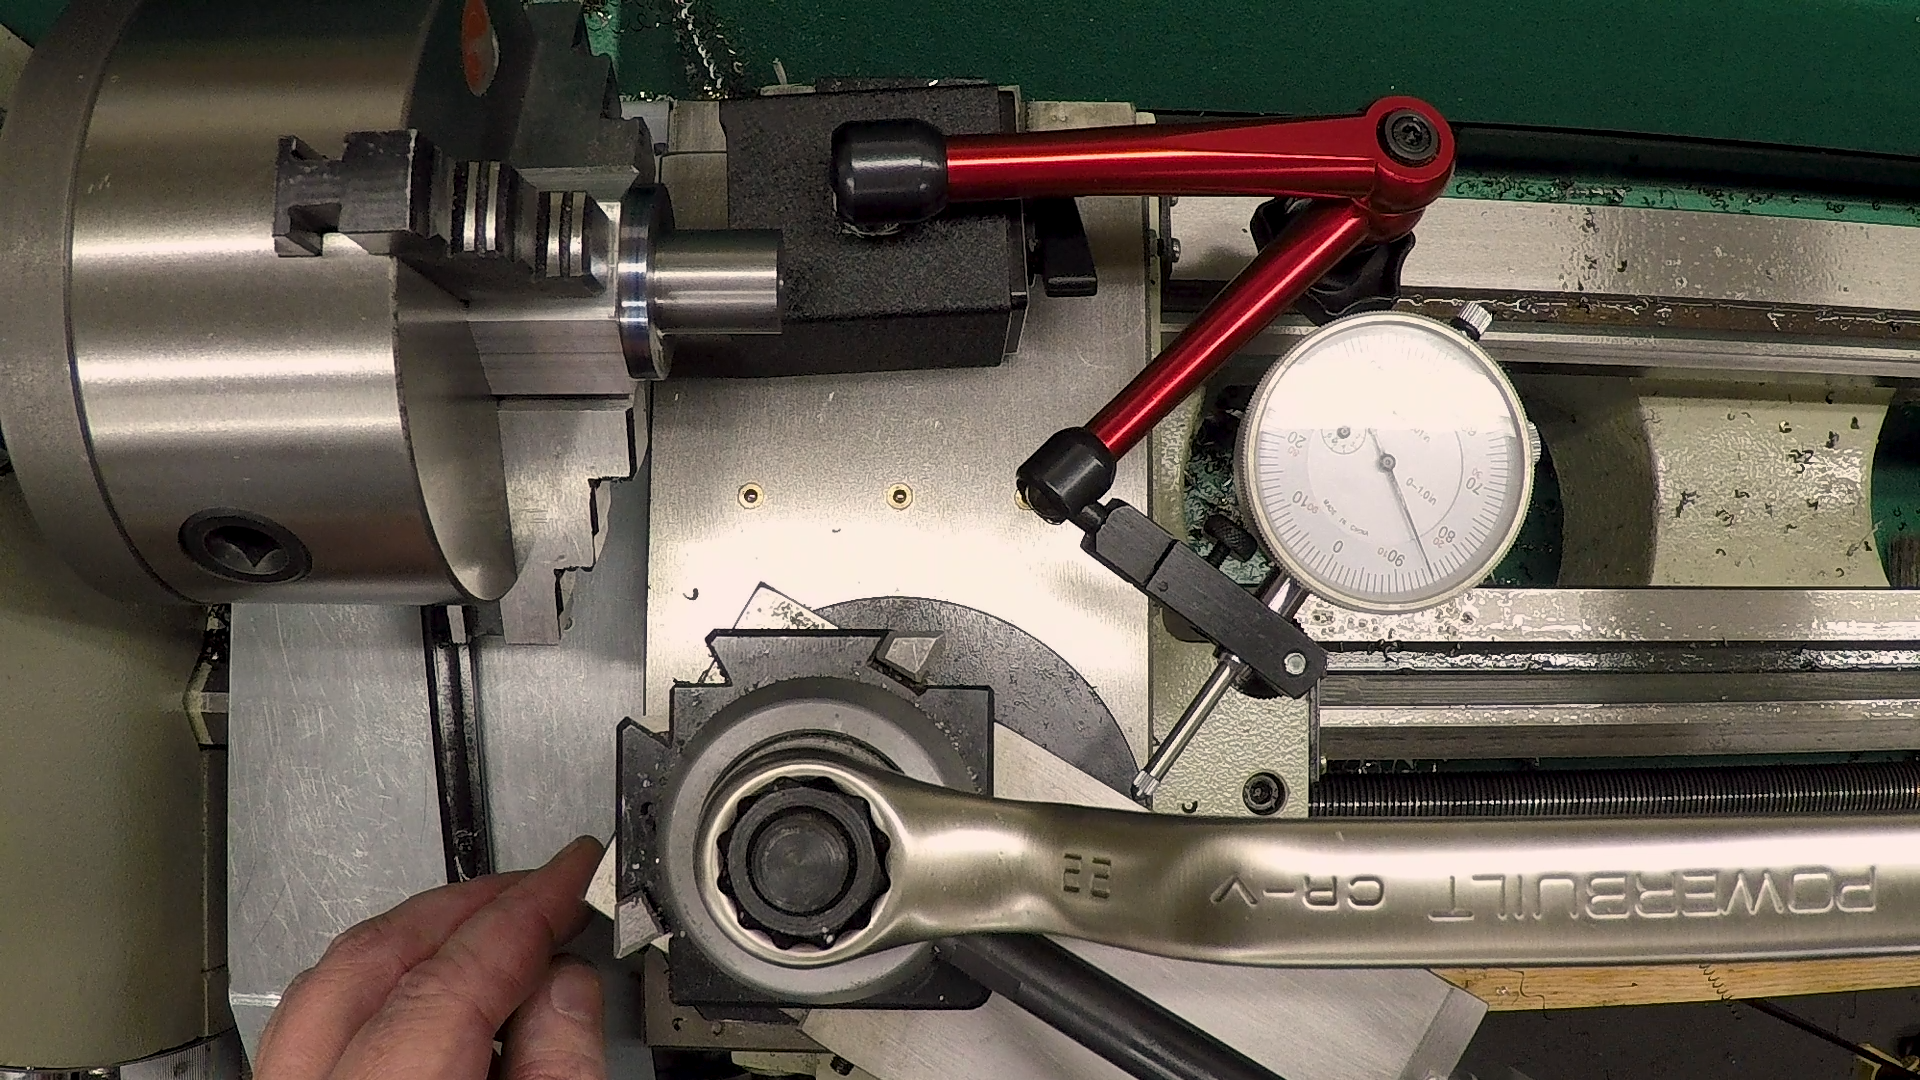
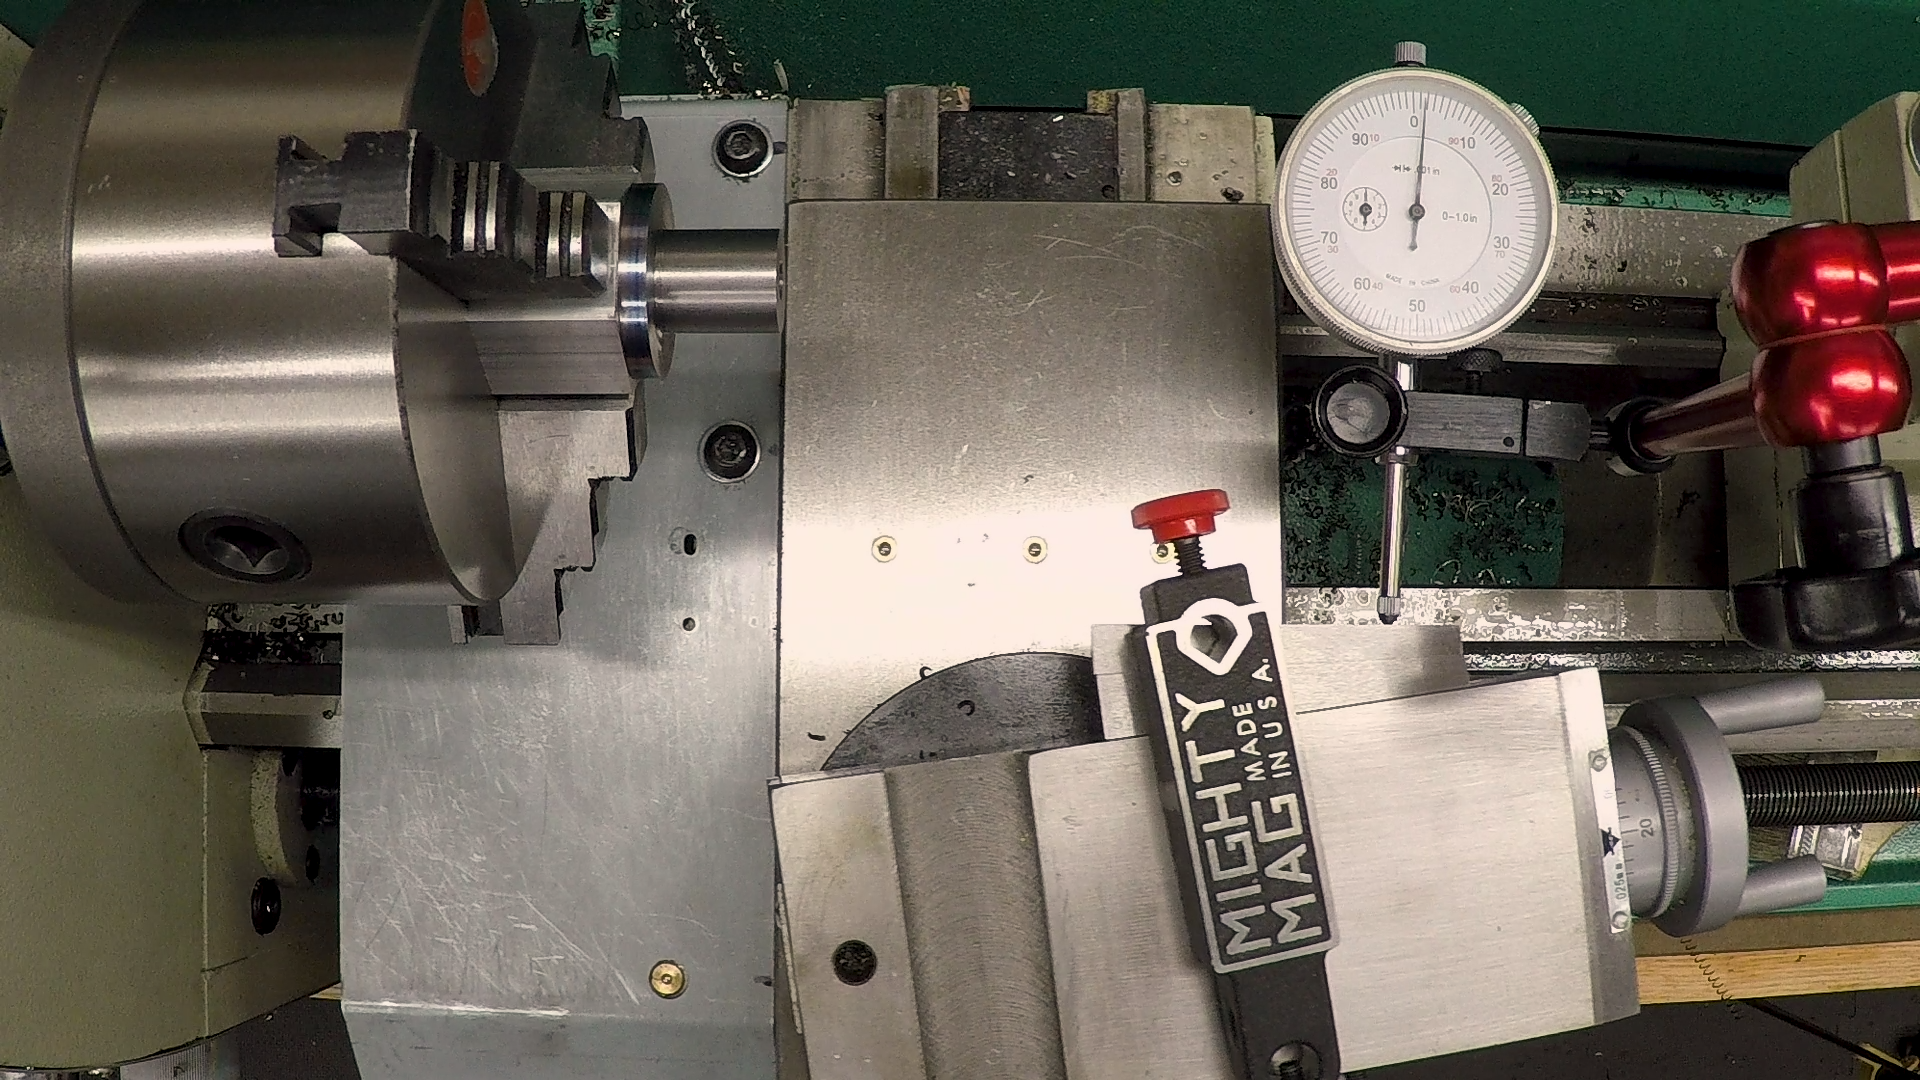
I don’t have an 8 degree angle block, so I had to use 5-degree and 3-degree blocks. I pressed them firmly against the stoned side of the compound and held them in place with a magnet. Then, it was just a matter of tapping the compound around until the dial indicator showed the surface of the block parallel to the motion of the carriage.
Compound Power Feed
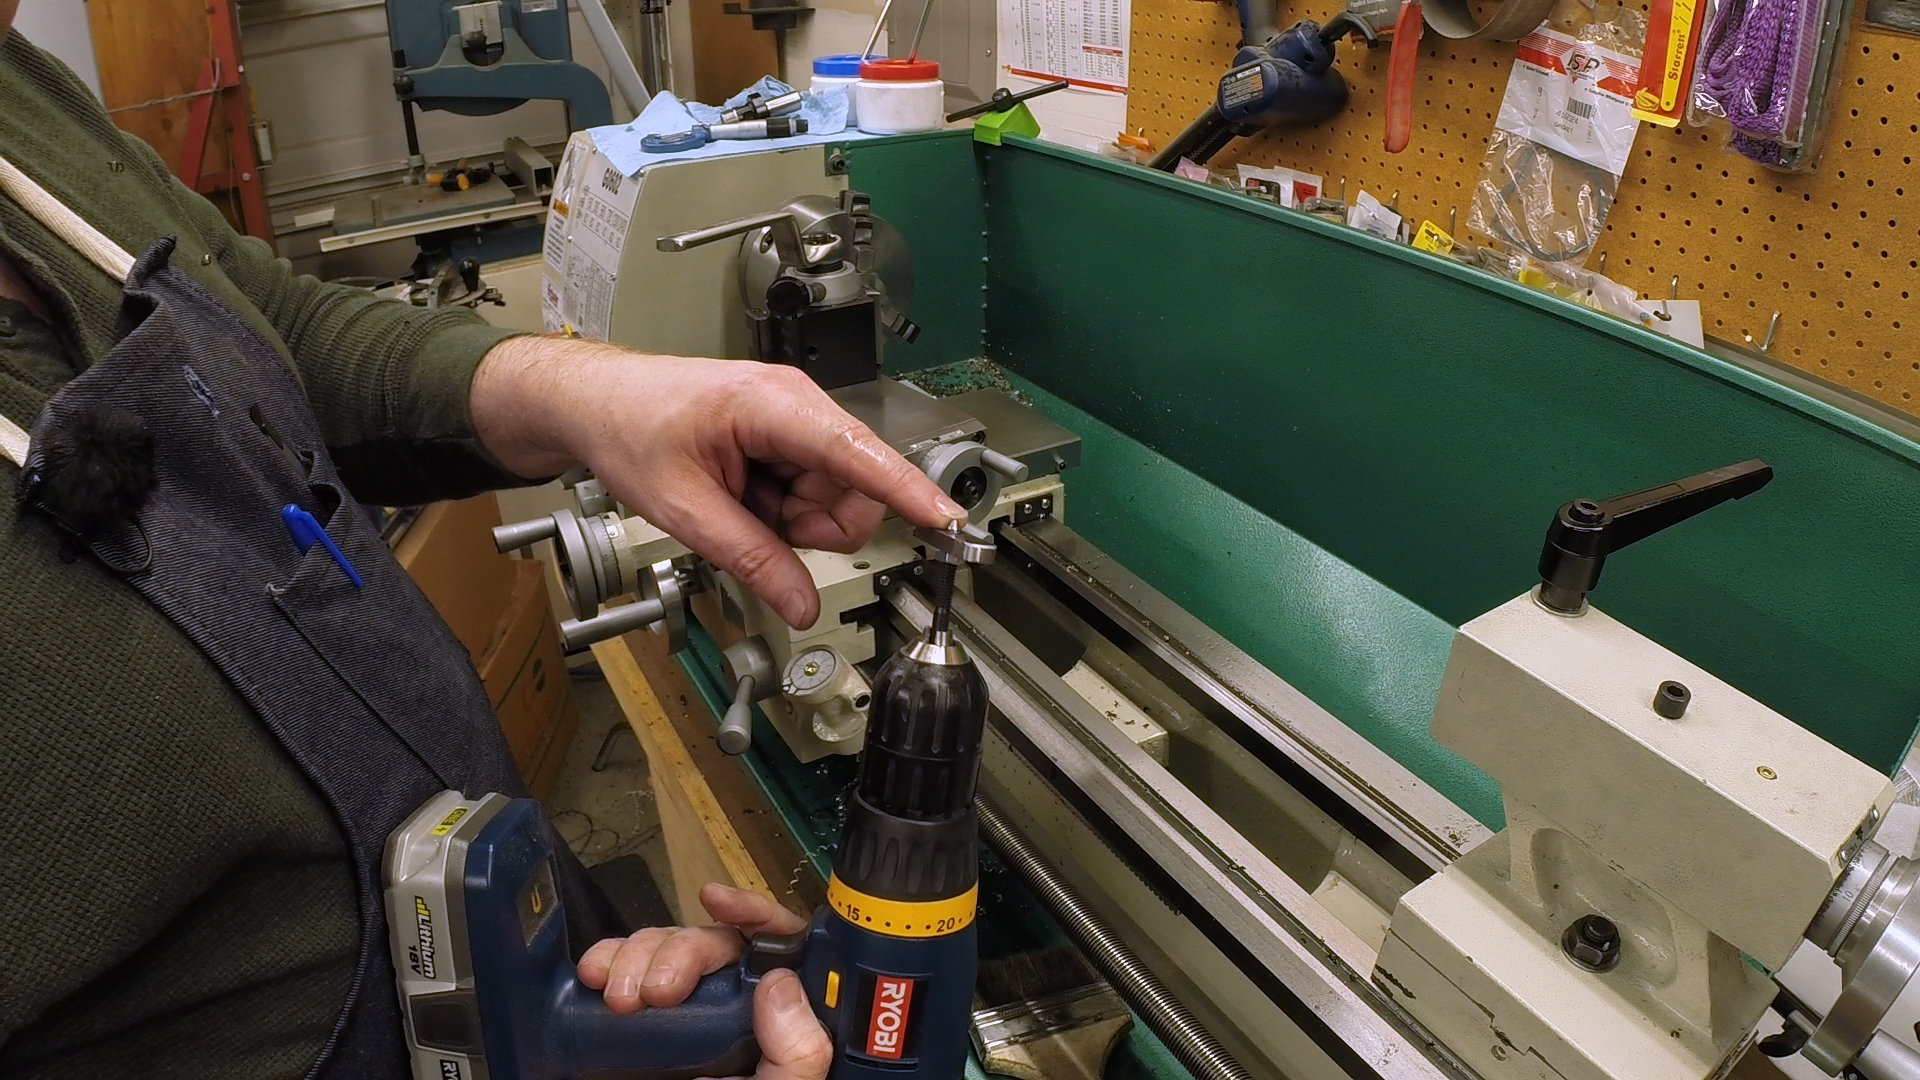
My lathe, like most lathes, just has a fiddly little crank on the compound. Turning this by hand gets old. It also introduces some sideways forces that can leave marks in the surface finish. To combat this (and to accommodate my laziness) I made a driver so I could turn the compound with a cordless drill motor. The driver is just a 1/4-20 screw with a crossbar threaded on it and held in place with a jam nut. I also turned a point on the screw to center it in the compound handle and turned off the head to make it easier to grab in the drill motor chuck.
Turning the Taper
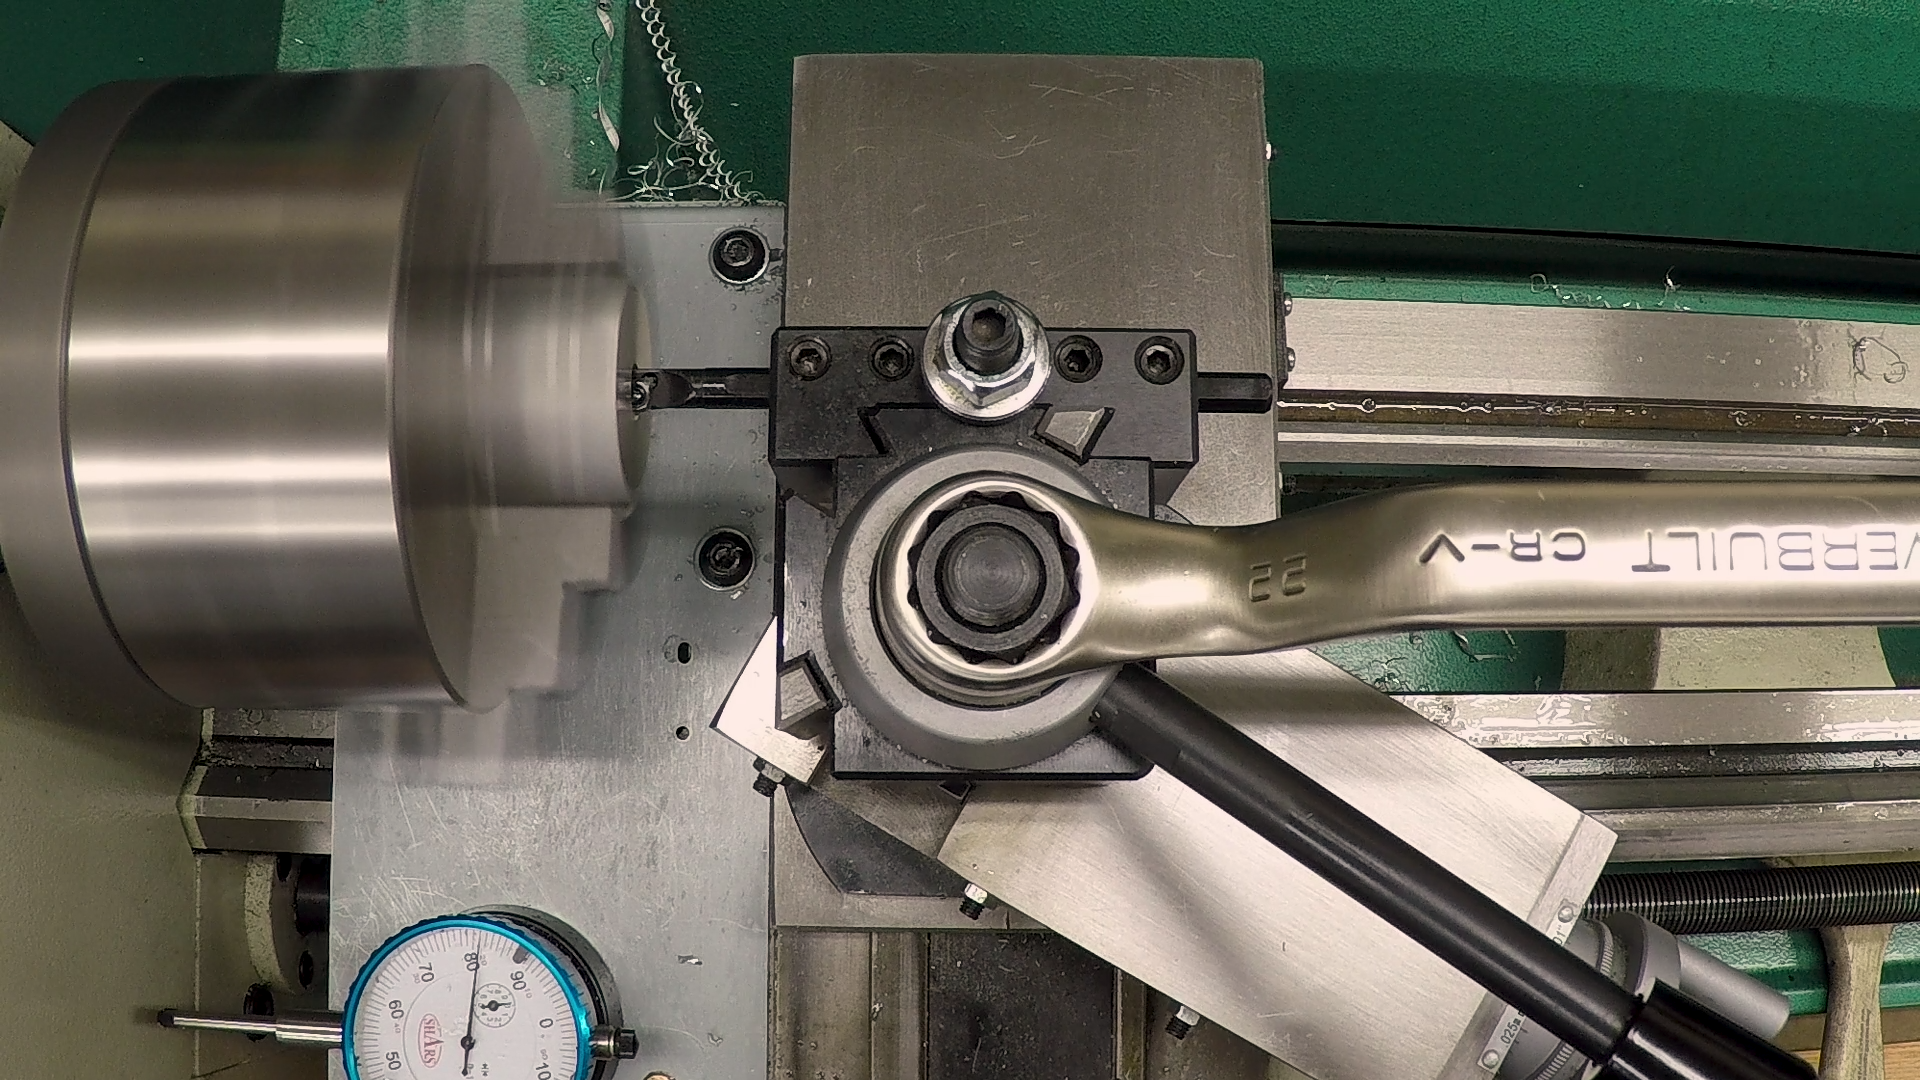
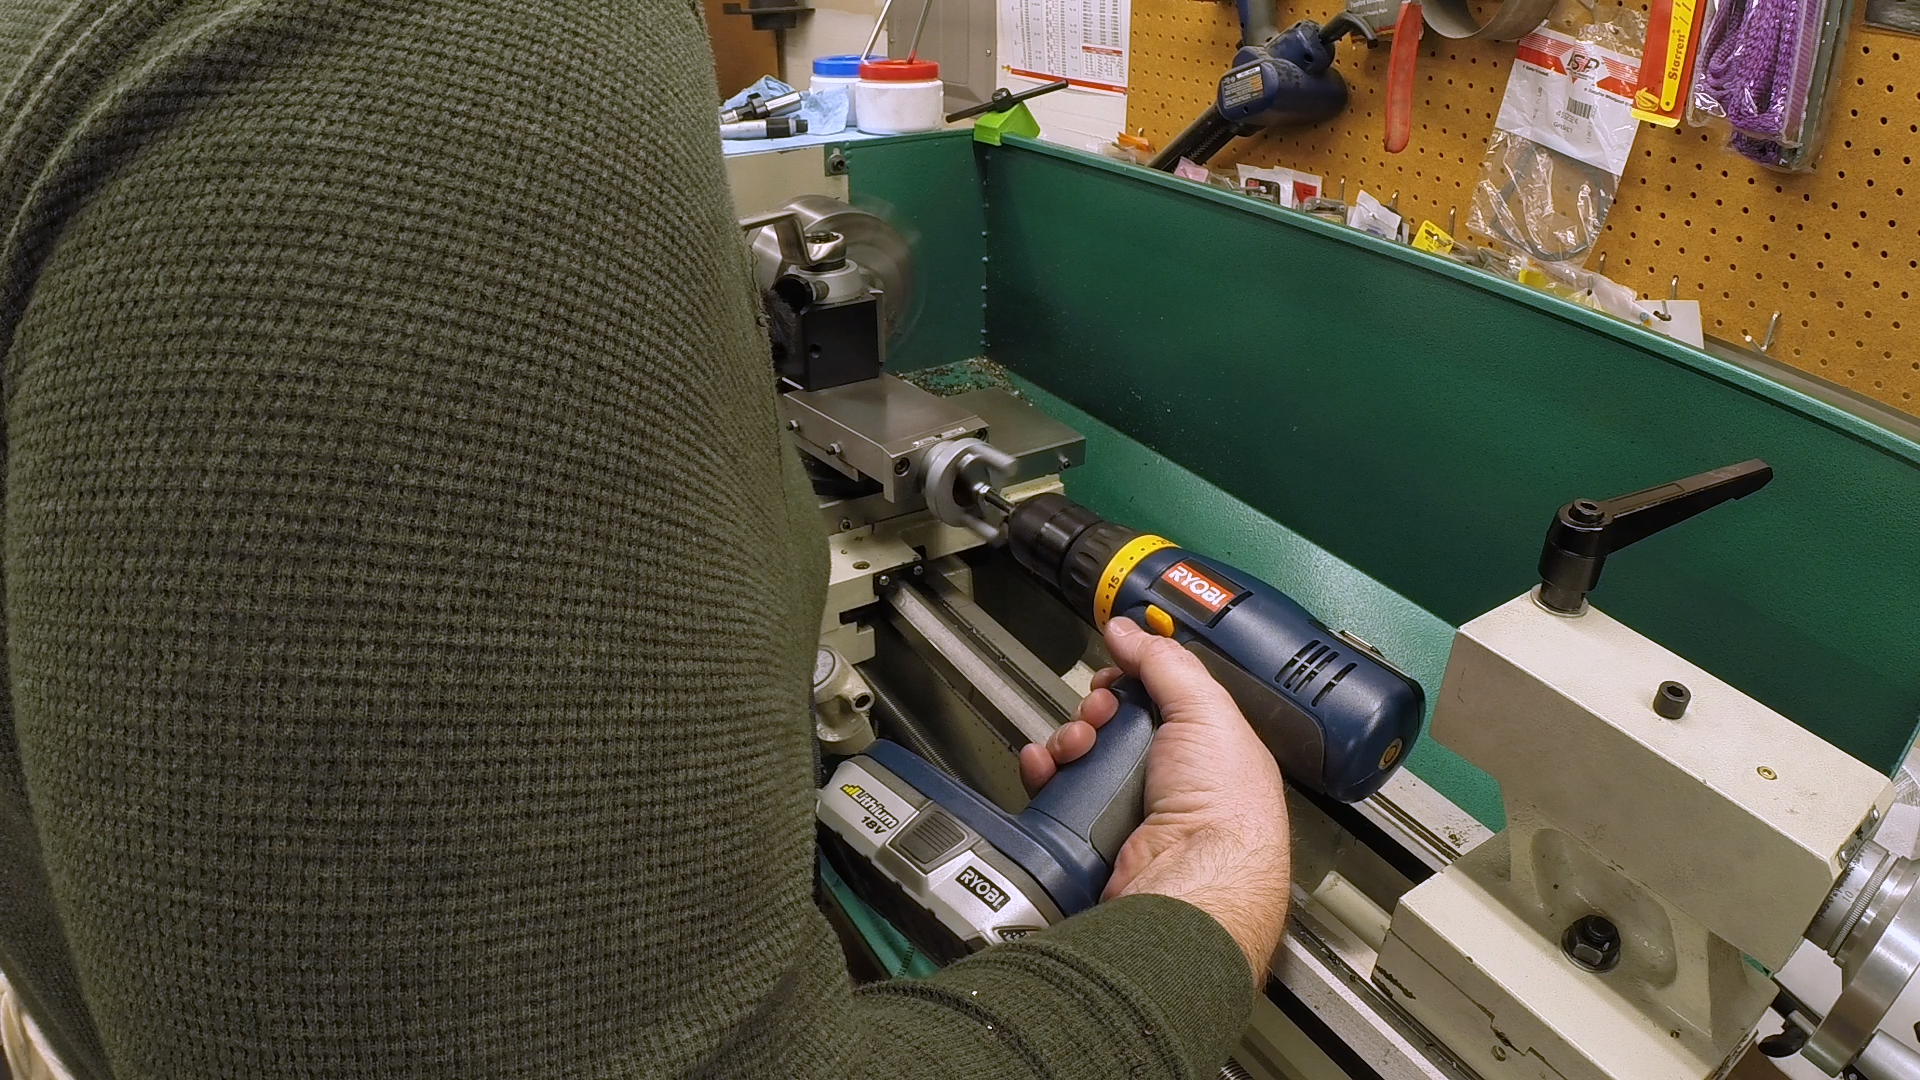
Turning the taper ended up being a lot easier than I expected. The drill motor worked a treat. I locked the carriage and just fed the tool in .010″ at a time, running the compound back and forth with the drill motor.

Tapers formed this way are rarely perfect, and this was no exception. I used an ER20 collet holder from my mill and a blue sharpie to try to gauge the fit of the taper and made some small adjustments with emery paper and Scotch Brite. The finished bearing isn’t perfect, but it’s more than sufficient for this application. This isn’t a locking taper. The only important thing is that it seat squarely and run true.
Inaugural Test Run
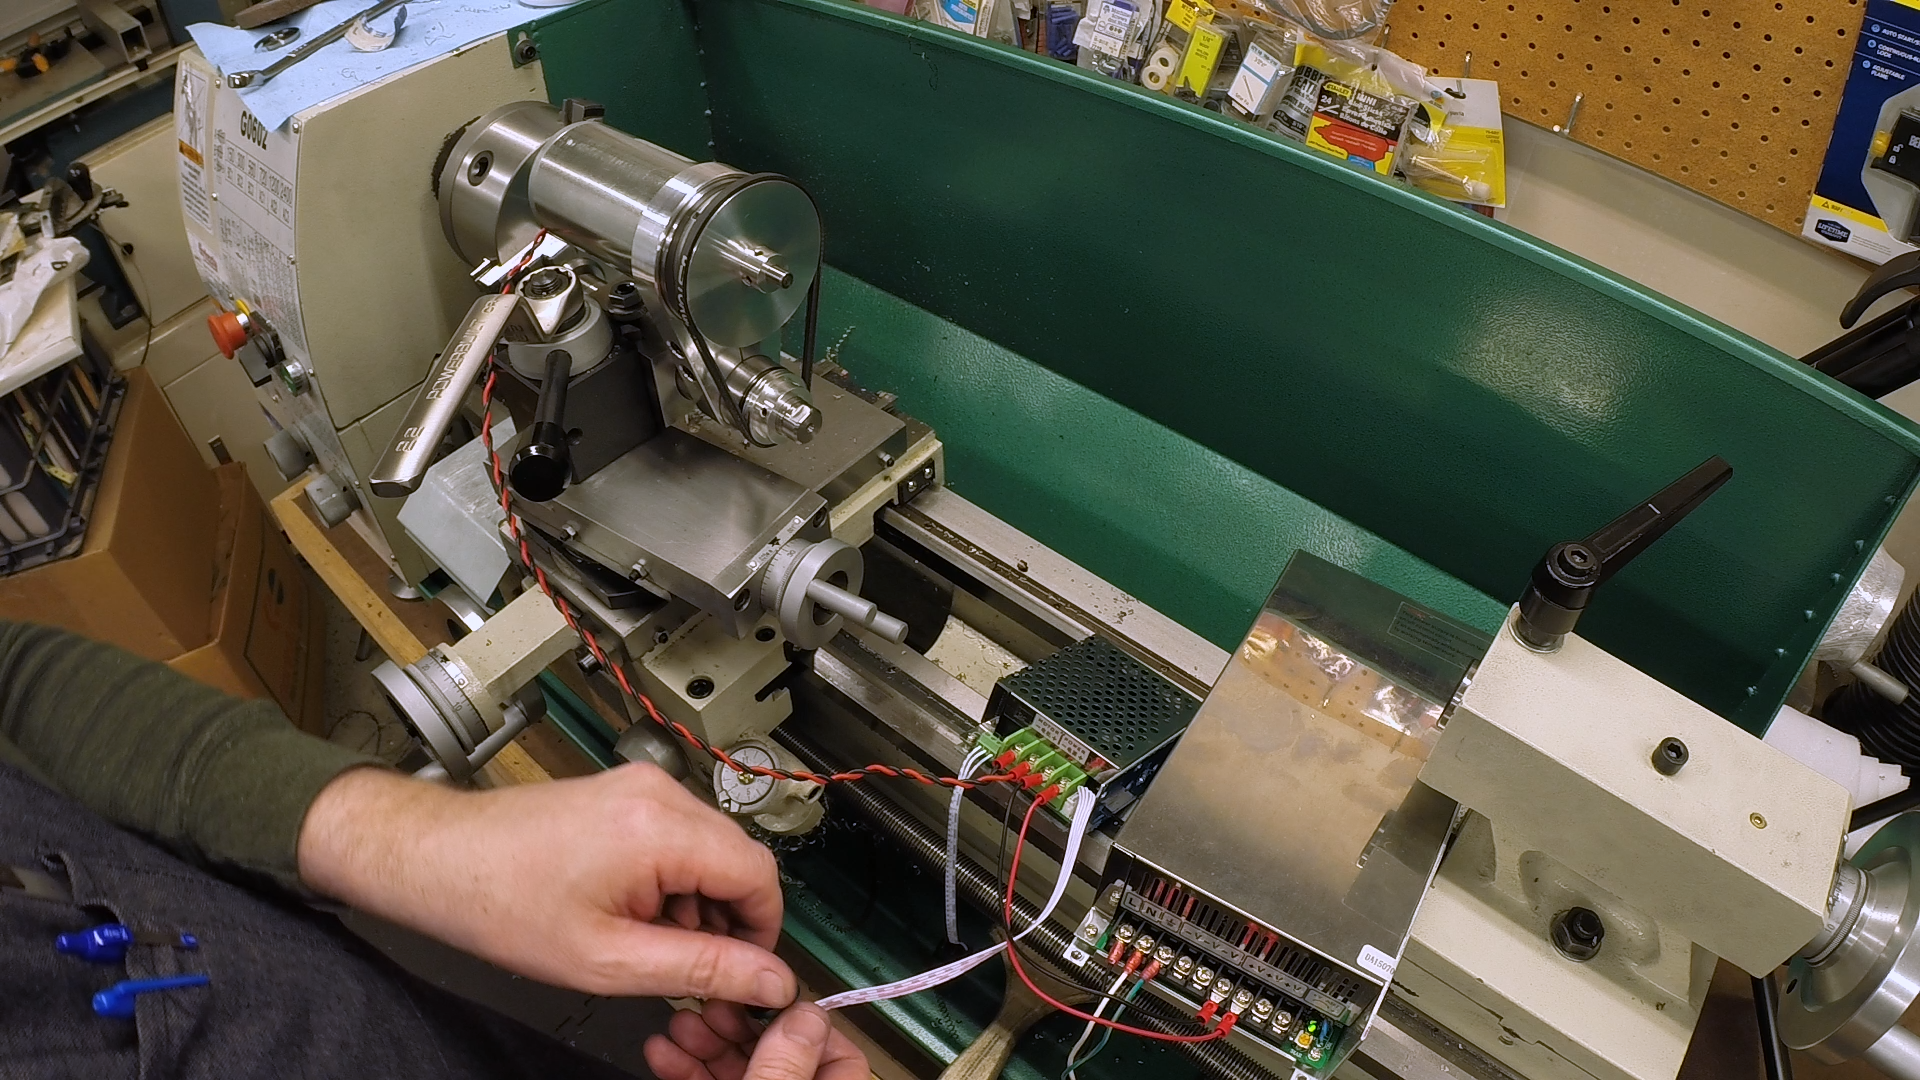
Well, we have a grinder and we have a way to mount the wheel, so it’s time for a test run!
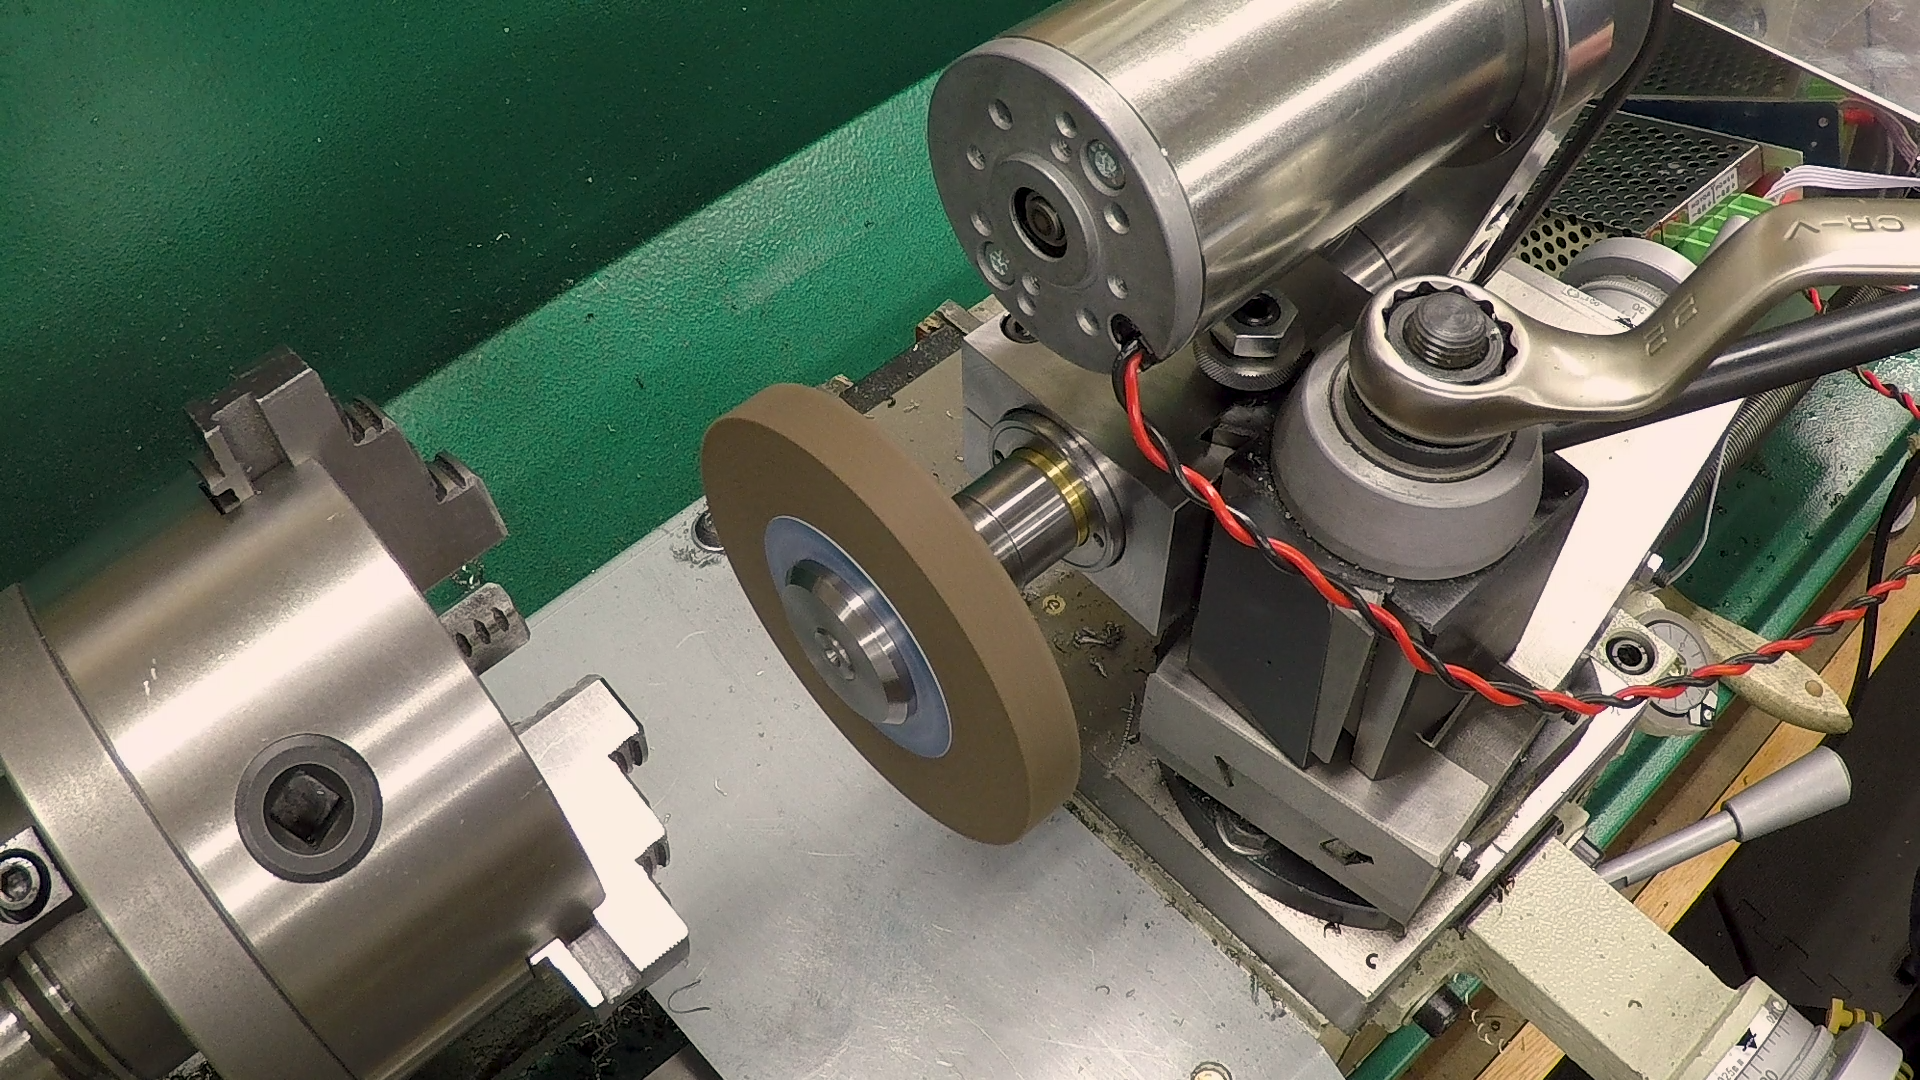
I rigged up a power supply and speed controller on the lathe, mounted a wheel and gave it a spin. And…it worked great! Running empty, it’s almost silent. The drawbar may be slightly off center, but you wouldn’t know, even at nearly 7000 RPM. I also mounted a wheel and spun it up very carefully. The arbor doesn’t have pin spanner holes yet, so I couldn’t tighten it properly, and there is no guard, so I stool well away from the wheel, off to the side so I would be out of the path of the mayhem if any ensued.
Up Next
This completes most of the grinder’s main structure. We still need to put pin spanner holes in the flanges and make some spanner wrenches and a tightening fixture, and we need to do something about a guard. We’ll work on that next time.
If you’re following along with the build, here are some links to some of the tools used in the video:
*This site contains affiliate links for which I may be compensated
- Shars CCMT0602 RH turning tool holder (eBay*): https://goo.gl/Q1Jsdp
- 8mm CCMT0602 boring bar (eBay*): https://goo.gl/tJj6Xj
- Kyocera CCMT060204-HQ Cermet Inserts (eBay*): https://goo.gl/pDhFAs
- Shars CCGX 21.52 insert for aluminum (eBay*): https://goo.gl/t3CWy8
- OSG 1/2-20 spiral point plug tap (eBay*): https://goo.gl/fYVpVR
- A9 Cutting Fluid for aluminum (eBay*): https://goo.gl/SPe2DL
- RapidTap Cutting Fluid for steel (eBay*): https://goo.gl/2vgW9H
- Shars 0-6″ .0001″ micrometer set (eBay*): https://goo.gl/vvgJ9A
- Noga Deburring Set (Amazon*): http://amzn.to/2xMfiPz
- Scotch Brite Maroon Very Fine (eBay*): https://goo.gl/yEjjXF
- Scotch Brite Gray Ultra Fine (eBay*): https://goo.gl/oeYfvF


