This week, we finish up the wheel arbor and make a tightening fixture to make wheel changes easier for those of us who only have two hands.
Spanner Holes in the Arbor…
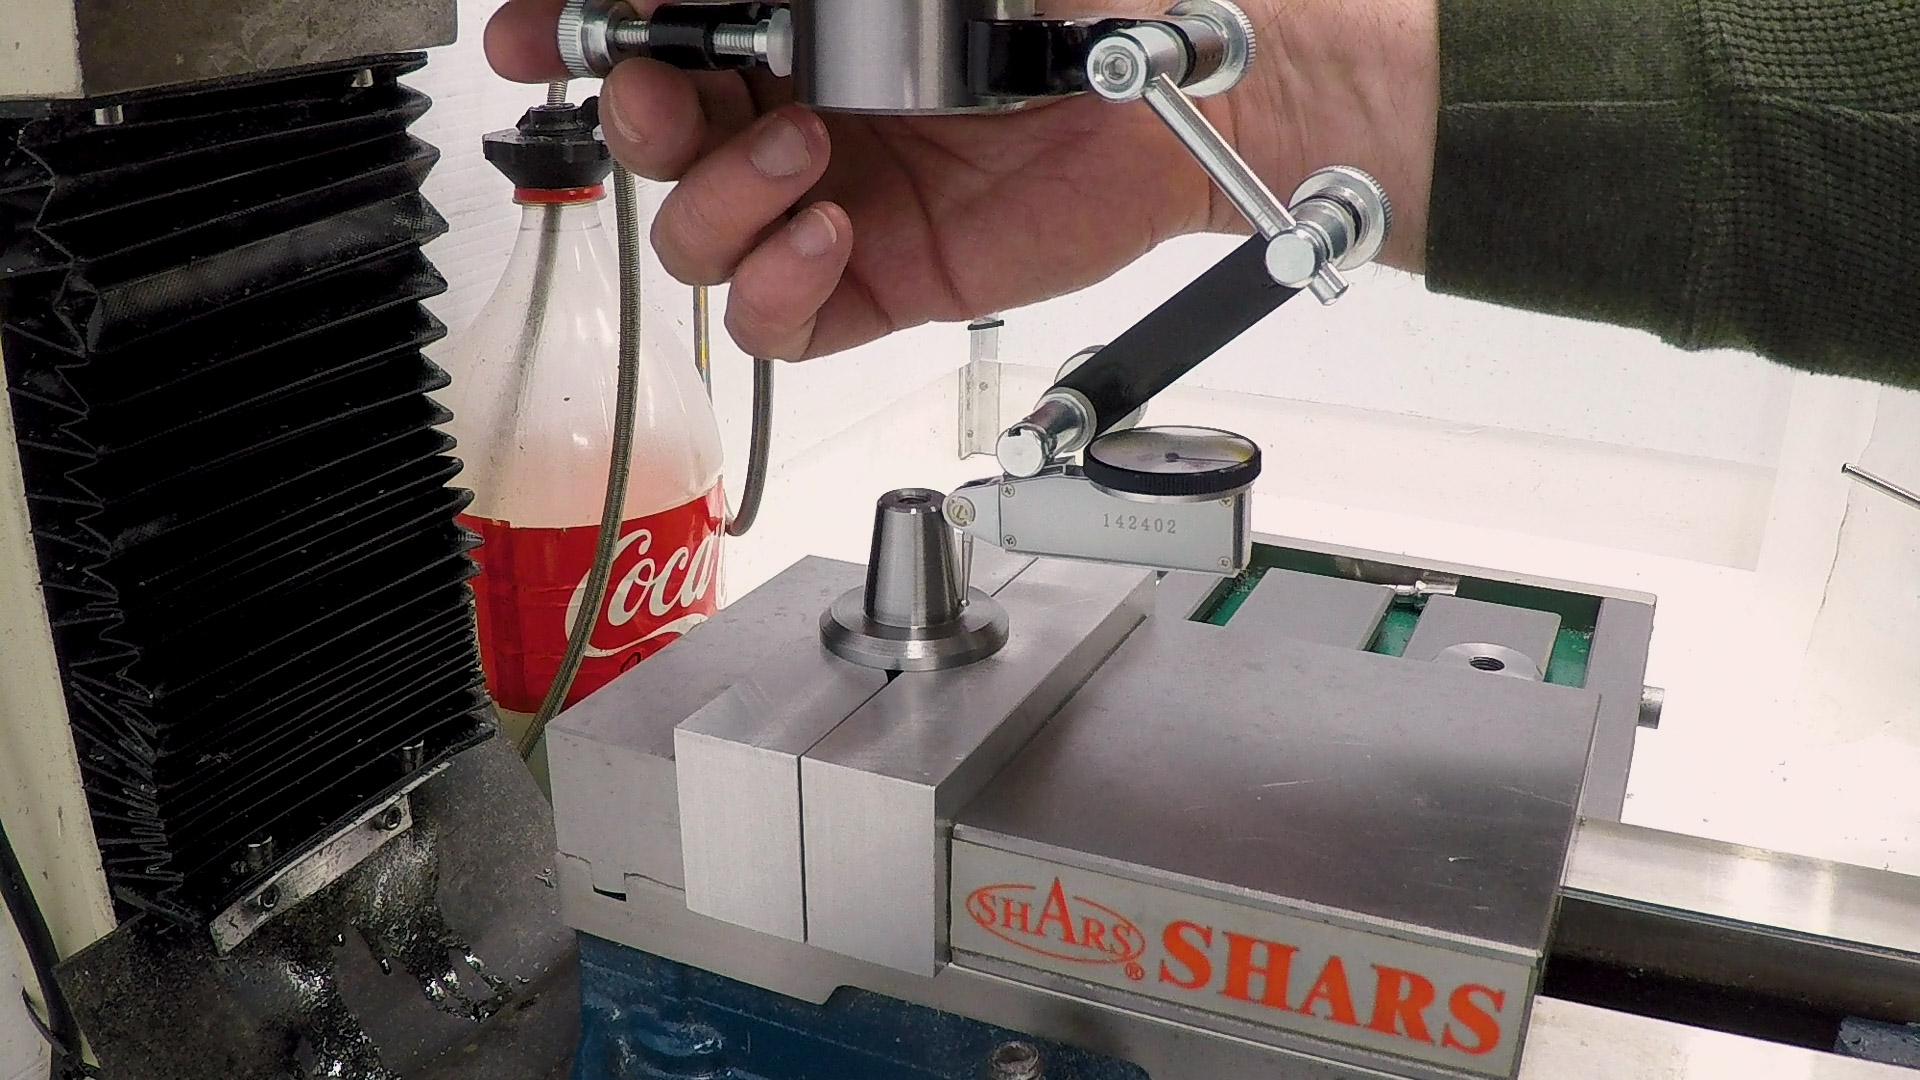
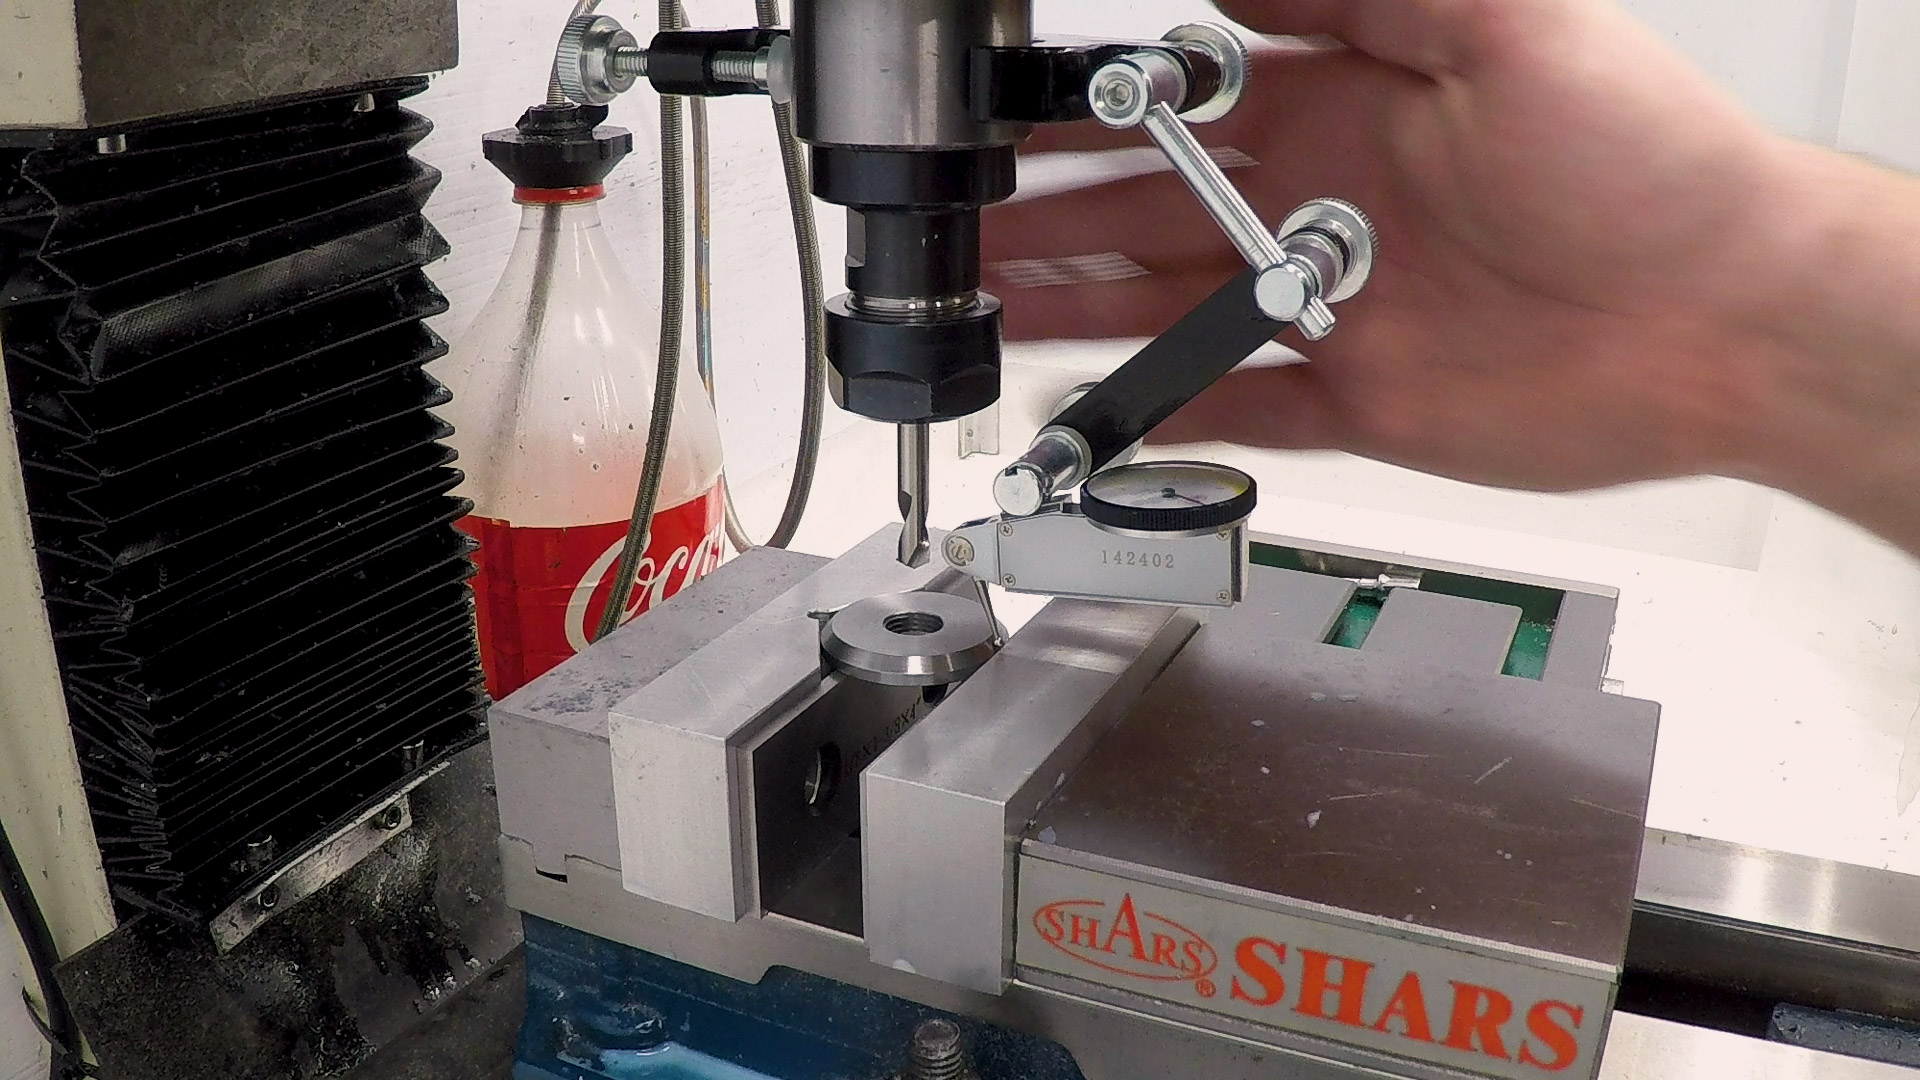
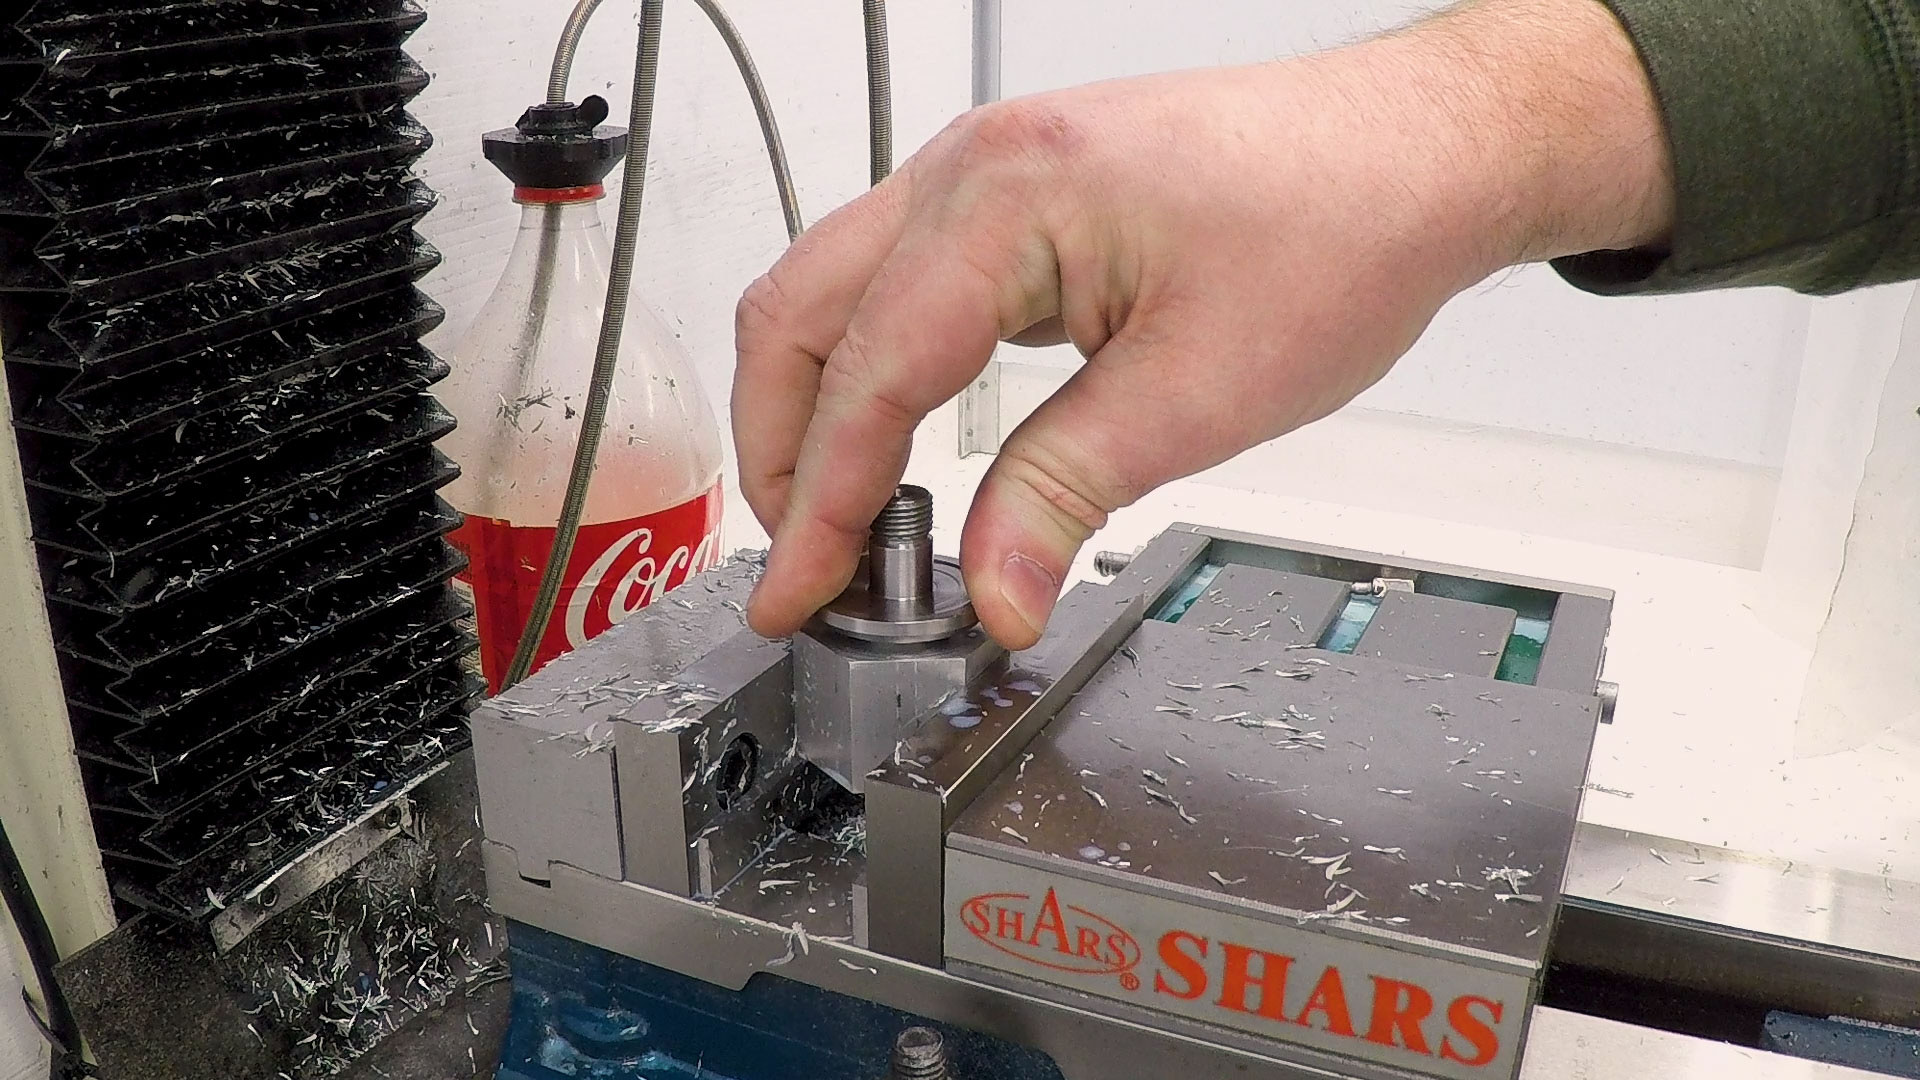
The first thing we need to do is poke some holes in the arbor so we have something to use when tightening it on a wheel. I held the arbor in aluminum V-block soft jaws in the mill vise and found the center with an indicator.
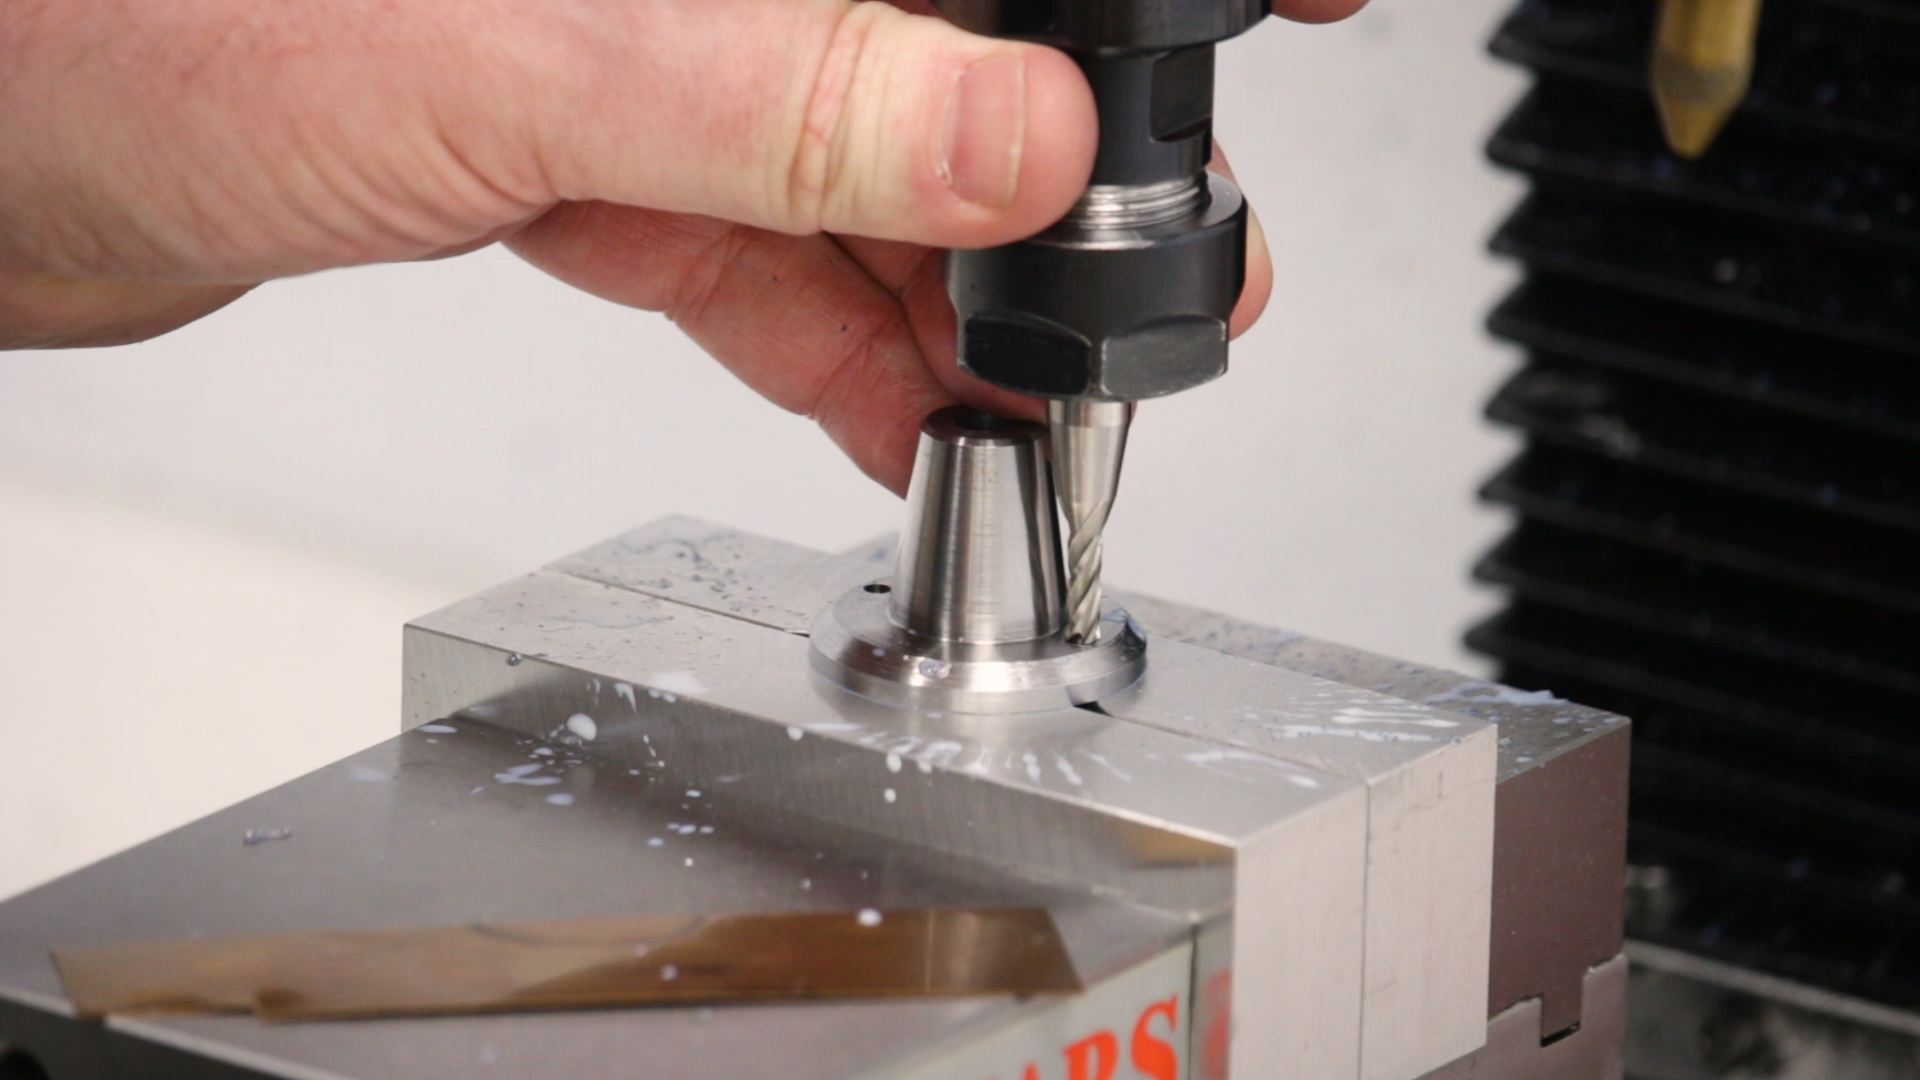
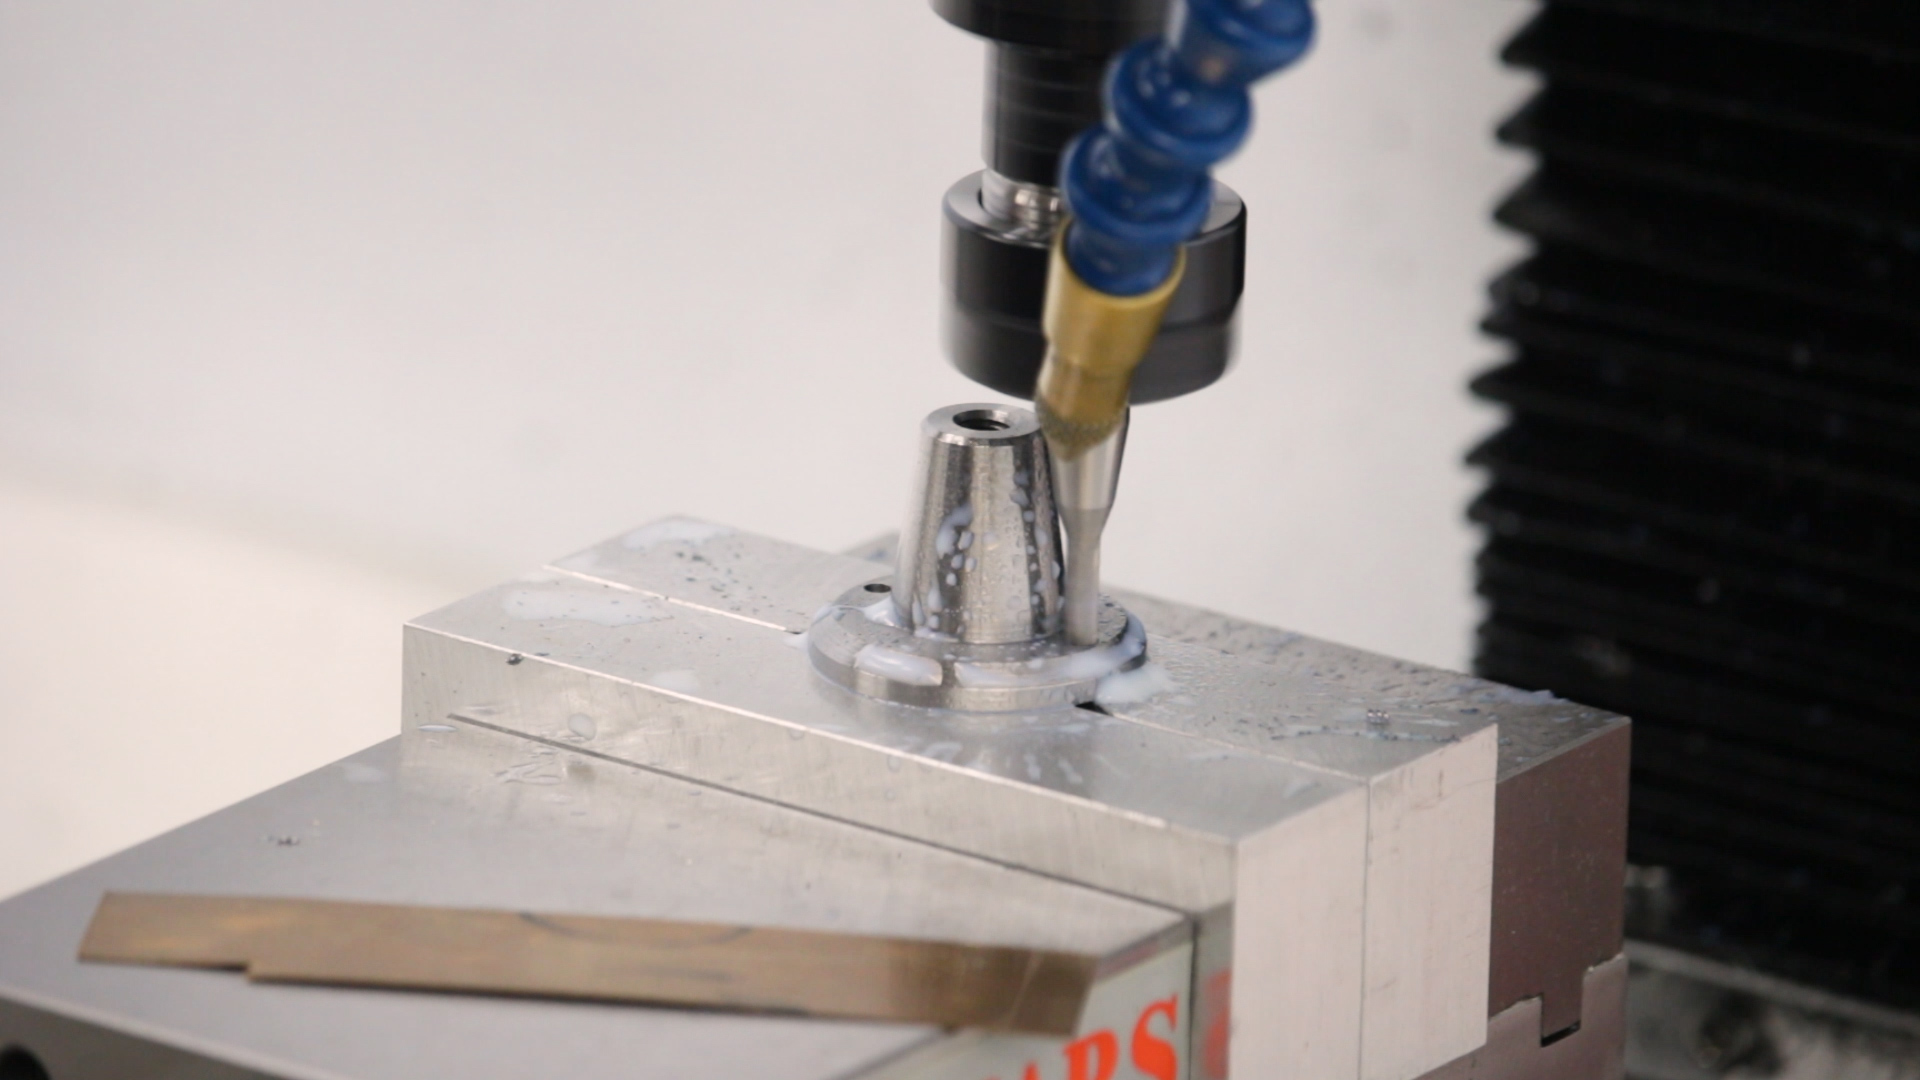
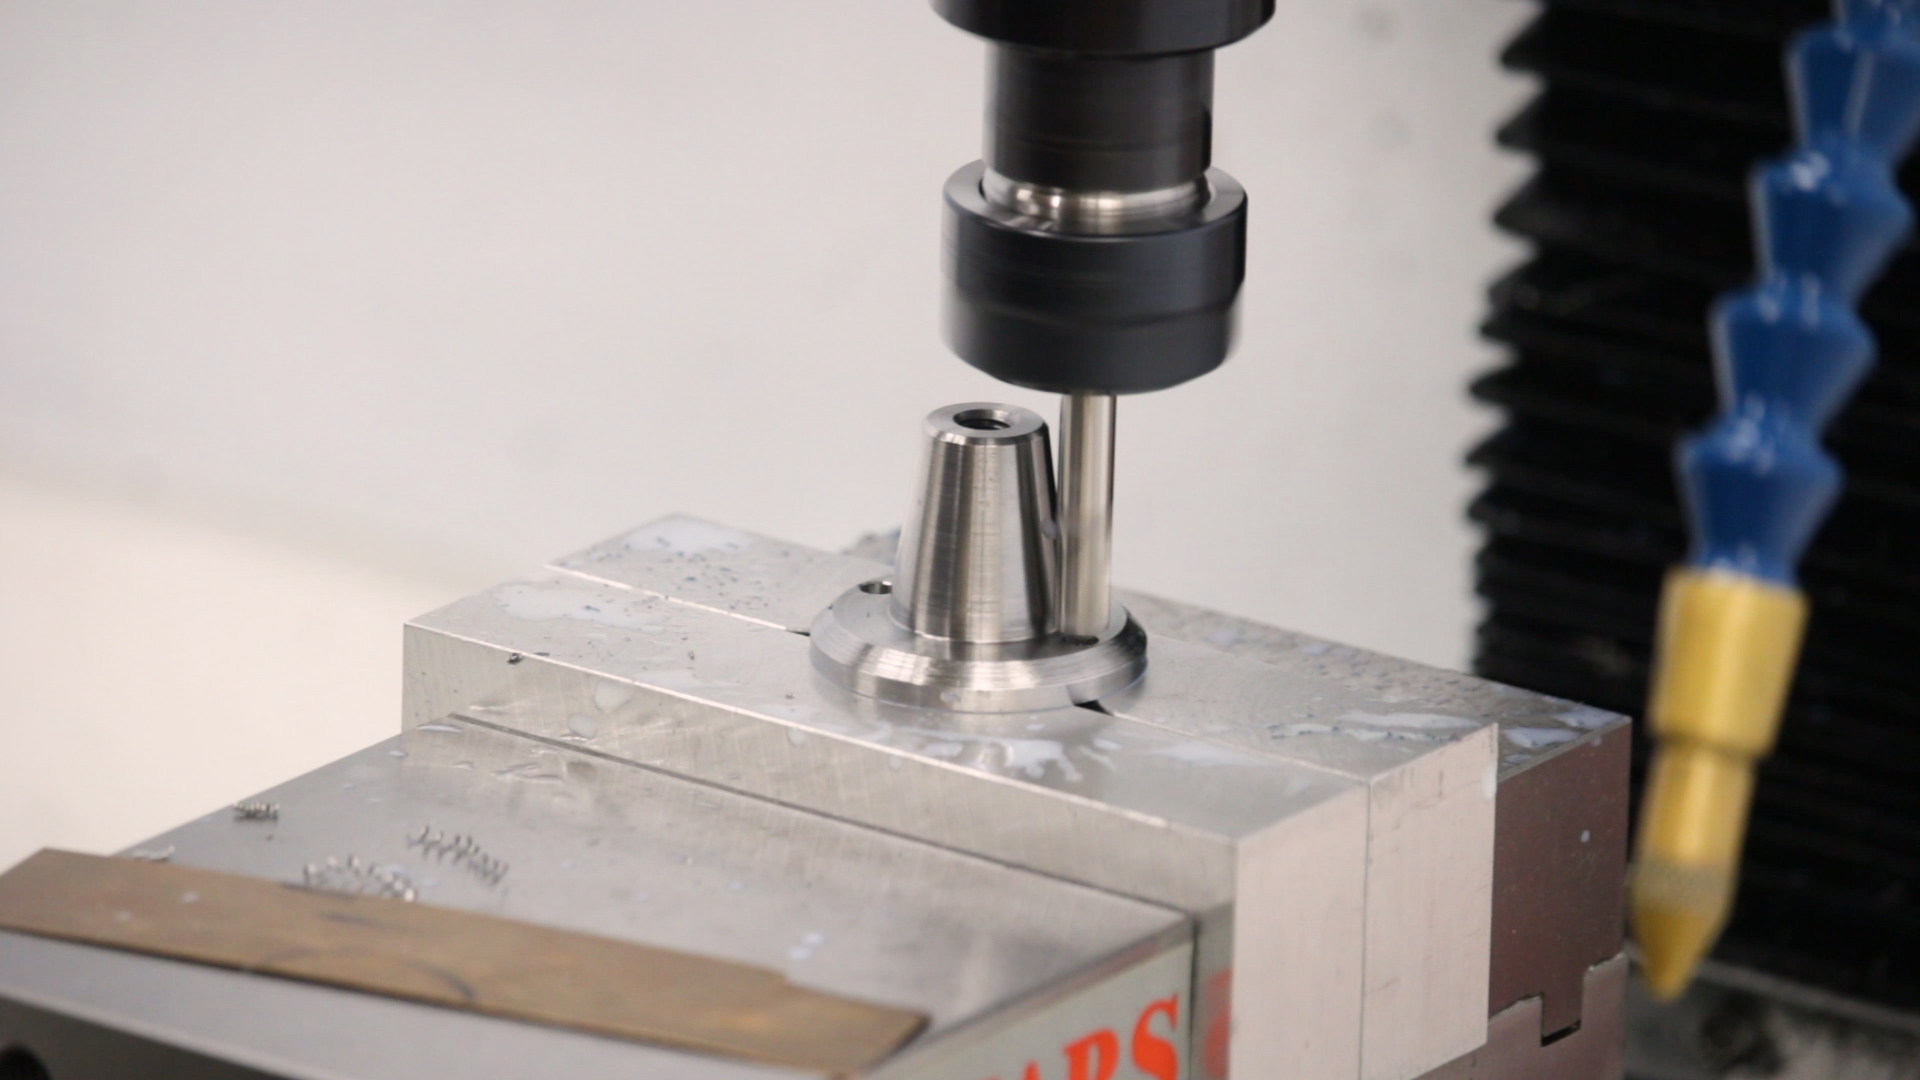
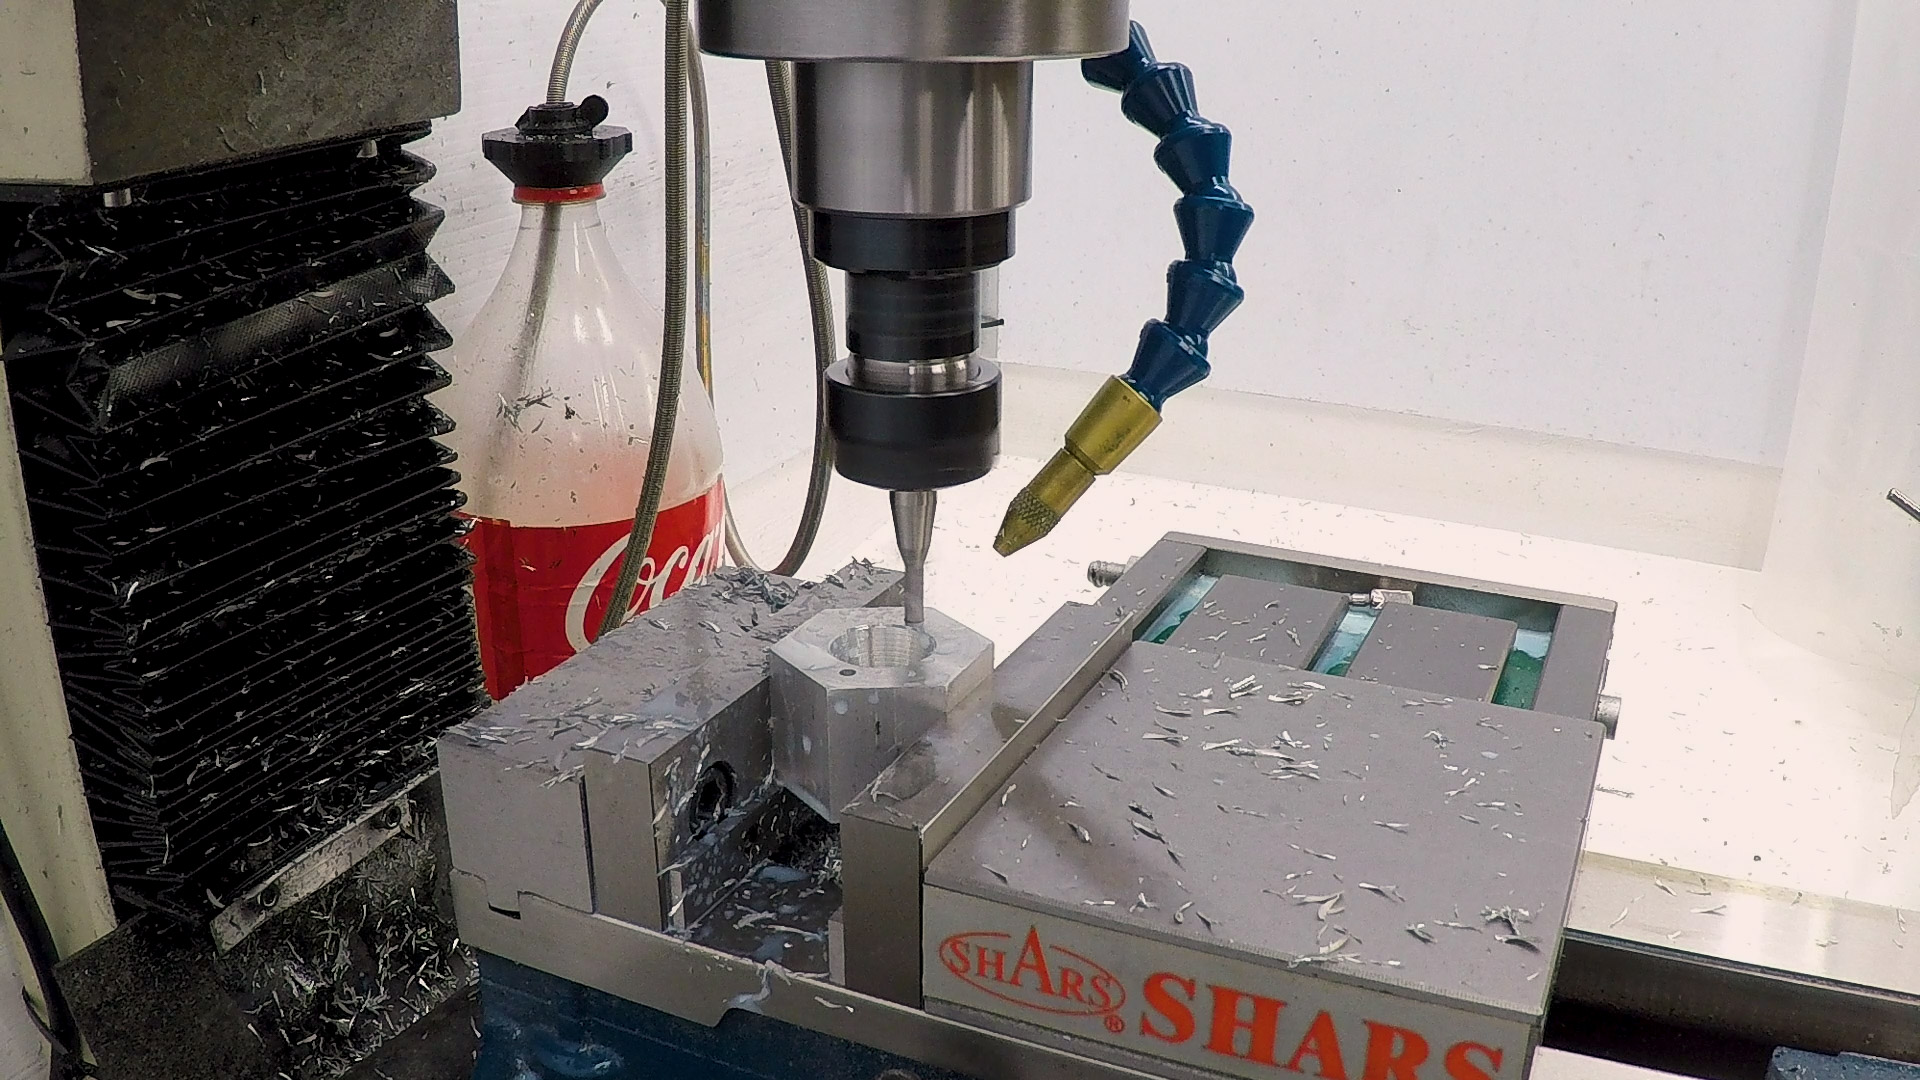
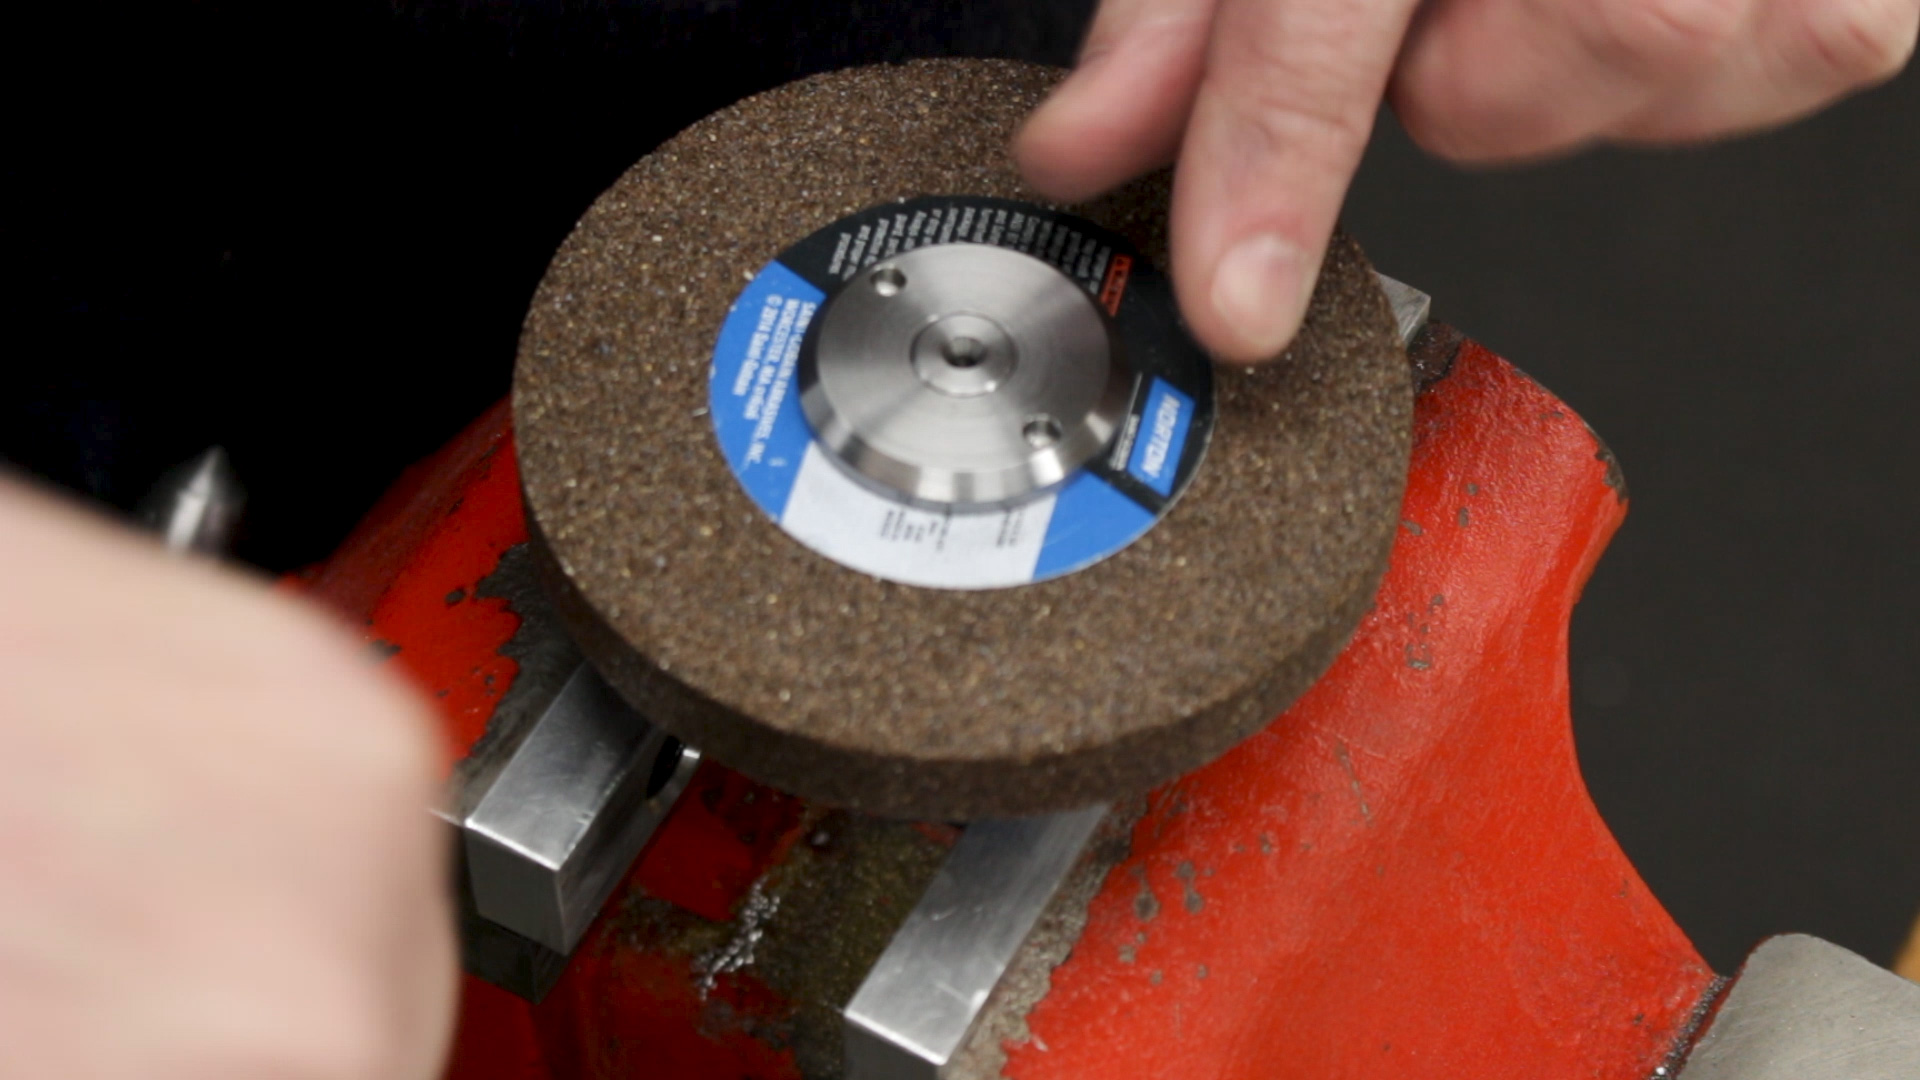
To make the holes, I used three operations. First, I spotted the holes very gently to try to prevent flex in the mill from pushing them off center. Then I drilled out the bulk of the material with a #31 drill. Finally, I brought the hole to size and location by plunging with a 5/32 end mill. The 5/32 end mill I have has a 3/8″ shank, so I had to grind the shank down to clear the arbor. I did this by chucking it up in a Deckel tool grinder and spinning it against the wheel at 8 degrees to provide some clearance.

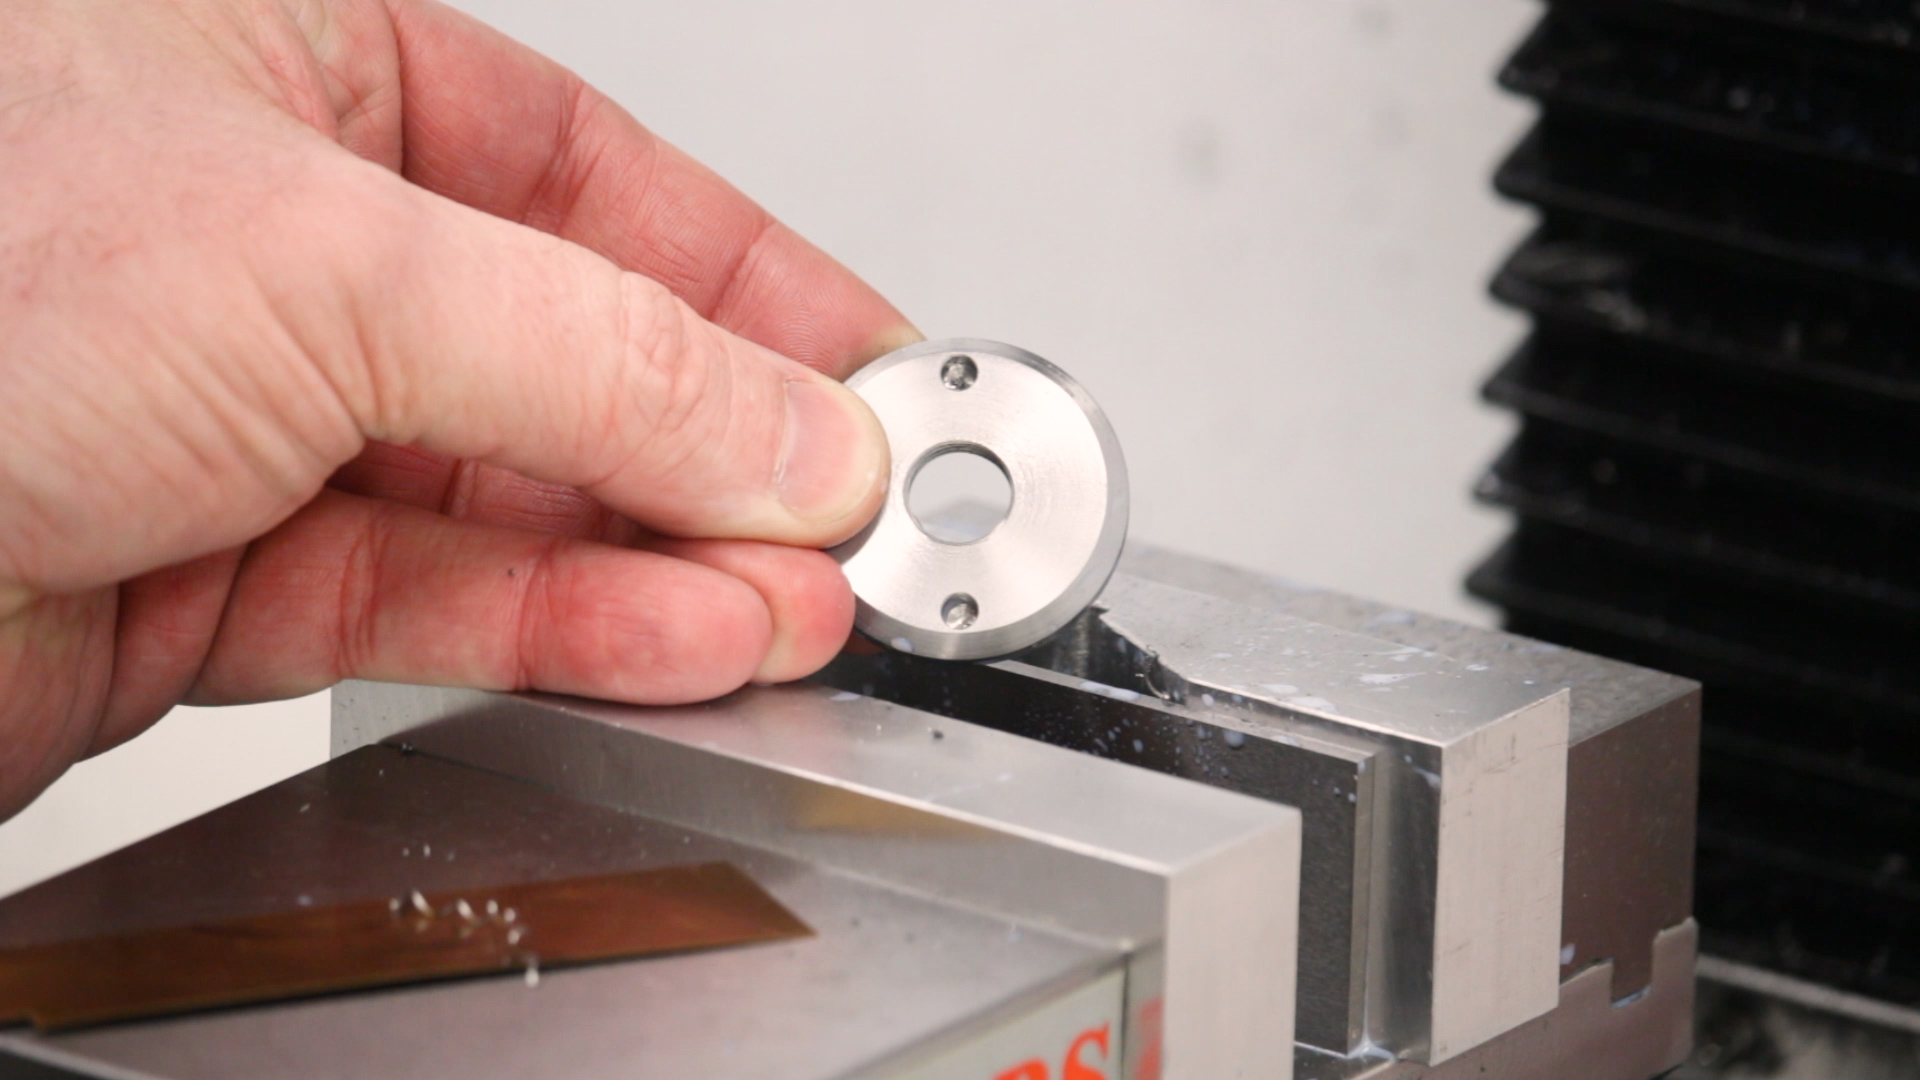
…and in the flange
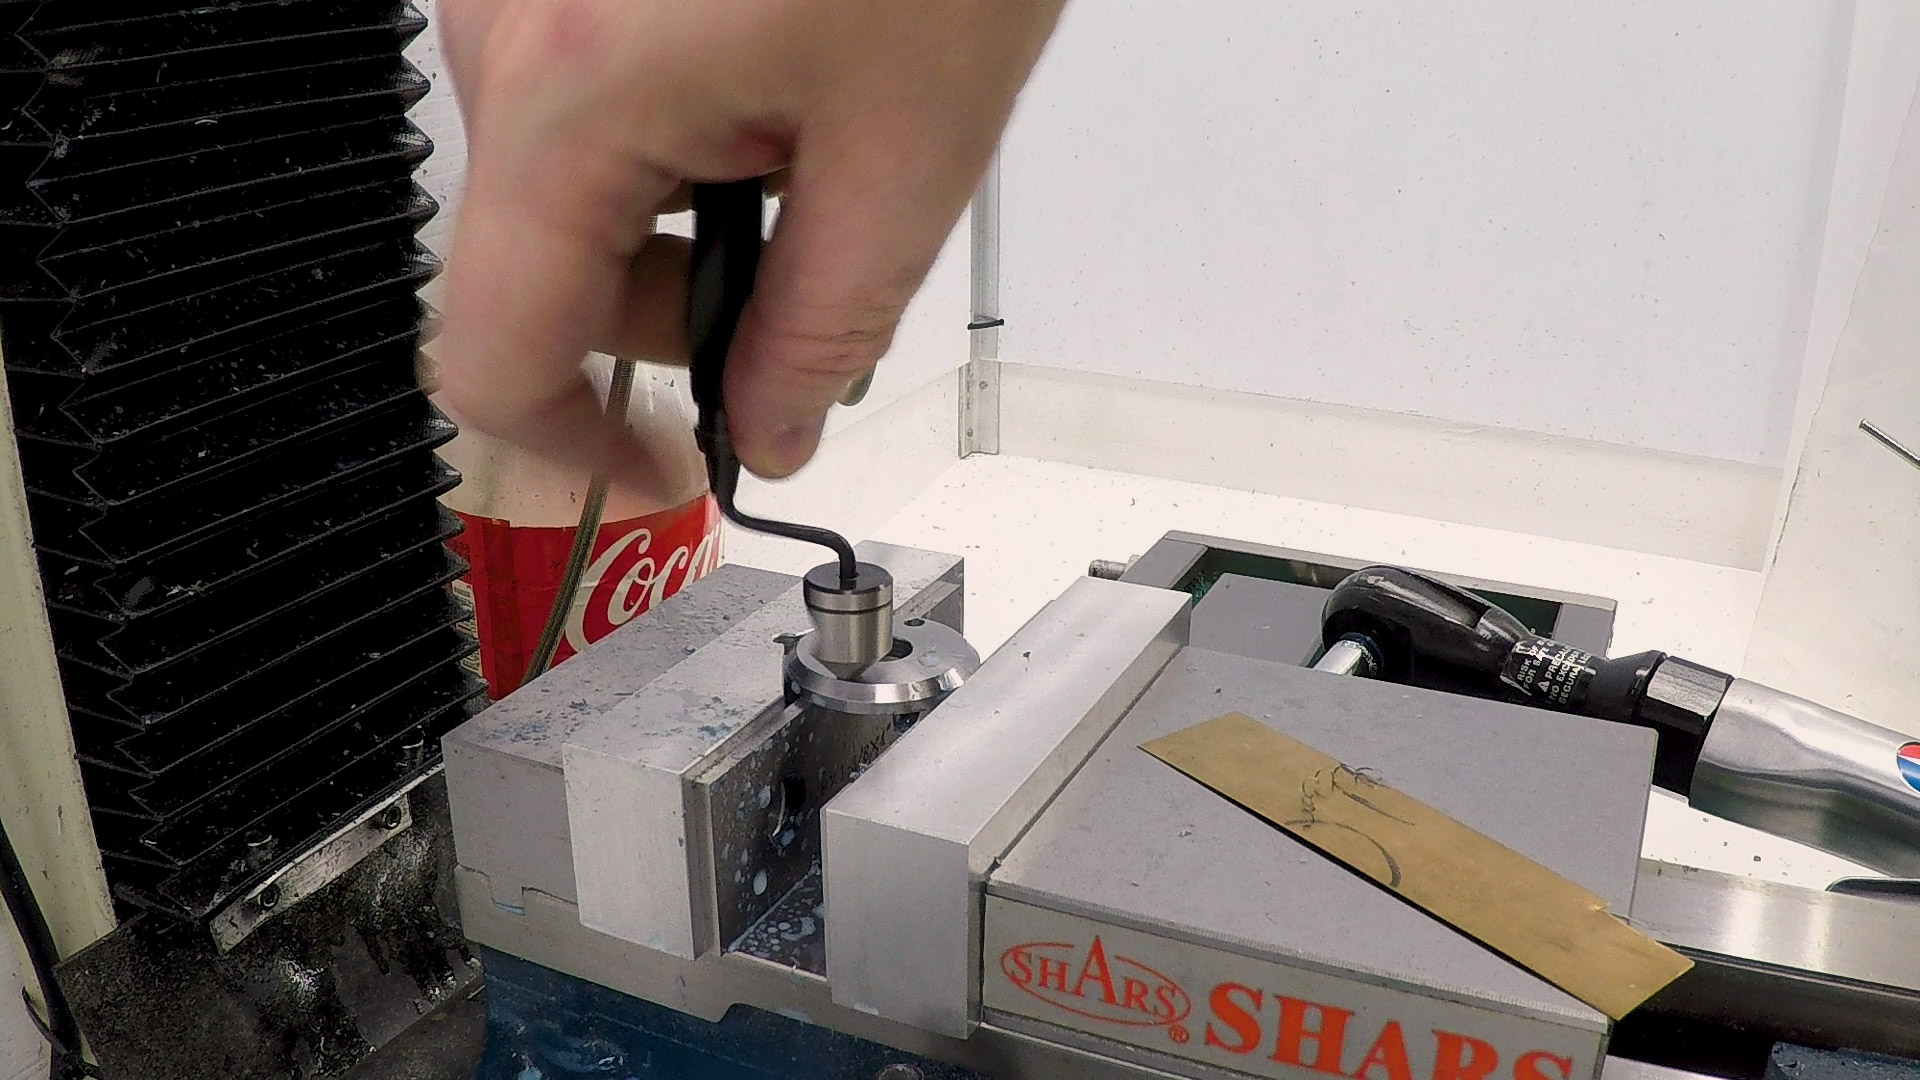
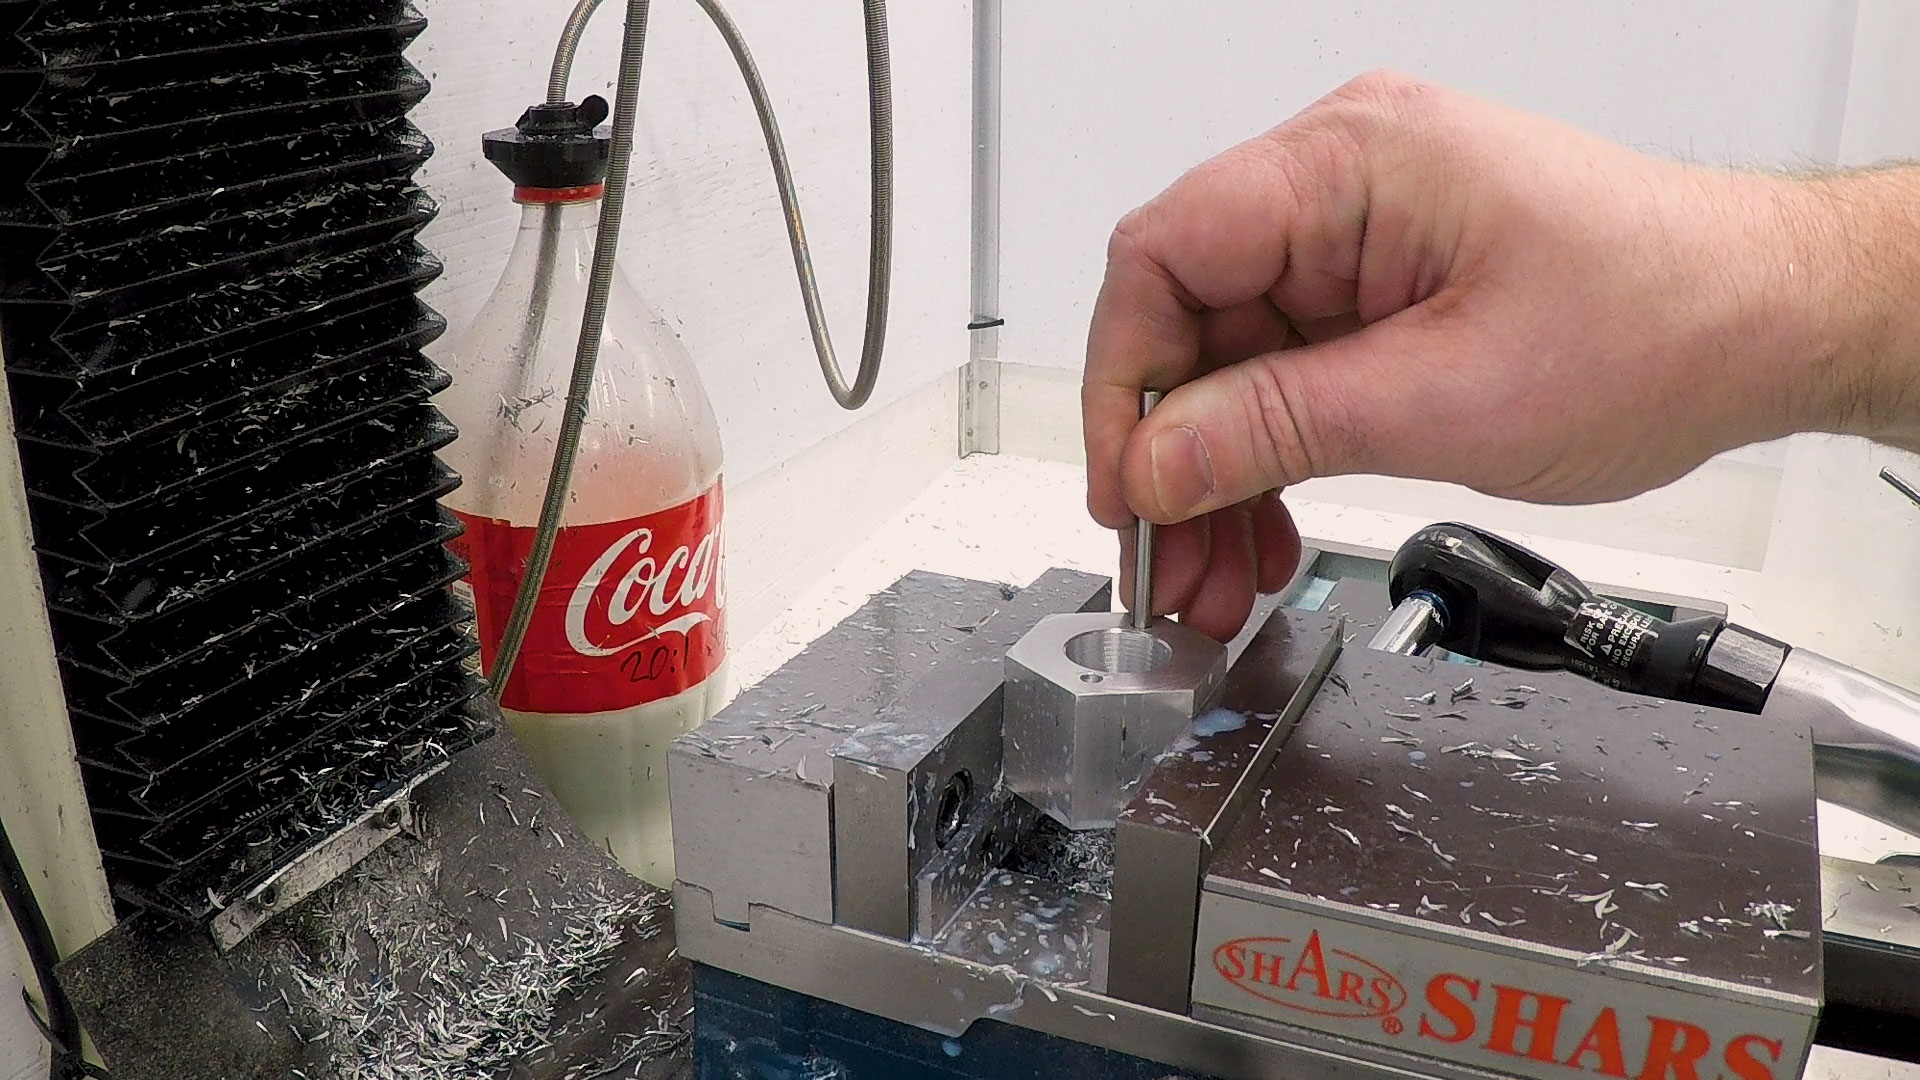
Next up, the flange needed the same holes. I indicated the flange using the chamfer around the edge. This isn’t perfect, but it worked well enough. The flange was a little easier to deal with because the arbor wasn’t in the way and I could use my Noga deburring tool.
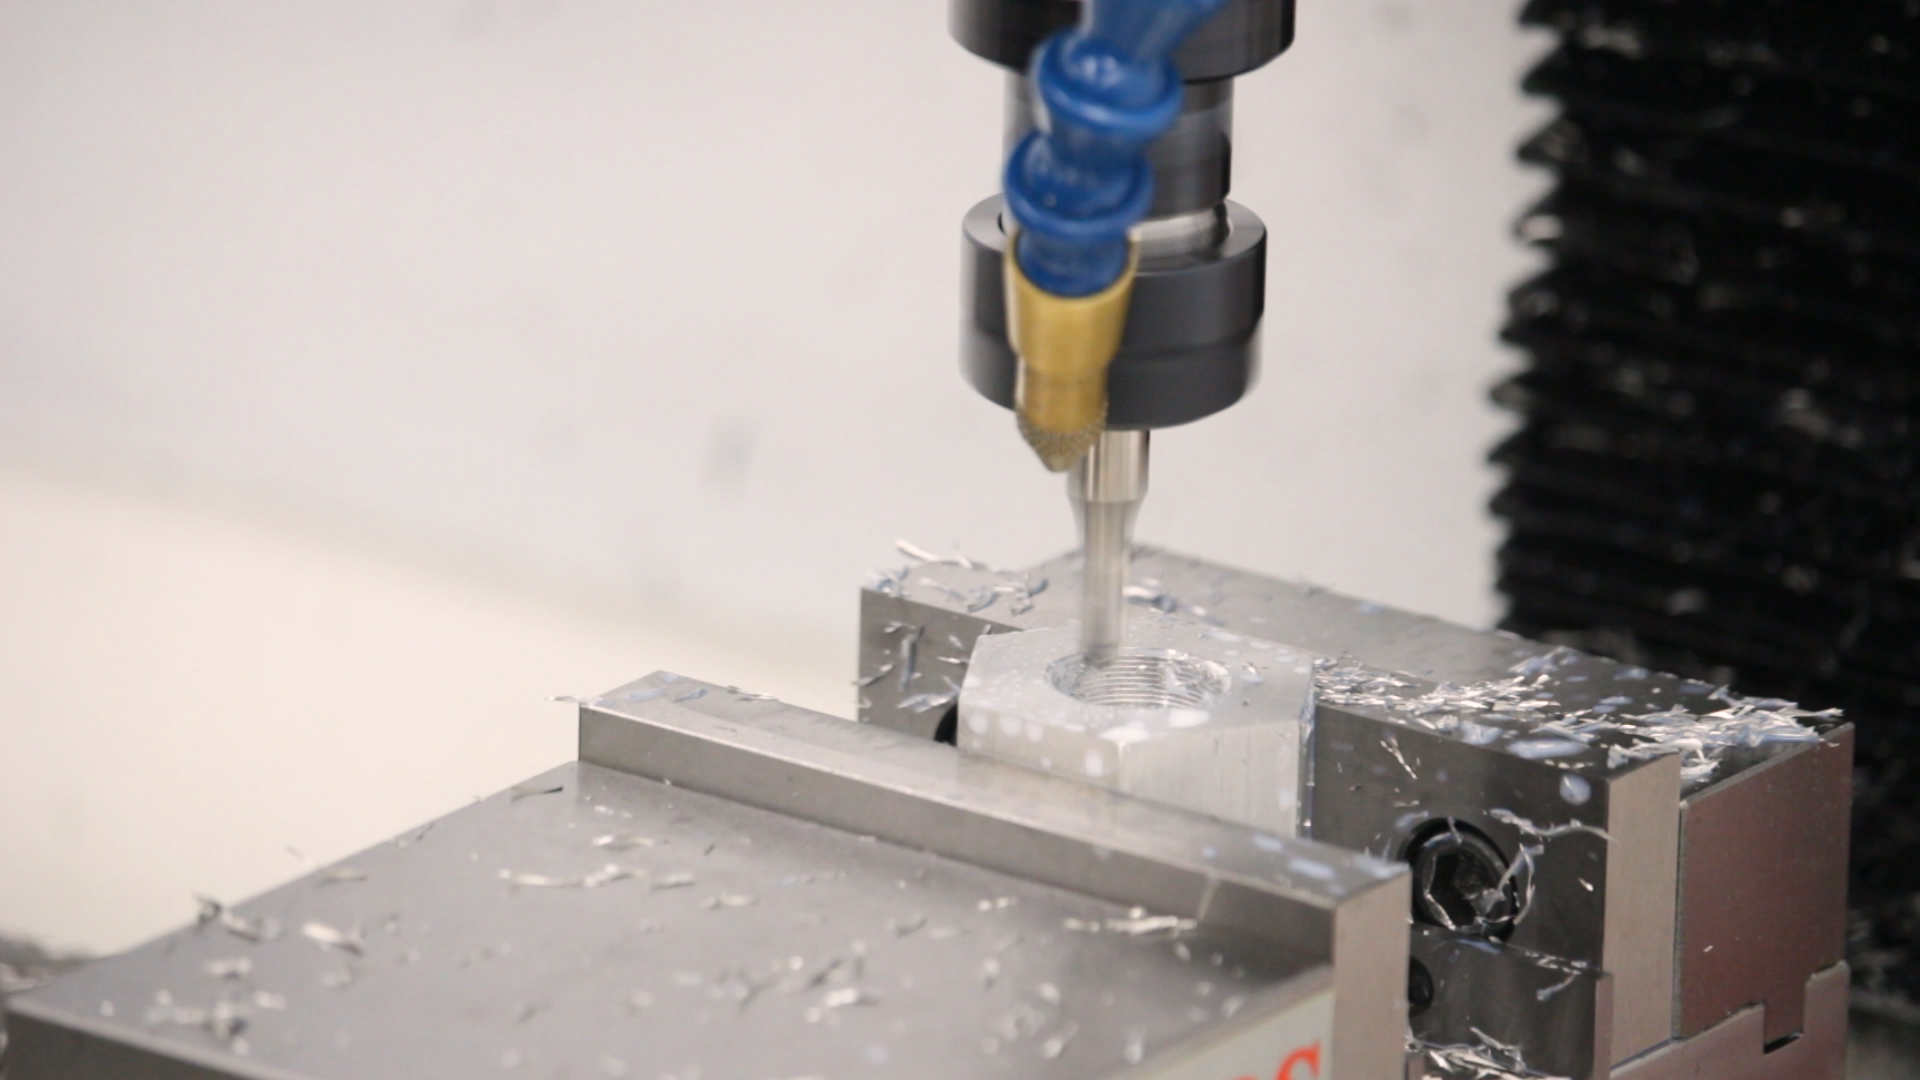
Milling a Taper
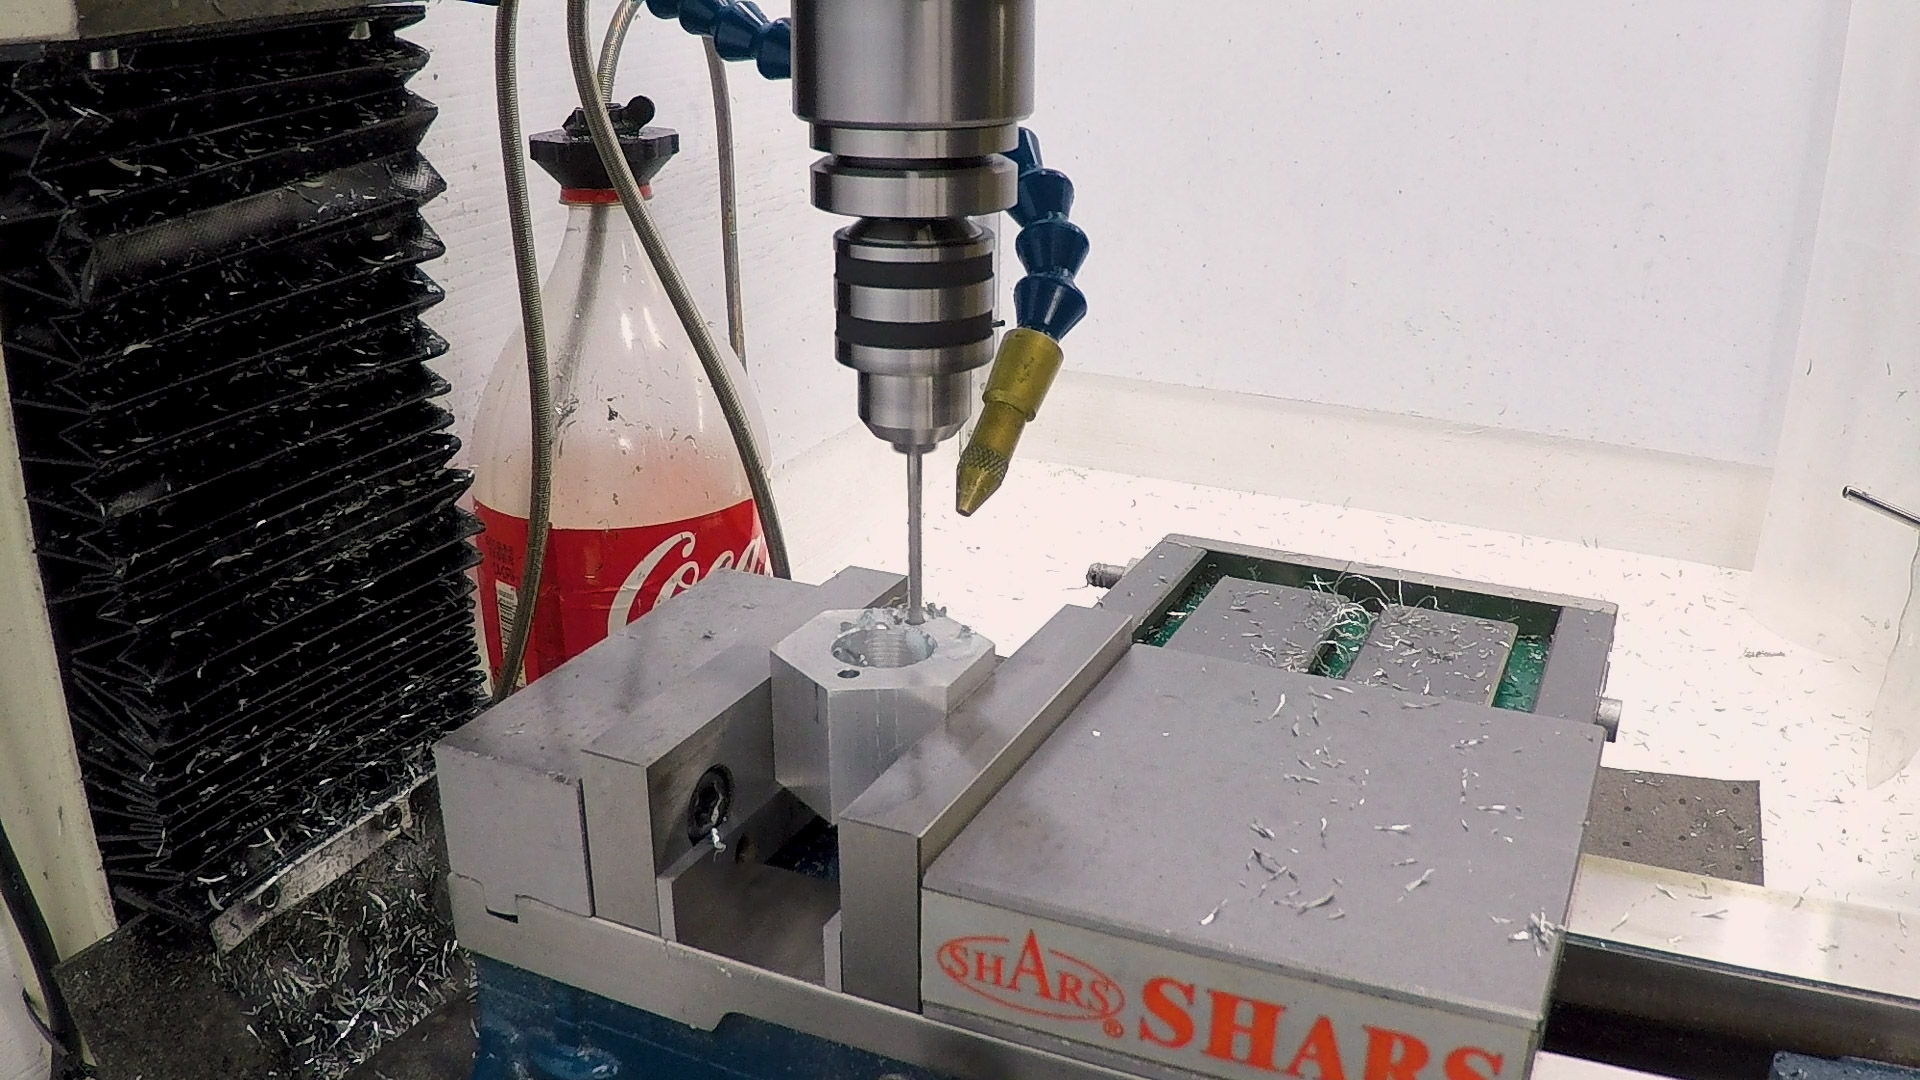
For the fixture itself, I re-used the aluminum hex that we used when turning the taper on the lathe. It isn’t much good for anything else now that it’s out of the 3-jaw chuck, and it was handy. The first step was to cut the taper. I did this in two steps, roughing out the bulk of the material with a 1/4″ carbide end mill and then finishing the walls of the taper with a ball end mill. I finished it in .030″ steps, which left about .0004″ of roughness, but this is just fine for a fixture like this.

The arbor dropped in to the taper and held firmly with no rock. I was actually surprised how well it fit.
More Pin Holes
The last milling step on the fixture was to put in a pair of holes for the drive pins.
The hole size in the aluminum came out to exactly .060″, the same as in the steel, so this is our target when we drill the pins. As an afterthought, I decided to go ahead and drill a through-hole behind the pin, just in case we need to knock them out later for some reason.
Making pins
I turned the pins out of W1 drill rod on the lathe. W1 is not my favorite material to turn, but I have a lot of it, and the Kyocera CCMT0602 inserts made short work of the job.

Assembly
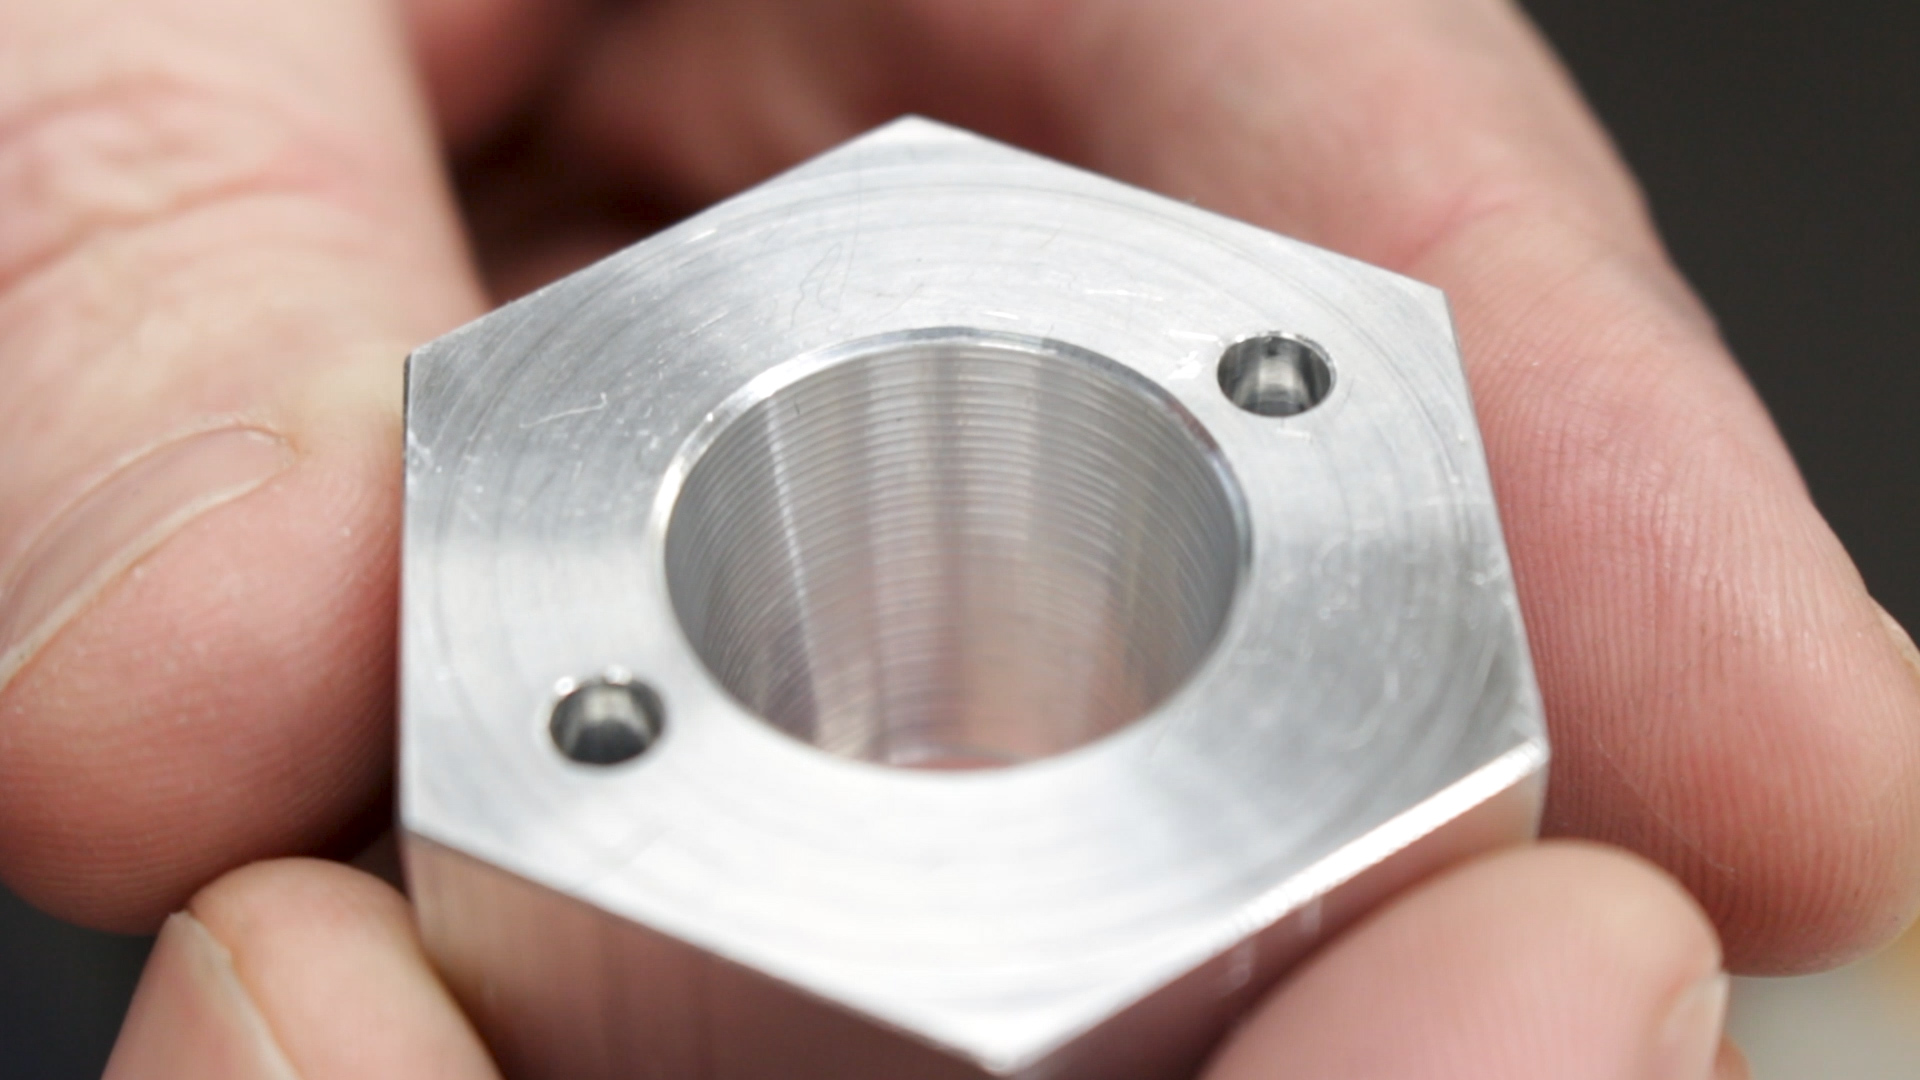
After machining, I got a closer look at the taper. It turned out really well–better than I expected. As it turns out, the taper didn’t fit quite as tightly after taking the part out of the mill. I was confused for a moment until I realized what had happened. When I mounted the part in the mill vise, I applied enough pressure to distort it. The part was already drilled-through, so it was able to compress a little. I milled the taper round, and the arbor fit perfectly while it was still in the vise, but when I released the vise pressure, the part relaxed and the hole is now not round any more.
This isn’t a problem for this fixture. It doesn’t have to be a tight fit. But I learned something. I’ll have to remember that in the future.
I installed the pins with Loc-Tite 609 permanent retaining compound (green) and pressed them in using the vise jaws.

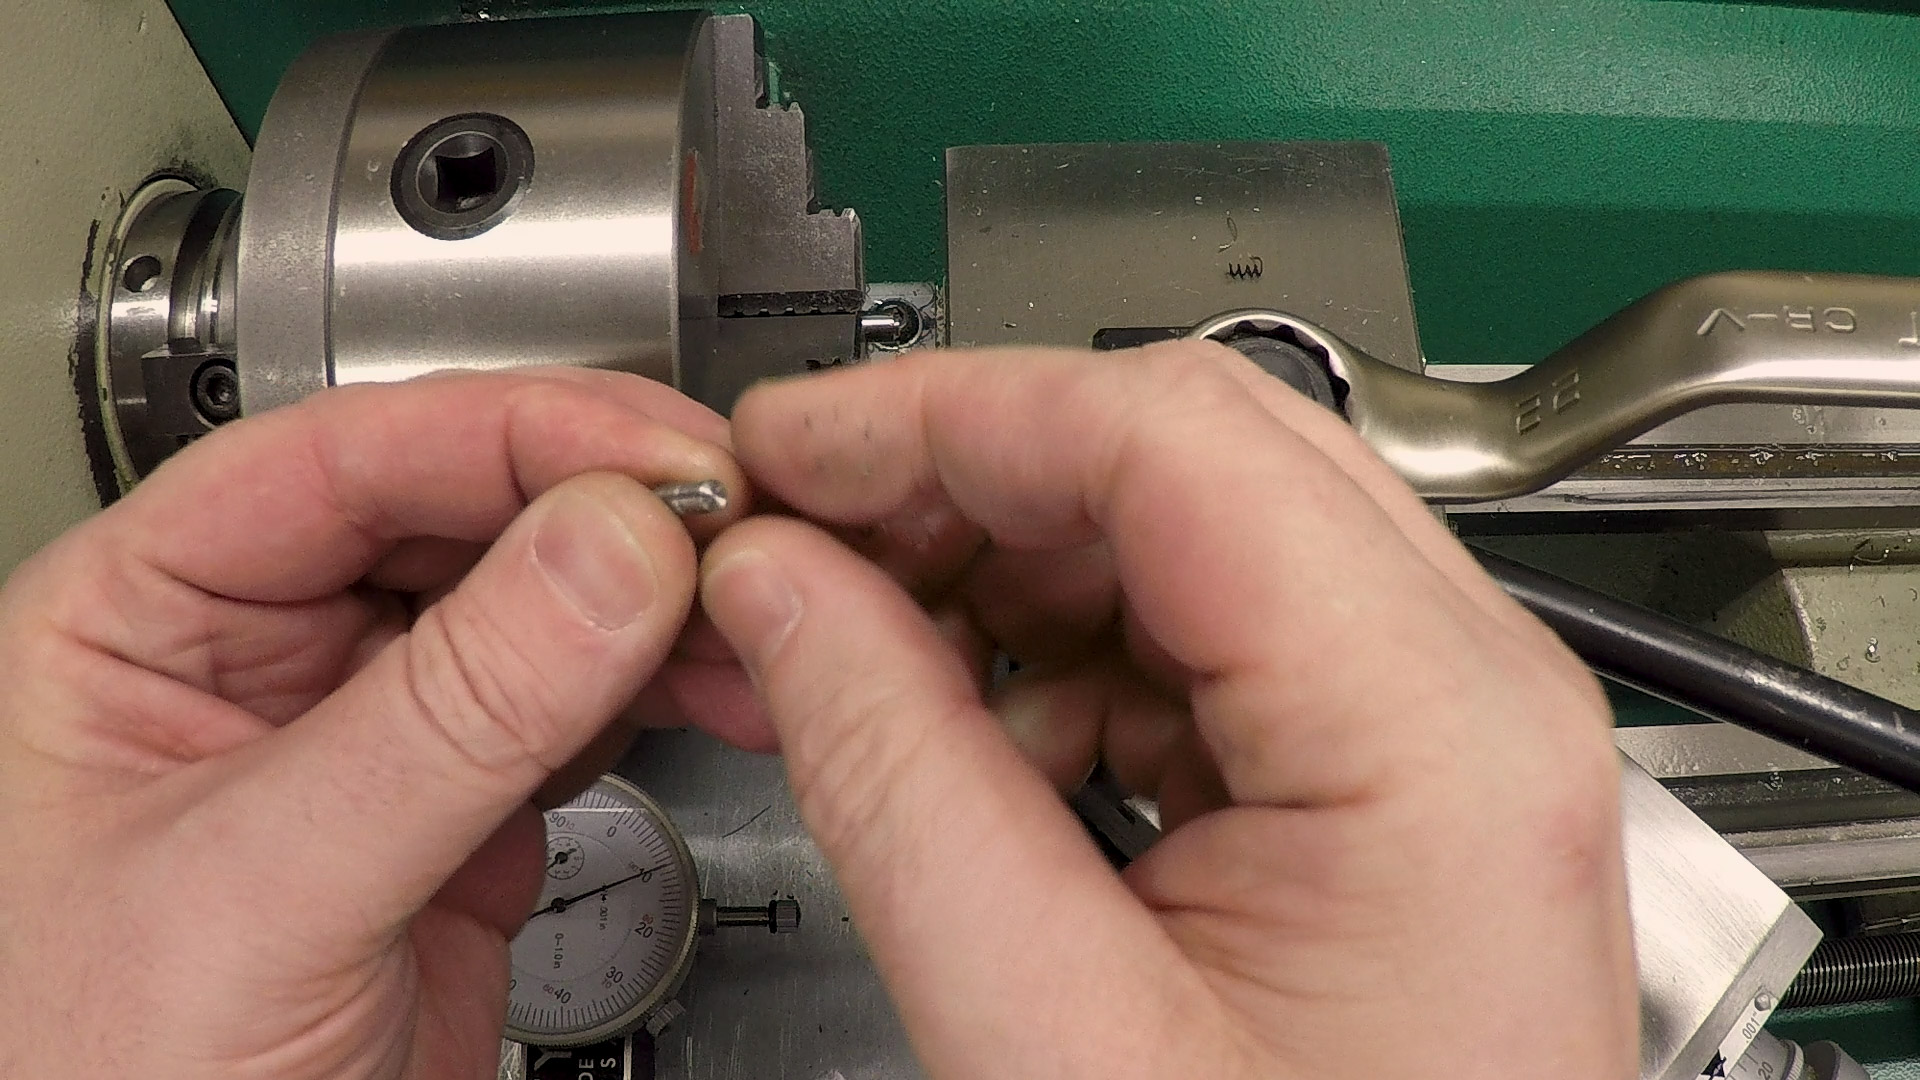
The arbor dropped in and the fixture held it securely. Now, if only I had a pin spanner wrench…

Up next…
I made this arbor to tighten with a pin spanner, but it turns out I don’t actually own one. We’ll make one next time.
If you’re following along with the build, or if you’re just curious, here are some of the tools used in this video:
*This site contains affiliate links for which I may be compensated
- YG-1 1/4″ Alu-Power end mill (eBay*): https://goo.gl/GpBkLh
- YG-1 1/4″ 120 degree spotting drill (eBay*): https://goo.gl/6zqTzb
- Shars CCMT0602 RH turning tool holder (eBay*): https://goo.gl/Q1Jsdp
- Kyocera CCMT060204-HQ Cermet Inserts (eBay*): https://goo.gl/pDhFAs
- Noga Deburring Set (Amazon*): http://amzn.to/2xMfiPz


