This week we’re making a CNC machined pin spanner wrench for tightening the wheel flanges on the toolpost grinder. This is a totally gratuitous project. We could easily buy one, but making one sounds like fun and it gives us a chance to use the mini pallet so we can flip the part and machine all sides of it.
Preparing the Stock
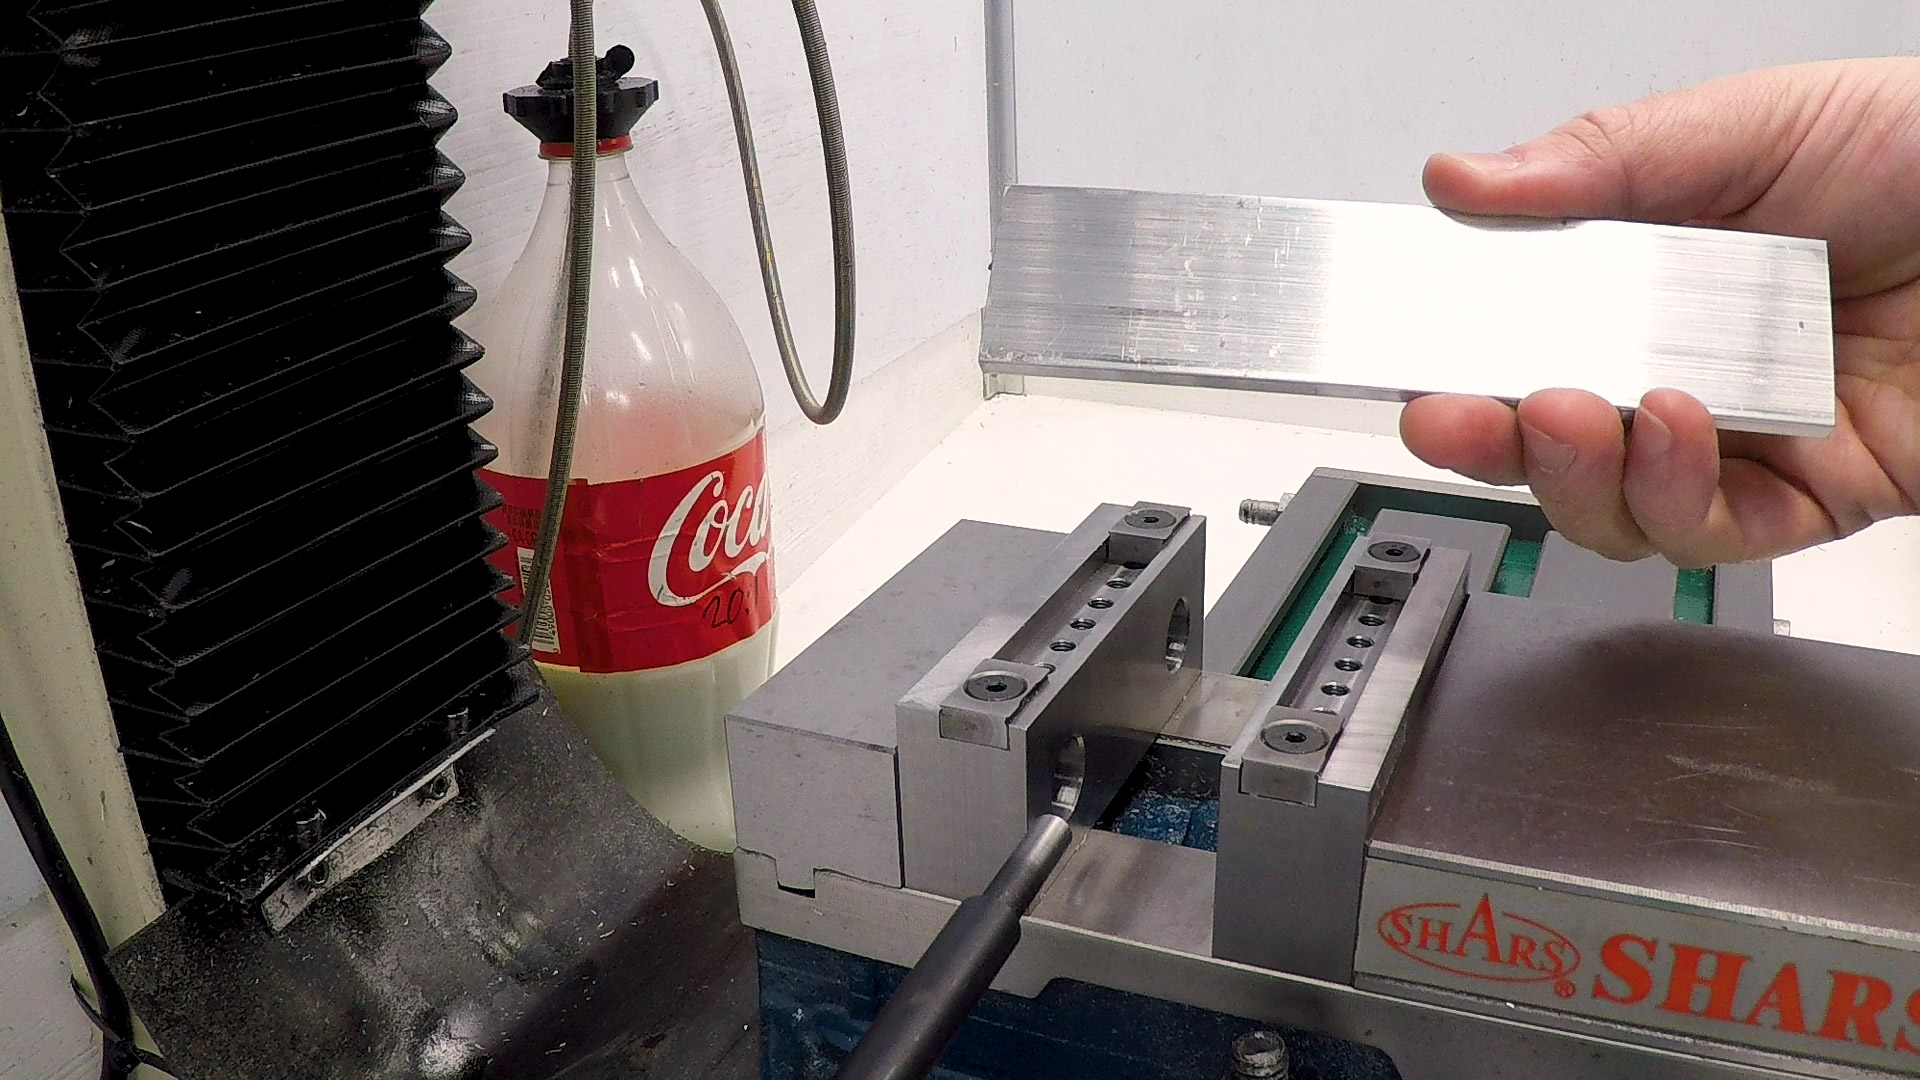
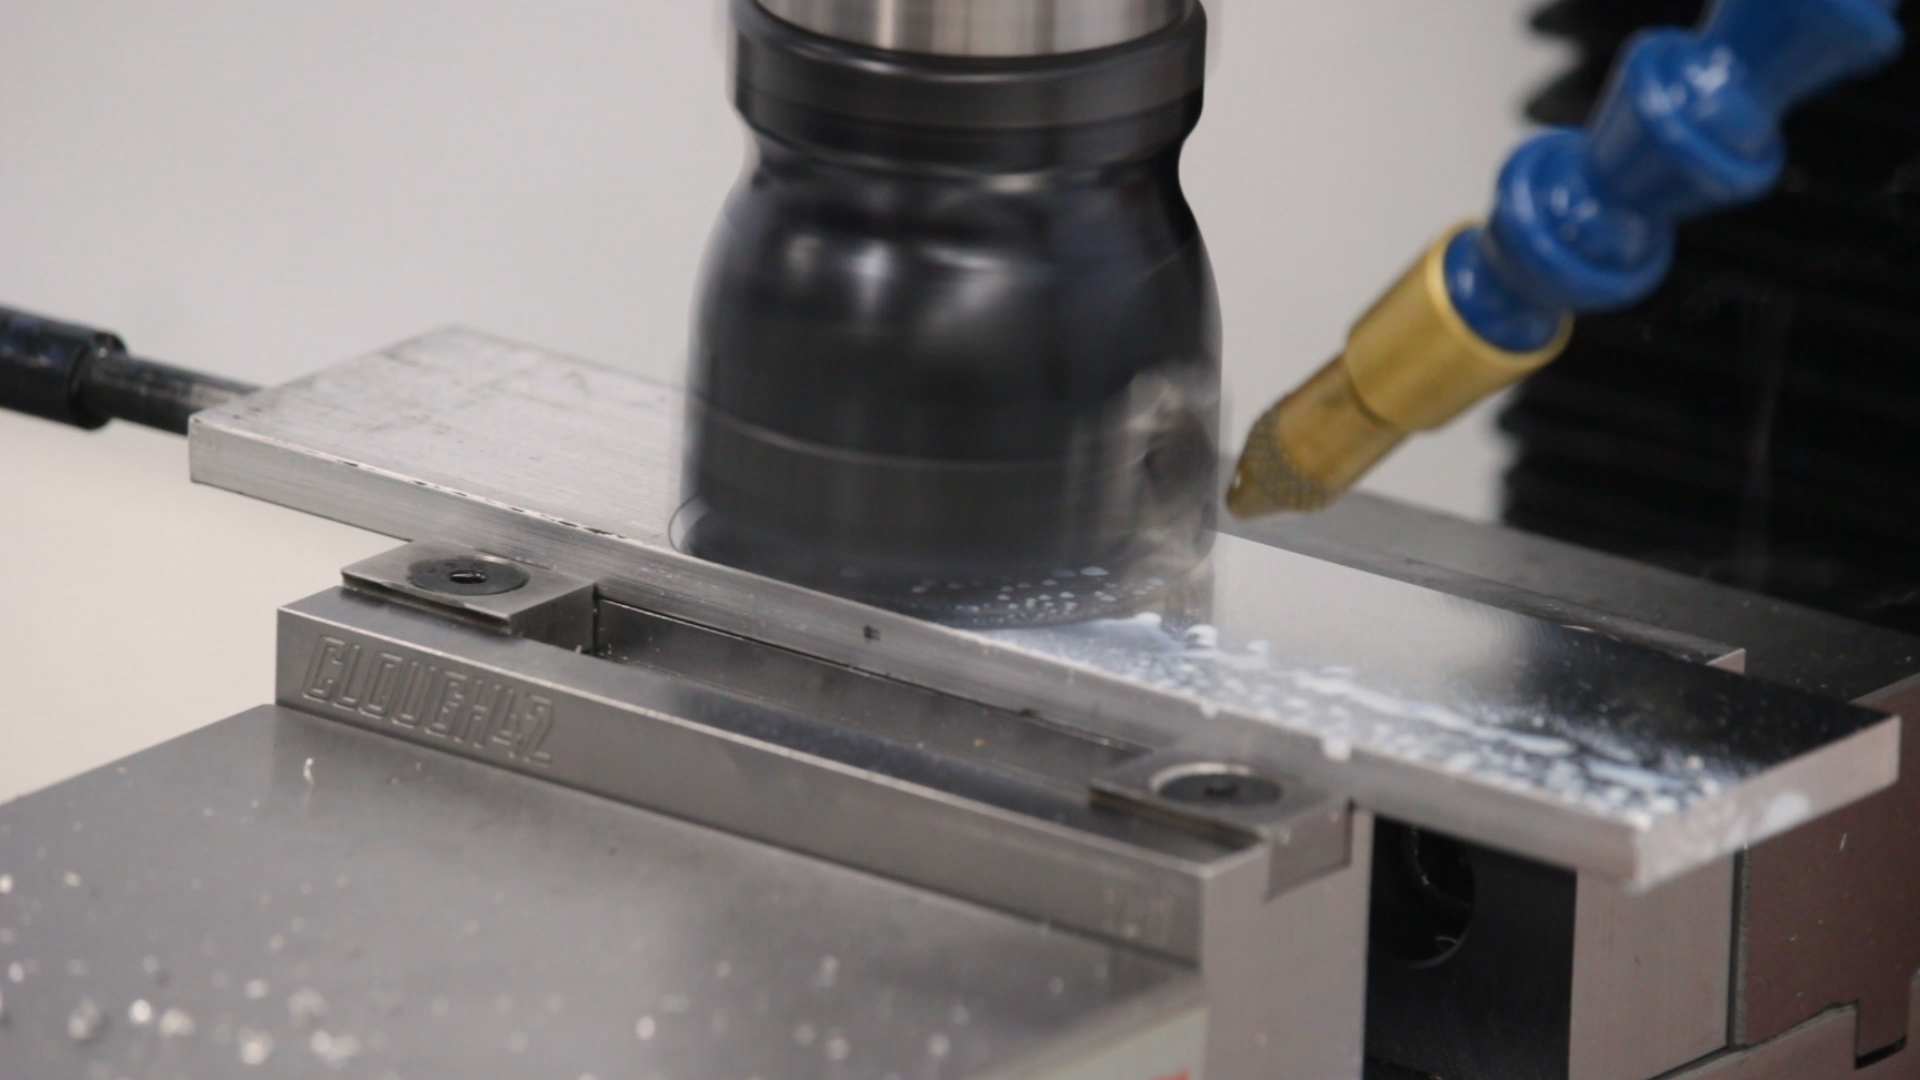
We’re starting with a length of 1-1/2 x 1/4″ extruded aluminum. We want to face both sides so it’ll be smooth and consistent, so I mounted the Talon Grip jaws and faced both sides of the material with a 50mm face mill. This face mill has polished APKT inserts designed specifically for aluminum, and it leaves a beautiful finish.
In this case, we got a little ringing where the bar extends beyond the vise jaws. This is partly because it’s unsupported, and partly because it appears my mill is out of tram. It was trammed very carefully, but then I made some Z gib adjustments and forgot to re-check it.
Making Holes
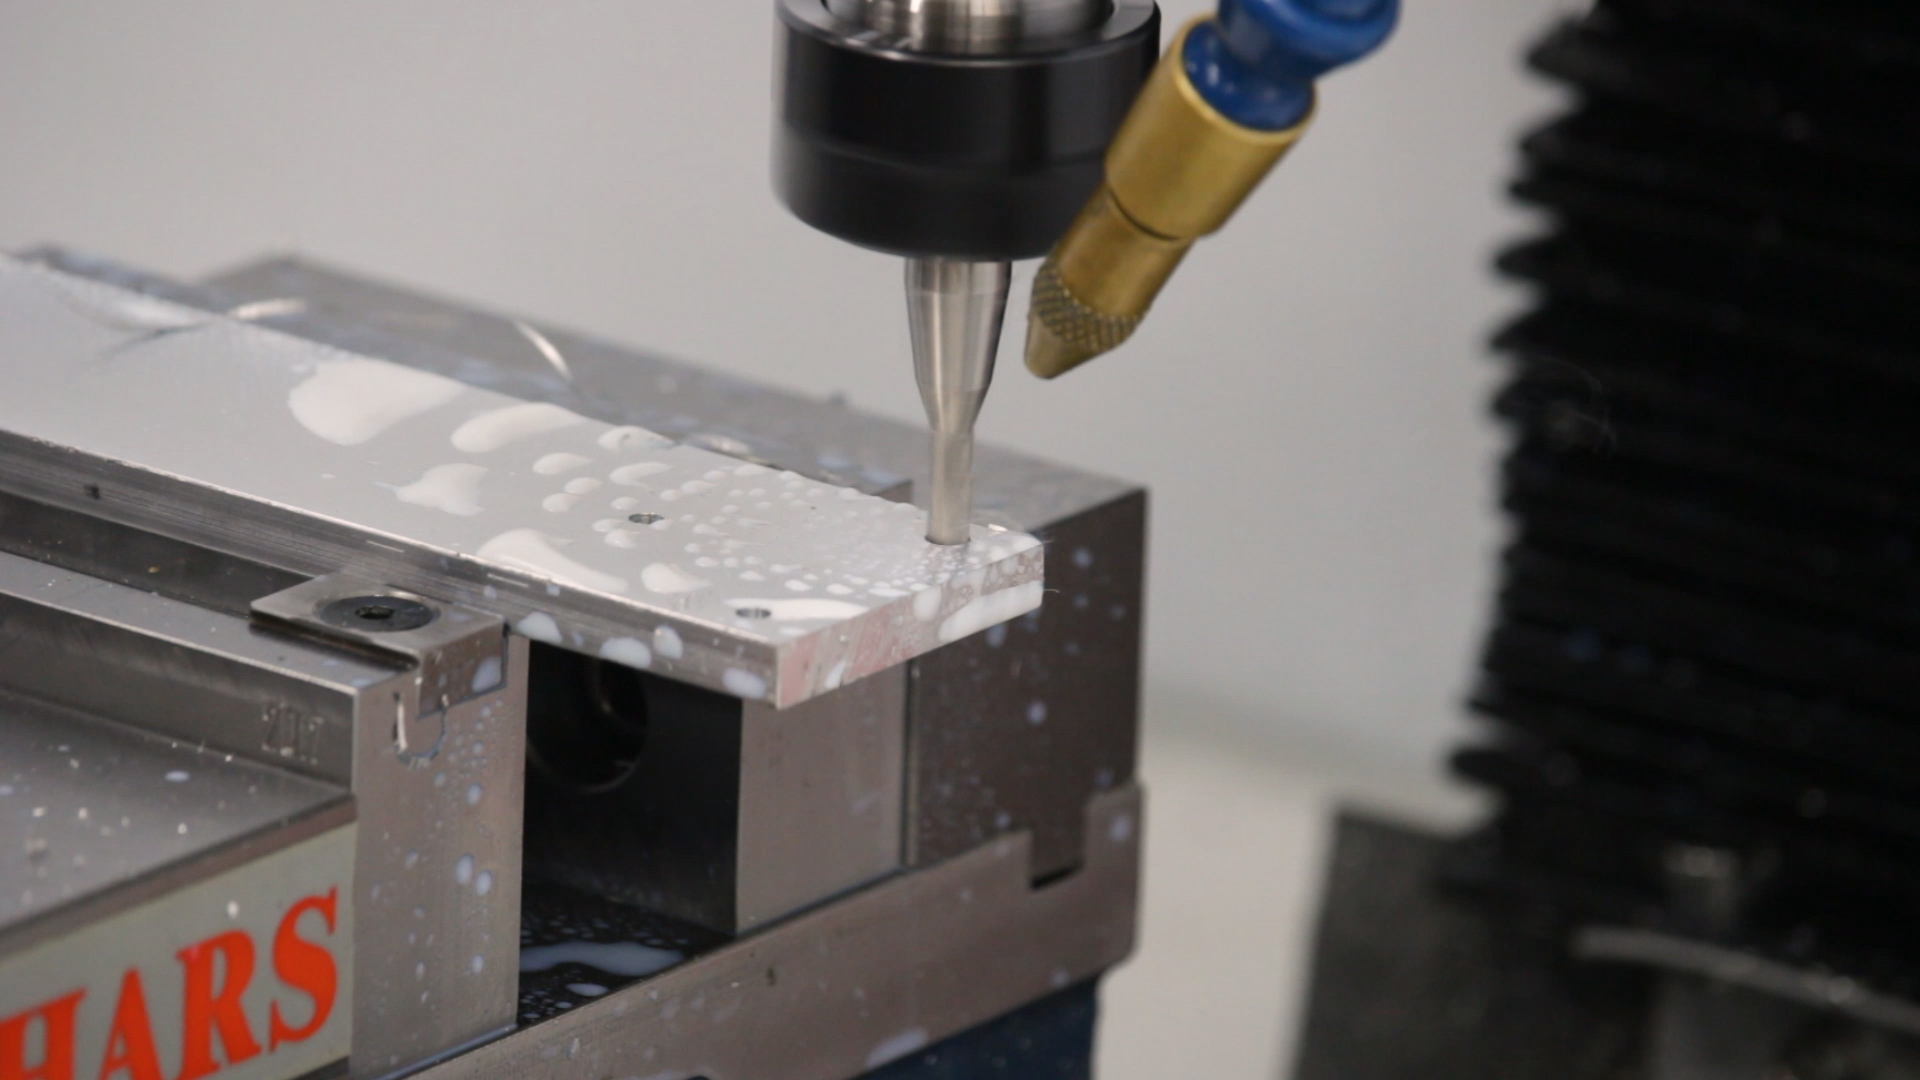
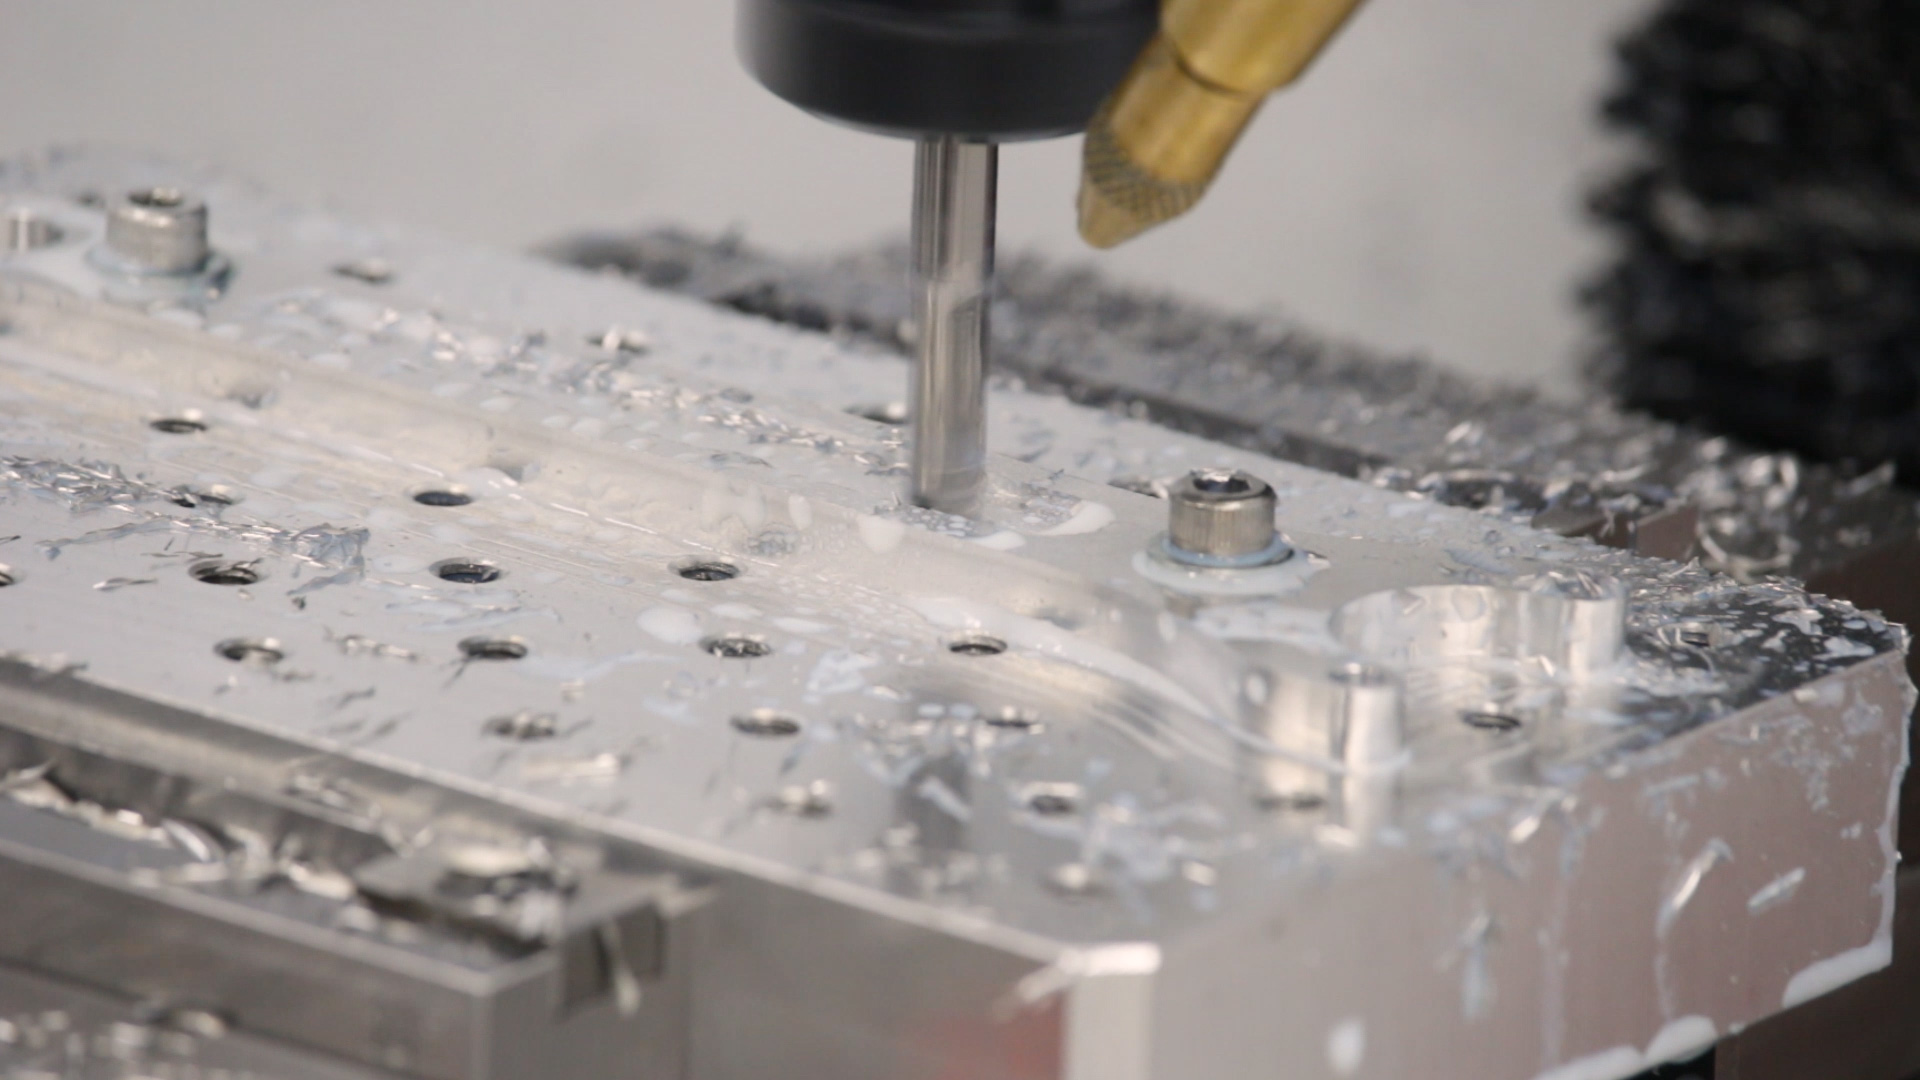
I decided to do most of the machining with the mini pallet, just to make it easier to flip and register the part to mill the other side, so the time to make the holes is now, before we put in the pallet. The holes are all spotted, drilled and then cleaned up with a 5/32 end mill for maximum accuracy. Drills wander–especially on a little mill like this, and I want everything to be as accurate as possible. The larger holes are interpolated.

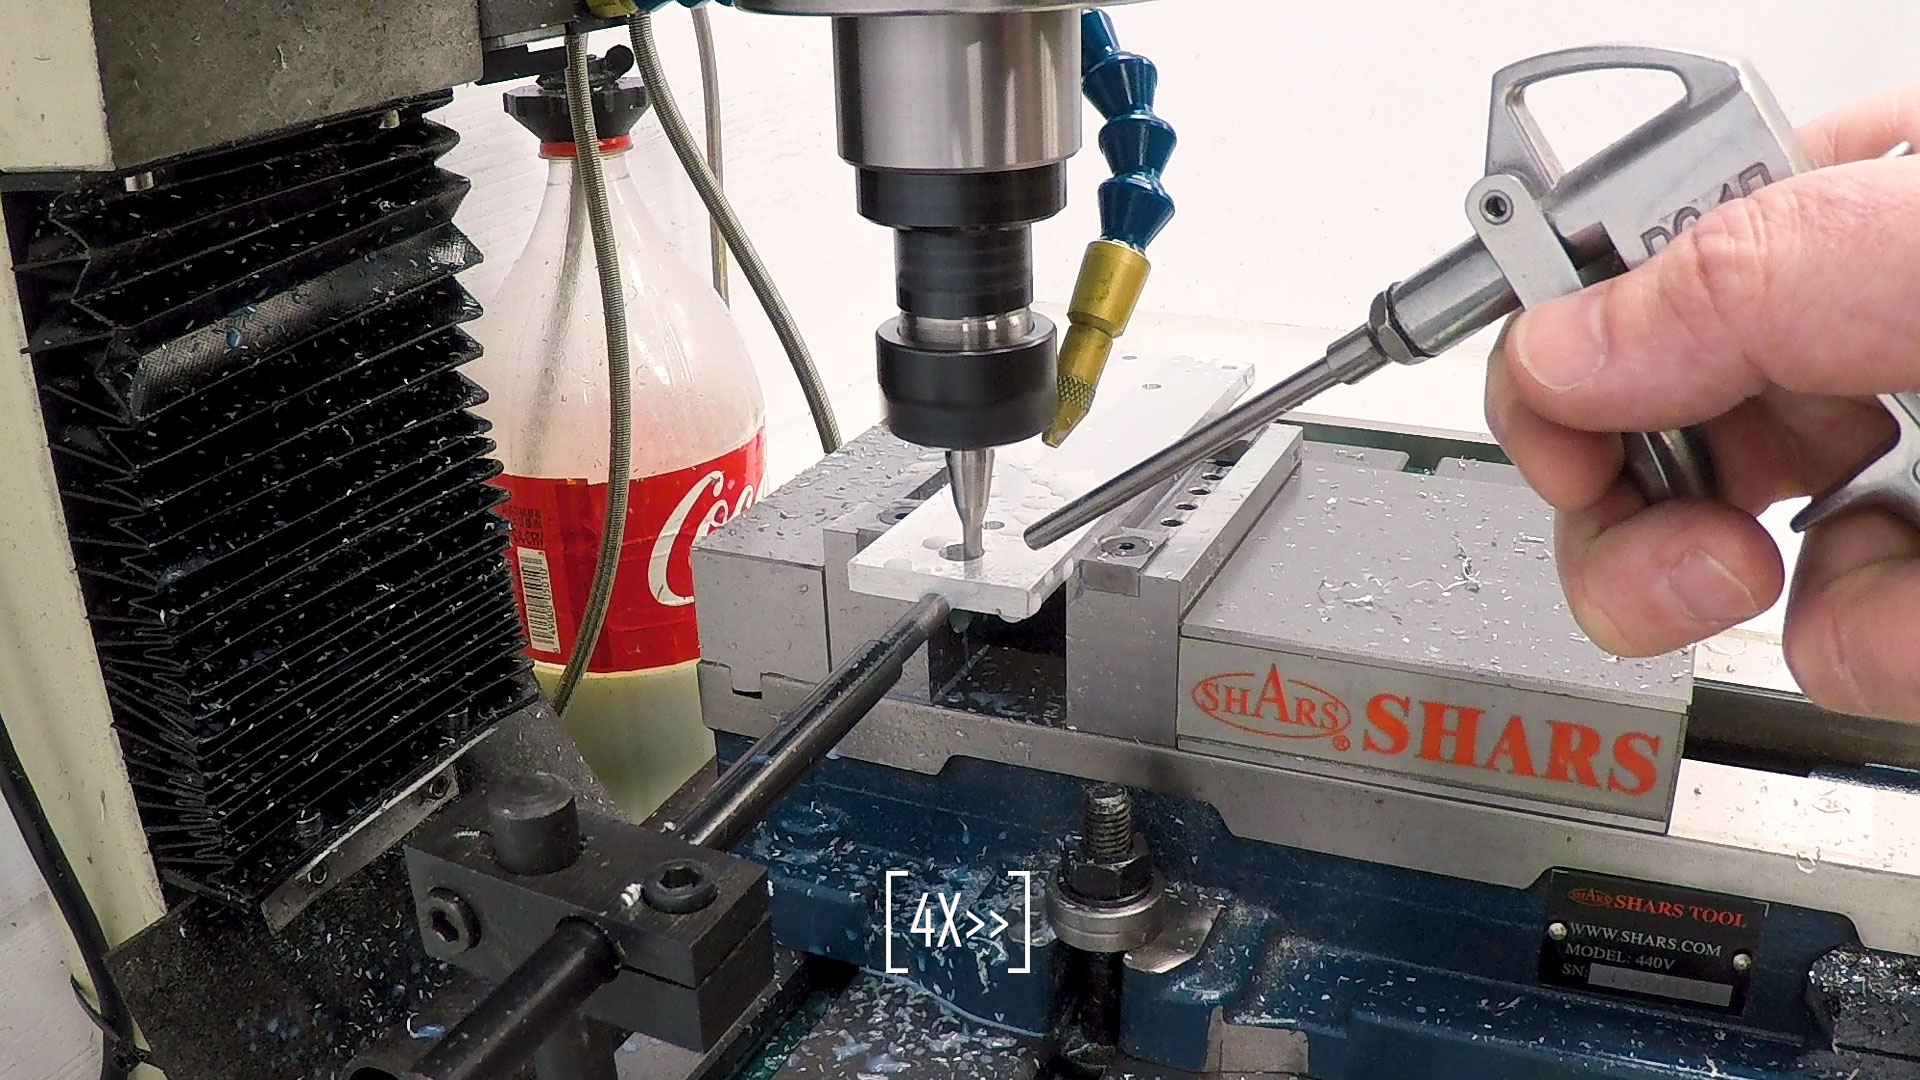
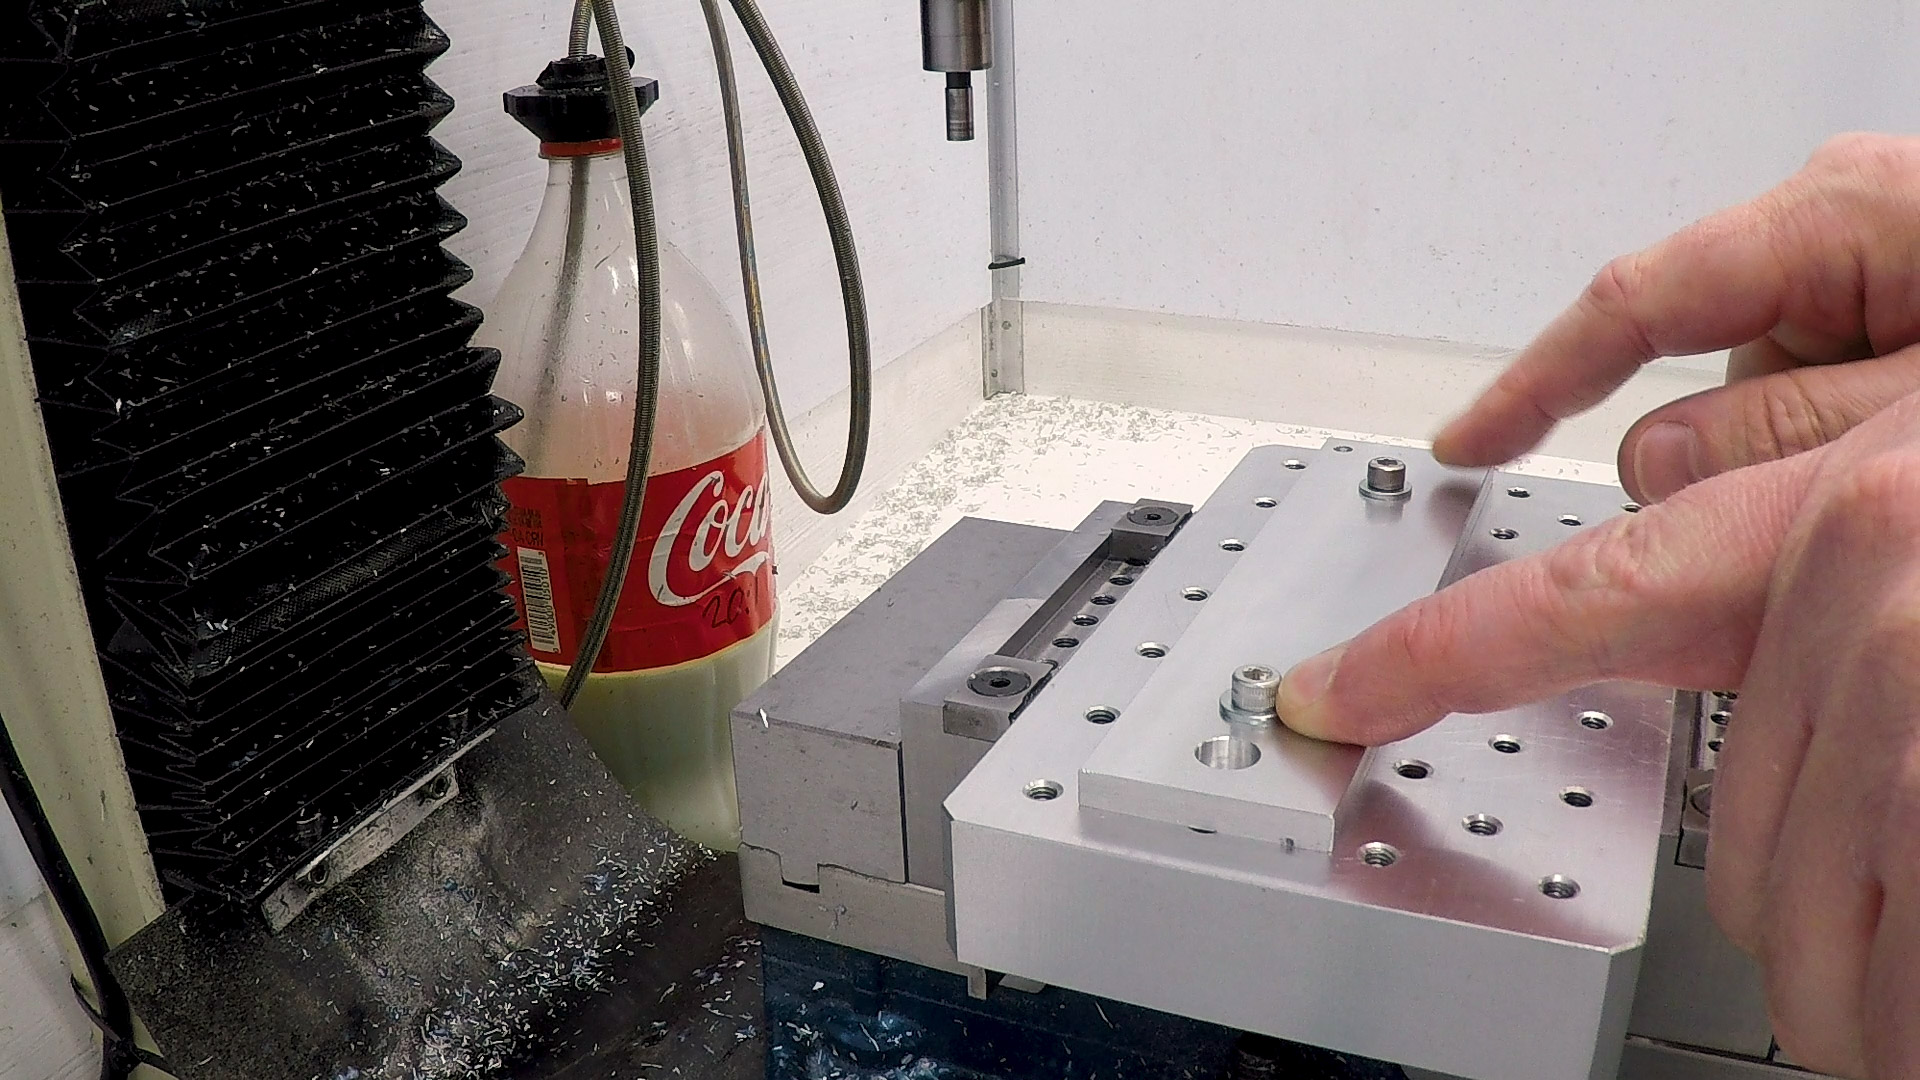
Milling on the Pallet
Two of the holes in the wrench are specifically for mounting it on the mini pallet. The holes are exactly the right size to be a tight fit on the lands of the 10-32 screws in the mini pallet system, and this allows me to flip the part later and still have it register very closely. All the holes are already in the part, so the only reason this matters is just so the chamfers line up well.
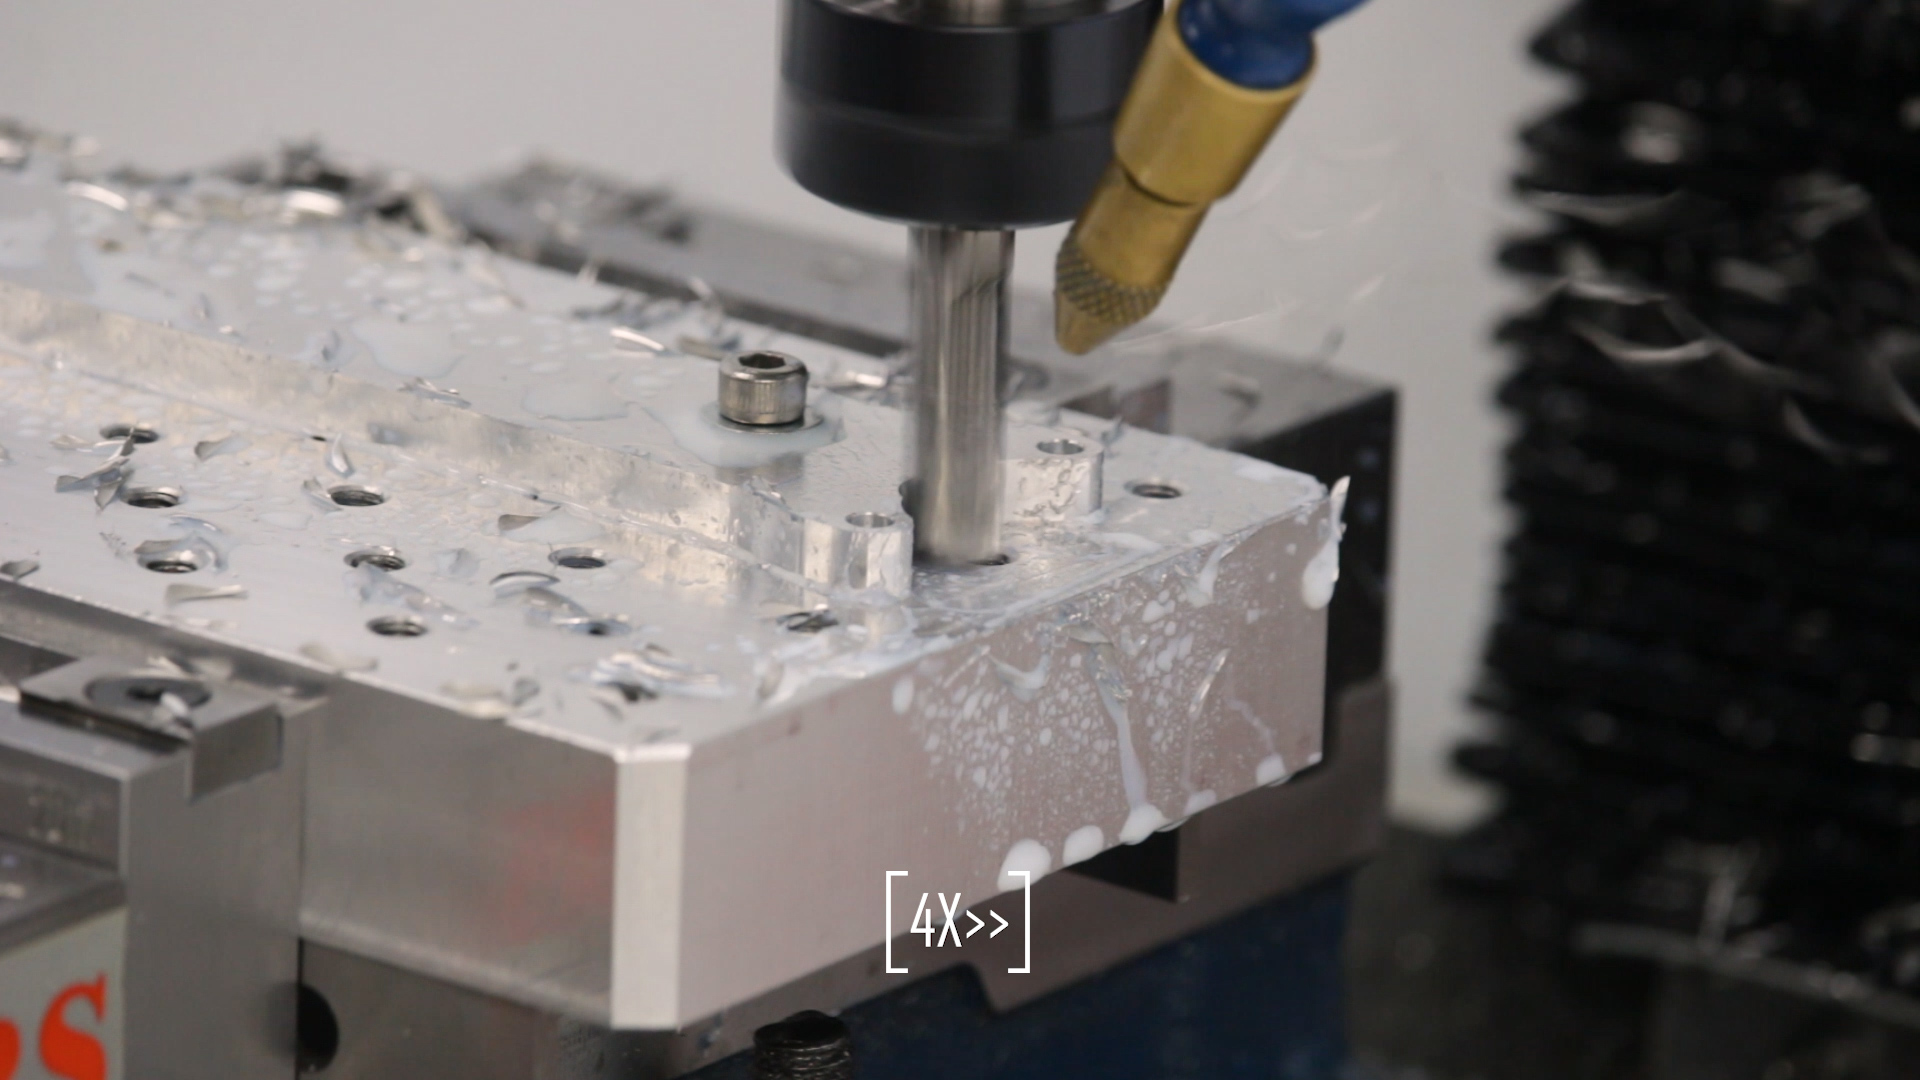
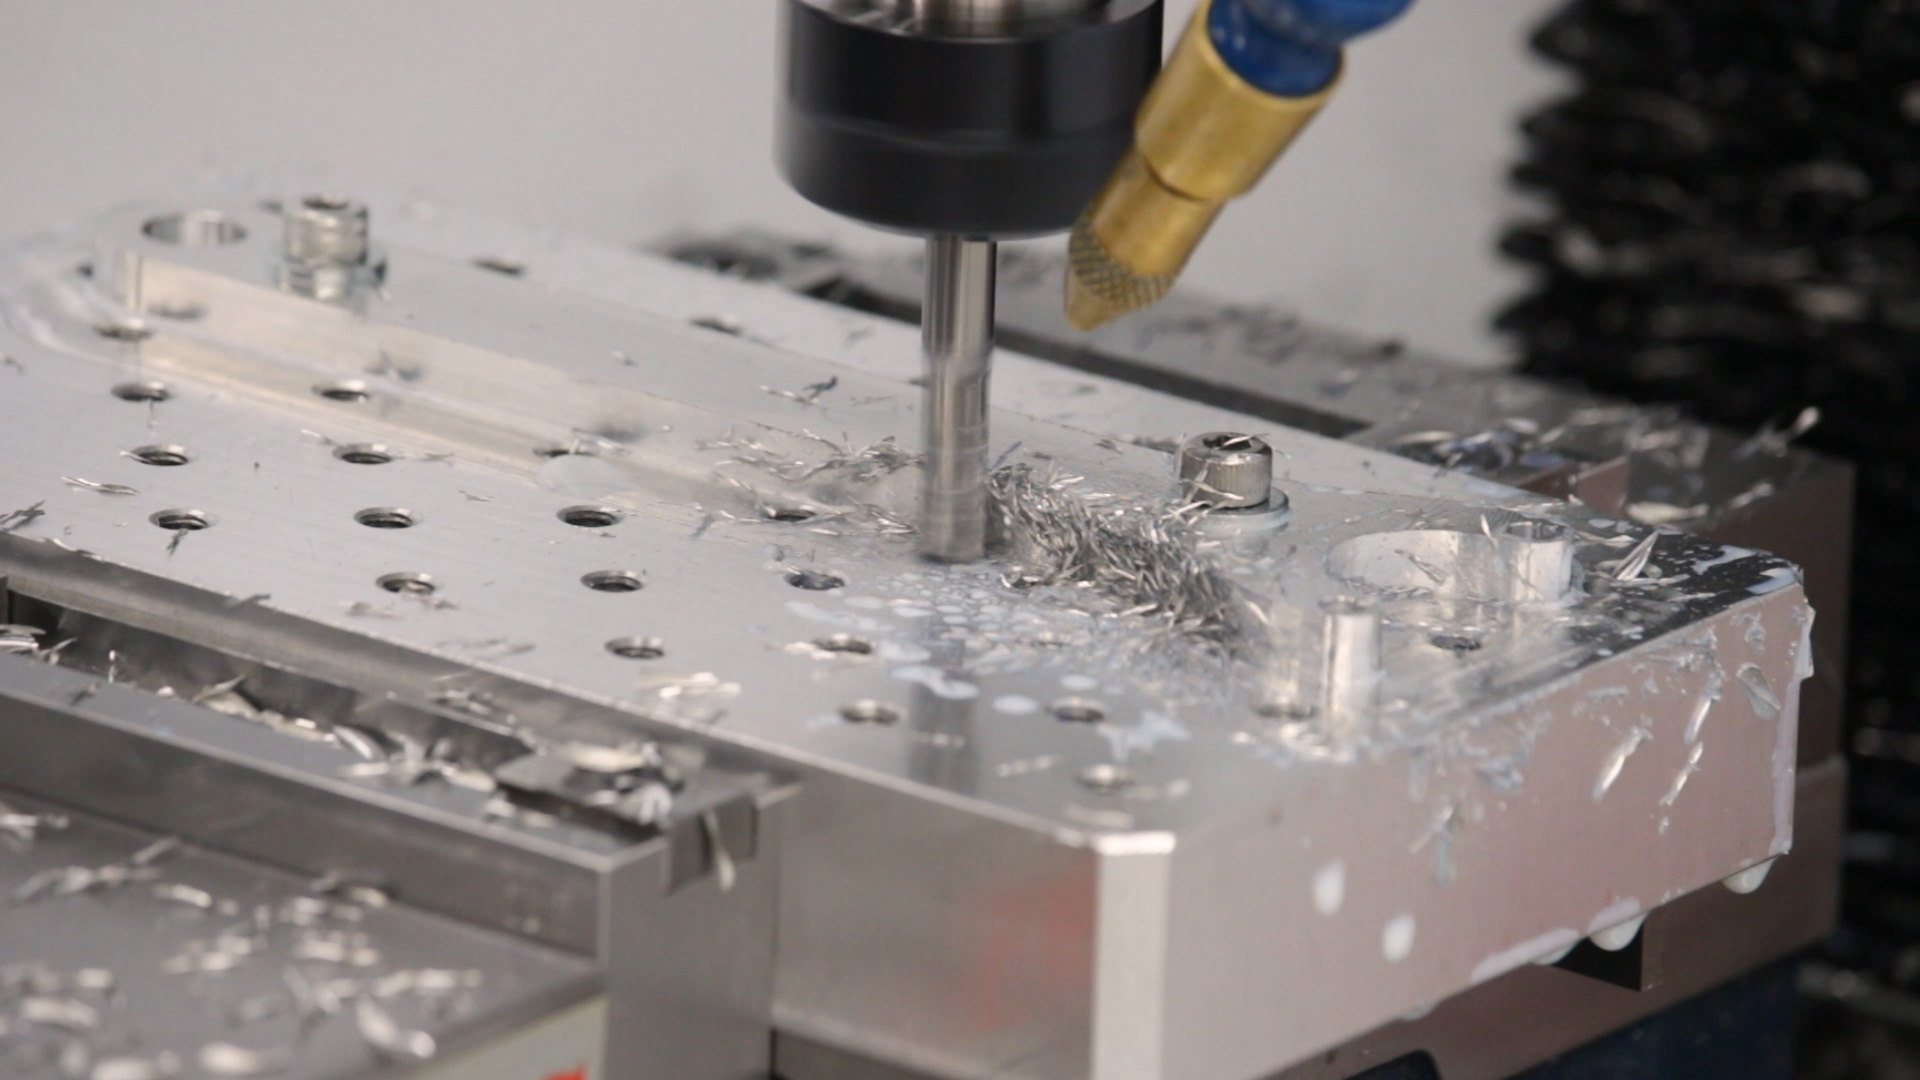
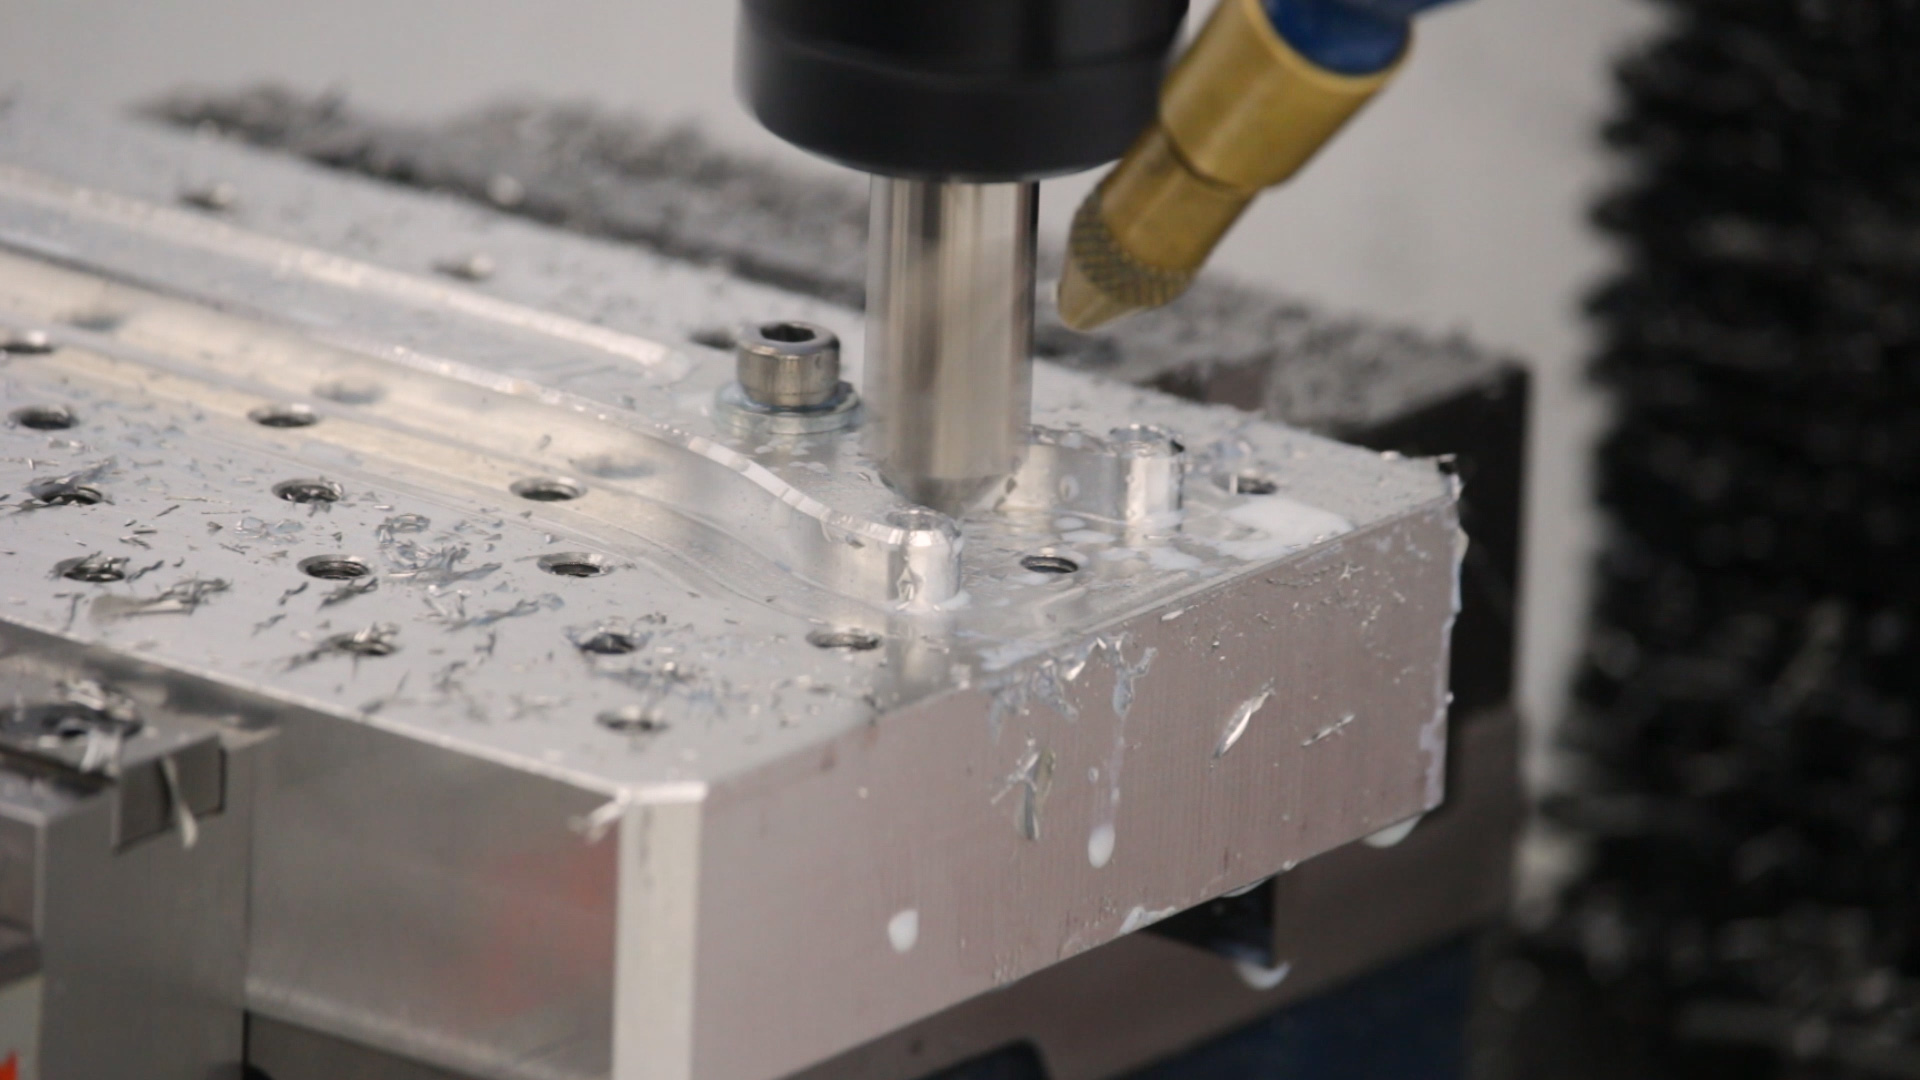
In this position, I milled out the perimeter with a 3/8″ Alu-Power end mill and then cleaned it up with a 1/4″ Alu-Power end mill. These little aluminum-specific mills are perfect for a small machine tool like this, and I’ve been very pleased with their performance. While I wouldn’t mind if they gave me these for promotional purposes, they don’t. I paid full price for them, and I’ll keep buying them because I love how they work.
To be clear, I’ve never worn one out. I just have to buy new ones when I do something dumb and break one.
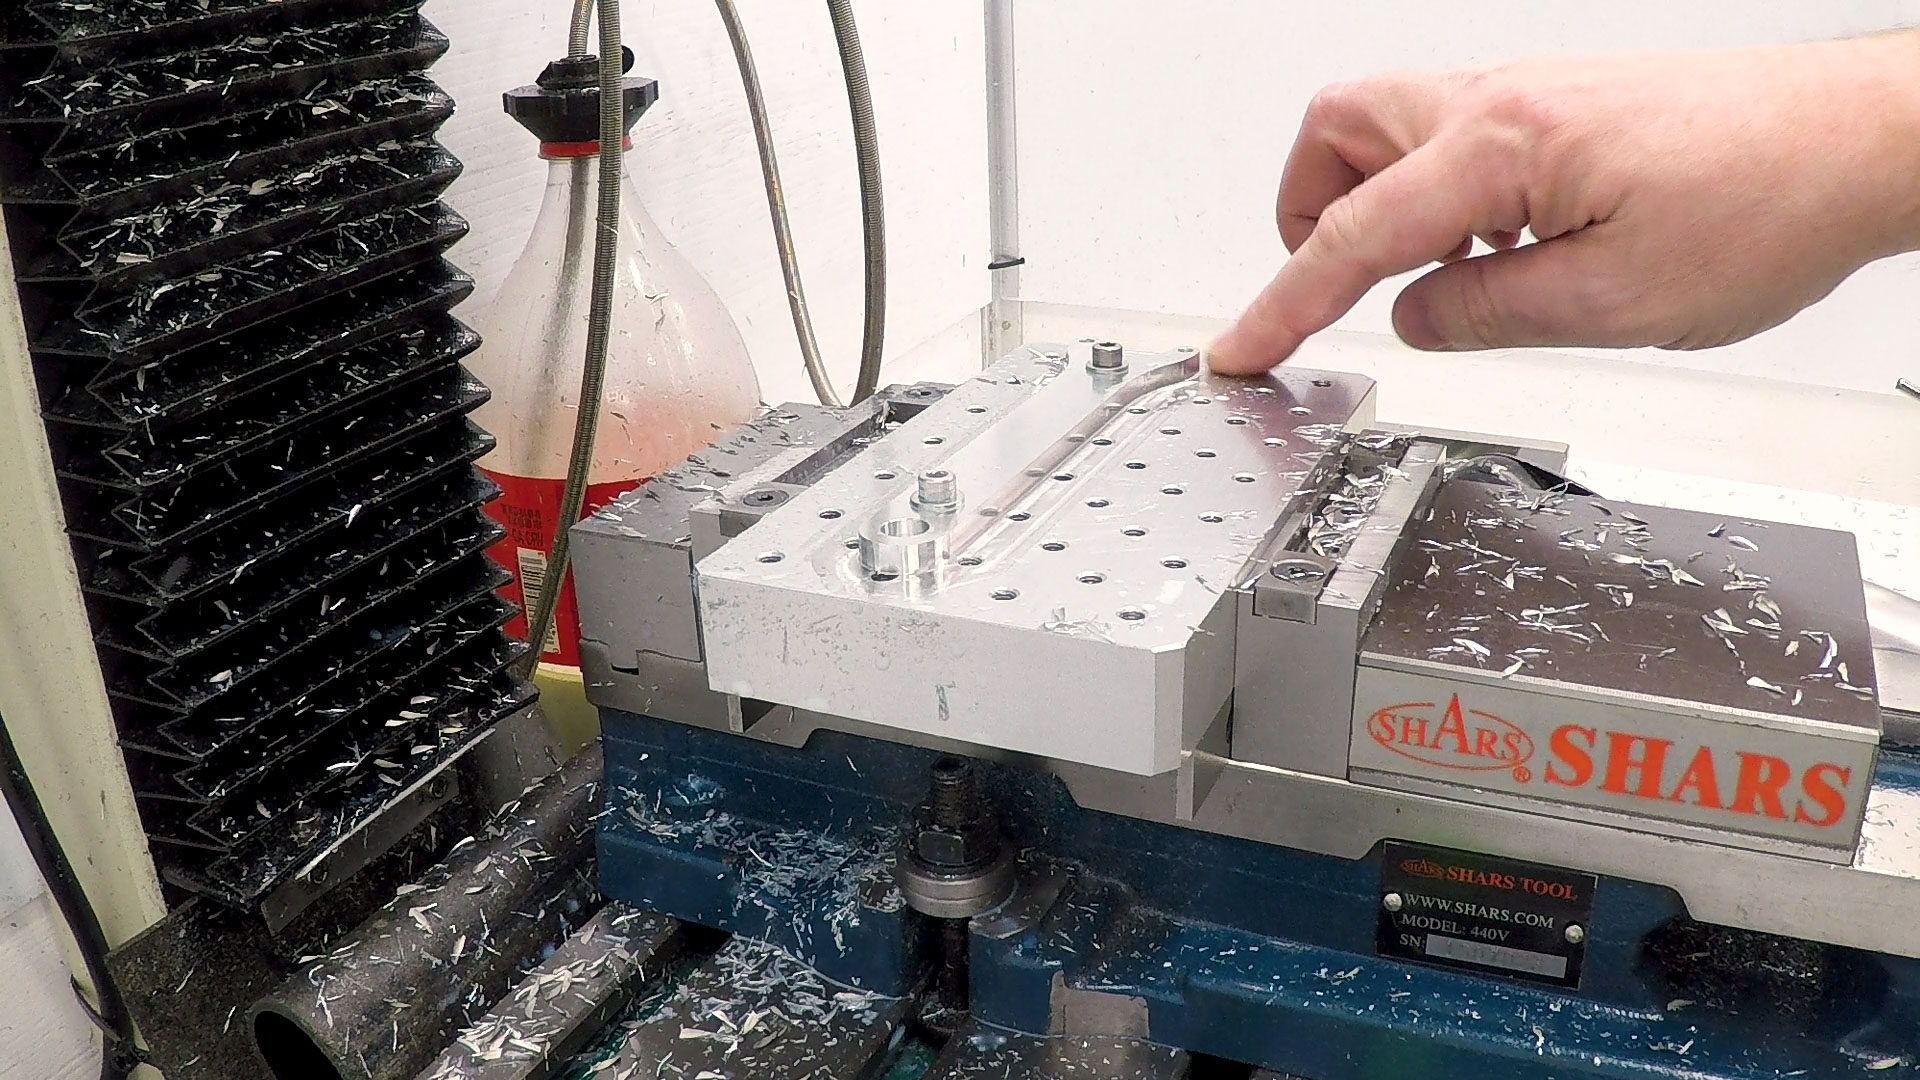
Engraving
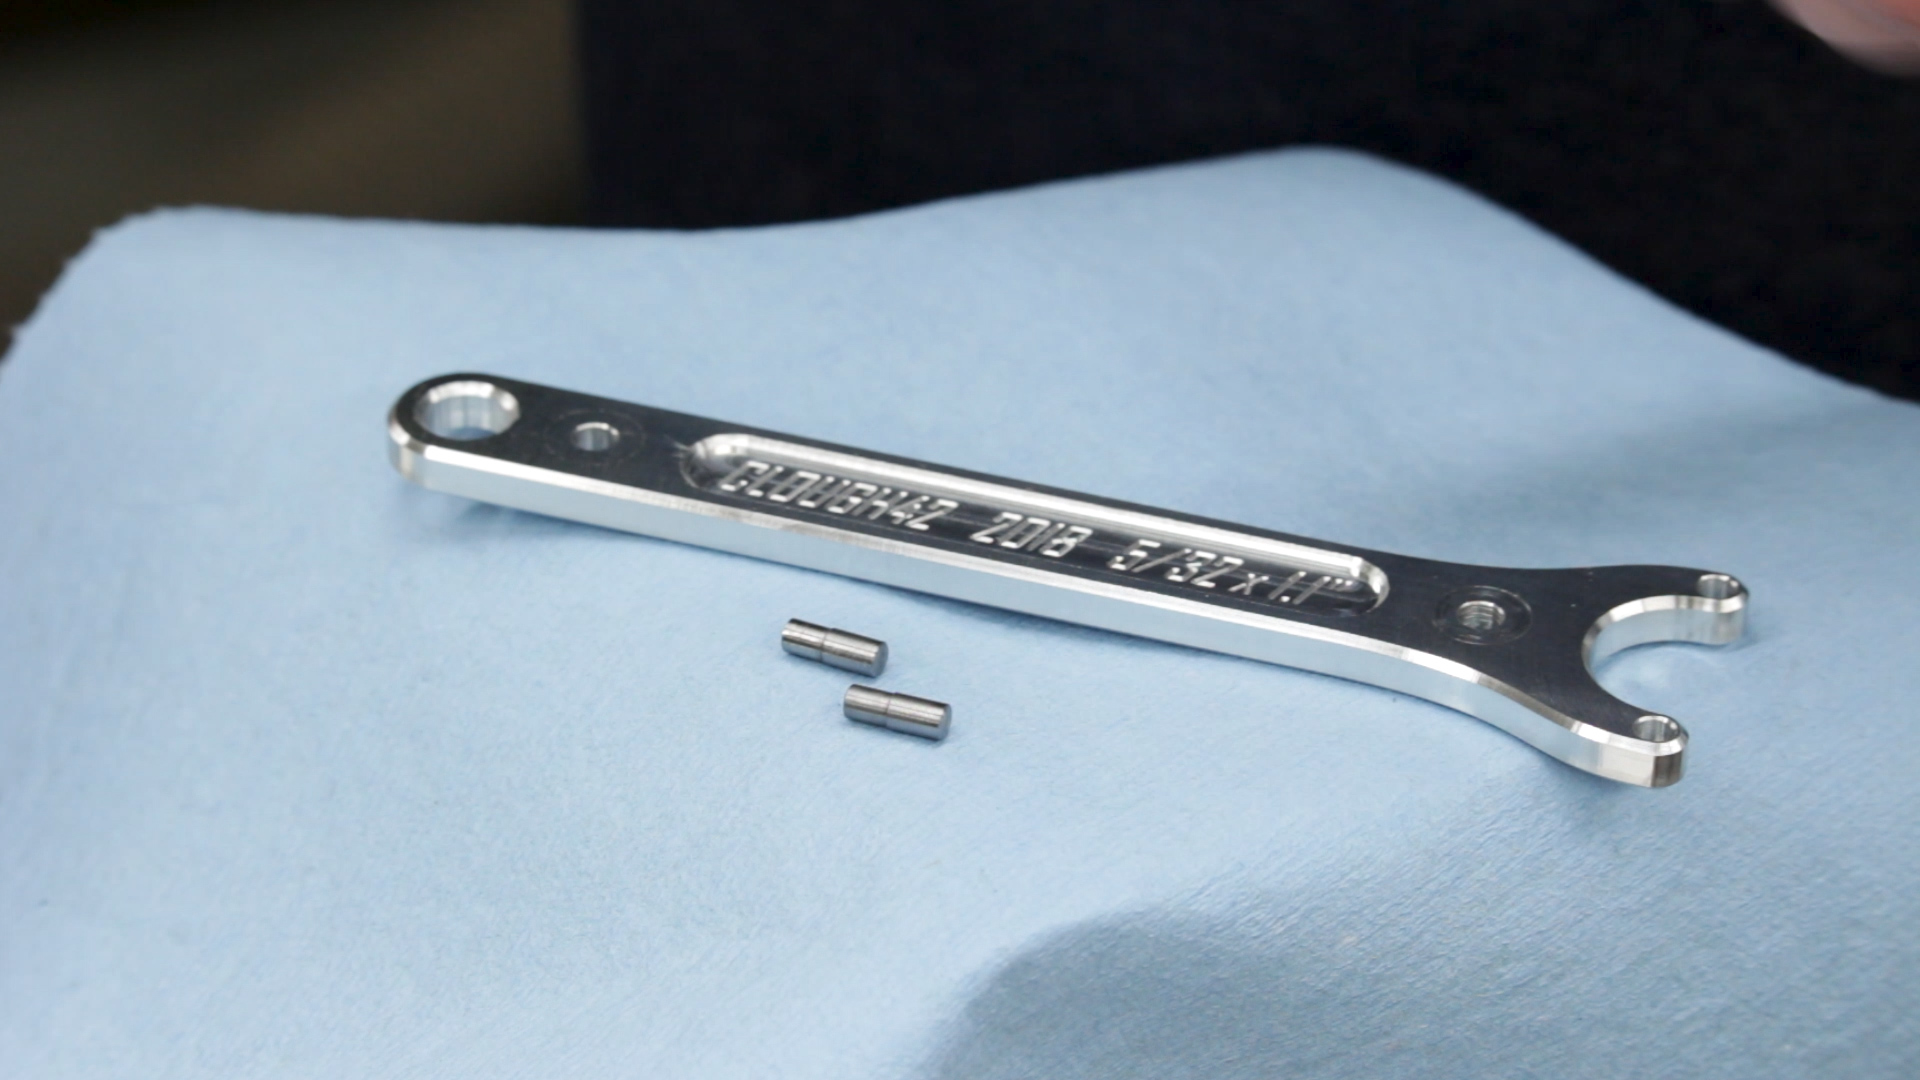
The wrench is fully functional at this point, but the whole point here is to have fun making something cool, so we’re going to engrave it. The plan is to first mill out and clean up a recessed pocket for the engraving, engrave the text, and then come back with a sharp carbide end mill and skim the top of the engraving to clean up any burrs.
In practice, the engraving tool was honed well enough that there weren’t any burrs and I didn’t need the cleanup step. A quick pass around everything with the chamfer mill softened all of the edges.
After engraving one side, I just flipped the part over, screwed it back down and ran the same program again to recess, engrave and chamfer the other side.

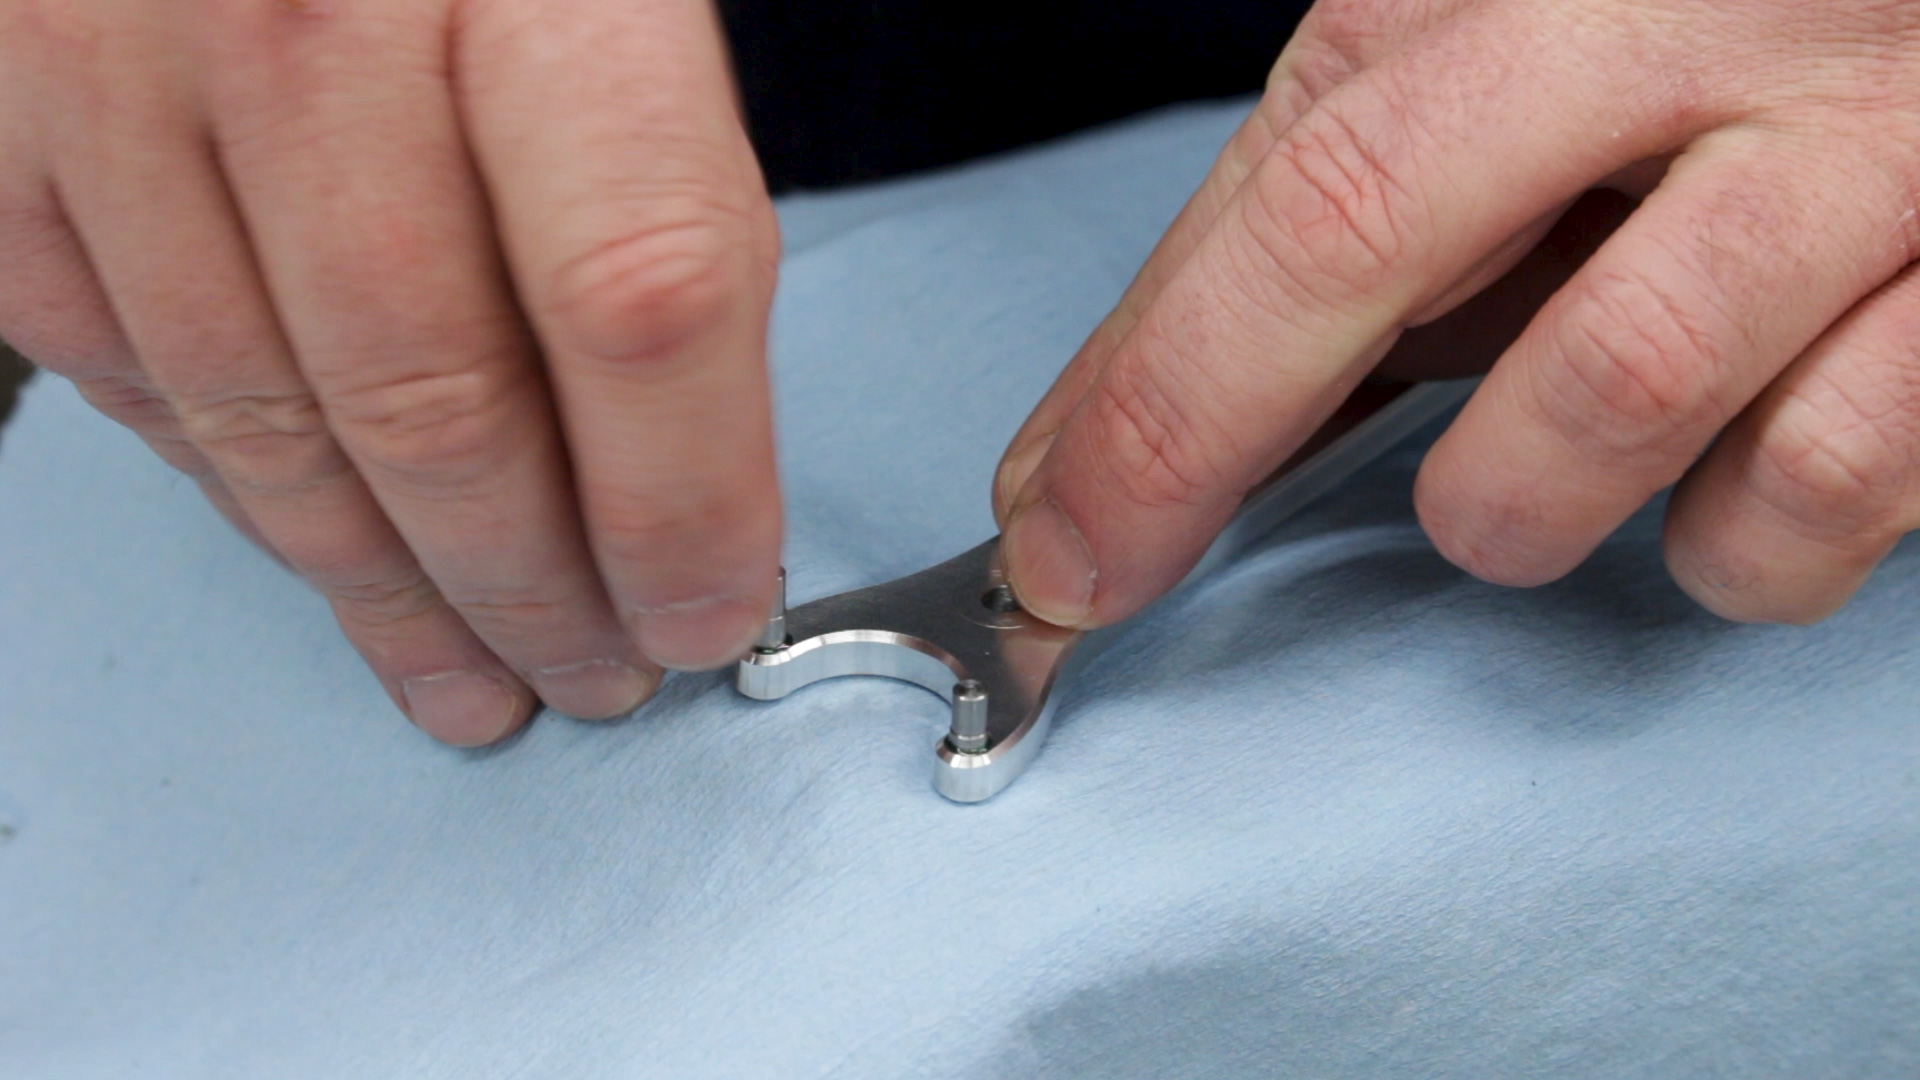
Installing the Pins
The pins are just W1 drill rod, turned to diameter and pressed into the holes. They’re sized for a zero-clearance fit, and I added a little Loc-Tite 609 (green) permanent retaining compound to make sure they never move.
I thought about pulling out the arbor press, but the bench vise seated the pins easily.

Up Next
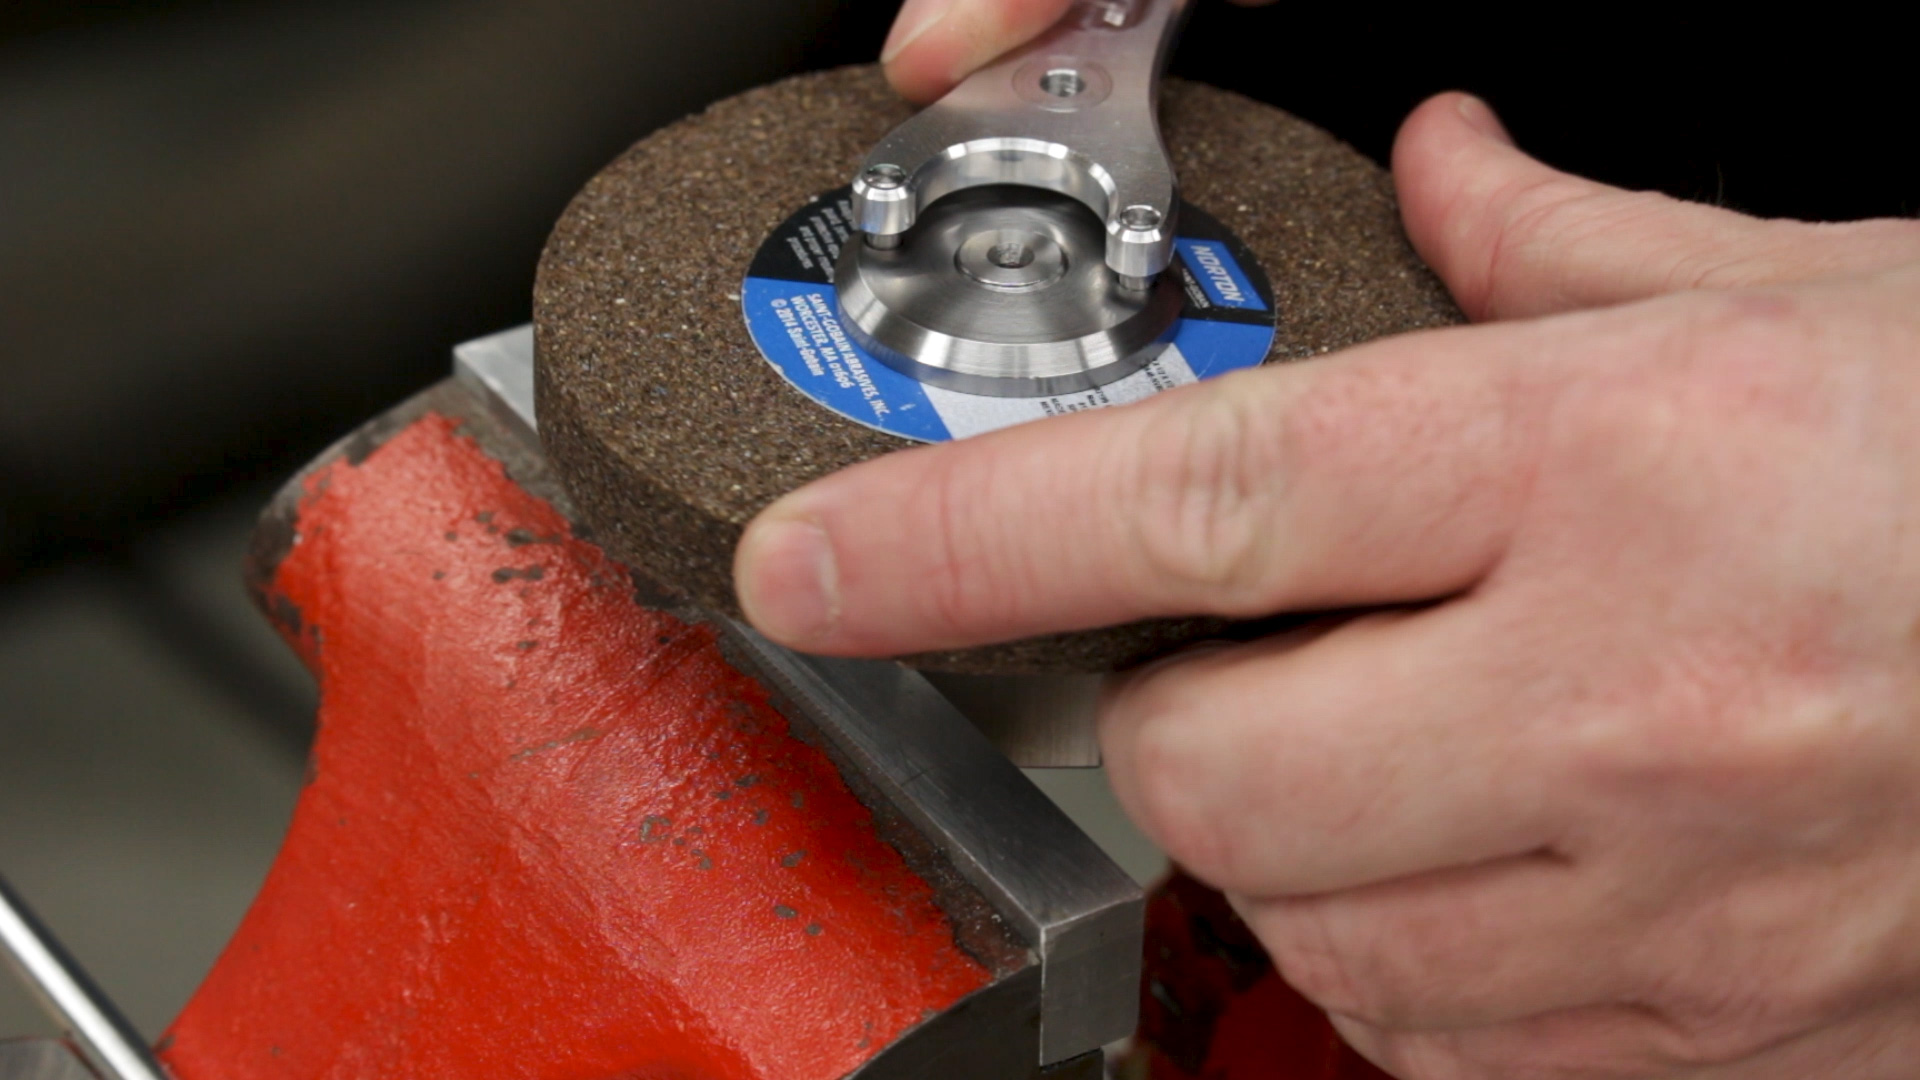
I gave the wrench a quick test run on the arbor flange with the tightening fixture we made last week, and it worked great. I’m very happy with this style of wrench. It only works with a single pin spacing, but it’s very stable and doesn’t slip easily, so I’ll probably just mill up another one every time I need a different size.
I think next week we’ll get back to the toolpost grinder. We still need a way to dress the wheel and we also need to do something about a guard.
If you’re following along with this build, or just curious, here are some links to some of the tools used in the video:
*This site contains affiliate links for which I may be compensated
- YG-1 3/8″ Alu-Power end mill (eBay*): https://goo.gl/g6Kpp7
- YG-1 1/4″ Alu-Power end mill (eBay*): https://goo.gl/GpBkLh
- 50MM Face Mill with APKT inserts (eBay*): https://goo.gl/npAADu
- YG-1 1/4″ 120 degree spotting drill (eBay*): https://goo.gl/6zqTzb
- Noga Deburring Set (Amazon*): http://amzn.to/2xMfiPz
- Allen SAE Hex Key Set (*Amazon): http://amzn.to/2BsnIfP


