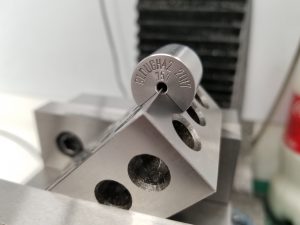
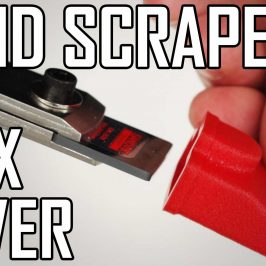
In this video, we make a split-cylinder edge finding tool that allows us to pick up angled corners with an edge finder in the mill.
The Challenge
Normally, it’s easy to find the edges of a work piece in the mill using an edge finder, or if you’re more advanced, a Haimer or probe. Things get more complicated, though, if you need to locate the top edge of a part clamped in the vise at an angle. In this case, there isn’t a flat edge to bring the edge finder against to make it kick out.
The solution is a cylindrical tool, split exactly through the center on perpendicular planes. This tool can be placed on top of the part and the center of the cylinder will align exactly with the intersection of the faces. If we know the diameter of the cylinder, all we have to do is run the edge finder against the side and subtract half the diameter of the tool to find the edge.
Making the Blank
I chose to make the tool out of 3/4″ drill rod. I had some W1 in stock. There’s no need to heat treat it, and in fact I didn’t want to because I didn’t have any way to grind it to size afterward. W1 in the annealed state is already around Rockwell C20, and that’s enough for a tool like this.
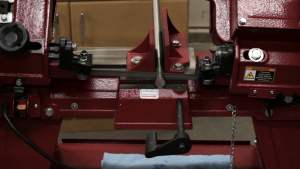
I cut a couple of slugs in the bandsaw to about 7/8″. Why two? I learned long ago on projects like this that it’s best to just go ahead and cut an extra piece at the beginning and take both through the process. If I get through the whole build without making a mistake, I have one to give to a friend. That usually isn’t a problem, though.
Lathe Work
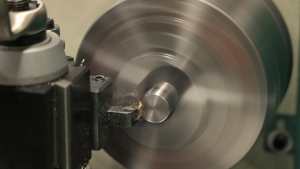
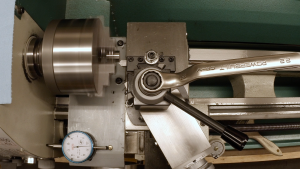
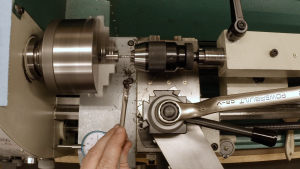
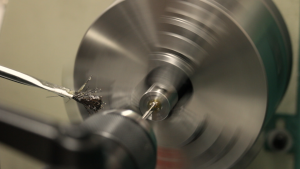
I faced the blanks to length in the lather, using a parallel, depth micrometer and dial indicator to control the length. It took a little while to figure out the best recipe to get a good surface finish in W1 with the carbide inserts I had on hand. The best recipe ended up being to run the lathe as fast as possible (2400RPM) and take a .005″ final pass to clean up. I discovered this a little late, though, so I ended up re-facing the parts down to .745″ or so to get them clean. That isn’t a problem. The length isn’t critical in any way.
After facing, I spotted and then drilled a 1/8″ hole through the center. This is just to provide relief so I don’t have to try to cut a perfect inside corner when milling. It also makes the tool much more forgiving of burrs or other features on the edge of the workpiece. They just extend into the center relief without drama.
I ended up reaming the hole to exactly .125″ because I had a reamer handy. This isn’t needed, but it makes the inside of the bore prettier, and it will be visible on the final tool.
Milling the Notch
The milling of the part ultimately needs to be very precise. I wanted to hit the final dimension within a few ten-thousandths of an inch. Any error in the tool will stack up with other errors any time I use it in the future, so closer to ideal is better.
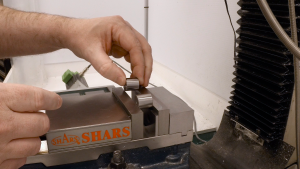
to get the parts square in the vise, I used only a single parallel against the fixed jaw of the vise and let the parts square themselves up when I closed the vise. I opened and closed it a few times, sneaking up on the final position to make sure the parts moved freely. A dial indicator showed that they ultimately settled within a tenth or so of parallel.
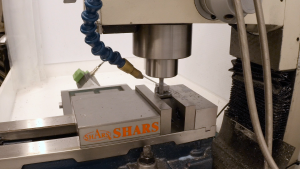
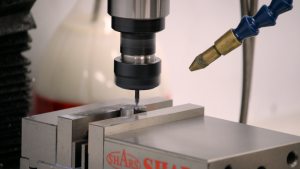
I plowed out the majority of the material using a powdered metal roughing end mill, just aligning things by eye. The powdered metal rougher just plowed through the W1 tool steel like it was nothing. I think I’m going to really enjoy this end mill. This is the first time I’ve used it and it’s a great fit for the small mill.
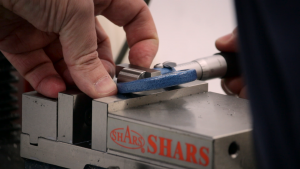
To bring the cutout to final dimension, I switched to a brand new 1/4″ 4-flute carbide end mill. I cut the floor to dimension first and then raise the mill off the floor and cut the side to final dimension, sneaking up a little at the time and measuring the notch using gauge blocks and a micrometer.
Engraving
Every tool needs a maker’s mark. I engraved my name and the year into the end of the cylinder using a single-flute engraving cutter. It worked okay in the W1 steel, but it pushed more material than it cut, so it took a fair bit of stoning to get the surface smooth around the engraving.
Checking for Accuracy
I should probably admit that I totally screwed up something on the first one and overshot one of the cuts by .003″. I’m sure it was a basic arithmetic problem. That’s about ten times the error I was shooting for, so I tried again, and the second one ended up fabulously close to the target.
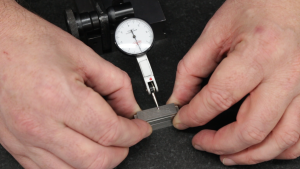
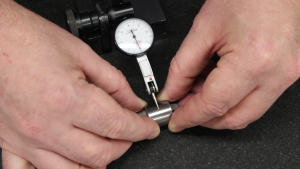
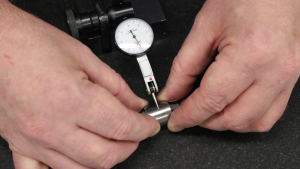
To measure, I used a tenths indicator on the surface plate, with the tool sitting on a gauge block. The block was .400″ and half the diameter of the tool should be .375″, so I zeroed the indicator on top of a .775″ stackup of blocks and then compared to the tool. The results were amazing: less than .0002″ of error.
Conclusions
This is going to be a very handy tool to have in the shop. I plan on using it almost immediately for a project I have in mind. That video will be coming out soon.
I was a little surprised and very pleased to see how precisely I could machine the part to size. A very sharp carbide end mill and careful measuring (measure twice, measure again, worry and measure again, cut once) brought the part into much closer tolerance than I expected for such a small mill. This mill has about .001″ of backlash in the X ballscrew, but taking that out carefully and making the cuts proved very repeatable.
I was also very pleased with the performance of the powdered metal rougher I used. I was running it at about half the manufacturer’s rated chipload, while making sure I was making real chips, and it just went through the tough steel smoothly. I’ll definitely buy more of these.
If you want to follow along, here are a few of the tools used for this project:
*This site contains affiliate links for which I may be compensated
- YG-1 Tank-Power 3/8″ powdered metal roughing end mill (eBay*): https://goo.gl/4QmiZi
- YG-1 4-Flute Carbide 1/4″ end mill (eBay*): https://goo.gl/1dLomn
- Noga Deburring Set (Amazon*): http://amzn.to/2xMfiPz
- Shars .0001″ dial test indicator (eBay*): https://goo.gl/ZrHAar
- Shars 7″ surface gauge (eBay*): https://goo.gl/RjCmNq
- Shars 81 piece gauge block set (eBay*): https://goo.gl/DGtbHE
- Shars 0-6″ .0001″ micrometer set (eBay*): https://goo.gl/vvgJ9A


