In this video, I show how we manufacture our 3D printer hobbed bolts.
There are lots of hobbed bolts out there. Some are DIY and some are manufactured in volume. Some are pretty great and others not so much. We happen to think ours are pretty great.
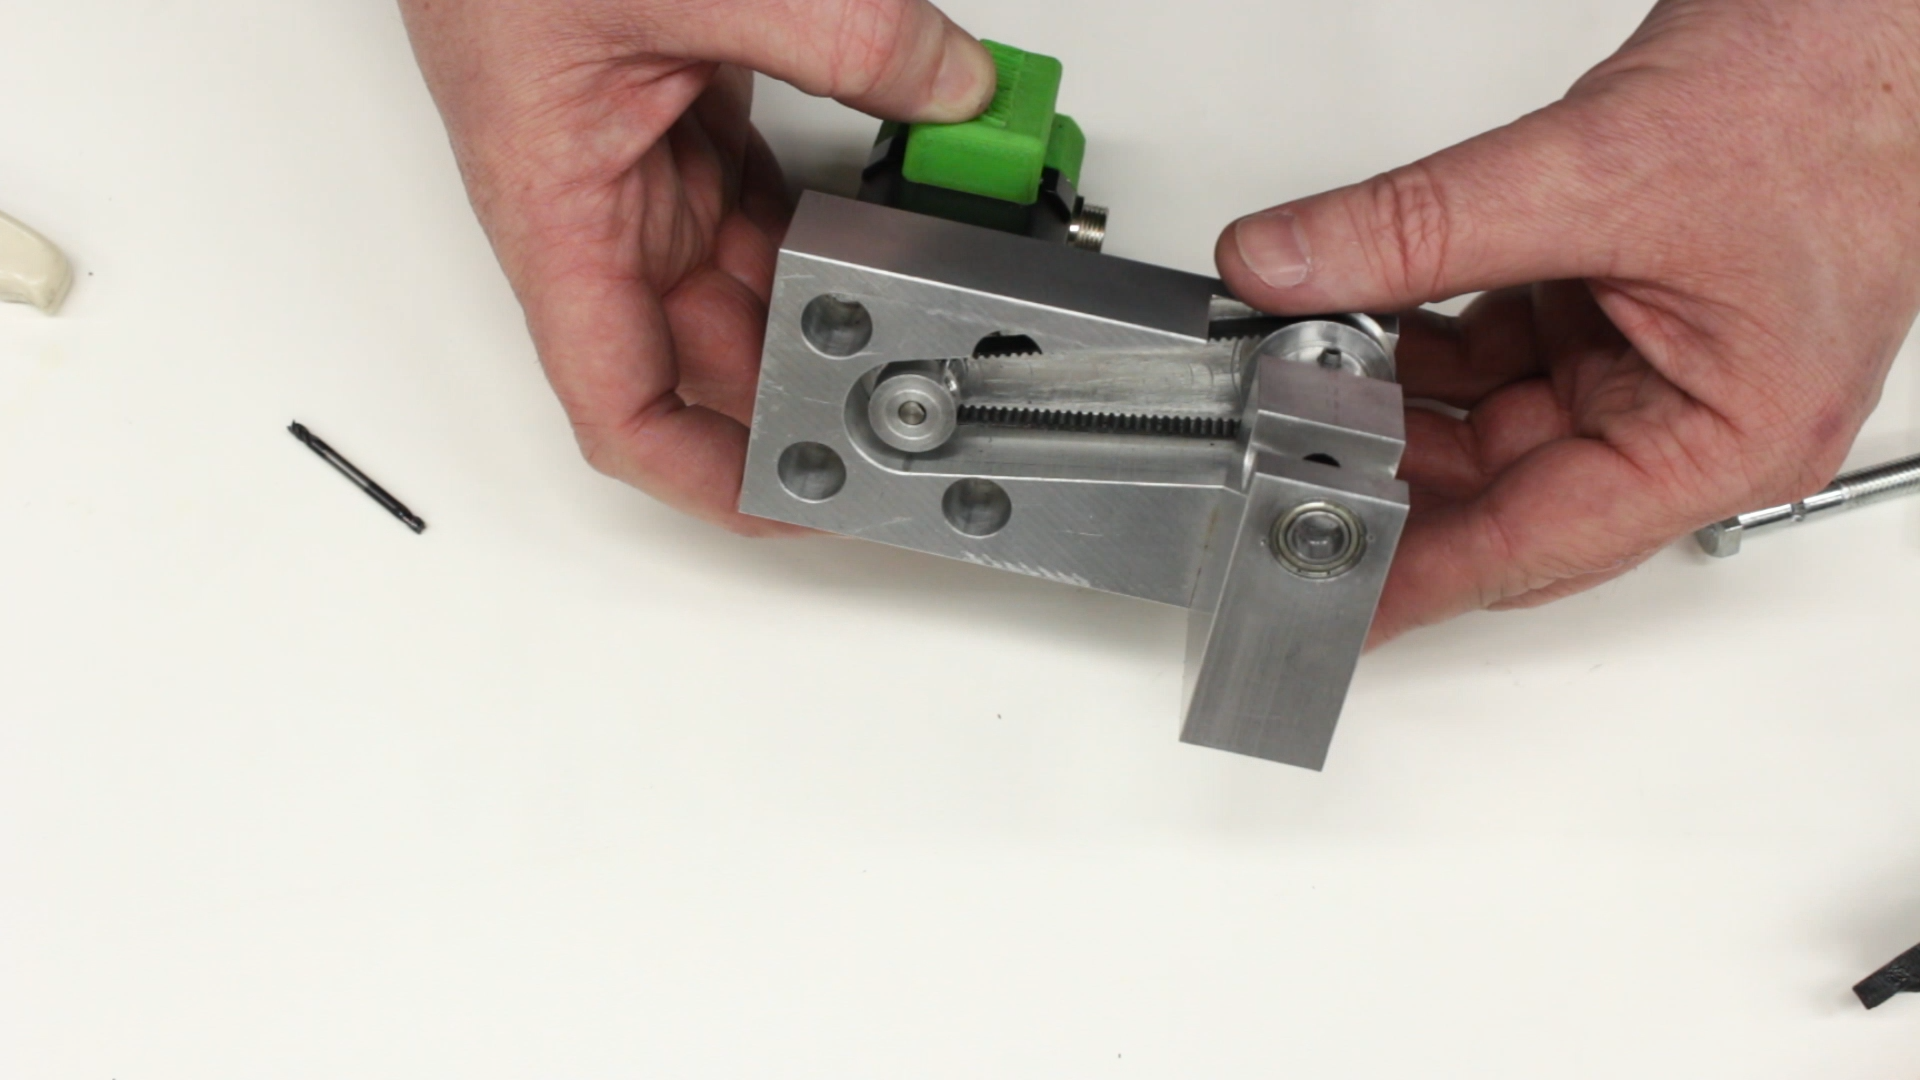
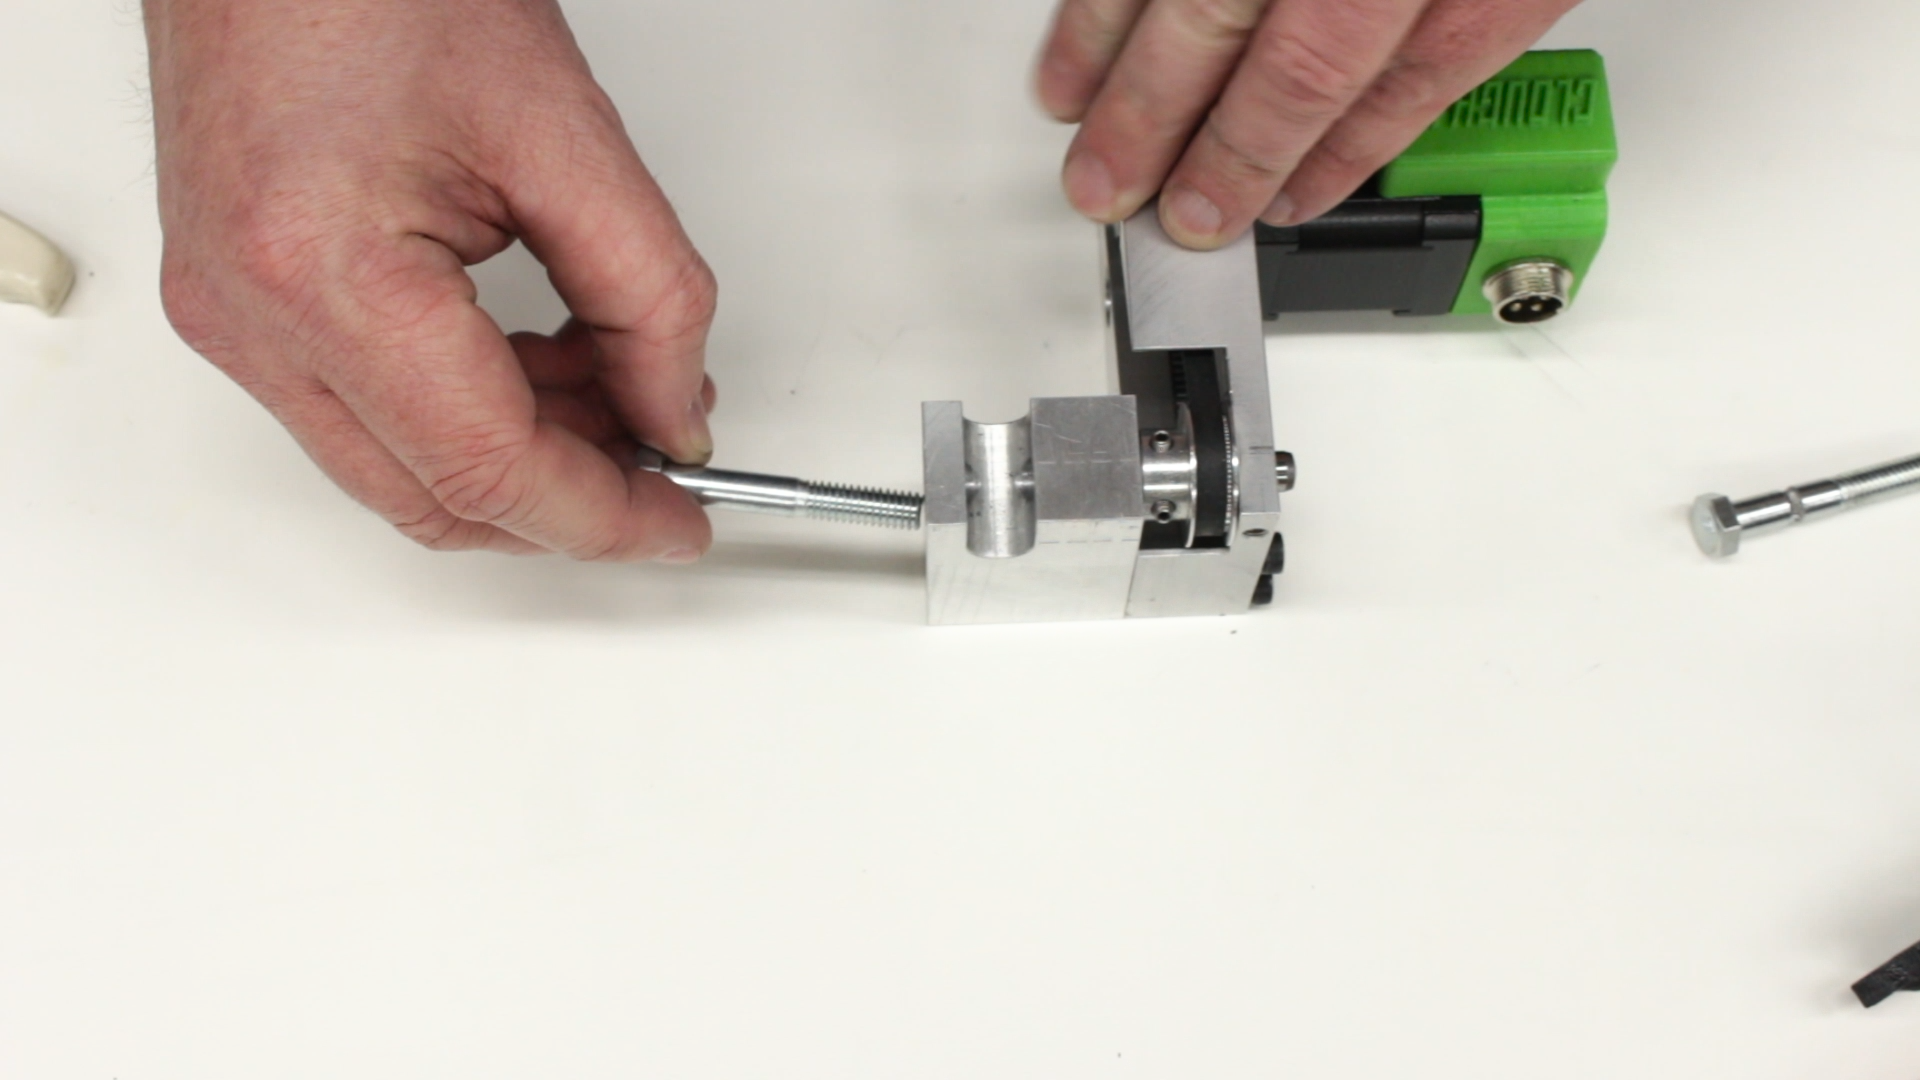
The Fixture
The most complicated part of making a hobbed bolt is cutting the teeth. There are lots of ways to do this. You can try side-milling with a tap to cut grooves. There are industrial hobbing machines designed to cut gears that will get the job done. But the most straightforward way to do it with basic machine tools is to index the bolt around its axis and cut the teeth with an end mill.
In our case, we didn’t even bother with a 4-axis mill. We just built a fixture to index the bolt with a stepper motor. In fact, we made our first prototypes without even using a CNC mill. We had an Arduino with a stepper motor driver and a button to rotate the bolt 1/20 of a turn. We would push the button and then crank the mill in using a dial indicator to cut the tooth. Do that 20 times and you have a hobbed bolt. Needless to say, we automated it pretty soon after that.
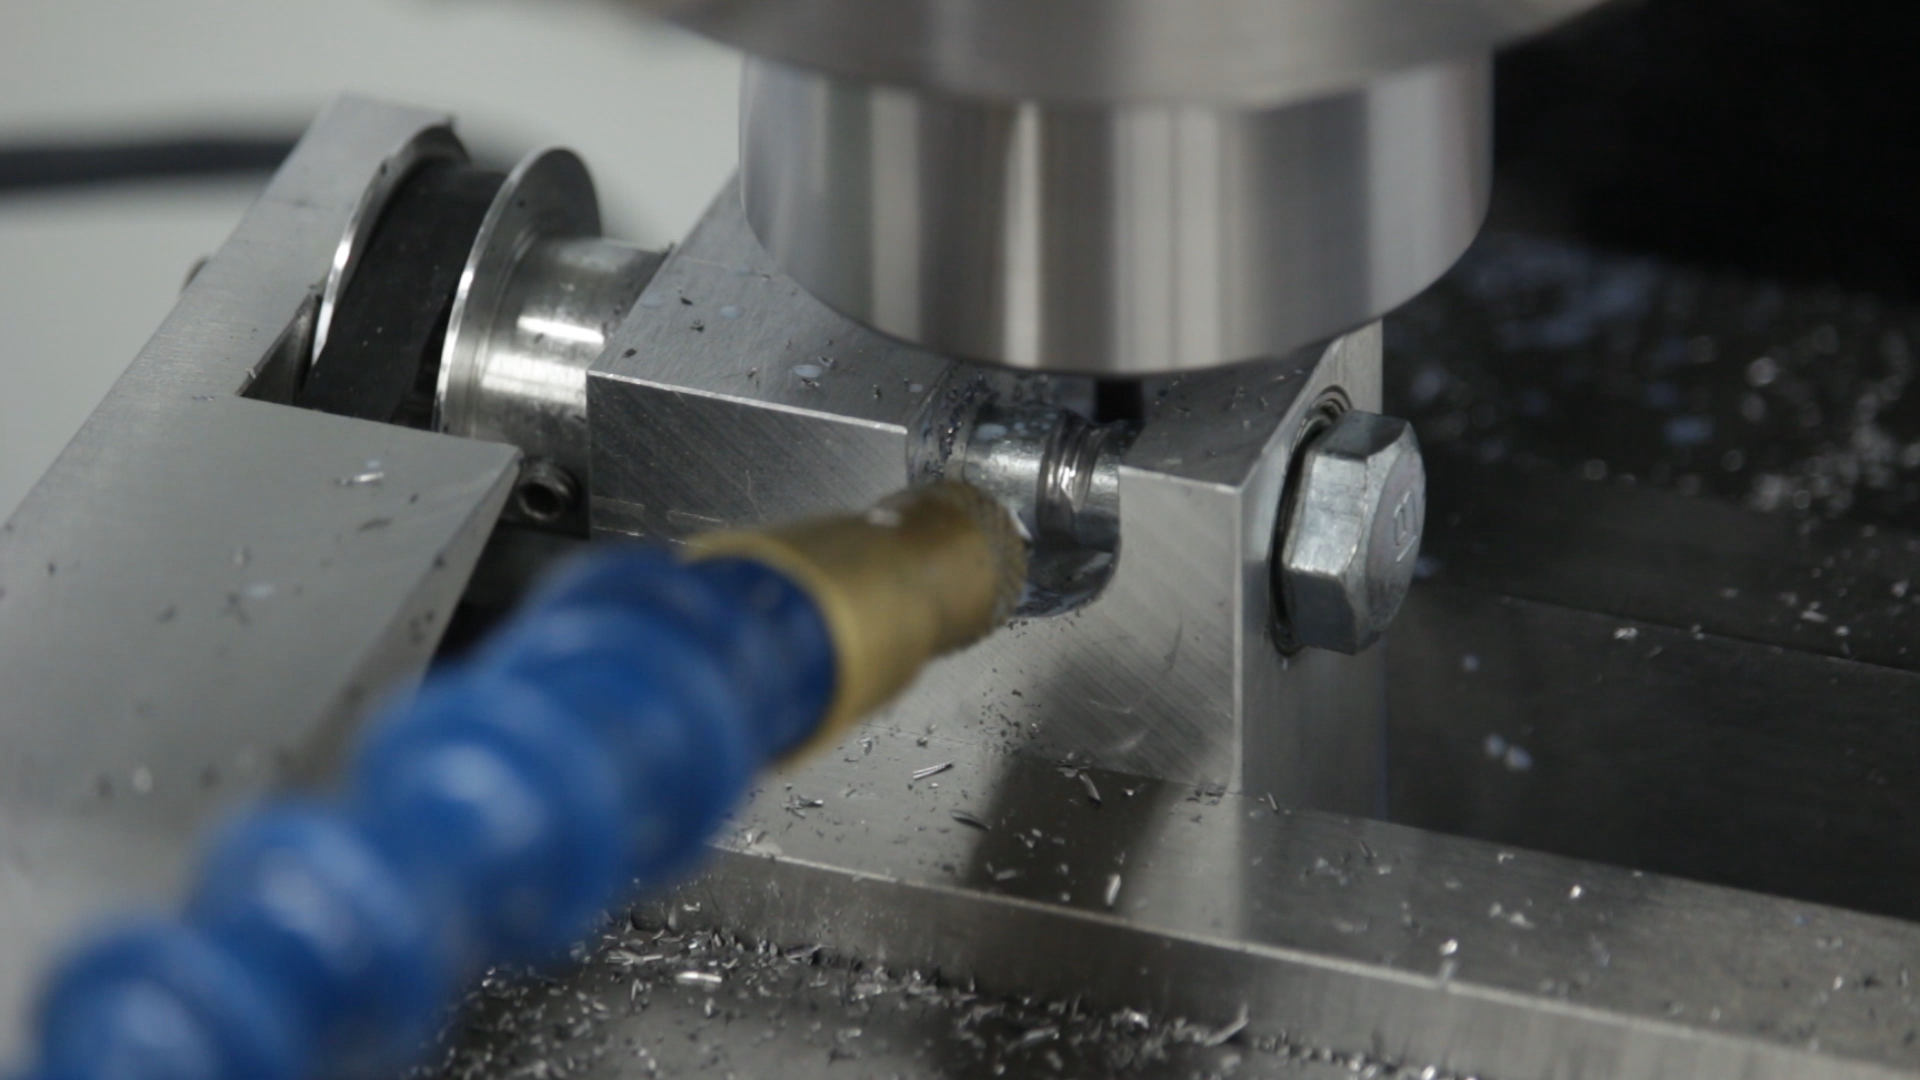
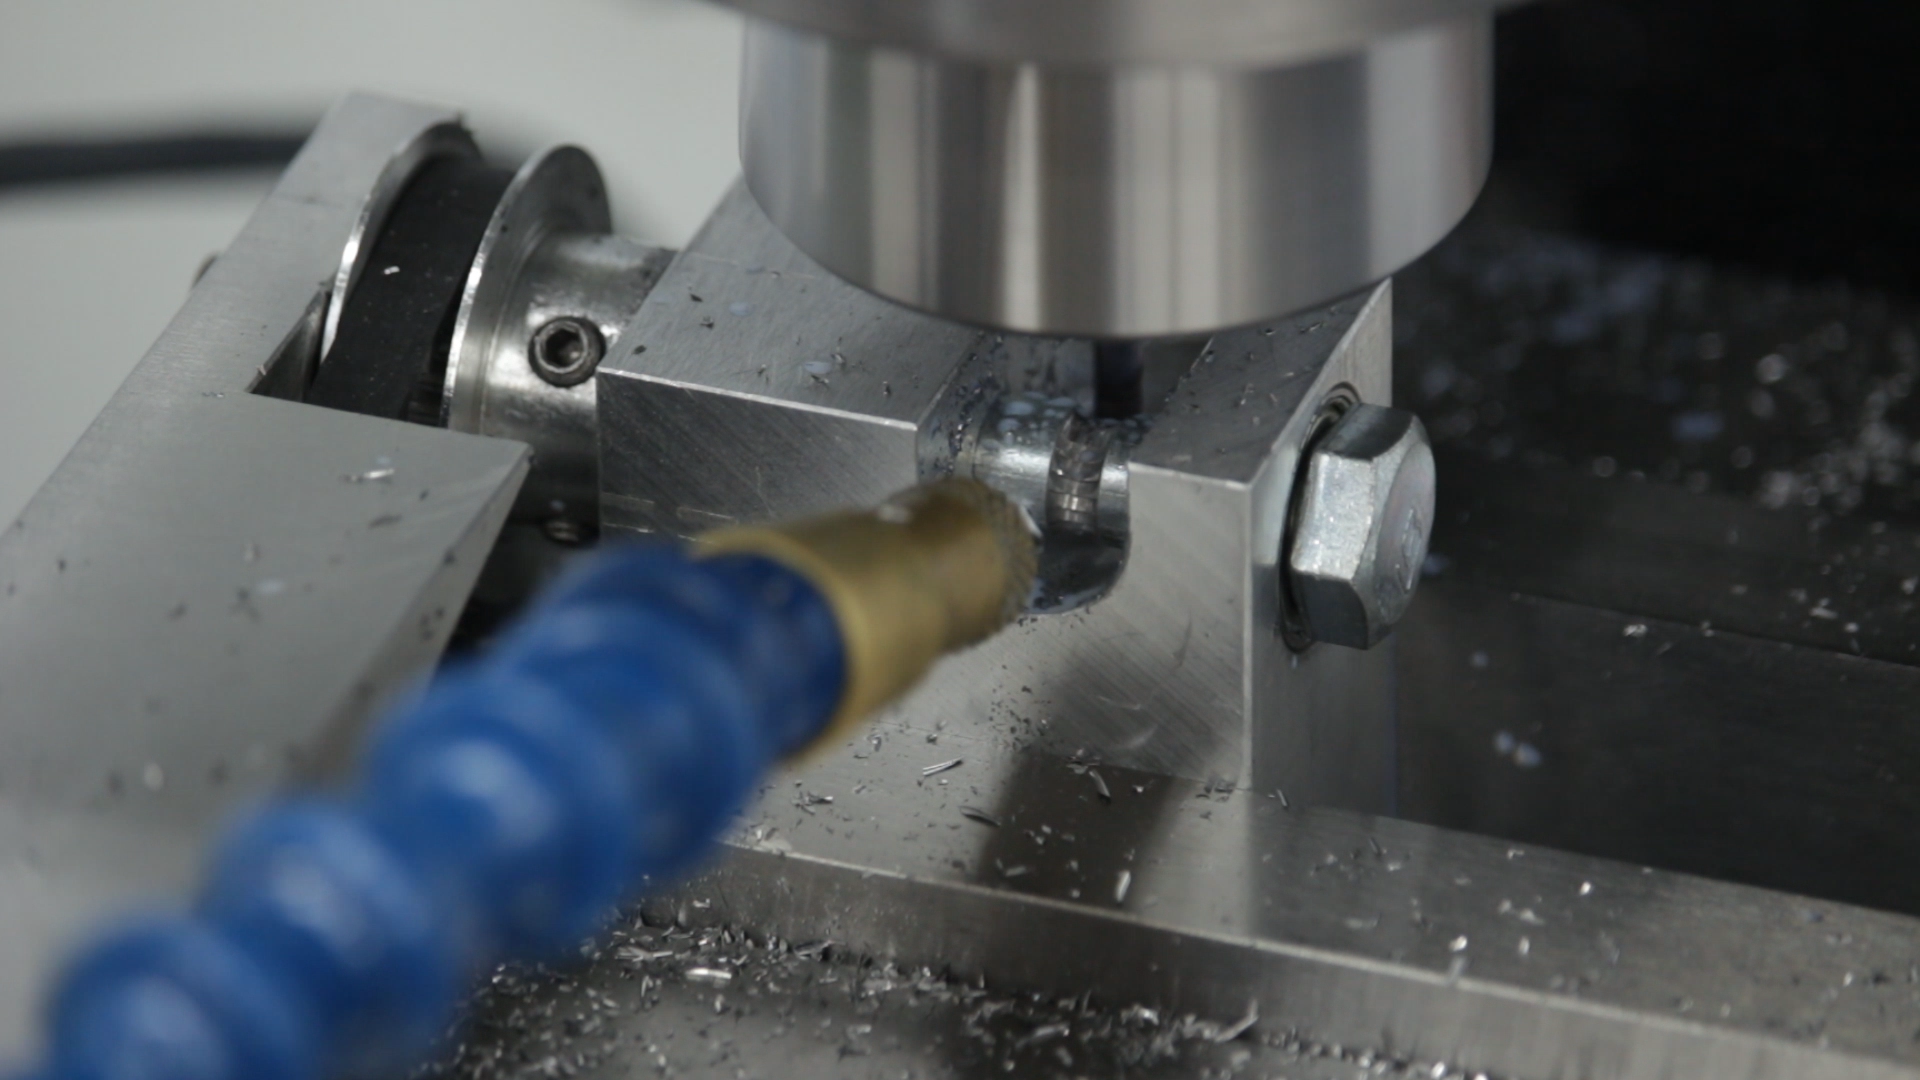
The Cutting Operations
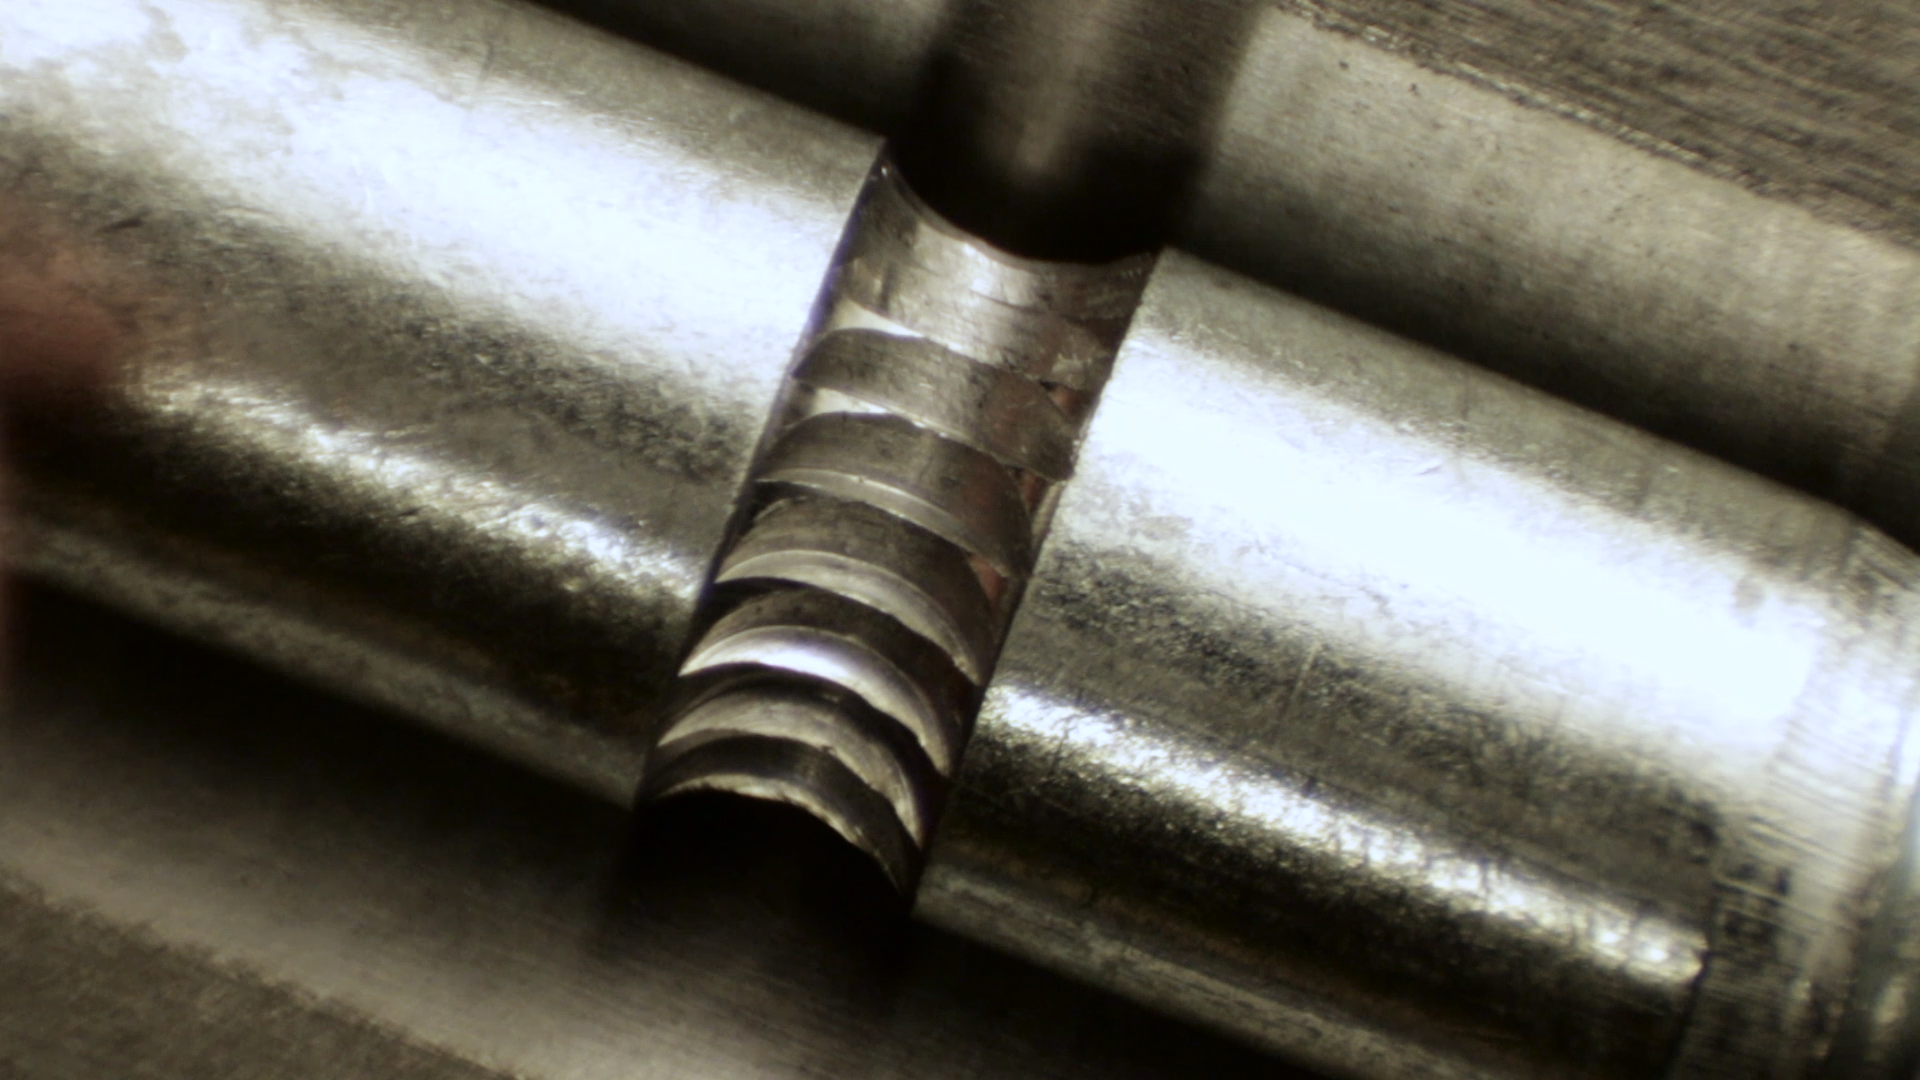
There are two primary operations to making a hobbed bolt. Obviously, we have to cut the teeth using the indexer. Less obviously, we also need to remove some material first to make a relief groove. This does two things. First, it removes the bulk of the material so the end of the end mill doesn’t have to move as much metal. Second, it creates a smooth area for the tooth to exit the groove so it doesn’t leave a jagged edge that will tear up the filament.
The initial relieving cuts could be done on a lathe, but that’s another operation on another machine. It turns out it’s just as easy to spin the bolt in the fixture while side-milling out the material with an end mill. It is imporant to get the chip loads right so the end mill doesn’t rub, and the order of operations has to be right or the end mill will raise a burr that has to be removed by hand. In fact, if you raise a burr during the milling operation, you can’t get the bolt out of the fixture without hand-filing it off.

Cleaning and Inspecting
After milling the bolts, every single one has to be cleaned. A single chip left in the teeth will eventually find its way into a 3D printer nozzle, clogging it. If this happens, it’s very difficult to deal with. It’s embedded in a tiny hole, surrounded by molten plastic that’s too hot to touch. Once it cools, it’s embedded in a mass of solid plastic stuck in the nozzle. Depending on what kind of plastic you’re printing when this happens, it’s often easier to just replace the nozzle. We of course don’t want this to happen, so we clean the teeth out with compressed air and a stiff-bristle brush.

Part of the challenge in manufacturing a part like this is quality control. The features are very small and the dimensions can change as the cutter wears. We periodically pull a bolt out for inspection to make sure the groove is in the proper position, the teeth are cut to the right depth and the cutter is still sharp and making clean edges. The only good way to judge the latter is with a microscope.
Shameless Plug
Well, now you know everything you need to know to make your own hobbed bolts. If for some reason you still don’t want to make them yourself, we do offer them for sale:


